
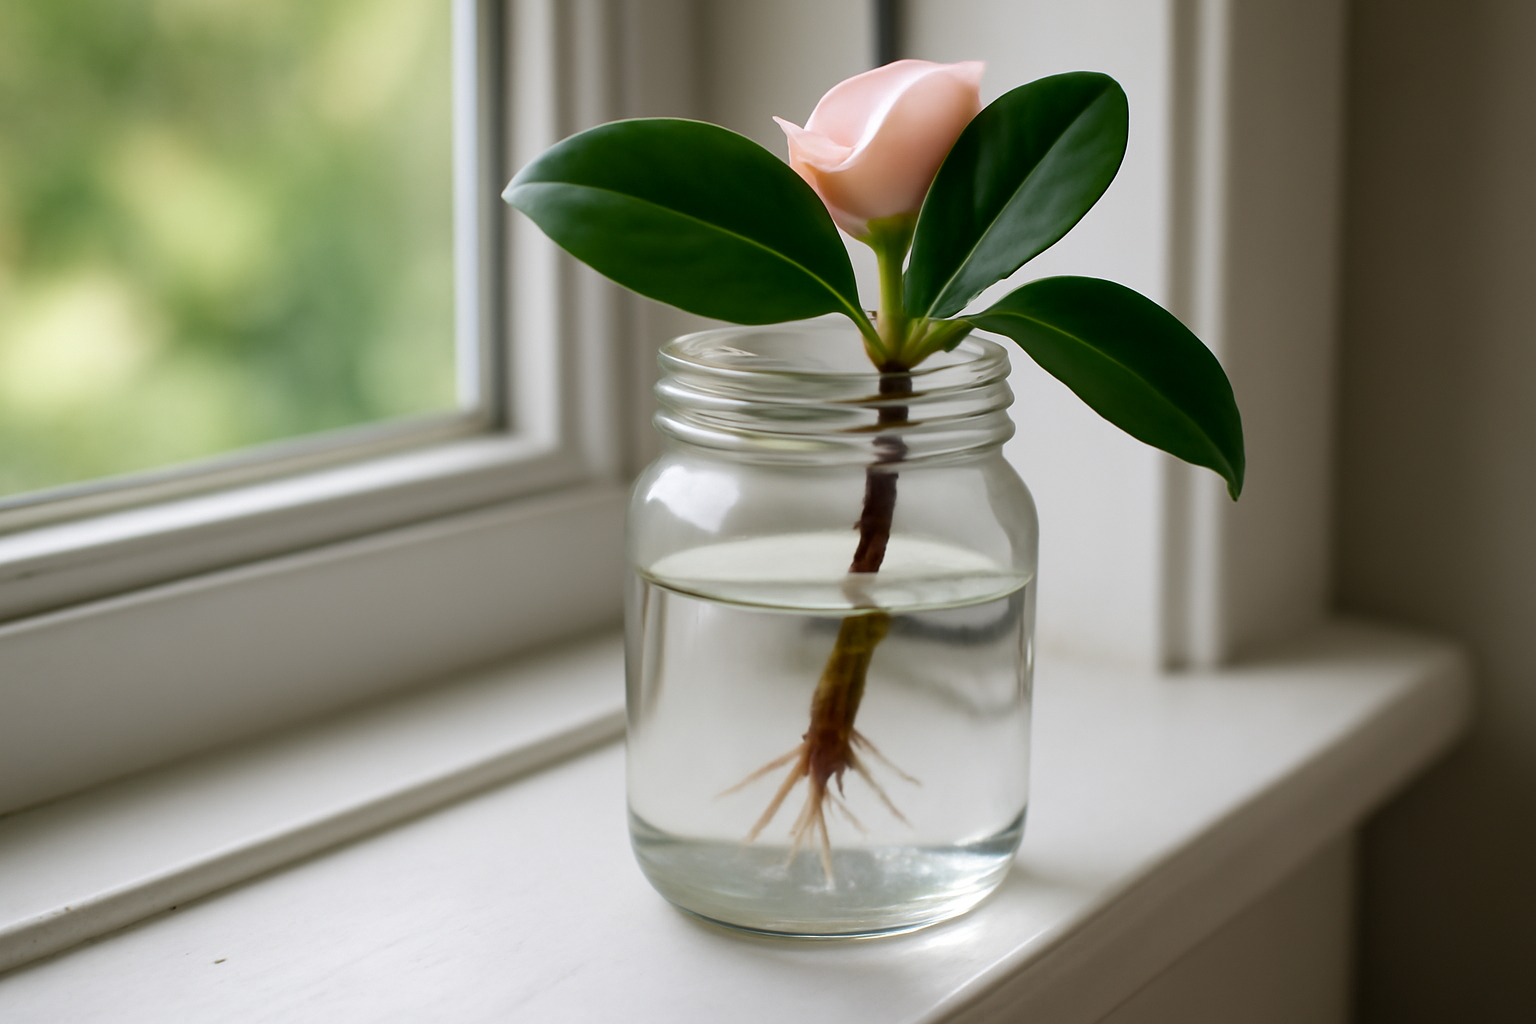
Twenty-two years ago, fresh into growing camellias and far too confident for my own good, I snipped a piece of ‘Nuccio’s Gem’ — a formal double japonica I’d only just brought home — and dropped it straight into a jar of water on the kitchen sill, fully expecting roots within days, the way pothos or coleus behave. That single failed attempt taught me more about camellia physiology than any book had up to that point. Readers still write in constantly asking some variation of the same thing: will water propagation work on a camellia the way it does on their houseplants? The idea is seductive — a jar, a windowsill, roots appearing like magic, straight out of a propagation reel. Having now grown upward of 200 named cultivars across zones 7b to 8b over two decades, I can give you a real answer, and it’s got more texture to it than a flat yes or no.
What follows is the honest rundown — what I’ve personally tested, what the underlying plant science tells us, and the technique I rely on now instead. Think of this as insurance against wasting an entire summer nursing cuttings that were never going to make it.
Water Rooting for Camellia Cuttings: Possible, But Is It Worthwhile?
In the strictest sense, sure, it can be done. In practice, it’s rarely worth the effort. I found this out the painful way roughly fifteen years back, propagating that ‘Nuccio’s Gem’ cutting — a jaw-dropping formal double — in nothing but a glass of water on my windowsill. Three weeks in, I was left staring at a nicely callused stem sitting in cloudy water, with zero root growth to show for the wait.
Roots did eventually appear — thin, fragile, easily broken things. The moment I tried moving that cutting into acidic propagation mix (roughly pH 5.5 to 6.0, which camellias require), every root sheared off instantly. Here’s the thing: roots grown in water and roots grown in soil aren’t built the same way structurally. That’s not a personal theory, it’s basic botany. Water-formed roots develop for a low-oxygen, low-friction environment, whereas soil roots are engineered to push through solid material and grip it.
From what I’ve observed firsthand, the shock of transitioning a water-rooted camellia cutting into soil is harsh enough to tank survival odds significantly. If you’re propagating some run-of-the-mill variety, that gamble might be tolerable. But for a rare reticulata or an expensive named japonica, I simply wouldn’t recommend rolling those dice.
The Real Reason Camellias Resist Rooting
Compared to most shrubs, camellias are famously slow and particular about propagating. A good chunk of that comes down to woody stem structure combined with the plant’s own internal chemistry — elevated phenolic compound levels within the stem tissue can genuinely block root formation. This shows up most strongly in Camellia reticulata hybrids, several of which grow in my zone 8a beds, ‘Francie L’ among them, with those massive semi-double blossoms.
By contrast, Camellia sasanqua varieties root with considerably less resistance than japonicas do. Cuttings from my ‘Yuletide’ and ‘Setsugekka’ plants take hold with far less drama. Even so, sasanquas still do markedly better in a proper rooting medium than they ever would sitting in plain water.
What it all comes down to is oxygen — developing camellia roots absolutely require it. A properly draining propagation blend (mine is a 50/50 combination of perlite and fine pine bark) delivers that oxygen supply. Sitting water simply cannot. So the very traits that make water propagation effortless for soft-tissued houseplants work directly against camellias.
What Actually Works: Semi-Hardwood Cuttings Set in Rooting Medium
Through years of trial and error, I’ve landed on a dependable approach for striking camellia cuttings successfully. It demands patience — expect eight to sixteen weeks before real roots show up — but your odds of success climb dramatically compared to water rooting. Below is my exact process.
Step 1: Get Your Cutting Timing Right
Timing is everything here. With Camellia japonica, I gather semi-hardwood cuttings during mid to late summer, which usually means late July into August in my zone 8a garden. By that point, the current season’s growth has firmed up but hasn’t fully turned woody. Sasanquas, since they flower in autumn, need their cuttings taken earlier — late June through mid-July, before flower buds start forming.
The test is simple: you want stems that break with a clean snap rather than folding over. A stem that bends like a supple green whip is still too immature. One that resists and won’t snap easily has gone too far past the ideal stage. That narrow semi-hardwood window is your target.
Step 2: Select and Cut Properly
Aim for cuttings measuring four to six inches with two or three nodes present. Slice just beneath a node at roughly a 45-degree angle using shears that are both sharp and clean. Between cultivars, I always wipe my blades down with isopropyl alcohol — I’m not interested in spreading disease from one named variety to another.
Strip away every leaf on the bottom half of the cutting. Keep two or three leaves near the top, but slice each surviving leaf in half across its width. Doing this shrinks the surface area available for water loss through transpiration — essential, since a rootless cutting has no way yet to replenish moisture it loses.
Step 3: Don’t Skip the Rooting Hormone
This is a non-negotiable step for me. Camellias respond to rooting hormone, no way around it. My go-to is a gel formulated with IBA (indole-3-butyric acid), somewhere in the 3,000 to 8,000 ppm range for semi-hardwood material. Lightly scrape the lowest inch of stem with a clean blade to wound the surface, then coat it in hormone gel and shake off whatever’s excess.
That wounding exposes the cambium layer underneath — exactly where new root initials originate. On tough cultivars like my ‘Professor Sargent’ japonica, this one step visibly boosts rooting success.
Step 4: Build the Right Rooting Medium
My standard mix, as noted, is equal parts coarse perlite and fine pine bark fines. Plenty of propagators get by using pure perlite too, and that’s a fine option. What matters most is that whatever you use drains freely and holds a slightly acidic pH — target somewhere between 5.5 and 6.5, matching camellia’s soil preferences.
Stay away from generic potting soil. Most bagged potting mixes hold onto far too much moisture, which invites stem rot before any roots ever develop. I’ve lost whole batches this way — including a dozen cuttings of the stunning reticulata hybrid ‘Valentine Day’ that I still think about with regret.
Step 5: Build Humidity Without Drowning the Cutting
Push your cuttings roughly two inches down into dampened rooting medium, then rig up a humidity enclosure. For a handful of cuttings, I just slip clear plastic bags over individual pots. For bigger propagation batches, my greenhouse mist bench takes over.
You’re aiming for humidity in the 80 to 90 percent range, without letting standing water gather at the cutting’s base. Every few days, briefly lift the cover to let air circulate and check for any mold forming. Bottom heat helps enormously too — a propagation mat holding the root zone around 70 to 75°F noticeably speeds up callus development.
Keep everything in bright, indirect light. Full sun hitting plastic will quickly cook your cuttings alive. Mine sit in my shadehouse from July through September before I relocate them into a frost-free greenhouse for winter.
Timeline: What Happens and When
Patience is genuinely the toughest part of propagating camellias. Resist the urge to tug at cuttings after four weeks just to check for roots — you’ll almost certainly snap off root initials that haven’t anchored yet. Instead, keep an eye out for fresh leaf growth emerging at the cutting’s tip. That new growth tells you roots have formed and the cutting is actively pulling in water and nutrients.
Japonica cuttings usually show their first rooting signs somewhere between ten and sixteen weeks. Sasanquas tend to move quicker, often rooting in eight to ten weeks. My reticulata hybrids, meanwhile, are the slowest and least predictable of the bunch — sometimes stretching to four or five months.
Once new growth becomes consistent, carefully tip the cutting free of its pot. You’re looking for white, firm roots that have started circling the container bottom. From there, transfer your rooted cutting into a mildly acidic mix (pH 5.5 to 6.5) and start easing off the humidity gradually over the next two weeks. Slow hardening off is essential — yank a cutting straight from 90% humidity into dry air overnight and you’ll trigger fast leaf drop and stress.
Mistakes I’ve Watched (and Made Myself)
Beyond the water-propagation blunder I already admitted to, there are a handful of other missteps that have cost me entire batches of cuttings across the years.
- Cutting too early in the season: Tender spring growth breaks down almost instantly in rooting medium. Hold off until semi-hardwood stage — no sooner than July for most japonicas in zones 7b through 8b.
- Skipping the hormone application: Curiosity got the better of me one year and I tried going without it. My success rate fell from around 60-70% down to under 20%. Hormone genuinely makes the difference.
- Misting with straight tap water: My tap water sits around pH 7.8. Misting repeatedly with alkaline water gradually pushes up the medium’s pH over several weeks and hampers rooting. I switched to collected rainwater or pH-corrected water instead.
- Forgetting to label right away: I once mixed up cuttings from ‘Debutante’ and ‘Lady Clare’ — both pale pink japonicas — and spent two full years unsure which plant was which. Tag everything the second you take the cutting.
- Drowning cuttings with too much water: The medium wants to stay moist, never soggy. If squeezing a handful sends water streaming out, it’s holding too much.
Air Layering: A Worthwhile Alternative
For a particularly stubborn cultivar — yes, ‘Francie L’, I mean you — air layering deserves consideration in place of standard stem cuttings. This technique lets you coax roots into forming while the branch stays attached to its parent plant, so it keeps drawing water and nutrients the entire time.
Air layering essentially blends the two worlds: the constant moisture that makes water propagation so tempting, paired with the soil-like rooting conditions needed to produce roots strong enough for transplanting. I’ve had wonderful outcomes air layering large reticulata branches in late spring. One catch, though — you need an established, healthy parent plant to pull this off, which rules it out for anything newly purchased.
I’ve covered air layering camellias in full depth in a separate post on this site, worth a look if you want to dig deeper into that technique. But for most home gardeners working with japonicas or sasanquas, semi-hardwood cuttings in a proper rooting medium remain my go-to recommendation.
Bottom Line: Is Water Rooting Worth Attempting?
Here’s my straightforward take: skip water propagation for camellia cuttings if a healthy end result actually matters to you. The odds simply aren’t in your favor. Water rooting shines for a lot of herbaceous plants, but camellias are woody, phenolic-heavy, slow-to-root shrubs that demand oxygen, acidity, and rooting hormone in order to succeed.
Trying to root camellia cuttings in water tends to end one of two ways — outright failure, or a fragile water-grown cutting that falls apart the moment it meets soil. I’ve lived through it. That dead ‘Nuccio’s Gem’ cutting is proof enough.
Put your money instead toward a bag of perlite, a bottle of IBA rooting gel, and a heat mat built for propagation. Take semi-hardwood cuttings sometime in late July or August. Give it twelve to sixteen patient weeks. What you get in return — a self-propagated, rooted cutting of your favorite named cultivar — makes every bit of that waiting worthwhile.
Got a specific variety you’re trying to propagate? Leave your questions in the comments. Camellia propagation can feel like guesswork at first, but once you’ve got the right technique down, it turns into one of the most rewarding aspects of growing this remarkable genus.
About This Article

Written by Helen Pritchard. Helen Pritchard is a lifelong gardener in the Pacific Northwest who has grown more than 200 named camellia cultivars over two decades. She writes practical, experience-based guides to camellia care, from variety selection and pruning to troubleshooting yellowing leaves and bud drop. More about this site.
Verify this against a primary source
Specifics change, and your situation may differ from the one described here. These are the authorities worth checking directly:
- American Camellia Society — cultivar registration and culture guides
- USDA Plant Hardiness Zone Map — zone verification for your location
- Royal Horticultural Society — camellia cultivation and pest guidance



