
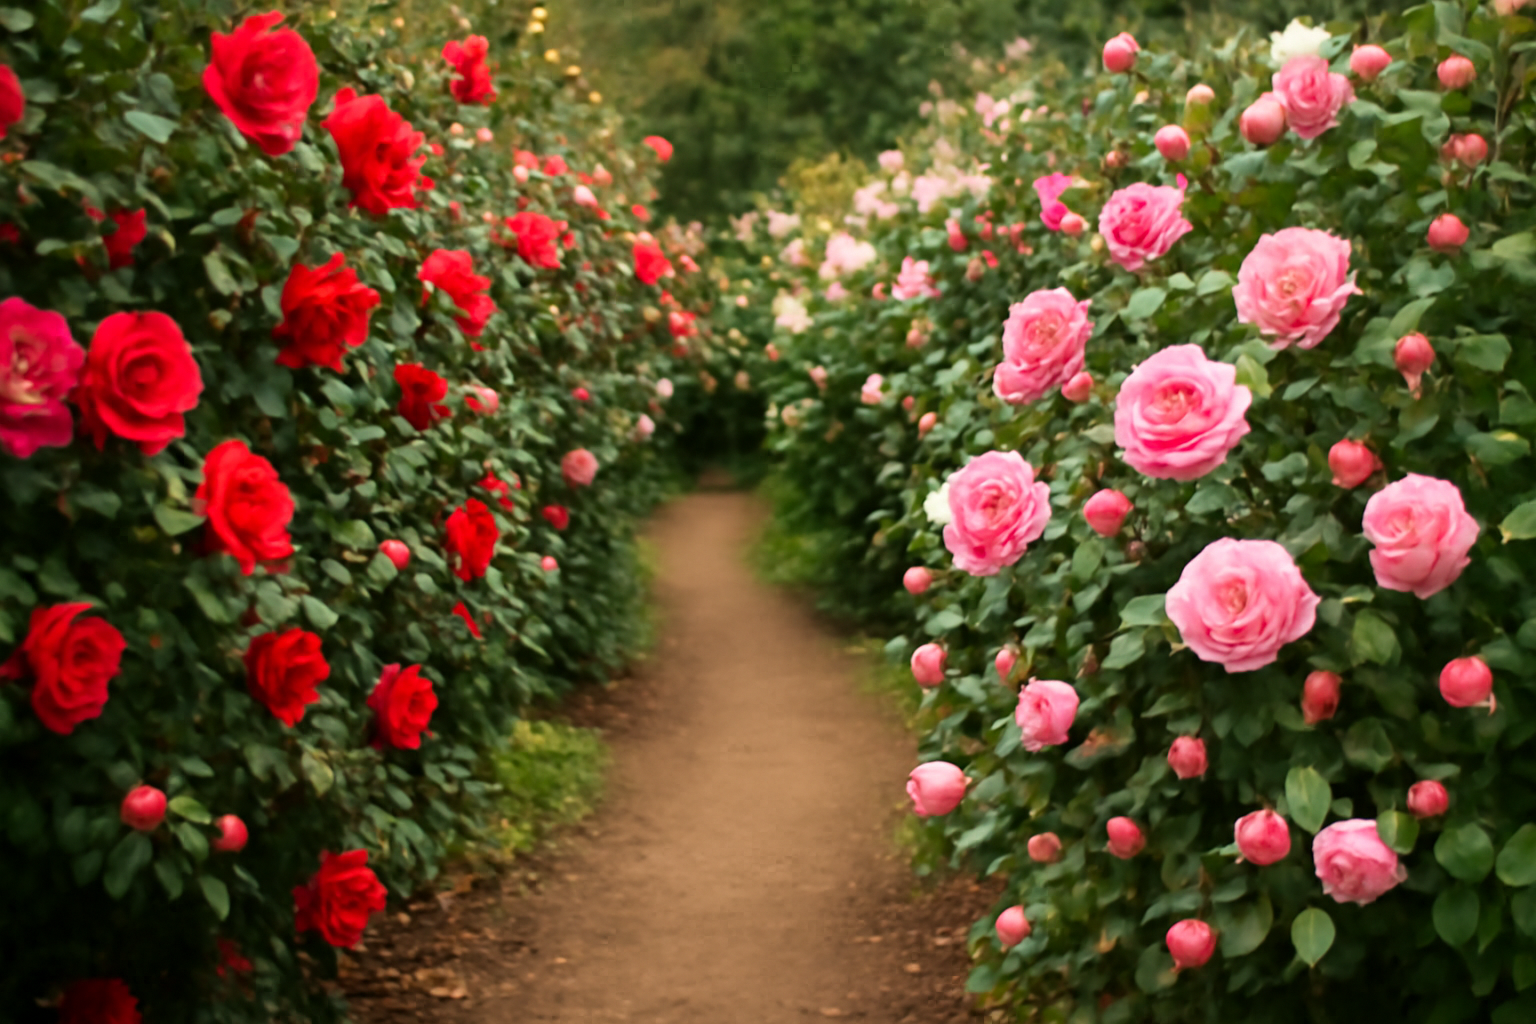
Here’s a claim that surprises most visitors to my garden: a single planting bed really can produce fresh flowers for six straight months, from the first cool nights of October clear through to the last warm days of April. My neighbor leans over the fence most Novembers, baffled, asking how anything is still blooming this late in the year. It’s a fair question, and I never tire of answering it. None of this happened by luck — it took seasons of trial and error, a handful of costly missteps, and a near-obsessive habit of matching each cultivar to its exact moment on the calendar. Building a camellia garden with true year-round succession is entirely achievable once you understand the underlying logic, and that logic is what this post is about.
Why Camellias Solve the Winter-Garden Problem
While nearly every other flowering shrub shuts down for the cold months, camellias treat that stretch as prime time. They’re among the rare plants that actually save their best performance for winter. My own garden kicks into gear the moment October arrives, when the earliest sasanquas open, and doesn’t fully quiet down until April closes out with the last stubborn japonica blossoms.
That long stretch of continuous color isn’t luck — it comes from intentionally layering three distinct species, Camellia sasanqua, Camellia japonica, and Camellia reticulata, plus their crosses, so each one hands the baton to the next as it finishes its run. Picture a relay team rather than a single sprinter: every group takes its leg of the race, and your role as the designer is simply to make sure no gap opens between them.
Bloom Timing First: The Backbone of Any Layout
Nothing goes into the ground until you’ve mapped out exactly when each variety flowers — skip that step and the whole design falls apart. This is the one non-negotiable piece of homework. Below is how I’ve organized it across my own collection, which now runs past 200 named cultivars spread over USDA zones 7b, 8a, and 8b.
October Through December: The Sasanqua Opening Act
Sasanquas kick things off. They tolerate more sun and abuse than most people expect, and they flower with real abundance right when the rest of the garden is winding down. Two of my most dependable early performers are ‘Yuletide,’ with its cheerful crimson petals and golden center opening reliably in November, and ‘Setsugekka,’ a big semi-double white that seems to light up even the dreariest November afternoon.
I also rely heavily on ‘Kanjiro,’ whose rich rose-pink flowers begin in October and hang on straight through December in my zone 8a beds. If you want a plant with a spilling, cascading habit — great for banks or draping over a low wall — ‘Mine-no-Yuki’ (sometimes labeled ‘Snow on the Mountain’) fits the bill. Because sasanquas shrug off more direct sun than japonicas do, they give you far more freedom when choosing a spot.
December Through February: Japonicas Take Center Stage
Japonicas are really the backbone of the whole genus. The sheer diversity is almost overwhelming — formal doubles, anemone shapes, peony forms, simple singles — spanning practically every shade you could ask for. To carry color through December and January, I count on ‘Debutante,’ a gentle shell-pink peony-form bloom that keeps performing even when winter turns colder than expected.
‘Professor Sargent’ opens deep red from December right into February and hasn’t disappointed me yet in zone 7b, where thermometers sometimes drop to 5°F. If you want something with more visual punch, ‘Nuccio’s Gem’ produces flawless white formal doubles that almost look sculpted. That said, it does best in zone 8a or warmer — a hard cold snap can turn those pristine white petals brown in a hurry in tougher zones.
February Through April: Reticulatas and the Last Japonicas
This is the finale, and it doesn’t disappoint. Reticulatas throw some of the biggest blossoms in the entire camellia world. I grow ‘Francie L,’ a hybrid planted in my zone 8b bed, and in a strong year its semi-double rose-pink flowers stretch to a full six inches across. It’s genuinely a showstopper.
Among the late japonicas, ‘Kramer’s Supreme’ — a fragrant red peony form — flowers for me across March and April. ‘Survivor’ earns its name honestly; it’s among the toughest late-season japonicas I’ve grown, shrugging off late frosts that would ruin the flowers on lesser cultivars. Pairing these final bloomers with early bulbs such as leucojum or late daffodils creates a combination that’s honestly stunning to walk past.
Reading Your Garden: Placement, Layout, and Microclimates
Knowing your bloom calendar solves only half the puzzle — where you actually put each plant matters just as much. In my experience, the design mistakes that hurt gardeners most often trace back to ignoring the little pockets of climate scattered across a single yard. Camellias handle more variation than they’re given credit for, but siting decisions still carry real weight.
Sun, Shade, and the Morning Frost Problem
I’ll own up to an early error that cost me two gorgeous ‘Adolphe Audusson’ shrubs. I’d placed them facing east, thinking that made sense — soft morning sun, shade in the afternoon. What actually happened: in late January, flowers that had frozen overnight thawed too fast under that direct early light and turned brown before I ever got to enjoy them.
North- or west-facing spots shield blooms from that harsh, rapid thaw. Filtered light under tall pines or deciduous trees works beautifully. Sasanquas, though, genuinely want more sun than their japonica cousins. My ‘Yuletide’ and ‘Kanjiro’ sit in a south-facing border and flourish there, while my japonicas live under the high canopy of some old oaks — exactly where they’re happiest.
Turning Walls and Fences Into Climate Insurance
A wall facing south or west soaks up heat all day and releases it slowly through the night, effectively buying you half a hardiness zone. I train ‘Jury’s Yellow’ — a hybrid with anemone-form flowers and a creamy center — against a protected west-facing fence in my zone 7b plot, a location where it would never survive out in the open. That wall is the entire reason it thrives there.
Reticulatas in particular benefit from that kind of wall shelter in borderline zones. Give them the right microclimate and they turn out to be far hardier than their reputation suggests. Don’t rule out a cultivar until you’ve tested it in your warmest, most protected corner.
Getting Your Soil Chemistry Right Before Anything Goes in the Ground
I really can’t overstate this point: no amount of clever layout compensates for soil that’s chemically wrong. Camellias need acidic ground — aim for a pH between 5.5 and 6.5. Once you climb past pH 7.0, iron and manganese lock up chemically and become unavailable to the roots, and you’ll end up with yellowing, chlorotic leaves no matter how faithfully you fertilize.
Run an actual soil test before you plant anything. Most local cooperative extension offices will process one cheaply, or you can pick up a reasonable home test kit. I retest every bed on a two-year cycle without fail. To bring pH down, I work elemental sulfur into the planting area months ahead of time. Aluminum sulfate acts quicker, but overdo it and you risk salt buildup — a lesson I learned the hard way on a bed of young japonicas during my second year of serious growing, back when patience wasn’t my strong suit.
Drainage, Organic Matter, and the Role of Mulch
Wet feet are a camellia’s enemy. Phytophthora root rot is one of the leading causes of decline in this genus, and it almost always traces back to soil that doesn’t drain. If your native soil is sluggish, raise the bed even just four to six inches. Work in generous amounts of pine bark, composted leaf mold, or aged wood chips — beyond improving drainage, they also feed the acid-loving mycorrhizal fungi that camellias depend on.
Apply mulch two to three inches deep across every bed. I almost exclusively use pine bark mini-nuggets. Beyond holding moisture, moderating soil temperature, and choking out weeds, mulch gradually acidifies the soil as it decomposes. Pull it back a few inches from the trunk base so you don’t invite collar rot. It’s a small, simple habit that pays off in a very visible way.
Designing for Flow: Color, Flower Shape, and Companion Planting
Even a garden that technically blooms for six months can feel scattered and disconnected if you don’t plan the visual experience deliberately. Three things guide my thinking here: how colors flow from season to season, variety in flower form, and companion plants that support the camellias rather than fight them for attention.
Letting Color Shift With the Seasons
Autumn belongs to warm tones in my garden — the deep pink of ‘Kanjiro,’ the pillar-box red of ‘Yuletide,’ and the peachy-salmon blush of ‘Showa-no-Sakae.’ As winter sets in, I lean toward cooler whites and soft pinks: ‘Nuccio’s Gem,’ ‘Debutante,’ and the pale lavender-pink of ‘Lavinia Maggi.’ Come late February and into March, the oversized reticulata hybrids step forward and take over the show entirely.
That said, don’t feel bound to a strict palette. Some of my favorite pairings happened purely by accident. ‘Professor Sargent’s’ rich red opening at the same time right beside a white ‘Alba Plena’ wasn’t planned — but I’ve never wanted to undo it since.
Plants That Pair Naturally With Camellias
Pick companions that thrive in the same acidic, well-drained, organically rich soil camellias need. In my own beds, winter-flowering hellebores grow right under the camellia canopy — they like the same filtered shade and hit their peak bloom right alongside the mid-season japonicas. Layered together, the effect feels rich and intentional.
Ferns, pieris (andromeda), and enkianthus all make natural neighbors. Steer clear of shallow-rooted ground covers, which will compete directly with camellia feeder roots. Ajuga can work in small doses, but I keep it confined to the far edges of my beds. I’ve written a more detailed guide elsewhere on this site about pairing camellias with other acid-loving plants, if you want to dig further into that topic.
Practical Layout Rules for Nonstop Seasonal Bloom
More than two decades into refining this approach, these are the principles I still return to every single time I lay out a new camellia bed.
- Group plants in odd numbers: Clusters of three or five of a single cultivar deliver far more visual weight than one lone specimen — this matters especially when sasanquas are doing hedge or screen duty.
- Spread bloom times across the whole bed: Resist the urge to cluster every early-blooming plant in one section. Distribute them so activity is happening somewhere in the garden at all times.
- Plan around full-grown dimensions: ‘Francie L’ can eventually top out near fifteen feet, while ‘Yuletide’ stays tidy and compact. Design for the plant’s eventual footprint, not its nursery-pot size — overcrowding down the road is the single most common mistake I see in mature camellia gardens.
- Build in room to move through the garden: You’ll want to get up close to these flowers, so plan for stepping stones or mulched paths right from the start.
- Tag every single plant: Cultivar identity matters, and memory fades faster than you’d think. I wire aluminum tags loosely to a low branch — they outlast plastic ones by decades.
A Word on Pruning and the Garden’s Long-Term Bones
Pruning is what shapes the lasting structure of a camellia garden. Handled well, it keeps each shrub at the size and form you want while boosting airflow and flower quality. Handled poorly, it can wipe out an entire season’s worth of blooms.
The rule I never break: prune within six to eight weeks after the final bloom fades. For japonicas, that lands in late spring. Wait too long and you’ll cut away the buds that were meant to open next year. I’ve laid out the full process — timing, tools, technique — in a separate post dedicated to pruning camellias, and it’s worth reading before you pick up the loppers.
Begin With One Solid Plan, Not a Shopping List
If you take away just one idea from everything above, let it be this: a garden that blooms six months straight is built on deliberate sequencing, not luck. Understand your bloom windows. Layer your species with purpose. Match each cultivar to your zone and the specific conditions of your site. And fix your soil chemistry before planting, not after problems show up.
You don’t need anywhere near 200 cultivars to pull this off. Even a modest ten well-chosen plants, spanning early through late season, can hand you five or six months of remarkable color. Start with a plan you trust, buy named cultivars from reputable growers, and then let the camellias handle the rest — it’s what they’re built for.
My own garden started with far fewer plants than the collection I keep now, and it was already turning heads by that first November — proof that the plan matters more than the plant count.
About This Article

Written by Helen Pritchard. Helen Pritchard is a lifelong gardener in the Pacific Northwest who has grown more than 200 named camellia cultivars over two decades. She writes practical, experience-based guides to camellia care, from variety selection and pruning to troubleshooting yellowing leaves and bud drop. More about this site.
Verify this against a primary source
Specifics change, and your situation may differ from the one described here. These are the authorities worth checking directly:
- American Camellia Society — cultivar registration and culture guides
- USDA Plant Hardiness Zone Map — zone verification for your location
- Royal Horticultural Society — camellia cultivation and pest guidance



