
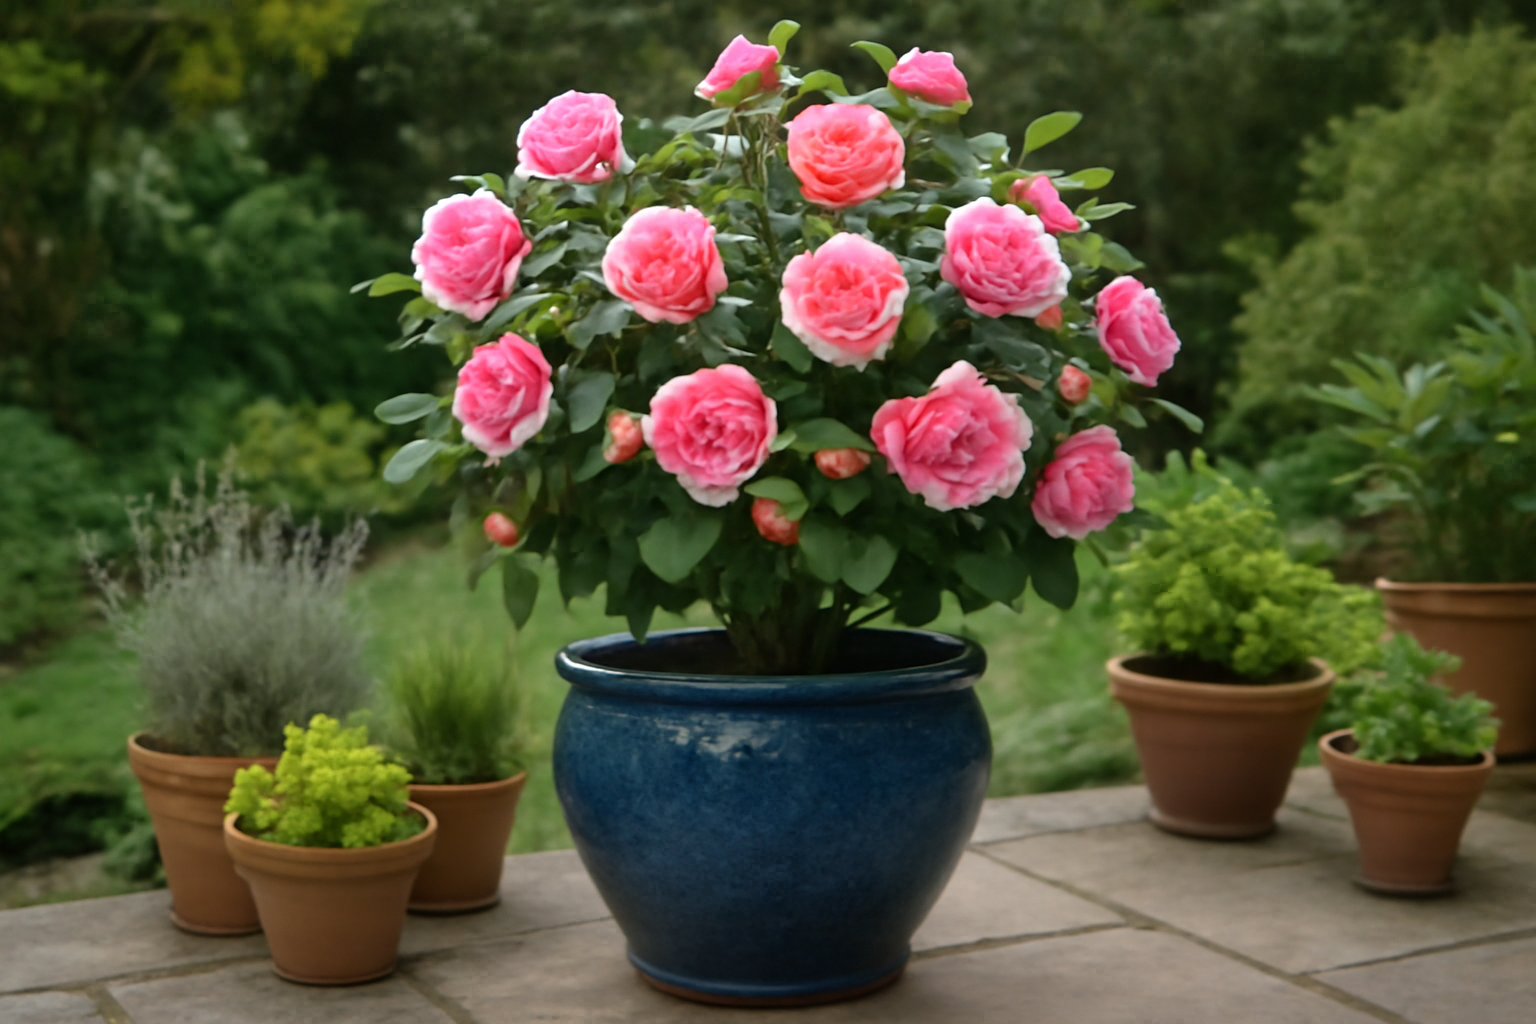
I’m running my thumb along the rim of a terracotta pot right now, checking for the hairline crack that nearly cost me a plant I loved. That pot held ‘Nuccio’s Gem,’ a formal double white Japonica I’d babied for six years. A brutal freeze slipped past a thin layer of fleece, the drainage underneath was sluggish at best, and she came within an inch of not making it. She pulled through, barely, and that scare taught me more about growing camellias in containers than every gardening manual on my shelf combined. Ever since, potted camellias have turned into something between a passion project and a full-blown addiction.
Whether your border space is nonexistent, your growing area is a patio slab, or you simply like the option of shifting a plant to chase better light, pots are the answer. Get the details right and the payoff is enormous. Get them wrong and you’ll watch a plant decline slowly, season by season. What follows is the full picture — everything that’s worked, and everything that hasn’t — so your patio specimens settle in strong from year one.
The Case for Growing Camellias in Pots
My property straddles three separate USDA zones — 7b, 8a, and 8b — each with its own quirks of exposure and microclimate. That patchwork taught me the number one perk of container culture: portability. If a cold snap is forecast, I simply wheel the vulnerable specimens somewhere sheltered. If a Camellia reticulata needs extra warmth to open its oversized flowers properly, it rolls out to the sunniest corner of the patio instead.
Pots also sidestep the whole alkaline-soil problem. My zone 7b beds sit on dense clay running as high as pH 7.2 in spots. Camellias much prefer something between 5.5 and 6.5. Fixing that imbalance in open ground takes years of patient amendment; in a container, I dictate the entire growing medium from the very first scoop.
There’s a design payoff too. The right camellia in the right pot reads as a piece of living sculpture, not just a plant. My ‘Anticipation’ — an upright Williamsii hybrid with deep rose, peony-shaped flowers — spends October through March in a slate-grey fibreglass planter beside the front door, and it stops nearly every visitor in their tracks. You just don’t get that same theatrical presence from something planted flat in a border.
Matching the Variety to the Pot
Not every camellia is built for container life. This is where newcomers stumble most often — and honestly, where I stumbled too, early on. From what I’ve seen, the varieties that actually thrive in pots tend to share the same handful of traits: slow or compact growth, a naturally neat form, and dependable flowering without demanding acres of root space.
Sasanquas Worth Choosing for Container Life
Camellia sasanqua is where I always point beginners first. These are the hardier, sun-happier cousins, and they flower in autumn — often stretching from October clear through December. That autumn show earns its keep when the rest of the garden has already gone quiet.
The ones I return to again and again for pots:
- ‘Plantation Pink’ — pale blush singles on a tidy frame, well suited to a medium container
- ‘Setsugekka’ — big, ruffled semi-double white flowers on a plant that grows with real vigor but takes lightly to shaping
- ‘Yuletide’ — my sentimental favorite, bright red singles with golden centers timed right for the holidays, and it holds a compact shape without any coaxing
- ‘Sparkling Burgundy’ — richly colored ruby-pink peony blooms, arguably the standout autumn performer across my whole collection
Japonicas That Actually Perform in Containers
Camellia japonica flowers later in the calendar — usually February into April, depending on zone and cultivar. For container growing, I hunt specifically for the compact-growing types. The big, sprawling Japonicas will burst out of a pot faster than you’d expect and quickly turn unwieldy.
These are the ones I’ve grown successfully in containers for years:
- ‘Nuccio’s Gem’ — a formal double white, slow-growing and upright, a natural for a tall pot
- ‘Lady Vansittart’ — semi-double white striped with rose-pink, dependable and compact
- ‘Kramer’s Supreme’ — a fragrant, turkey-red peony form that blooms mid-season and keeps its shape well confined
- ‘Bob Hope’ — deep red, ranging semi-double to formal double, upright by nature, and one I’ve contained beautifully in a large terracotta urn for four years running
For a fuller breakdown of Japonica cultivars sorted by bloom timing and color, I’ve laid out the whole spectrum in my separate guide to choosing camellia varieties for the garden.
Choosing a Pot That Actually Works
People underestimate just how much the pot itself matters. Over the years I’ve planted camellias into terracotta, fibreglass, glazed ceramic, and wooden half-barrels, and each one comes with trade-offs. Here’s the unvarnished verdict after two decades of getting some of it wrong.
Terracotta is handsome and breathable, and roots genuinely stay healthier inside it. The downside: it’s heavy, it chips the moment a hard frost hits, and it dries out faster than you’d think in summer heat. I reserve terracotta for my zone 8b patio, where the winters stay mild and watering is a simple chore.
Fibreglass does most of the heavy lifting — literally — for my zone 7b plants. It’s light, shrugs off frost, and comes in dimensions that would be brutal to move in clay. ‘Anticipation’ lives in a 60cm fibreglass planter that I can reposition solo, no extra hands required.
Glazed ceramic is stunning to look at but a gamble in colder zones. Moisture works its way into the glaze through repeated freeze-thaw cycles until the pot simply splits. One savage January in zone 7b cost me two gorgeous glazed pots at once. That lesson was not cheap.
Sizing Up: Generous, Not Excessive
Give the roots room to expand, but resist going oversized right out of the gate. For a young plant, I start at a 30–35cm pot. Then every couple of years I bump up a size — 40cm, then 50cm, eventually landing at 60–65cm once the plant matures.
Too much pot means too much retained moisture around young roots, and root rot follows quickly, particularly through the wetter winter months. Drainage holes aren’t optional in my book — I drill at least two extras into any container before a single root goes in.
Getting the Soil Recipe Right
This is where I’ve watched the most container camellias fail — and where nailing it changes everything. Camellias want an acidic, sharply draining medium. Ordinary multipurpose compost almost never fits the bill; it tends to be too nutrient-heavy, it collapses fast, and drainage is often mediocre at best.
Here’s the blend I rely on:
- 50% ericaceous compost (pH 4.5–5.5)
- 30% fine bark or perlite, purely for drainage
- 20% leaf mould or composted pine bark
That combination retains just enough moisture for the roots without ever going soggy. It lands around pH 5.5 to 6.0 once mixed — squarely where camellias want to be. I test it once a year with a basic soil kit and dust the surface with sulphur chips if the reading starts creeping upward.
For years I made one particular error: relying on rainwater only when it was convenient. Tap water where I garden runs alkaline, often pH 7.5 or higher in my corner of zone 8a. Water with that consistently and the pot’s pH climbs steadily over time, whether you notice it or not. These days I stockpile rainwater without fail and it’s the only thing that touches my container camellias. The difference in leaf color and overall vigor is night and day.
Water, Feed, and Seasonal Rhythm
A potted camellia has nowhere else to turn but you. There’s no deep reservoir of surrounding soil to smooth out extremes of drought or nutrient shortage. That means paying steady attention — summer especially.
How Watering Shifts Across the Year
Between late spring and early autumn, I’m watering every two to three days whenever things dry out, and daily during a real summer heat wave. But I always check the top 5cm of compost first — if it’s still moist, I hold off. More container camellias die from too much water than from too little.
Winter watering tapers off sharply but never disappears entirely. Pots tucked under eaves can suffer drought even in the rainy season, simply because the rain never reaches the soil. I check every ten days through winter and water any time the mix is dry more than 3cm below the surface.
Feeding for Strong Growth and Heavy Blooming
I feed container camellias three separate times each year, on roughly this schedule:
- Early spring (March–April): a balanced, slow-release ericaceous fertiliser to kick-start growth as winter loosens its grip
- Early summer (June): a repeat slow-release application to support the buds forming for next year’s display
- Midsummer (July–August): a liquid ericaceous feed, dialed down in nitrogen and up in potassium, to firm up new growth and toughen the buds
All feeding stops once August ends. Feed too late and you invite soft, tender growth that frost will punish come autumn and winter. Sasanquas set their buds sooner, so I cut off feeding for those by mid-July instead.
Shaping and Repotting Along the Way
A potted camellia needs the occasional trim to stay tidy and manageable, but don’t mistake that for a heavy-pruning plant — with camellias, restraint wins every time. I do my light pruning right after the flowers finish, which for Japonicas usually falls in April or May, and for Sasanquas lands in December or January.
I take out any crossing stems, shorten overly long shoots by about a third, and clean up the overall outline. That’s genuinely all most container camellias need in a season. I go into far more detail on technique and timing in my separate post on pruning camellias — worth reading before the secateurs come out.
Knowing When — and How — to Repot
Plan to repot every two or three years, or sooner if you spot roots poking through the drainage holes. Spring, right after flowering wraps up, is the best window. I only ever move up a single pot size at a time — jumping too far increases the odds of waterlogged roots.
When repotting, I gently loosen the outer inch of the root ball, swap in an entirely fresh batch of mix, and settle the plant back at exactly the same depth it sat before — never deeper, since burying the trunk invites collar rot. Once it’s in, I water it thoroughly and keep it shaded from direct sun for a couple of weeks while it re-establishes.
Getting Container Camellias Through Winter
This is the season that demands the most vigilance, especially across zones 7b and 8a. A potted root system has only the pot walls for company, not the buffering mass of surrounding earth, which leaves it far more exposed to a hard freeze than the same variety planted in open ground.
How I react depends entirely on how bad the cold gets. For a mild frost — down around 25°F / -4°C — I wrap the pots in bubble wrap or hessian and tuck them against a sheltered wall. For anything harsher, the vulnerable plants move into an unheated greenhouse or the garage. Camellia reticulata, the most frost-sensitive group I grow, always comes indoors well ahead of the first frost warning, no exceptions.
Sasanquas tend to have tougher roots overall, so I take a more relaxed approach with ‘Yuletide’ or ‘Sparkling Burgundy.’ I might just give them a good mulch of leaves or straw and keep them tucked away from harsh winds. But for my treasured Japonicas like ‘Nuccio’s Gem’ or ‘Bob Hope,’ I make it a point to check on them regularly, ensuring they’re cozy and protected.
About This Article

Written by Helen Pritchard. Helen Pritchard is a lifelong gardener in the Pacific Northwest who has grown more than 200 named camellia cultivars over two decades. She writes practical, experience-based guides to camellia care, from variety selection and pruning to troubleshooting yellowing leaves and bud drop. More about this site.
Verify this against a primary source
Specifics change, and your situation may differ from the one described here. These are the authorities worth checking directly:
- American Camellia Society — cultivar registration and culture guides
- USDA Plant Hardiness Zone Map — zone verification for your location
- Royal Horticultural Society — camellia cultivation and pest guidance



