
I’m Helen Pritchard, and I’ve spent over two decades cultivating camellias in the lush, temperate climate of the Pacific Northwest. My journey has led me through the intricacies of more than 200 named cultivars, from the delicate sasanquas to the robust japonicas and stunning reticulatas. I’ve had my fair share of successes and, believe me, more than a few failures, which have taught me invaluable lessons about these beautiful plants. One particularly memorable experience was with my ‘Elegans’ — a striking cultivar that taught me the importance of timing and technique in pruning.
In late April, I stood there admiring my ‘Elegans’, its leaves a vibrant, glossy green but with not a single swollen bud in sight. I had just given it a hard shear, proud of the crisp, boxwood-like shape it sported. That bare, budless canopy was a stark reminder of my error. This scenario is all too familiar for many gardeners in the Pacific Northwest and beyond: the rush to tidy up camellias in late spring, only to miss the window for blooms entirely. I’ve seen it happen in gardens across the region, and I learned that the hard way.
It’s an easy mistake to make. Camellias can easily be mistaken for hedging shrubs like boxwoods, so many gardeners instinctively reach for hedge trimmers when they see a bit of unruliness. However, these beautiful plants are on a strict internal schedule, and mishandling them can mean sacrificing an entire season of blooms. I learned this lesson through experience, and I want to share my insights to help you avoid the same pitfalls.
So, let’s dive in! In this guide, I’ll walk you through the tools worth owning, the timing that truly matters, and the errors I’ve made so you can skip them entirely.
Quick Verdict: Yes to the Trimmer, No to Bad Timing
To hedge trimmer or not to hedge trimmer? My answer is a resounding yes! But the real question is when and how to use it. Get that timing wrong, and you might end up with a shapely plant but no flowers for a year. For light shaping and maintaining the silhouette of a mature camellia, hedge trimmers can be a gardener’s best friend. They make quick work of stray edges and keep the plant looking tidy. Yet, for tasks like renovation pruning, dead wood removal, or cutting through thick branches, hand tools are essential.
Here’s the rule I live by: prune the moment flowering wraps up. Not a few weeks later, not when summer hits — the instant that last bloom drops, that’s your cue. Camellias develop their flower buds on wood that has grown during the same season. Prune too late, and you risk cutting off the very branches that would have carried next year’s flowers. The shrub may appear healthy, but it simply won’t bloom.
Pinpointing the Right Pruning Window
Understanding when to prune is crucial, and this timing varies depending on the type of camellia you have in your garden.
Japonica Types
Camellia japonica cultivars generally bloom between November and March, with timing varying by zone and variety. In my own Zone 8a garden, ‘Bob’s Tinsie’, ‘Elegans’, and ‘Pink Perfection’ typically finish their bloom cycles by late April. My pruning begins the moment those last petals fall, which usually lands me in late April to early May. Once that window passes, I store away the trimmer until winter returns.
Sasanqua Types
Sasanquas, on the other hand, bloom earlier — usually between September and November. My beloved ‘Yuletide’ and ‘Shishi Gashira’ wrap up their flowering by early December. For these, the pruning window falls in late January or early February, right after the last blooms fade. Timing here is critical; if you delay pruning into March or April, you’ll be cutting off the flower buds intended for next winter.
The Costly Error I Made
Let me share a painful lesson I learned about eight years ago. My ‘Yuletide’ sasanqua had become lanky and out of shape. Instead of pruning it that January as I should have, I pushed it off until May, simply because the weather was more pleasant and my schedule was less hectic. Come autumn and winter, I was left with a stunningly green shrub that offered not a single red bloom. The very variety I had chosen for its festive display turned into a plain green shrub with nothing to show for the season. That was the year the lesson finally stuck.
The plant itself was fine; it bounced back beautifully the following year when I adhered to my proper pruning schedule. But losing that blooming season was a painful reminder of why I emphasize timing in my gardening practices. No matter how convenient it may seem to delay, I never bend on timing anymore.
Where a Hedge Trimmer Helps — and Where It Doesn’t
Cordless and electric hedge trimmers absolutely have their place in camellia care, but understanding their limits is essential.
The Jobs They’re Great For
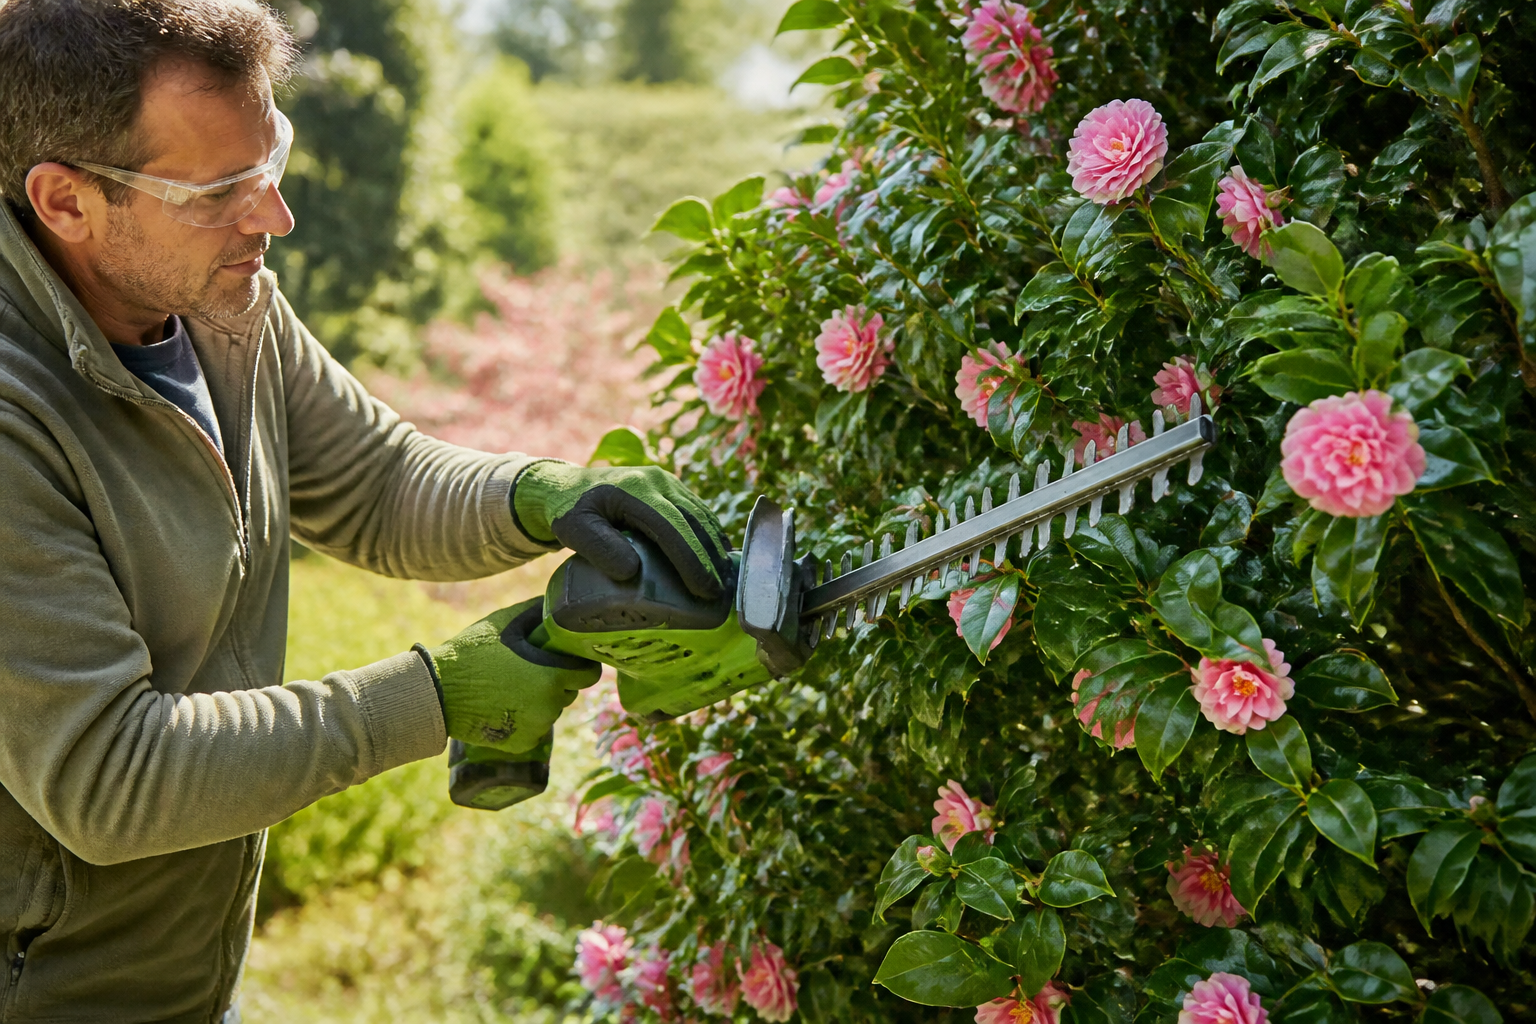
I use my cordless trimmer for light shaping work — keeping a mature plant’s outline tidy, trimming stray edges, and preserving that overall form season after season. Take my ‘Pink Perfection’ japonica, for instance. It’s now roughly six feet tall and eight feet across. Once its bloom cycle ends in late April, I whip out the trimmer to tidy up the wayward branches poking out of line. What would take me an hour with hand pruners gets done in about fifteen minutes with the trimmer. The finish looks natural, and the plant quickly fills back in through the summer months.
The Jobs They Ruin
However, I never use a hedge trimmer when it comes to removing dead wood. It chews through dead material unevenly, leaving behind ragged stubs where clean cuts should be. Also, when shaping a prized specimen or training a specific cultivar, hand tools are a must. That kind of work demands the precision that only hand tools can provide. Any branch thicker than your pinky will resist a hedge trimmer, getting crushed and bent instead of sliced cleanly.
Is the Telescoping “Camellia Trimmer” Actually Worth Buying?
There’s a specialized tool on the market designed specifically for camellia enthusiasts: the telescoping “Camellia Trimmer.” This handy gadget allows you to reach the top of tall camellias without needing a ladder — a fantastic concept if you’ve planted some sizable specimens.
I put one through its paces last spring on my tallest shrubs. My ‘Elegans’ now stands close to eight feet, and reaching its upper growth with ordinary tools — without a ladder — is nearly impossible.
What It Gets Right
The extending pole stretches impressively — between eight to ten feet. The cutting head is compact enough to maneuver between branches with ease. Plus, the battery-powered versions are light enough that holding them overhead doesn’t wear you out after just a few minutes. If your goal is to maintain the crowns of tall, mature plants with light shaping, this camellia trimmer truly delivers.
Where It Falls Short
That said, I wouldn’t reach for it when working on a specimen plant or for detail-oriented pruning. The long shaft sacrifices control, making it hard to maintain precision over both the blade angle and cutting depth. It excels at upkeep on large established shrubs, but for careful, deliberate cuts, hand tools still reign supreme.
In my opinion, if you have several camellias topping seven feet and want to use a trimmer for shaping, the Camellia Trimmer can save you from ladder trips. However, it won’t teach you timing, and it won’t replace the skill that comes with hand tools — but if climbing ladders makes you nervous, it’s a reasonable purchase.
Given its cost, I’d consider it a handy extra rather than a must-have. I only pull mine out for the tallest plants; everything else gets the care of hand tools.
The Right Tool for Each Job — Pruners, Loppers, and Saws
While the camellia trimmer might catch your eye, the real craft happens with hand tools. Any dedicated camellia gardener should have at least three types of tools in their kit.
Hand Pruners (Secateurs)
My go-to tool is my Felco No. 2 bypass pruners, which handle about 95% of my camellia pruning tasks. They are reliable, comfortable in the hand, and slice cleanly through stems up to about half an inch thick. Hand pruners allow you to watch every cut, ensuring precision and control. You can place them right above a leaf node, adjusting the angle and depth perfectly. I angle each cut at roughly 45 degrees, sloping away from the node to avoid leaving stubs that can lead to disease. A nice, clean cut heals quickly, enabling the plant to move forward smoothly.
Loppers
For branches that measure between half an inch and an inch and a half thick, I turn to my loppers. They give me the added leverage and reach I need to tackle older wood or thicker stems that pruners can’t handle. I grab mine whenever I’m thinning out an overcrowded camellia or clearing a branch that’s disrupting the plant’s natural shape. While it takes longer than a hedge trimmer, the precision is worth the extra time.
Pruning Saws
Once I encounter branches exceeding an inch and a half, it’s time to reach for my pruning saw. I prefer a folding saw with a curved blade that moves quickly through wood and leaves a clean wound, allowing for proper healing. Renovation work — whether it’s clearing out dead wood or removing aged branches to rejuvenate a tired camellia — demands a good saw. Nothing else gets the job done as cleanly or efficiently.
Keeping Blades Clean
One habit I never let slide is cleaning my blades with rubbing alcohol before moving on to the next plant. Camellias are susceptible to canker diseases, and pruning tools can spread these diseases from plant to plant. It takes only thirty seconds — soak a rag with alcohol, wipe down the blade, and you’re done. I make this a non-negotiable, especially when transitioning between different plants or when disease is a concern.
Inside My Own Pruning Kit
Over the years, I’ve refined my pruning kit down to a straightforward setup that works beautifully for my needs. Here’s what lives in my pruning basket.
The Essentials
First and foremost, my Felco No. 2 pruners do the heavy lifting day in and day out. I keep a curved-blade folding saw on hand for anything too large for the pruners. A midsize pair of loppers fills in the gap between the two. My cordless hedge trimmer handles light shaping on established shrubs, while the telescoping long-reach trimmer is reserved for my tallest camellias. That’s the complete list — nothing more needed. I also carry a small rag and a bottle of rubbing alcohol tucked in a ziplock bag.
My Seasonal Routine
The moment bloom season ends — late April for my japonicas and late January for the sasanquas — I work through the garden with my hand pruners first, examining each plant meticulously. Dead wood gets removed, along with any diseased or crossing stems. This stage requires real attention and a steady hand.
Once the detailed pruning is complete, I step back and assess. If any plant’s outline has become uneven and needs tidying, out comes the hedge trimmer for a quick pass — usually taking about five to fifteen minutes, depending on the shrub’s size. My tallest specimens get the long-reach trimmer for their upper canopy, while everything shorter remains in hand-tool territory.
This approach allows me to balance accuracy with efficiency. The hand tools cover the thoughtful, judgment-heavy part of the process, while the trimmer handles the finishing touches, ensuring nothing is cut carelessly and keeping the entire process manageable.
Cleaning and Storing Tools
When pruning season wraps up, I make sure to clean all my tools thoroughly. I wipe the blades with rubbing alcohol and then give them a light coat of oil to prevent rust. Handles are checked for splinters, and I store everything in a dry, indoor location. Quality tools can last for decades, but neglect can ruin them in just a couple of seasons. Treat your camellia trimmer and hand tools well, and they’ll serve you faithfully through countless plants over the years.
Bringing It All Together: A Simple Pruning Plan
So, here’s the practical takeaway: a hedge trimmer absolutely has a role in camellia care, but achieving good results boils down to three key factors.
First and foremost, timing is non-negotiable. Prune immediately after flowering ends — no exceptions. This single factor will determine whether you enjoy blooms next season.
Second, match the tool to the task. Hand pruners for detailed work and dead wood, loppers for mid-sized branches, a saw for old, heavy wood, and a hedge trimmer strictly for light shaping on mature, established plants. The Camellia Trimmer is excellent for safely reaching tall growth.
Lastly, keep those blades clean. A quick alcohol wipe between plants — thirty seconds at most — prevents the spread of disease throughout your garden.
If there’s one lesson I hope you take away from my experience, let it be the lesson learned from my ‘Yuletide’ mistake. That single lost blooming season taught me more than any successful prune ever could. Respect the timing, choose the right tool, and care for your equipment — your camellias will reward you with years of beautiful blooms.
A camellia trimmer is a handy tool to have, but understanding your camellias is what truly matters.
About This Article

Written by Helen Pritchard. Helen Pritchard is a lifelong gardener in the Pacific Northwest who has grown more than 200 named camellia cultivars over two decades. She writes practical, experience-based guides to camellia care, from variety selection and pruning to troubleshooting yellowing leaves and bud drop. More about this site.
Verify this against a primary source
Specifics change, and your situation may differ from the one described here. These are the authorities worth checking directly:
- American Camellia Society — cultivar registration and culture guides
- USDA Plant Hardiness Zone Map — zone verification for your location
- Royal Horticultural Society — camellia cultivation and pest guidance



