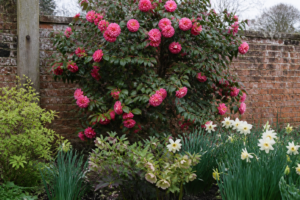
Clay soil will kill your camellias if you plant into it blind. That’s not scare tactics — it’s what nearly happened to my ‘Professor Charles S. Sargent,’ a deep crimson double japonica I’d chased down for years before finally planting it, only to watch it languish in a soggy bed for two miserable seasons. Eventually, I stopped blaming the plant and admitted the real culprit: I’d shoved it into dense, sticky clay without doing a shred of prep work first. So if clay is currently making your camellia life difficult, take this as reassurance — there’s a way out. I’ve solved this exact problem on three separate properties spanning USDA zones 7b through 8b, and my 200-plus cultivar collection stands as evidence it works.
Heavy clay ranks among the top obstacles camellia growers deal with, especially across the South and up into the Pacific Northwest. Here’s the encouraging part, though: clay doesn’t have to spell disaster. Amend it correctly and it can actually outperform lighter soils, since it holds nutrients well and stays moist through dry stretches. The whole game comes down to choosing the right materials, timing them properly, and getting the quantities right. That’s exactly what I’m walking through below.
What Makes Clay So Hostile to Camellias
Camellias want acidic conditions — loose, humus-rich soil sitting somewhere between pH 5.5 and 6.5. Clay works against both needs at once. It compacts under its own weight, squeezing oxygen out and choking roots in the process. Poor drainage compounds the issue, and standing water around a camellia’s root zone is close to a guaranteed invitation for Phytophthora root rot.
Drainage aside, native clay frequently runs too alkaline for camellias. In my own zone 8a garden, I’ve pulled soil test readings of pH 7.2 and higher straight from the ground. That’s well into alkaline territory, far past what camellias need for proper nutrient uptake. At those pH levels, iron and manganese essentially lock up and become unreachable, producing the classic between-vein yellowing known as chlorosis. I’ve watched striking sasanquas like ‘Yuletide’ and ‘Setsugekka’ fade to a sickly yellow-green from this exact issue.
There’s also the matter of texture. Clay particles are microscopic and pack in tight, leaving roots almost nowhere to expand. Young camellias, in particular, need loose and crumbly soil during their first two to three years in the ground. Deny them that, and growth grinds to a halt while the plant grows increasingly susceptible to stress and disease.
Test Your Soil First — Skip Nothing Else Before This
Resist the urge to skip this. Digging in and amending on a hunch might feel productive, but guessing at soil chemistry usually wastes both money and effort. A straightforward soil test — typically ten to fifteen dollars through your local cooperative extension office — will hand you your current pH, nutrient breakdown, and soil texture classification.
From what I’ve seen, extension lab results run circles around the cheap color-strip kits sold at garden centers. They’ll also tailor amendment suggestions to your specific region, which matters — clay behaves completely differently in the Georgia Piedmont than it does along the Oregon coast.
Camellias want that 5.5–6.5 pH window, and personally I aim tighter — 5.8 to 6.2 — in my own beds. That range keeps iron and aluminum accessible without drifting into manganese-toxicity territory. Test in early fall if your schedule allows it; that gives amendments time to work before spring planting arrives.
Amendments That Genuinely Fix Clay for Camellias
Across twenty-plus years of camellia growing, I’ve tested just about every amendment out there. A handful earned a permanent place in my routine; others turned out useless or actively damaging. Here’s the shortlist I’ve landed on after all that experimenting.
Pine Bark Fines: The One I’d Choose If I Could Only Pick One
Given one single amendment for clay, I’d reach for aged pine bark fines every time. Southern camellia growers treat this as the gold standard, and it earns that reputation. It breaks up clay structure and opens dramatic pockets for air and drainage — exactly what roots are starving for. As a bonus, it slowly acidifies the soil while it decomposes, which happens to be precisely what camellias want.
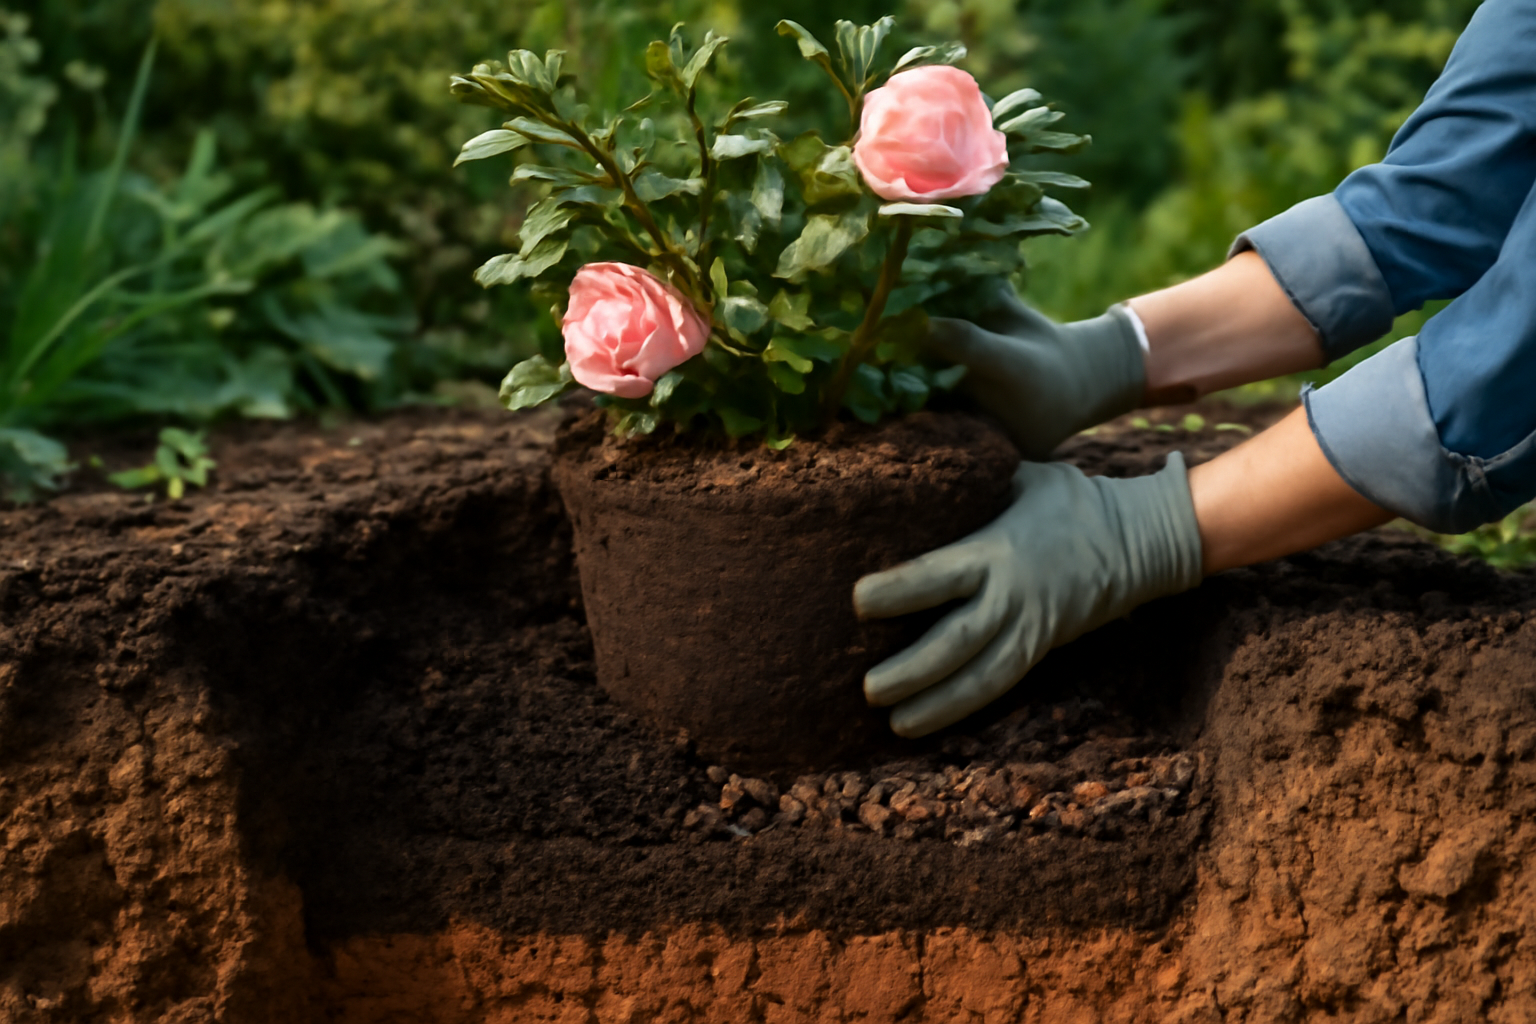
Go with a medium-to-coarse grind — skip both the fine powder and the chunky mulch nuggets. You’re aiming for particles roughly pencil-eraser-sized. Blend it in so it makes up 30 to 40 percent of the planting area by volume. For a typical planting hole — twice the root ball’s width, matching its depth — that’s a substantial amount. Don’t hold back on this one.
Elemental Sulfur: Dialing In Your pH
Once your clay tests above pH 6.5, elemental sulfur becomes essential. Soil bacteria slowly convert it into sulfuric acid, nudging pH downward over time — emphasis on slowly. Expect the full effect to take three to six months to show up, which is exactly why testing and amending in autumn makes so much sense.
As a rough guideline, dropping pH by a full point in clay soil calls for roughly 2 to 3 pounds of elemental sulfur per 100 square feet. Still, lean on your actual soil test numbers rather than eyeballing it. I’ve watched growers overdo it and tank their pH below 5.0, trading one nutrient problem for another. My reticulata cultivars, ‘Crimson Robe’ in particular, react badly to pH swings in either direction, so caution here really pays off.
Compost: The Amendment That Does the Most Heavy Lifting
Good, well-aged compost tackles clay’s problems on several fronts at once — adding organic bulk, feeding soil microbes, boosting drainage, and releasing a steady trickle of nutrients. Every bed on my property gets it. That said, camellias are picky about which compost you choose.
Steer clear of mushroom compost; it tends to run high in both pH and salt content, working against everything you’re trying to achieve. Leaf mold made from oak leaves, on the other hand, is superb — naturally acidic with a wonderfully open texture. I compost my own fallen oak and pine leaves specifically for this. My ‘Survivor’ japonica, a long-blooming variety planted in a heavily amended clay bed, hasn’t shown a single sign of stress in eight years.
What Not to Mix Into Clay
Sand tops the list of mistakes. It sounds reasonable on paper — clay is dense, sand is loose, combine them and get the best of both, right? Not even close. Mixing sand into clay without also loading in massive amounts of organic matter produces something closer to concrete than usable soil. The sand grains simply fill in clay’s air gaps rather than opening them up. I learned this the hard way in my very first camellia bed back in the early 2000s — it was a genuine disaster. My ‘Debutante,’ a lovely soft-pink japonica, barely put on any growth for three straight years because of it.
Peat moss is another one I’ve moved away from as a primary amendment. Setting aside the sustainability issues tied to peat harvesting, it decomposes fast in warm climates and turns hydrophobic once it dries out. Pine bark fines and compost beat it on nearly every measure for camellia growing.
Physically Preparing a Clay Bed Before Planting
Getting the chemistry right only solves half the puzzle. Physical prep counts just as much, particularly with heavy clay. Below is the exact process I follow whenever I’m establishing a new camellia bed.
- Map out the entire bed footprint first — not just single planting holes. Camellias spread wide, so give the whole area breathing room.
- Loosen the ground to a depth of 12–18 inches. One pass with a rototiller won’t touch serious clay. I break it up first with a broadfork, then follow with a tiller.
- Layer your amendments over the whole bed surface. For a fresh camellia bed, I typically spread 3–4 inches of pine bark fines, 2–3 inches of aged compost, plus whatever sulfur or fertilizer my soil test recommends.
- Till a second time to work everything in. Blend it as evenly as possible across the full 12–18 inch depth.
- Give it two to four weeks to settle before you plant, if your timeline allows. This lets the amendments start integrating with the surrounding soil.
Here’s another tip worth trying: in the worst clay situations, I build the bed up 4 to 6 inches above the surrounding grade. Doing this improves drainage significantly without forcing you to dig out and haul off the existing clay. My zone 7b garden had beds that were nothing but solid red clay when I first started there — raising them changed everything.
Planting Depth: Where Most Camellias Actually Get Lost
Even the best-amended soil can’t rescue a camellia set too deep. Honestly, this is the single most frequent mistake I see, and I’ve fallen victim to it myself — losing a gorgeous ‘Taylor’s Perfection’ reticulata hybrid I still haven’t fully forgiven myself for.
In clay, plant your camellia a touch high, with the root ball’s top sitting roughly an inch above the surrounding soil line. Amended clay continues to settle over time, and rain packs it down even further. That means a camellia planted flush with the surface in clay soil often ends up sitting too low by the following spring, with water collecting around the crown.
Plant it proud, mulch heavily — 3 to 4 inches of pine bark or pine straw, kept clear of the trunk — and let the bed settle on its own timeline. That single habit has spared me from losing countless plants over the years.
Keeping the Soil Right Long After Planting Day
Nailing the initial amendment is a solid start, but clay doesn’t hold that improved state forever without upkeep. Organic matter continues to decompose, pH creeps back over time, and compaction returns, especially in areas that see foot traffic.
I re-check soil chemistry in every camellia bed every two to three years. In between those tests, I top-dress with roughly an inch of aged compost each fall. This keeps the soil food web fed, replenishes organic matter as it breaks down, and preserves that loose, open texture I put so much effort into building.
To keep pH where I want it, I apply an acidifying fertilizer made for camellias and azaleas during the growing season — usually once in early spring and again in early summer. In my zone 8b beds, where heat speeds up pH drift, I’ll sometimes add a light dusting of elemental sulfur come autumn too. The ‘Kanjiro’ sasanqua and early-flowering ‘Sparkling Burgundy’ growing in that particular bed have thrived under this exact routine.
How to Tell Your Amending Efforts Are Paying Off
Wondering if it’s actually working? Read the plants. New growth should come in a rich, glossy dark green, not a washed-out yellow-green. Rainwater should soak into the ground within minutes rather than sitting on the surface. And when you dig a small test hole with a hand trowel, the soil should break apart loosely instead of coming up as dense, sticky clumps.
For me, the clearest proof arrived when my ‘Professor Charles S. Sargent’ — yes, the very plant that sulked for two full years in unamended clay — pushed out 18 inches of new growth in a single season once I finally got the soil dialed in. Seeing that made every hour spent amending feel entirely justified.
Your Next Steps for Tackling Clay Soil Camellias
Growing camellias successfully in clay is completely within reach. It demands some upfront time and material investment, sure, but what you get in return is a bed capable of supporting your camellias for decades to come. I’ve personally watched beginner gardeners turn genuinely awful clay beds into thriving camellia gardens within two or three growing seasons simply by sticking to these principles.
So here’s where to begin: order a soil test this week. I mean it. Every decision after that — which amendments, how much, what pH targets — depends entirely on that one piece of information. Once those results land in your hands, you’ll know precisely what your clay is missing. From there, pine bark fines, aged compost, and a bit of patience will carry you the rest of the way.
If you’re curious about keeping your camellias thriving once they’re settled in, I’ve covered fertilizing schedules and pruning techniques for shape and bloom performance in other posts on this site. Both subjects tie directly back to soil health, and getting all three dialed in together makes a noticeable difference. Whether you’re growing delicate reticulatas, tough sasanquas, or showy japonicas, your camellias deserve soil that truly works for them — and with the right approach to clay, you can give them precisely that.
About This Article

Written by Helen Pritchard. Helen Pritchard is a lifelong gardener in the Pacific Northwest who has grown more than 200 named camellia cultivars over two decades. She writes practical, experience-based guides to camellia care, from variety selection and pruning to troubleshooting yellowing leaves and bud drop. More about this site.
Verify this against a primary source
Specifics change, and your situation may differ from the one described here. These are the authorities worth checking directly:
- American Camellia Society — cultivar registration and culture guides
- USDA Plant Hardiness Zone Map — zone verification for your location
- Royal Horticultural Society — camellia cultivation and pest guidance