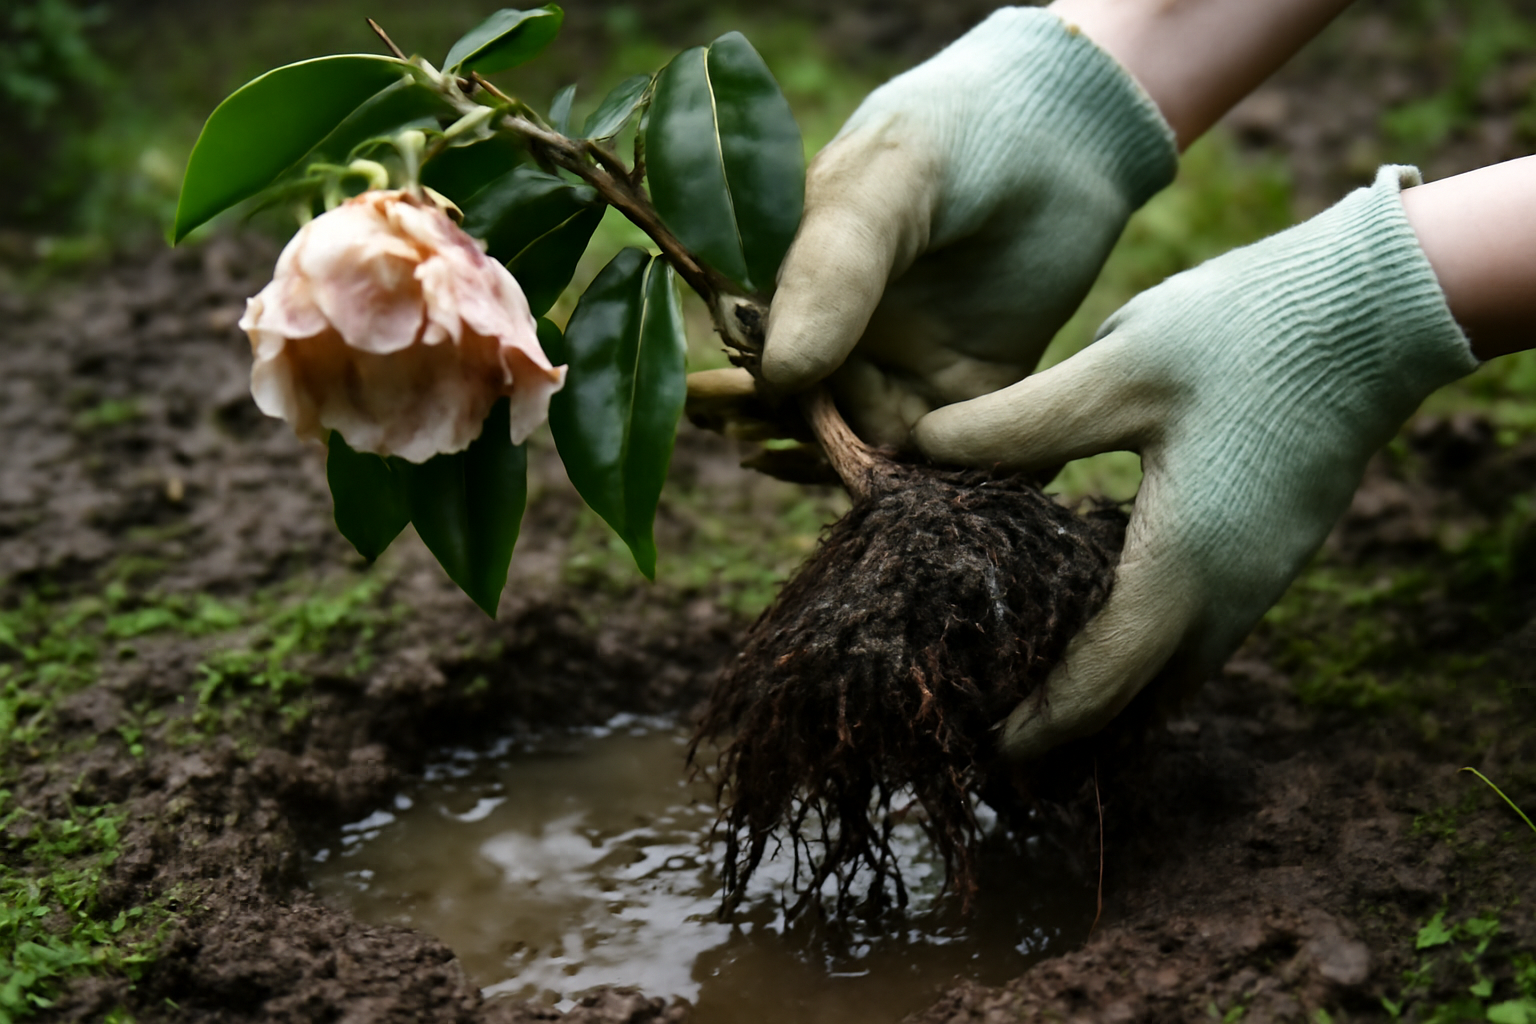
No nursery tag has ever warned me about this, and most general care guides skip it entirely: camellias can be quietly dying from the roots up while the leaves still look presentable enough to fool you. I learned this the hard way with my ‘Nuccio’s Gem’, which was well into root rot before I noticed a thing was wrong above ground. That’s the cruelty built into this particular disease — by the time the canopy shows trouble, the roots have usually been struggling for weeks or months already. Across more than two decades of growing camellias in three different USDA zones, root rot has stayed one of the most gutting problems I run into. There’s a bright side, though: catch it early enough, and the plant is often recoverable.
So What Exactly Is Camellia Root Rot?
The usual offender behind camellia root rot is Phytophthora cinnamomi, a water mould rather than a true fungus, and it flourishes wherever soil stays soggy and drainage is poor. It targets the delicate feeder roots first before pushing deeper into the plant. Once enough damage accumulates, the shrub loses its ability to pull up water or nutrients — you can feed and water all you want, and it won’t matter.
There’s also a second offender to consider: Pythium species, which behave almost identically and show up under the same soggy circumstances. Honestly, distinguishing between the two without sending a sample to a lab is nearly impossible in my experience. Fortunately, for everyday garden purposes, the response is the same either way.
Both organisms live in the soil and release spores that travel through water — which explains precisely why overwatering and sluggish drainage top the list of risk factors. Remember that camellias evolved as woodland understory plants. They crave steady moisture, sure, but their roots need to breathe just as much.
Symptoms Worth Watching Closely
Above-ground clues can be maddeningly nonspecific. Still, after years of close observation across my own collection, I’ve picked up on a fairly consistent pattern worth sharing.
Early Clues Something’s Off
- Foliage turning washed-out and yellow despite regular feeding
- Leaves holding a faint wilt even right after a good watering
- Spring growth that comes in thinner or smaller than usual
- Buds falling off before they get the chance to open
- Branch tips dying back a little at a time
I remember a stunning ‘Survivor’ Sasanqua that began shedding buds one October, just as her bloom cycle was getting underway. My gut reaction was to blame a cold snap. But when I dug into the soil around her root zone, it was soaked through — and that turned out to be the actual problem.
Inspecting the Roots Yourself
When something seems wrong, carefully excavate a few inches of soil near the plant’s drip line. Sound camellia roots feel firm and show white to slightly tan coloring. Roots in trouble turn brown or black, go mushy, and often give off a sour, musty odor.
With younger specimens or anything still in a container, you can simply tilt the pot and look directly at the root ball. I make this a habit every fall with new arrivals before they ever go into the ground — it costs me two minutes and has rescued more than a few plants over the years.
With mature shrubs already in the ground, scrape away a small patch of bark from a low stem or an exposed surface root. Underneath, healthy tissue reads green or cream-colored. If it’s discolored, brown, or looks waterlogged, that’s a strong signal Phytophthora is active.
What Actually Triggers Root Rot in Camellias
Knowing the root cause (pun intended) shapes how you approach treatment. This disease doesn’t spring up randomly — particular growing conditions invite it, and most of those conditions are ones you can control yourself.
Sluggish Drainage Tops the List
Any camellia set into dense clay is living dangerously. Water pools around the root system instead of moving through it. Oxygen vanishes from that zone, the soil turns anaerobic, and Phytophthora spores — already lurking in most garden soil to begin with — suddenly find the perfect environment to multiply.
My own Zone 8a garden has a low spot that stays waterlogged long after heavy rain passes through. For a stretch of years I kept planting camellias there anyway, and I paid for it repeatedly. One loss stung in particular — a ‘Professor Charles S. Sargent’ japonica I’d nurtured for seven years. That lesson stuck, and I haven’t repeated it since.
Soil pH That’s Drifted Off Target
Camellias do best when soil pH sits between 5.5 and 6.5. Stray outside that window and nutrient uptake suffers even in soil that seems otherwise fine — and stressed plants become easy targets for pathogens. I test every future planting spot before a camellia ever touches the ground; for me that step isn’t optional.
Soil that tips alkaline, above pH 7.0, carries particular risk. It can trigger iron and manganese shortages that look, from the surface, suspiciously like root rot. But the actual problem is completely different, which means the fix is too. Test first, always, before you decide on a treatment.
Setting the Plant Too Deep
Of all the errors I spot in other people’s gardens, this one shows up constantly. A camellia’s root ball should sit with its top slightly proud of the surrounding grade, not buried flush or below it. Even just two extra inches of depth can seal moisture around the crown, manufacturing the warm, damp pocket that root rot organisms find irresistible.
Because so many nursery containers are tall and narrow, it’s tempting to replicate that same depth when you transplant. Don’t. The crown — that narrow band where trunk meets root system — needs airflow around it, not soil piled on top.
Bringing a Sick Camellia Back From Root Rot
I’ll be straight with you — advanced root rot frequently kills the plant regardless of what you try. That said, shrubs caught somewhere in the early-to-middle stage of infection can often pull through with the right response. Below is the exact sequence I follow whenever I suspect root rot has taken hold.
Step 1: Fix the Drainage Situation First
Hold off on watering while you evaluate what’s going on. Container plants should come off any tray or saucer that’s collecting standing water. If the plant’s in the ground, look at whether reshaping the surrounding grade could redirect surface water away from the root zone.
When things look bad, I go ahead and lift the plant out of the ground entirely. That gives me a clear view of the root ball and a direct way to correct the surrounding soil. It’s stressful for the plant, no question — but keeping it parked in saturated ground is the riskier choice compared to a bit of transplant shock.
Step 2: Cut Away the Infected Roots
With the root ball exposed, remove every visibly rotted root using clean, sharp secateurs, cutting back until you reach firm white tissue. Wipe your blades down between cuts with either a 10% bleach solution or 70% isopropyl alcohol so you’re not ferrying the pathogen from one cut to the next.
Now isn’t the moment to hold back. Even a small stretch of leftover rotted root gives the disease a foothold to keep spreading from. Cut away anything that looks even slightly compromised, then give the remaining healthy roots a gentle rinse with clean water.
Step 3: Bring in a Phosphonate Fungicide
Phosphonate-based treatments — you’ll see them marketed as Agri-Fos or Aliette — deliver the best results against Phytophthora-driven root rot. These work their way through the plant systemically, moving through its tissues and holding the pathogen in check. Don’t think of them as a cure outright; think of them as reinforcements that help the plant defend itself from the inside.
Apply it as a soil drench, following whatever rate the label specifies. Timing counts here — I dose in early spring before new growth kicks in, then again come early autumn. On a badly hit plant, I’ll often layer in a foliar spray too, since these products absorb through the leaves as well as the roots.
Worth noting: ordinary copper fungicides don’t do much against Phytophthora. I found that out the hard way early in my growing years, treating the wrong pathogen with the wrong product and puzzling over why nothing improved.
Step 4: Get the Plant Back Into Better Soil
Planning to reuse the same spot? Amend it thoroughly before the plant goes back in. I like to work in aged pine bark fines, coarse horticultural grit, and compost to loosen up clay-dense beds. That combination improves drainage and builds the airy, oxygen-rich root zone camellias truly need to thrive.
Where possible, elevate the planting site. In that troublesome low spot in my Zone 8a bed, I now build raised mounds standing roughly 8 to 10 inches tall before anything goes into the ground. The ‘Shishi Gashira’ Sasanquas planted that way have flourished there for six straight years since I made the switch.
To correct pH, work granular sulphur into alkaline soil a few weeks ahead of replanting. If soil runs strongly acidic, below pH 5.5, add agricultural lime in small, careful increments and retest before you go any further.
Step 5: Cut Back Top Growth to Match What the Roots Lost
This is a step plenty of gardeners forget entirely. Pruning away diseased roots leaves the plant with less capacity to draw up water and nutrients. To compensate, the canopy needs to shrink proportionally so what’s left of the root system isn’t overwhelmed.
My rule of thumb is to cut affected plants back by about a third, prioritizing weak, crossing, or crowded branches. I’ve covered the finer points of camellia pruning technique in a separate article on this site, if you want a deeper walkthrough of the process itself.
Keeping Root Rot Away for Good: Long-Term Habits
Prevention beats treatment by a wide margin, honestly. Once I rebuilt my whole approach around drainage and correct planting depth, my losses fell off sharply across all three zones I garden in.
Picking the Right Spot Beats Everything Else
Before you plant a single camellia, confirm the site drains naturally. Run a simple test: dig a hole about 12 inches deep, fill it with water, and time how fast it disappears. If water’s still sitting there two hours later, you’ve got a drainage problem that needs solving before anything goes into that ground.
Most camellias — japonicas like ‘Elegans’ especially, or big reticulata hybrids such as ‘Howard Asper’ — do best in dappled light. Full sun bakes moisture out too fast come summer, while deep shade lets dampness linger and invites pathogens in. A few hours of gentle morning sun followed by afternoon shade tends to hit the sweet spot.
Mulch With Restraint, Not a Heavy Hand
A layer of pine bark or wood chips, 2 to 3 inches deep, does a nice job evening out soil moisture. The trouble starts when that mulch gets pushed right against the trunk, forming a damp, airless collar exactly where you don’t want one. Leave a gap of at least 3 to 4 inches between mulch and stem.
Every spring I pull back the old mulch layer before laying down fresh material. That ritual doubles as a chance to eyeball the crown and surface roots up close — a quick look that’s flagged trouble early more than once.
Favor Deep, Occasional Watering
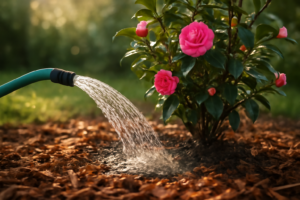
Watering deeply but infrequently pushes roots to reach further down into the soil rather than clustering near the surface where they’re vulnerable. Once camellias are established, I give them a thorough soak once or twice a week during dry summer stretches, rather than a splash every single day.
Drip irrigation is my go-to method — it puts water right at the root zone without soaking the crown or leaves. With potted camellias, I always test the soil before watering; the top inch should be dry to the touch first.
Where This Leaves Us on Camellia Root Rot
Camellia root rot is no small matter, but it doesn’t have to spell the end if you respond quickly and correctly. Every plant that’s pulled through root rot in my own garden — including a ‘Debutante’ japonica I’d honestly written off as lost — bounced back stronger once the drainage got sorted and the soil conditions were made right.
Twenty years and over two hundred camellias later, here’s what it comes down to: most root rot cases are really drainage problems dressed up as disease. Correct the drainage, adjust the soil chemistry, plant at the right depth, and you strip away the very conditions pathogens need to establish themselves.
Take a walk through your garden this week. Check the soil around the plants you treasure most — your ‘April Kiss’, your ‘Yuletide’, your prized reticulatas — and honestly assess whether conditions there are as good as they should be. Root rot doesn’t have to happen.
About This Article

Written by Helen Pritchard. Helen Pritchard is a lifelong gardener in the Pacific Northwest who has grown more than 200 named camellia cultivars over two decades. She writes practical, experience-based guides to camellia care, from variety selection and pruning to troubleshooting yellowing leaves and bud drop. More about this site.
Verify this against a primary source
Specifics change, and your situation may differ from the one described here. These are the authorities worth checking directly:
- American Camellia Society — cultivar registration and culture guides
- USDA Plant Hardiness Zone Map — zone verification for your location
- Royal Horticultural Society — camellia cultivation and pest guidance