
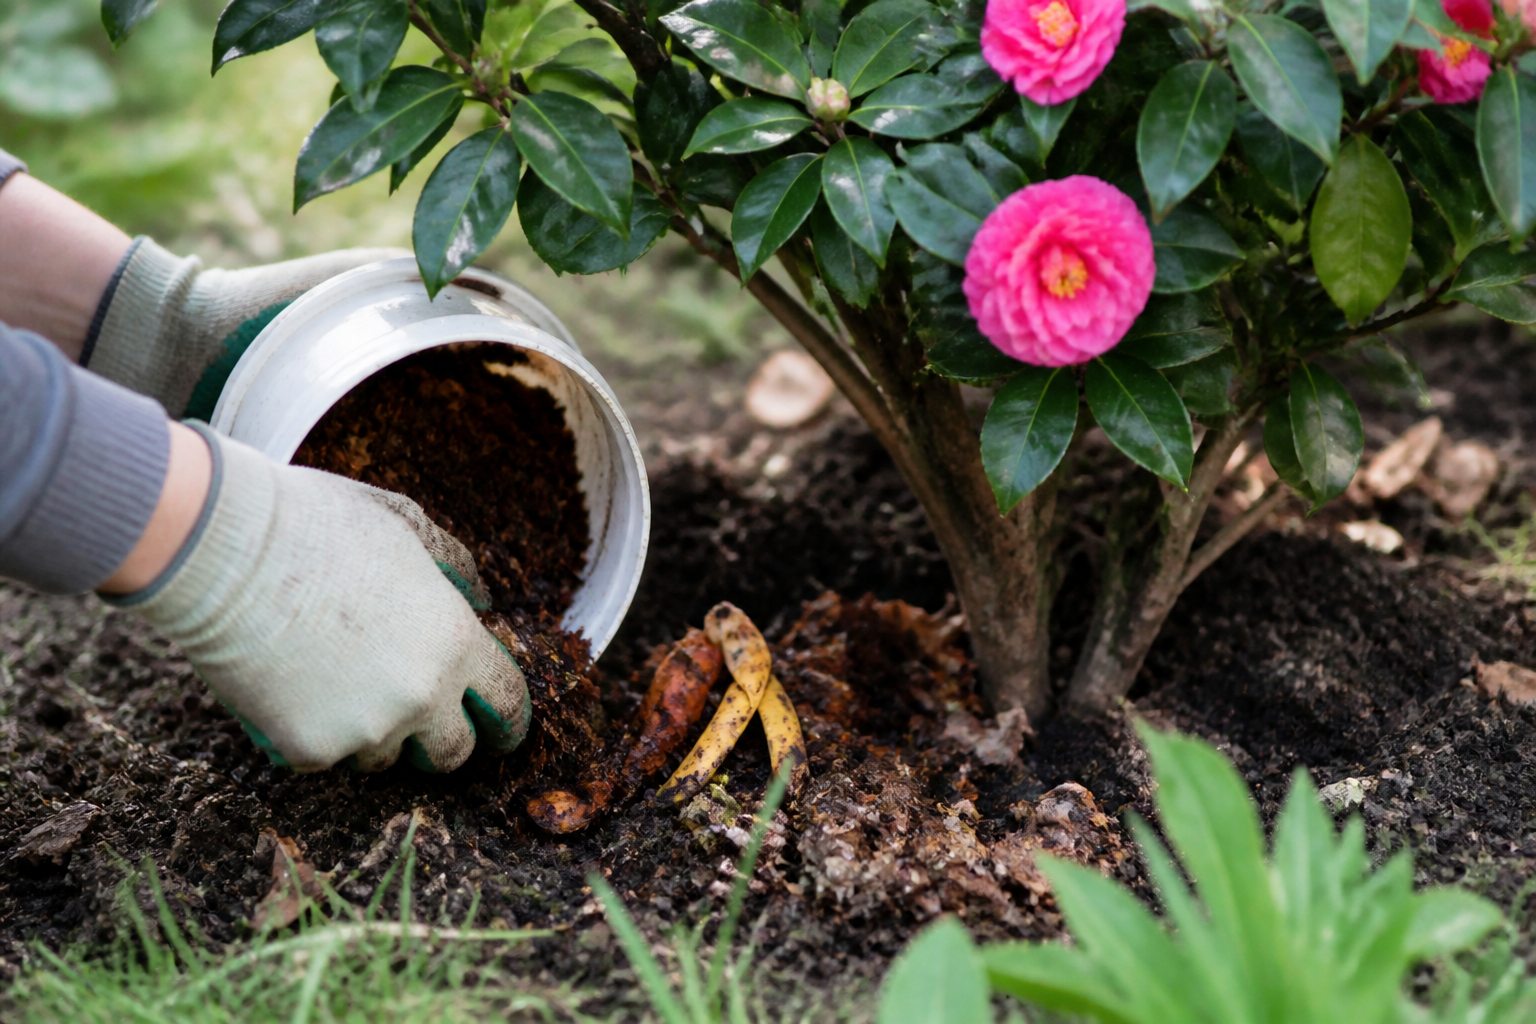
Kitchen scraps alone won’t build the kind of camellia collection people photograph. I hear a version of this question constantly—usually phrased as “so you just toss coffee grounds and banana peels around and that’s it?”—from folks who’ve seen pictures of my 200-plus shrubs and assumed good intentions plus compost equals thriving plants.
Truthfully, no. And there’s a reason I answer that way every time, because plenty of gardeners reach for homemade fertilizer hoping it’ll let them skip commercial products altogether—a plan that tends to backfire, particularly with showpiece specimens like my ‘Elegans Supreme’ or the notoriously fussy pink-and-white ‘Mathotiana Variegata’.
None of this means homemade feeding is worthless—it earns a spot in my routine every single year. But two decades of trial, error, and a fair number of near-disasters taught me that these mixes function best alongside a real fertilizing program, never in place of one. Below is the breakdown of what genuinely helps and what quietly sabotages your plants.
So, Does Homemade Fertilizer Actually Help Camellias?
Partly. Let me unpack that, because the nuance matters a great deal for how your shrubs perform.
Camellias aren’t easy feeders to satisfy. They demand steady nitrogen to push leaves and stems, phosphorus in the right proportion to build roots, and enough potassium to shape buds and produce quality blooms. Layer on top of that a preference for acidic soil plus a need for trace minerals—magnesium, iron, manganese chief among them.
Homemade blends and scrap-based mixes typically supply a slice of that picture, not the whole thing. Coffee grounds bring a touch of nitrogen and a mild acidifying effect. Banana peels hand over potassium, though slowly, since they take their time breaking down. Eggshells add calcium—which happens to fight against the acidic environment your camellia actually wants.
The upshot: lean on homemade options exclusively and you’ll likely end up with lopsided nutrition. One season might deliver gorgeous flowers, followed by a year of anemic new growth. Container specimens and younger plants take the biggest hit here, since they have far less soil buffer to fall back on.
Still, homemade fertilizer earns its place. It costs almost nothing, it keeps you paying attention to your feeding calendar, and it can patch specific shortfalls or give your shrub a lift between commercial feedings. Just don’t ask it to stand in for a proper spring application of acid-loving-plant fertilizer.
Which Homemade Feeds Actually Deliver Results
Over twenty years, I’ve trialed nearly every kitchen-cabinet fertilizer idea circulating online. Here’s what survives contact with real camellias, without doing damage along the way.
Coffee Grounds and Used Tea Leaves
Coffee grounds tend to be the first thing every gardener reaches for—everybody’s got a supply, and they do offer a slight acidifying boost along with a small nitrogen contribution, roughly 1–2% by weight. But I learned the hard way that “small” doesn’t mean “harmless.”
A container-grown ‘Elegans Supreme’ of mine was fighting interveinal yellowing three years back, and in my rush to fix things, I heaped wet, fresh grounds thickly around its base. Within a few weeks, that pile had hardened into a crust that repelled water entirely. Instead of soaking into the pot, water just skidded off the surface, and the drainage trouble I’d started with got worse.
Getting it back on track meant loosening the compacted mulch, scraping out the worst of the caked grounds, and switching over to a proper balanced feed. The plant bounced back eventually, but the lesson stuck: dump fresh coffee grounds carelessly, and you can cause more harm than the nitrogen boost is worth.
These days I do it differently. I let the grounds dry out a bit first, then blend them into the top 2–3 inches of mulch surrounding the base—never mounded against the trunk—and only two or three times a year. Spent tea leaves, loose or straight from the bag, get identical treatment. The acidifying punch is subtle but genuine, and folding them into mulch rather than dumping them on top keeps them from matting as they decompose.
Treat both as mild soil conditioners with a feeding side effect, never as your primary nitrogen source.
Banana Peels for a Potassium Boost
Banana peels pack plenty of potassium, the nutrient behind sturdy blooms and healthy root systems. I’ve found them genuinely worthwhile for camellias—but only when used with a bit of technique.
Toss a peel on top of the soil and it breaks down slowly while drawing pests and looking messy in a garden you’re proud of. My workaround: chop them small and bury them 3–4 inches down near the drip line of mature plants. As they decompose, potassium works its way into the soil, and once the peel’s gone, there’s nothing left to see.
With potted camellias, I take a different route—chopped peels go into a compost pile or worm bin first, and I fold that finished compost into the top of the potting mix once it’s ready. For shrubs in the ground, burying peels works nicely as a post-bloom supplement, which in my zone 8a garden runs roughly May into June, after the primary spring fertilizer has already done its job.
One peel per mature plant, spaced out two or three times a season, is all you need. Pile on more than that and you’re just creating erratic potassium spikes that don’t actually benefit the shrub.
Epsom Salt: A Fix for Magnesium Shortfall, Not a Fertilizer
Epsom salt—magnesium sulfate—isn’t something you feed your camellia broadly. It’s a narrow remedy for a single issue: magnesium deficiency, recognizable by yellowing between the veins on older leaves while the veins themselves stay green.
Spot that pattern on your plant, and Epsom salt can genuinely help. Mix 1 tablespoon into a gallon of water and apply it either as a soil drench or a foliar spray, once in late spring and again in mid-summer. Nothing more elaborate than that—that’s the correct dosage.
I’ve watched gardeners dose their plants with Epsom salt monthly on the theory that more must be better. It’s not. Overdoing magnesium can throw off calcium uptake and create fresh imbalances. Reserve it strictly for when you actually see the symptom, and cap it at a couple of applications per growing season.
Even better: get your soil tested first. Genuine magnesium deficiency shows up less often than gardeners assume. That yellowing you’re seeing is frequently just poor drainage or an off-balance nitrogen level—problems Epsom salt does nothing to solve.
Compost Tea
Here’s the one homemade feed I’ll actually endorse for regular, ongoing use—it works reliably, and it’s tough to get wrong.
To make compost tea, steep finished, fully rotted compost in water for 3–5 days. I go with one part compost to five parts water, loosely filled into a bucket, and give it a stir every day or two. Once it’s steeped, strain out the solids and you’re left with a gentle, well-rounded liquid feed carrying both macro and micronutrients.
What makes compost tea so forgiving is its dilution—you can apply it every two weeks without any risk of burning roots. It’s not a substitute for your spring feeding, but as an extra boost from late spring through early fall, it performs beautifully. I lean on it especially for potted camellias, since containers respond well to feeding that’s frequent but light-handed.
Brew a batch in a 5-gallon bucket and use it up over a week or two. Quality depends entirely on your compost—rich, dark, and earthy-smelling compost makes good tea; compost that’s still raw or low-grade produces tea that’s just as unimpressive.
Should You Feed Camellias With Tomato Fertilizer?
This one comes up all the time, particularly from UK-based gardeners who grew up on Tomorite and similar tomato feeds. Short version: fine as a side treatment, wrong as your primary fertilizer.
Tomato feeds exist to serve fruiting vegetables, crops that demand heavy potassium (potash) levels to drive flowering and fruit set. A typical N-P-K breakdown lands around 4-8-10—potassium dwarfing nitrogen by a wide margin.
Camellias want something far more even-handed. Healthy foliage and vigorous new stems depend on a steady nitrogen supply. A camellia-specific or acid-loving-plant fertilizer usually sits closer to 5-4-4 or 6-4-4. Depend entirely on tomato feed instead, and you’ll often end up with decent flowers riding on top of thin, sparse new growth—the plant just looks worn out.
Used sparingly, though—a diluted application once or twice after the blooms have finished—tomato feed won’t hurt anything. The added potash can nudge flowering along slightly without harming the shrub. Just never let it take over as the main feeding source.
My own approach: a proper camellia or rhododendron fertilizer handles the main spring feeding, full stop—tomato feed never substitutes for that step. When I want a midseason potassium lift, banana peels or compost tea come first, well ahead of tomato feed. It’s simply the wrong tool for this particular job, flowers or no flowers.
Things You Should Leave Out of the Mix
Knowing what not to reach for matters just as much as knowing what works. Some of these I only figured out by getting it wrong first.
Wood ash pushes soil pH upward, tilting it alkaline—exactly the opposite of what a camellia wants. There’s simply no role for it in a camellia bed. I found this out early in my growing years and then spent two full seasons undoing the damage and dragging the pH back down.
Fresh manure looks appealing because it’s nutrient-dense and easy to get hold of. But it can scorch roots, often carries a load of weed seed, and skews too heavy on nitrogen and alkalinity for a camellia’s taste. If you insist on using it, age it a full year minimum, then apply it lightly in fall as a soil amendment—not as an actual fertilizer.
Eggshells lean alkaline, which runs directly counter to what camellias need from their soil. They do supply calcium, sure, but only bother with them if a soil test actually confirms a calcium shortage—and in camellia growing, that’s an uncommon finding. They have no business being a routine addition.
All three of these look innocuous on the surface, but each one either nudges your soil pH in the wrong direction or delivers nutrients in a form and quantity your camellia simply isn’t built to use well.
The Bottom Line: Homemade Feeds Support, They Don’t Replace
Twenty years in, with more than 200 cultivars under my care, here’s where I land: homemade fertilizer makes an excellent companion to a structured feeding plan, but it was never built to be the whole plan.
Begin with a legitimate spring feeding—a product formulated specifically for acid-loving plants or camellias. Add a mid-season round if the plant lives in a container or shows signs of stalling. In the gaps between those scheduled feedings, work in compost tea every couple of weeks, mix coffee grounds and tea leaves into the mulch a handful of times, and bury banana peels near the drip line once blooming wraps up.
Notice interveinal yellowing? That’s your cue for Epsom salt. Leave tomato feed out of the rotation altogether, unless you happen to have some on hand and want to use it as an occasional, heavily diluted treat after flowering ends.
The standout performers in my garden—’Mathotiana Variegata,’ ‘Pink Perfection,’ ‘Nuccio’s Gem’—didn’t get that way on kitchen scraps alone. They thrive because I feed them consistently with the right nutrient balance, and homemade extras get layered in thoughtfully, on the side.
That’s really the whole secret. Not some scrap-bucket miracle, but steady intention paired with balance.
About This Article

Written by Helen Pritchard. Helen Pritchard is a lifelong gardener in the Pacific Northwest who has grown more than 200 named camellia cultivars over two decades. She writes practical, experience-based guides to camellia care, from variety selection and pruning to troubleshooting yellowing leaves and bud drop. More about this site.
Verify this against a primary source
Specifics change, and your situation may differ from the one described here. These are the authorities worth checking directly:
- American Camellia Society — cultivar registration and culture guides
- USDA Plant Hardiness Zone Map — zone verification for your location
- Royal Horticultural Society — camellia cultivation and pest guidance



