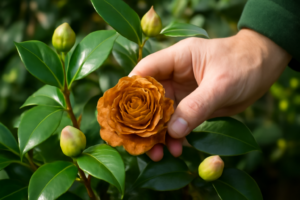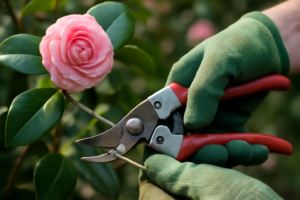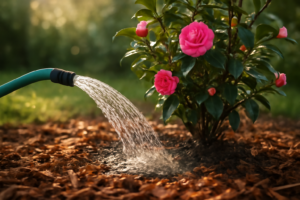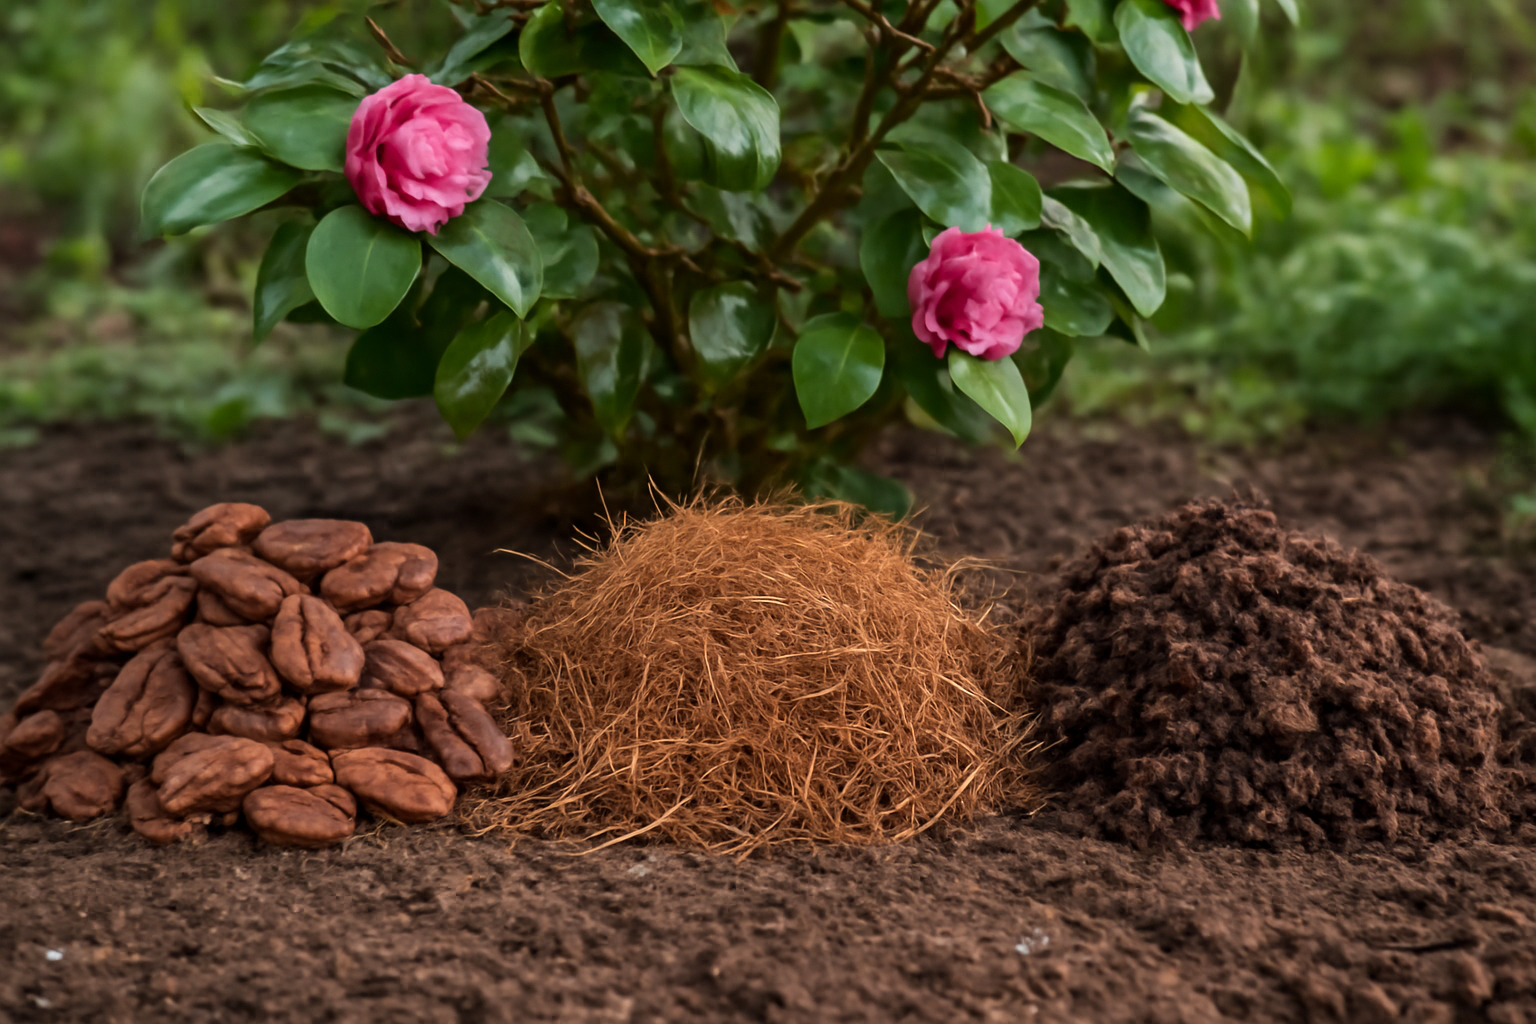
There’s a photograph in my garden files I keep meaning to delete but never do: a close-up of soil beneath my ‘Nuccio’s Jewel’ japonica, taken last April when I knelt down to grab a fistful of the ground cover there. It’s loose, dark, almost cocoa-colored underneath, and it smells like a forest floor after rain. That’s pine bark territory. A short walk away, my sasanqua row — ‘Setsugekka’ and ‘Yuletide’ — grows under an entirely different covering of pine straw, and the soil there tells an equally healthy story. What that photo proves, and what years of trial and costly error taught me, is that the mulch you choose isn’t a minor detail. It’s one of the things that quietly determines whether your camellias merely survive or genuinely flourish.
What follows is everything I’ve picked up about the three materials I rely on most: pine bark, pine straw, and leaf mold. None of them is flawless. Each brings something different to the table, and which one suits you best usually comes down to your climate, the cultivars you’re growing, and what you can actually source nearby.
Why Camellias Are So Fussy About What Covers Their Roots
Before getting into comparisons, it helps to understand why mulch choice carries so much weight with this particular plant. Camellias root shallowly, with a fine, fibrous network that stays close to the surface rather than digging deep. They’re also strongly acid-preferring, wanting soil pH somewhere between 5.5 and 6.5. Push past 6.5 and the leaves start yellowing between the veins — a classic sign your plant can no longer pull in the iron and manganese it depends on.
A good mulch layer is multitasking constantly. It buffers those surface roots against sudden temperature shifts, holds onto moisture when rain is scarce, and chokes out weeds that would otherwise compete for nutrients. Over the long haul, it also breaks down and gradually nudges the soil more acidic. That last function is the real reason material choice matters so much here.
In my zone 8a garden, we regularly bake under intense summer heat, and I’ve seen young, newly planted japonicas visibly wilt in July when the mulch layer was too thin. Meanwhile, in my zone 7b beds, borderline-hardy reticulatas such as ‘Captain Rawes’ depend on that same mulch layer for winter insulation instead. So the job flips depending on season — sometimes it’s cooling things down, sometimes it’s keeping the cold out.
Pine Bark Under the Microscope
Pine bark has earned its place as my default mulch. Fifteen-plus years of using it across my camellia beds have given me plenty of reasons to stick with it. It’s sold in a range of sizes — mini nuggets, mediums, and chunkier large pieces — and each size performs a bit differently once it’s down.
Where Pine Bark Earns Its Keep
Around most of my japonicas, I lay medium nuggets roughly three inches thick. It’s substantial enough to hold its ground through average rainfall yet still lets air move freely near the crown — a detail that really counts, since piling mulch against a camellia’s stem invites root rot.
As it breaks down, pine bark nudges soil pH downward. The shift each season is small, but it compounds over the years. Beds I’ve been topping with bark for a decade now sit consistently between 5.8 and 6.2 — squarely in ideal territory. My ‘Kramer’s Supreme’ spent its first two seasons sulking in a neutral-pH bed, then turned into a heavy bloomer once the soil chemistry corrected and the bark had time to do its slow work.
It also simply outlasts the competition. One spring application generally carries a bed through to the following year, meaning fewer trips with the wheelbarrow — a real consideration once you’re managing upward of 200 named cultivars like I am.
Where Pine Bark Falls Short
It’s not without its headaches. The larger nuggets have a tendency to float free and wash out during heavy downpours, especially on sloped ground. My zone 8b beds catch fierce summer storms, and I’ve spent more than one afternoon raking stray chunks off the lawn afterward.
Price is the other sticking point — pine bark usually costs more than the alternatives, and that adds up quickly across a larger property. The trade-off is that its durability partly cancels out the expense: one yearly application instead of the two refreshes pine straw sometimes demands.
Pine Straw: Cheap, Slope-Friendly, and Everywhere in the South
Pine straw — those dropped needles from longleaf, loblolly, or slash pines — might as well be the signature mulch of the American South. Drive through camellia country in Georgia or either Carolina and it’s blanketing nearly every bed you pass. There’s good reason it’s so popular: it genuinely suits acid-loving plants like camellias.
The Case for Pine Straw
As it settles, pine straw locks together into a woven mat, and that interlocking texture keeps it anchored on slopes where bark chunks would simply slide away. My sasanqua bed runs down a gentle grade, and pine straw stays put there without fail. ‘Setsugekka,’ the white-flowered fall sasanqua I favor most, has grown beautifully under this mulch for six years running.
Its needles decompose slowly, feeding a mild acidity into the soil over time. Despite a persistent myth to the contrary, pine straw doesn’t swing soil pH dramatically — the change is subtle and gradual. But that gentle, ongoing contribution is precisely what a bed already sitting in the right pH range needs to stay there.
It’s also easy on the back, quick to spread, and in much of the Southeast, remarkably inexpensive. I’ve had neighbors hand me free bales just to be rid of them while cleaning up their yards. If you’re just starting out and building several camellia beds on a limited budget, pine straw is tough to argue against.
Pine Straw’s Weak Points
The mat can compress over time, and once that happens, water tends to run off the surface instead of soaking in. I make a habit of checking my pine straw beds every couple of months and raking the top layer loose again. Ten minutes of work makes a real difference in how well moisture penetrates.
It also decomposes noticeably faster than bark. In a humid zone 8b summer, I top off my pine straw twice annually — early spring, then again in early fall right before the sasanquas start budding out. It’s a minor extra task, but one worth factoring into your yearly schedule.
Leaf Mold: The Option I Overlooked for Far Too Long
I’ll admit this outright: for years, I dismissed leaf mold as little more than a way to deal with piled-up autumn leaves. Then a fellow grower in my county convinced me to actually try it the right way, and I haven’t stopped using it since.
What Exactly Leaf Mold Is
Leaf mold is nothing more than decomposed leaves — but decomposed through fungal breakdown rather than the bacterial process behind standard compost. What you get is a dark, crumbly, water-holding substance that closely resembles the litter on a forest floor. In a way, it mimics what camellias naturally grow in throughout their native range in East Asia.
The process itself is low-effort: heap fallen leaves into a wire enclosure or a spare garden corner, keep the pile damp, and let it sit for twelve to eighteen months. What emerges is exceptional for soil texture. Leaf mold won’t shift pH much on its own, but it strengthens the soil’s capacity to hold moisture and nutrients — which indirectly helps keep pH more stable over time.
Putting Leaf Mold to Work in My Own Beds
I tested leaf mold first on my reticulata camellias — ‘Leonard Messel’ and ‘Francie L.’ specifically. Reticulatas are the prima donnas of the camellia family, boasting huge, showy flowers but famously fussy about root conditions. Both plants responded strongly. The following season brought noticeably more vigorous growth, and ‘Francie L.’ produced blooms distinctly larger than in prior years.
It’s also, in my experience, the single best fix for genuinely poor ground. Whether you’re dealing with dense clay or thin, sandy soil lacking nutrients, working leaf mold into the top six inches before you plant makes a measurable difference. I now treat this as a non-negotiable step whenever I install a new camellia.
The catch is availability — producing it takes both time and a decent volume of leaves. Every fall I gather bagged leaves from neighbors, favoring oak and maple. If your supply is limited, though, use what you have as a soil amendment worked in at planting rather than spreading it thin as surface mulch — you’ll squeeze more value out of it that way.
One Error That Cost Me an Entire Plant
Here’s a mistake I’m not proud of, but I mention it because I still see fellow growers repeat it. Early on, I heaped nearly five inches of pine bark directly against the trunk of a young ‘Professor Charles S. Sargent’ japonica, operating under the assumption that more mulch equaled more protection. It didn’t.
By the middle of summer, that bark had trapped moisture right against the bark of the stem. Collar rot set in. I ended up losing a healthy four-year-old plant I’d grown from a cutting myself — a loss that stung precisely because it was so avoidable.
These days I hold to one non-negotiable rule: leave a two- to three-inch gap between mulch and stem, no exceptions. Three inches is my ceiling for depth anywhere in the bed, and with finer materials like leaf mold, two inches does the job. Mulch exists to shield roots, not to bury the crown — and that distinction matters far more than most people assume.
Matching Mulch to Your Own Camellia Beds
After two decades of trial and error, here’s the simplified version of how I make this call — it really doesn’t need to be overthought.
- Go with pine bark when you want something long-lasting and neat-looking on flat or lightly sloped ground. It suits japonicas well across zones 7b through 9.
- Go with pine straw on sloped beds, on a tighter budget, or in regions where it’s cheap and plentiful. Sasanquas especially seem to thrive beneath it.
- Go with leaf mold when your soil is compacted or poor and needs structural help, or when you’re planting new camellias and want to set roots up for success from day one. It’s a particularly strong match for reticulata cultivars, which crave both drainage and organic richness.
- Blend the three when your situation calls for it. My usual approach is working leaf mold into the soil at planting time, then finishing with pine bark or pine straw as the visible top layer — giving me the benefits of both.
Timing counts too. Get mulch down or refreshed in early spring, ahead of summer heat, and again in early fall if you’re somewhere hot or using a quick-decomposing material like pine straw. For zones 7b and colder, that autumn refresh doubles as essential winter root insulation.
Side-by-Side: The Three Mulches at a Glance
- Pine bark: Durable, mildly acidifying, suited to flat beds, pricier upfront, apply 2–3 inches deep
- Pine straw: Budget-friendly, holds on slopes, needs topping off more often, mildly acidifying, apply 3 inches deep
- Leaf mold: Outstanding for soil texture, best used as an amendment or thin top layer, needs months of lead time to prepare, apply 1–2 inches deep as surface mulch
Wrapping Up the Search for the Best Camellia Mulch
There’s no universal winner when it comes to camellia mulch — no single option that beats the rest in every scenario. What I can say with real confidence is that pine bark, pine straw, and leaf mold will each treat your camellias well, provided you apply them correctly and keep up with refreshing them. The one truly bad option is skipping mulch altogether.
Begin with whichever material is easiest for you to get your hands on. Keep tabs on your soil’s pH, testing it every year or two — a cheap soil test kit from your local extension office does the job well and is worth the small investment. Let your mulching strategy evolve as your garden does; mine certainly has shifted over twenty-plus years, and I’m still refining it.
New to all this? I’d point you toward my post on proper camellia planting technique before you even think about mulch — planting depth matters just as much as whatever you layer on top afterward. And if soil pH specifically has you stumped, I’ve covered amending camellia soil in much more depth in another post on this site.
Here’s your simple next move: walk out and check the mulch depth on your existing camellias, and pull it back anywhere it’s touching a stem. That one small fix could spare a plant the same rot that cost me mine. Start there, pick your mulch to match your conditions, and your camellias will pay you back with years of steady, healthy growth.
Written by Helen Pritchard. Helen Pritchard is a lifelong gardener in the Pacific Northwest who has grown more than 200 named camellia cultivars over two decades. She writes practical, experience-based guides to camellia care, from variety selection and pruning to troubleshooting yellowing leaves and bud drop. More about this site. Specifics change, and your situation may differ from the one described here. These are the authorities worth checking directly:About This Article

Verify this against a primary source