
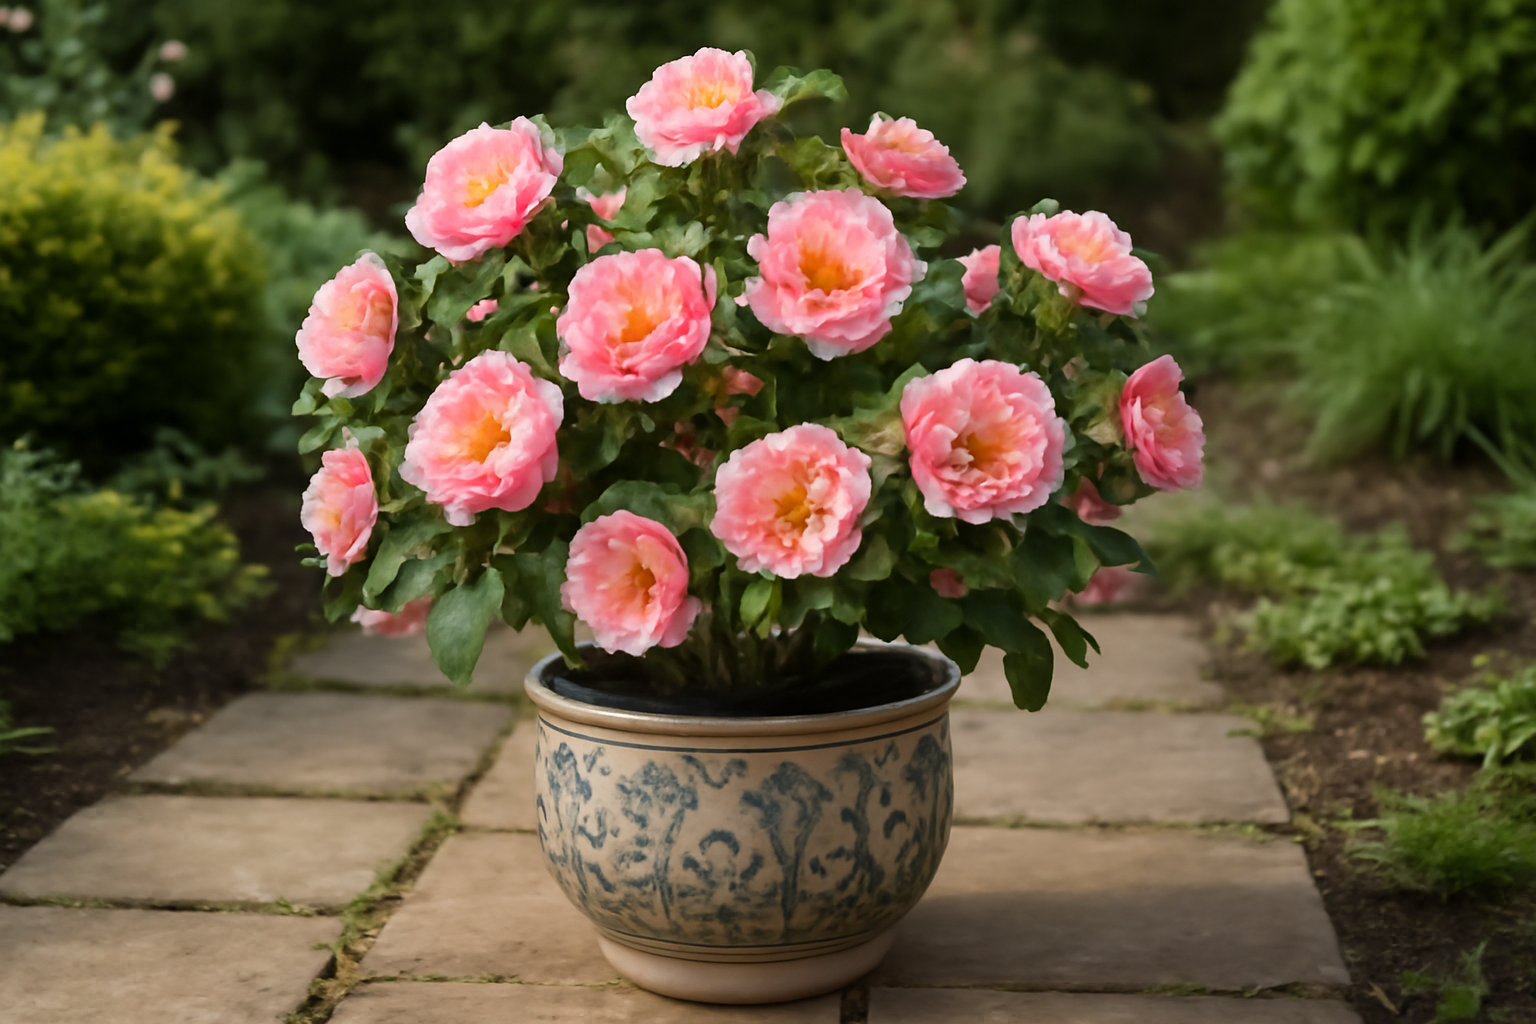
Wondering whether a camellia can genuinely thrive shut inside a pot instead of planted in open ground? Here’s my honest answer: yes, and convincingly so — I’ve been doing it for years. A few seasons back, running out of room in my crowded Zone 8a garden, I wedged a dwarf camellia variety into a hefty terracotta container on the back patio, half expecting it to be a stopgap measure. Instead, it turned into my favorite way to grow camellias, period. What follows is everything I’ve learned about selecting, potting, and keeping dwarf and compact camellias happy in containers — on patios, courtyards, balconies, wherever space is tight — starting with pot selection and carrying through to safe overwintering.
Before we get to pots themselves, a quick clarification on terminology: “dwarf” and “compact” aren’t interchangeable in camellia-speak, and I’ve laid out that distinction in full in my separate guide to dwarf and compact camellia varieties. For anyone growing in containers specifically, though, the label itself is almost beside the point. What actually matters is one practical question — will this particular cultivar tolerate having its roots confined, and keep performing well in a pot years down the line, not just its debut season? Having grown upward of 200 named cultivars at this point, I can confirm that a plant’s small stature doesn’t automatically mean it’s suited to pot life.
My Top Dwarf and Compact Camellias for Container Growing
I’ll lead with the cultivars I actually have growing in pots on my own patio right now — theory is nice, but this is where it gets tested.
Camellia japonica ‘Bokuhan’ (Tinsie)
Marketed under the name ‘Tinsie’ as often as its true name, ‘Bokuhan’ ranks among my very favorite candidates for pot culture. The blooms are anemone-form — a sharp red ring of outer petals wrapped around a tight cluster of white petaloids at the center — and the plant itself grows slowly and stays naturally small, which is precisely the temperament you want confined to a container. You won’t spend every year wrestling an overeager root system into submission.
Mine blooms consistently from February through March in my Zone 8a garden. It’s rated hardy to Zone 7b and shrugs off a light frost without any fuss. I keep this one in a 15-gallon glazed ceramic pot with strong drainage, and six years in, it’s holding at roughly three feet tall — still well within the container’s capacity, with no urgent repotting looming. Honestly, it might be the single most refined-looking thing I own on that patio.
Camellia japonica ‘Finlandia Variegated’
‘Finlandia Variegated’ delivers semi-double white flowers streaked with pink, on an upright, tidy plant that stays surprisingly well-behaved in a container even though it can climb to four or five feet once planted in the ground. I grow mine in Zone 8b, where it comes into bloom mid-season, roughly January into February.
No two blooms show quite the same variegation, and rather than finding that frustrating, I’ve come to enjoy it in a container specimen you’re going to be studying up close on the patio day after day. Some flowers lean nearly all white, while others arrive with heavy pink streaking. If consistency is what you’re after, this probably isn’t your plant — but for a pot you walk past constantly, that unpredictability is honestly half the fun.
Camellia sasanqua ‘Setsugekka’
‘Setsugekka’ won’t win any award for the smallest sasanqua available, but it adapts to container life beautifully and stays easy to manage with only light pruning. The large, ruffled, semi-double white flowers open from October through December — well ahead of anything else blooming among my japonicas, which is a genuine perk if you’re trying to spread color across several pots throughout the cooler months. Rated hardy to Zone 7a, it’s also one of the sturdier options for gardeners in colder climates.
In a pot, I’ve kept mine steady at three to four feet for years now. It prefers a slightly acidic mix — I aim for a pH somewhere between 5.5 and 6.0 — and reliably responds to a slow-release, acid-formula fertilizer worked in during early spring.
Picking a Pot That Actually Works
Container size deserves more thought than most people give it. Begin compact cultivars in something in the 10- to 15-gallon range — sizing up too aggressively invites root trouble and slows down blooming, since the plant funnels its energy into filling all that extra soil volume instead of setting flower buds. When you do repot, bump up one size at a time, never two.
Material took me longer to appreciate than it should have. Terracotta breathes, letting excess moisture wick out through the clay walls — genuinely valuable for camellias that despise soggy roots — but that same porosity means it dries out faster under summer heat and is more prone to cracking if trapped water freezes over winter. Glazed ceramic holds moisture longer, so you’re watering less often, but that retained moisture makes drainage holes and a properly draining mix all the more critical. I reserve glazed ceramic for the specimens I intend to keep long-term, and terracotta for pots I might need to shift around or swap out without much sentiment.
Drainage isn’t optional, no matter which material you choose. Every pot I use has several drainage holes, and I raise each one slightly off the ground with feet or bricks so it never sits in a puddle after rain — a detail that matters just as much as getting the mix’s pH right.
How the Wrong Potting Mix Nearly Undid My Container Camellias
For a long stretch, I used ordinary peat-based potting mix straight from the bag, without ever checking or correcting its pH. I understood camellias needed acidic conditions — ideally between 5.5 and 6.5 — but I assumed store-bought mix would land close enough on its own.
It didn’t. A number of my container plants started showing yellow leaves with distinct green veining — textbook interveinal chlorosis, caused by iron deficiency that stems directly from too-high pH. The iron was sitting right there in the mix; the roots simply couldn’t take it up. Growth flatlined, and bloom quality took a visible hit.
These days I test the mix before anything goes into a new pot. A basic digital pH meter does the job, and where the reading’s off, I correct it with elemental sulfur or switch to a dedicated ericaceous compost. If container camellias are something you’re serious about, a soil pH meter is maybe the smartest fifteen-dollar purchase you’ll make — I just wish I’d bought mine years earlier.
Keeping Container Camellias Watered, Fed, and Repotted on Schedule
A camellia in a pot runs on a completely different maintenance clock than one in the ground — the soil volume is fixed and dries out faster, and nutrients get depleted rather than continually replenished by surrounding earth. Here’s what I stick to on every container I keep:
- Repot on a three- to four-year cycle. Once a container camellia becomes rootbound, it starts to sulk — growth slows and flowering falls off noticeably. I go up one pot size at a time, never two, and use the repotting session as a chance to check the roots and trim back any that have started circling.
- Go easy on the fertilizer. I apply a slow-release, acid-plant formula in early spring right as new growth kicks off, and I stop feeding entirely after July — feeding too late encourages tender new growth that an early frost will punish, and container plants feel that setback faster than in-ground shrubs do.
- Water regularly, but don’t drown them. Container camellias need water more frequently than their in-ground counterparts, especially through summer, simply because there’s far less soil to buffer against drying. Even so, I let the top inch dry out between waterings — a permanently soggy mix will hurt the plant just as much as letting it dry out completely.
Overwintering Potted Camellias Depending on Your Zone
This is where container growing and in-ground growing part ways most dramatically, and it trips people up every single year. Roots in open ground are cushioned by a wide surrounding mass of soil that smooths out temperature swings. Roots confined to a pot have no such cushion — they’re exposed to ambient air on every side, and standard horticultural guidance puts container root temperatures anywhere from 5 to 10°F colder than what the same plant’s roots would feel underground. The rule I actually follow: assume a potted plant is one to two full hardiness zones less cold-tolerant than its label claims.
I currently grow camellias spanning Zones 7b, 8a, and 8b, and here’s how winter protection actually plays out for me in each one:
- Zone 8a–8b: Most winters ask almost nothing of me. On the rare nights that dip unusually low, I push pots together against a south-facing wall — clustering them offers a little mutual insulation, and the wall releases stored daytime warmth back at them overnight.
- Zone 7b: This is my own coldest zone, where temperatures can bottom out near 5°F (-15°C). Established in-ground japonicas and sasanquas ride that out fine, but I don’t extend the same trust to container roots. Whenever a night is forecast below roughly 20°F, I either shift pots into my unheated garage or wrap them in horticultural fleece and cluster them against the house.
- Zone 6b–7a: Container culture becomes genuinely borderline here for standard japonica and sasanqua types — protection needs to be a default part of every winter, not something you reach for occasionally. Either commit to overwintering pots in an unheated structure annually, or lean toward cold-hardy hybrid selections bred for northern conditions rather than straight species cultivars, since they’ll buy you a real margin against a surprise hard freeze.
The rule holds steady no matter what zone you garden in: take whatever your actual in-ground hardiness zone is, and plan your container’s winter protection as though you were gardening one or two zones colder. It’s a small habit that’s rescued more than one of my potted plants over the years.
Arranging Potted Camellias on the Patio
Once the growing conditions are dialed in, container camellias give you a kind of design freedom in-ground plants simply can’t offer. I stagger pots at varying heights — low plant stands or upturned crates propping up the smaller ones — so a cluster reads as a deliberate arrangement rather than a scattered row of containers. Lifting every pot even slightly off the patio surface, just a fraction of an inch on pot feet, protects both the drainage and the patio material underneath.
I position my most fragrant and most eye-catching pots near seating I actually use, and every few weeks during the growing season I give each one a quarter turn so the growth fills out evenly instead of leaning hard toward whichever side gets the most sun. It’s a minor habit, but it’s what separates a container plant that looks cared-for from one that looks like it’s slowly toppling over.
Why Container Camellias Deserve a Place on Your Patio
If you take one thing away from this guide, let it be this: dwarf and compact camellias grown in containers aren’t some compromise for gardeners lacking a proper bed. They’re remarkable plants in their own right — intricate blooms, glossy evergreen foliage, and a scale that’s genuinely easy to live with on a patio, balcony, or small courtyard. Get the pot right, get the mix right, get the winter plan right, and a single well-chosen container camellia can anchor that patio for decades to come.
About This Article

Written by Helen Pritchard. Helen Pritchard is a lifelong gardener in the Pacific Northwest who has grown more than 200 named camellia cultivars over two decades. She writes practical, experience-based guides to camellia care, from variety selection and pruning to troubleshooting yellowing leaves and bud drop. More about this site.
Verify this against a primary source
Specifics change, and your situation may differ from the one described here. These are the authorities worth checking directly:
- American Camellia Society — cultivar registration and culture guides
- USDA Plant Hardiness Zone Map — zone verification for your location
- Royal Horticultural Society — camellia cultivation and pest guidance



