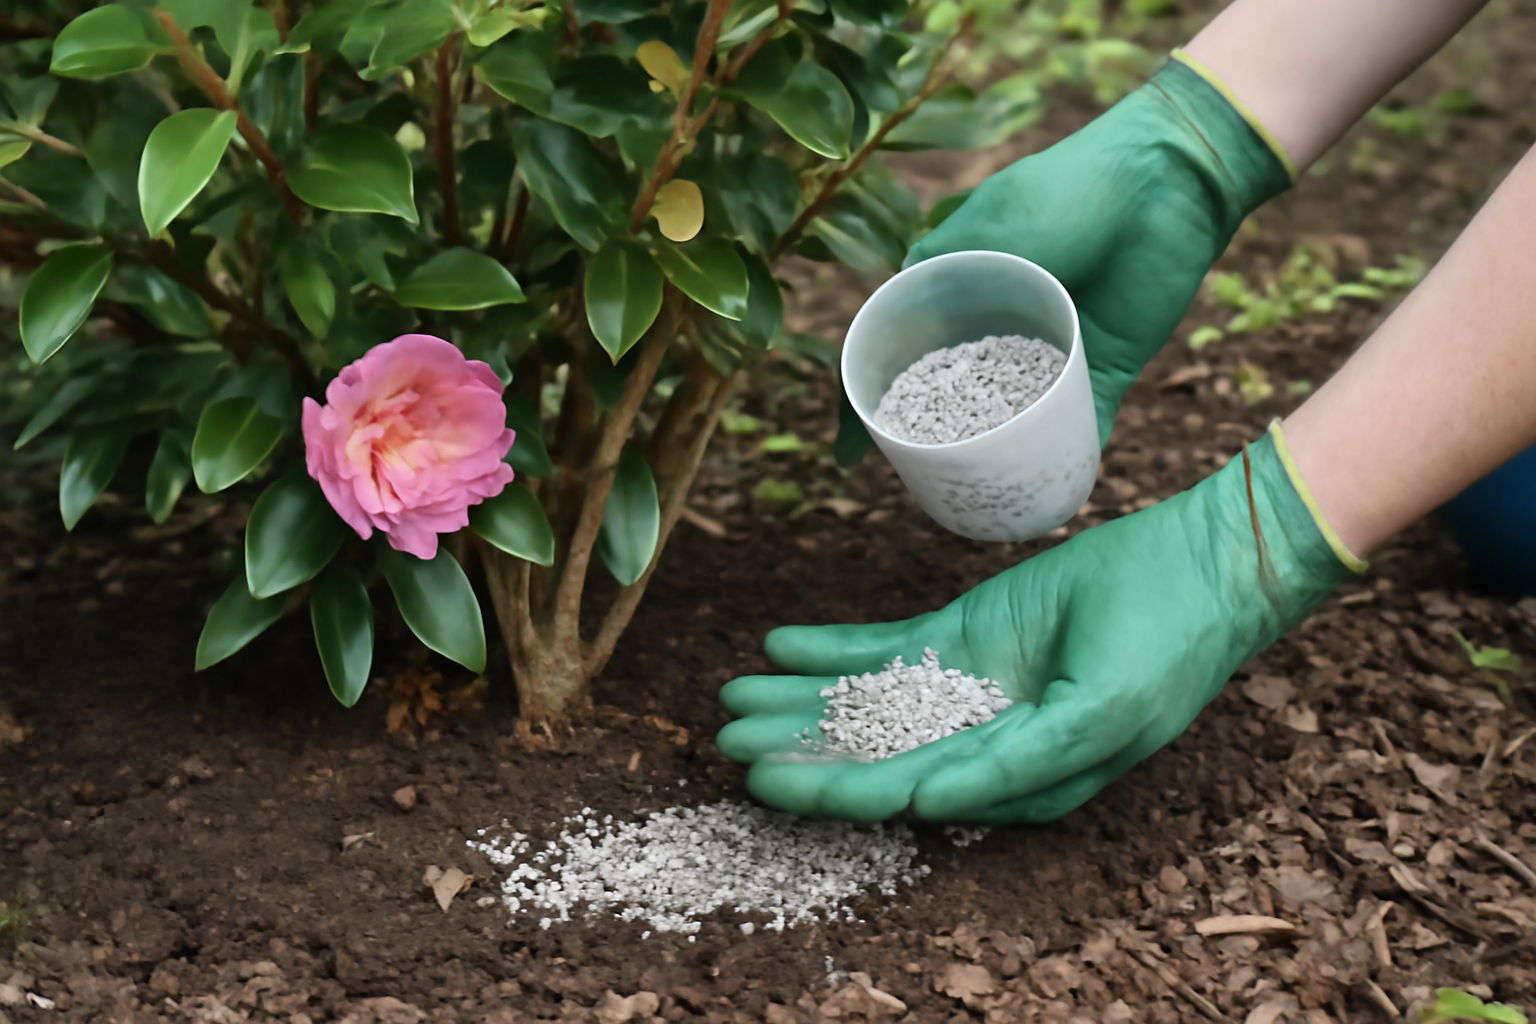
Feed a camellia the wrong way, and it will punish you slowly and silently for months. That’s the blunt truth of it. I learned this the hard way when my ‘Debutante’ japonicas started throwing chlorotic yellow leaves and my prized ‘Survivor’ reticulata all but refused to bloom — both consequences of feeding choices I’d made without really understanding what these shrubs needed. Once I finally sorted out the fertilizing puzzle, everything shifted. If you’re currently guessing your way through this too, let me spare you the years of trial and error I went through.
Between three USDA zones — 7b, 8a, and 8b — I keep over 200 named cultivars going, which has given me no shortage of chances to both nail this and botch it spectacularly. Camellias don’t demand much food, but what they do need is specific. Match their needs and you’ll notice thicker foliage, heavier bud counts, and richer flower color. Miss the mark, and your plants will sit there sulking for an entire growing season without telling you why.
Why a Standard Fertilizer Won’t Cut It for Camellias
The instinct most gardeners follow is to grab whatever all-purpose fertilizer is on hand. With camellias, that habit can actually do real damage. These are acid-loving shrubs, happiest when soil pH sits between 5.5 and 6.5. Drift outside that window — climb above 6.5 especially — and the plant loses its capacity to take up iron and manganese, even when both minerals are sitting right there in the soil.
What you’ll see is interveinal chlorosis — yellowing leaf tissue with the veins staying stubbornly green. It reads like a nutrient shortage, but the real culprit is pH. New camellia growers fall into this trap all the time. Their fix is more fertilizer, which only deepens the problem. Before you feed a single plant, check your soil’s pH first. That one step, in my experience, heads off more trouble than any feeding calendar ever could.
Camellia roots are also fine and fibrous, which makes them prone to salt scorch when you overdo fertilizer. That’s exactly why the product you choose matters just as much as when and how much you apply it.
What to Feed: Picking the Right Fertilizer for Camellias
My firm recommendation is a fertilizer built specifically for acid-loving plants. Anything labeled for camellias, azaleas, or rhododendrons fits the bill. These formulas feed the plant without nudging soil pH upward — a crucial difference from general-purpose blends, which tend to push soil toward alkalinity over time and work against camellias.
Granular or Liquid: Which Works Better
For plants that are already established, I reach for granular slow-release fertilizer every time. It releases nutrients gradually over several weeks, a pace that suits camellias well and cuts down the odds of salt damage. On my mature ‘Professor Sargent’ japonicas and the towering ‘Francie L’ reticulatas along the back fence, I apply a granular 10-5-4 acid-plant formula each spring.
Liquid feeding suits younger plants better, or situations where you want quicker results. The tradeoff is that it needs more frequent application and closer attention to dilution. I use a diluted liquid feed on my newer sasanqua transplants — ‘Setsugekka’ and ‘Yuletide’ among them — through their first couple of seasons while roots establish. Once they’re settled, I shift them over to granular feeding.
Making Sense of NPK Numbers for Camellias
Those three digits printed on every fertilizer bag stand for nitrogen (N), phosphorus (P), and potassium (K). Camellias want moderate nitrogen, a lighter dose of phosphorus, and a solid amount of potassium — something around 8-4-8 or 10-5-4 tends to do the job. Formulas heavy on nitrogen just force out excess leaf growth at the flowers’ expense, which is the opposite of what you’re after.
Phosphorus fuels root growth and flower production, while potassium builds toughness and resistance to disease. For the plants I grow in zone 7b, that potassium contribution really counts. Those shrubs occasionally face hard freezes, and tissue that’s well-nourished and properly hardened shrugs off cold stress far better than soft growth pumped up on nitrogen.
How to Fertilize Camellias: Getting the Timing Right
Timing is where most people stumble — I certainly did in my early years. Camellia feeding schedules should follow the plant’s growth cycle, not a date on your calendar. Once that clicks, everything else about feeding becomes far more obvious.
Catching the Spring Feeding Window
Start feeding in spring once new growth begins showing itself. Fresh, pale-green shoots emerging is your cue to act. In my zone 8b garden that usually arrives between late February and early March. Further inland, in my zone 7b beds, I hold off until mid-March or sometimes early April.
Don’t jump the gun on this. Feeding a dormant plant accomplishes nothing except wasted product and a real risk of burn. Nutrients only get used when the plant is actively growing, so wait for that visible growth signal before you apply anything.
For japonicas such as ‘Governor Mouton’ and ‘Elegans Supreme,’ spring stands as the main feeding opportunity. These bloom in late winter and early spring, meaning their flush of new growth follows right on the heels of flowering. That post-bloom stretch is the perfect moment for a solid feed to carry the plant through the rest of the season.
The Second Round: Feeding in Early Summer
Plenty of camellias do better with a lighter second feeding come early summer — roughly June across most zones. This backs the formation of next year’s flower buds, which are actually setting during summer months. I use about half the spring quantity for this round — think of it as a light top-off, not a full meal.
Sasanquas in particular benefit from this summer round. Cultivars like ‘Kanjiro,’ ‘Mine-no-yuki,’ and my longtime favorite ‘Shishi Gashira’ flower in fall and early winter. Their buds are forming throughout the summer months, so steady nutrition during that stretch pays off handsomely once October and November arrive.
Knowing When to Cut Off Fertilizing — and Why It’s Critical
Cut off all fertilizing by late July. In zone 7b I stop even sooner, drawing the line at late June. The reasoning: feeding late in the season, particularly with anything nitrogen-rich, triggers soft new growth right as fall approaches. That tender growth stands little chance against frost. Letting your camellias harden off naturally ahead of winter isn’t optional in colder zones — it’s essential.
I found this out firsthand with a young ‘Korean Fire’ I was fussing over. An August feeding pushed out a flush of lush new growth, and an early October frost promptly burned it back badly. The plant bounced back eventually, but the lesson never left me: no feeding once midsummer passes, no exceptions.
How Much to Apply: Rates You Can Actually Measure
Overdoing fertilizer on camellias happens far more often than skimping on it. These shrubs simply aren’t heavy eaters, so piling on more product doesn’t help. Stick to label rates, and if you’re torn, err on the side of slightly less rather than more.
A workable rule of thumb: about one tablespoon of granular fertilizer per foot of plant height, per feeding. A three-foot sasanqua takes roughly three tablespoons; a mature six-foot japonica takes about six. Scatter it evenly beneath the drip line — never right up against the trunk — then water it in deeply.
Tailoring Amounts to Plant Age and Health
First-year plants need very little food at all. I hold off feeding a freshly planted camellia for at least six to eight weeks after it goes in the ground, giving roots the chance to settle without added stress from concentrated nutrients nearby.
Healthy, established plants can take standard rates without issue. Stressed shrubs or ones recently transplanted, though, should get half-strength feedings until they show real signs of active new growth. When I relocated a large ‘Berenice Boddy’ japonica a couple of seasons back, I skipped full-strength feeding entirely for that first season. The patience paid off — she settled in beautifully and put on vigorous growth the following spring.
Camellias grown in containers need feeding more often but in smaller amounts, since watering constantly leaches nutrients out of the pot. My potted ‘Bob Hope’ and ‘April Remembered’ japonicas get diluted liquid fertilizer every three to four weeks through the growing season, rather than one heavy dose of granular.
Why Soil pH Deserves Its Own Attention
I touched on soil pH already, but it’s important enough to warrant its own section entirely. Fertilizing a camellia without checking soil pH first is a little like popping vitamins while eating in a way that blocks your body from absorbing them — all that effort, and nothing to show for it.
Test your soil ahead of each growing season, or every couple of years at the very least. Home test kits are cheap and give you a reasonably reliable reading. Your local cooperative extension office typically offers more thorough testing for a modest fee. What you’re aiming for is a pH between 5.5 and 6.5. Drop below 5.5 and manganese toxicity becomes a real risk; climb above 6.5 and iron and manganese deficiencies show up, despite those nutrients being present in the soil the whole time.
Correcting Your Soil pH When Necessary
If your pH reads too high, sulfur-based acidifiers will bring it down over time. Wettable sulfur gets results, though it works gradually — expect to apply it more than once and be patient. Aluminum sulfate acts quicker, but it can build up to toxic levels if you lean on it too heavily. Given the choice, I favor sulfur for managing soil long-term.
If your soil already runs acidic — as much of my native zone 8b soil does — acid-forming fertilizers alone will keep it in the right range without extra amendments. That’s part of why I lean toward camellia-specific granular blends: they feed the plant and quietly maintain soil acidity in one step.
Considering Organic Fertilizer: A Milder Route
Not everyone’s keen on synthetic fertilizers, and that’s a perfectly reasonable stance. Organic alternatives work well for camellias too. They release nutrients at a slower pace, carry essentially no salt-burn risk, and gradually improve soil structure the longer you use them.
My go-to organic pick for camellias is cottonseed meal. It naturally acidifies soil, carries decent nitrogen content, and breaks down slowly throughout the season. Each spring I work it lightly into the top inch of soil under the drip line. My ‘Nuccio’s Gem’ japonicas, planted in a partly shaded bed with thin native soil, have responded especially well to this over the years.
Other organic materials worth trying include composted pine bark, fish meal, and feather meal. Skip mushroom compost, though — it usually runs too alkaline for camellias. Fresh manure is another one to avoid, since it can scorch fine camellia roots and spike nitrogen levels too fast.
A Quick-Reference Feeding Calendar
- Early spring (February–April, zone dependent): Apply acid-plant granular fertilizer at full strength once new growth appears
- Early summer (June): Cut back to half-rate to encourage bud set, particularly on sasanquas
- Late July cutoff: Deliver your final feeding here; most zones should stop entirely after this point
- Zone 7b timing: Halt feeding by late June so plants harden before early frost arrives
- Potted specimens: Apply diluted liquid fertilizer every 3–4 weeks across the growing season
- Freshly transplanted plants: Hold off 6–8 weeks post-planting, then feed at half strength only for that first season
Putting It All Together: Your Camellia Fertilizing Plan
If there’s one takeaway worth holding onto, it’s this: timing and soil pH matter more than the specific brand sitting in your shed. Nail those two variables and your camellias will reward you handsomely. Figuring out how to fertilize camellias well isn’t some elaborate science — it just means watching what the plant is actually doing rather than following a fixed date on the calendar.
Begin this season with a soil pH test. From there, choose a solid acid-plant fertilizer — granular for shrubs already established, liquid for young or container-grown ones. Watch for that first push of spring growth, apply at the right rate beneath the drip line, and water it in thoroughly. Follow up with a lighter summer feeding if sasanquas or reticulatas destined for fall and winter blooms are part of your garden.
From there, step back and let the plants take it from here. Camellias are tough, long-lived shrubs by nature. Give them a sensible feeding routine and decent soil conditions, and many of my oldest specimens — some more than 30 years established — still bloom just as generously as they ever did. Yours will find their way there too.
If shaping your shrubs after feeding season is on your mind too, I’ve laid out the full process in my post covering camellia pruning for form and vigor. That’s really where the transformation continues.
About This Article

Written by Helen Pritchard. Helen Pritchard is a lifelong gardener in the Pacific Northwest who has grown more than 200 named camellia cultivars over two decades. She writes practical, experience-based guides to camellia care, from variety selection and pruning to troubleshooting yellowing leaves and bud drop. More about this site.
Verify this against a primary source
Specifics change, and your situation may differ from the one described here. These are the authorities worth checking directly:
- American Camellia Society — cultivar registration and culture guides
- USDA Plant Hardiness Zone Map — zone verification for your location
- Royal Horticultural Society — camellia cultivation and pest guidance