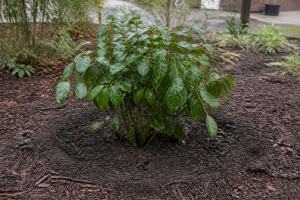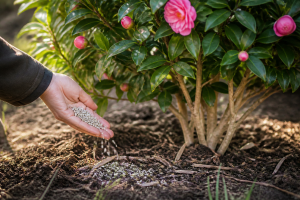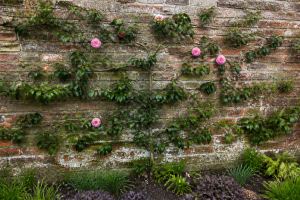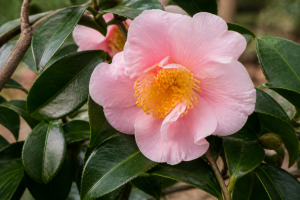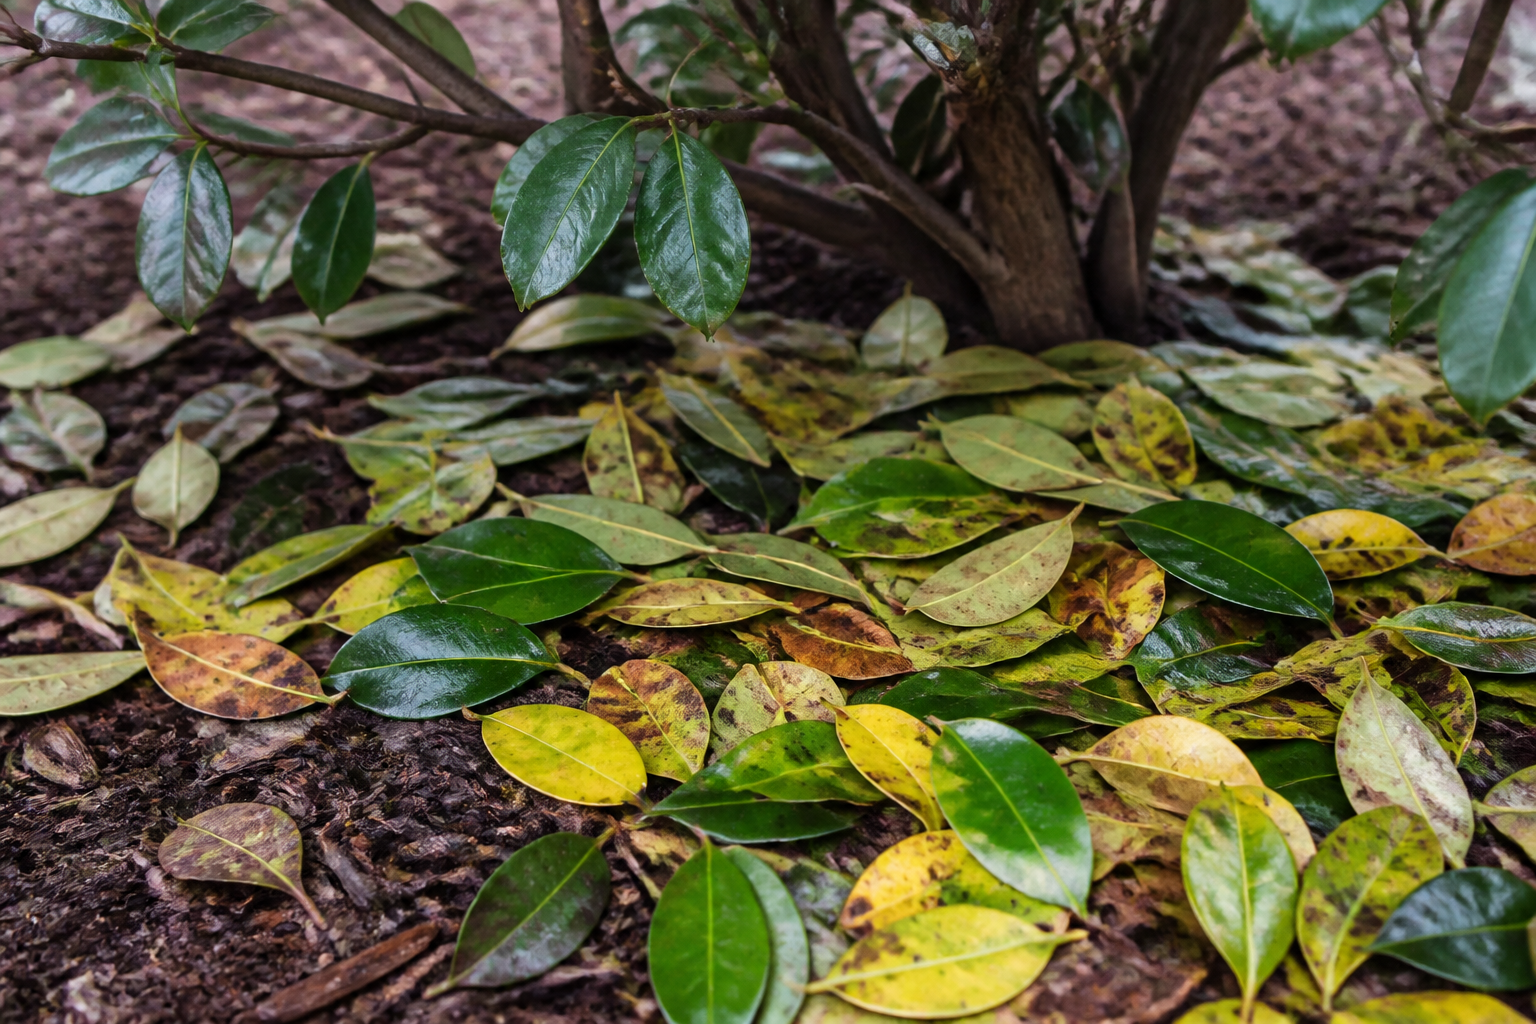
If you are searching for help with camellia dropping leaves, you are probably looking at a healthy plant doing something that looks alarming. Yellow leaves falling from the middle of the bush, while the tips push out glossy new growth, is normal. I see it every spring in my own beds, and it still makes me pause on the first warm morning of May. The useful question is not whether leaves fall. It is which leaves fall, how fast, and what the rest of the plant is doing.
Evergreen does not mean the same leaves forever
Camellias are evergreen, but that word describes the plant, not each individual leaf. A camellia leaf typically lasts about two to three years. Some references suggest a little longer under good conditions, and I have seen older leaves hang on in a sheltered corner. Treat the timeline as a guide rather than a rule.
Think of the bush as a rolling inventory. New leaves appear at the branch tips each spring. The oldest leaves, deep inside and low down where light is weakest, reach the end of their working life and fall. This usually happens in late spring and early summer, while the new flush hardens off and takes over the job of feeding the plant.
The result can look worrying. You may find a scatter of yellow leaves on the mulch, and the interior of the plant looks thinner than it did in February. Meanwhile the outer shoots are dark and shining. That combination is what healthy shedding looks like, and it is the picture most people are actually describing when they worry.
Read the pattern, not the fact of leaf loss
Losing leaves tells you very little on its own. The pattern tells you almost everything. Three questions do most of the work: which leaves are going, how quickly they go, and what the rest of the plant is doing at the same time.
Here is how I sort what I see in the garden:
- Oldest, innermost, lowest leaves dropping gradually in late spring, with new growth visible at the tips: normal.
- Sudden, heavy drop across the whole plant in any season: a real problem.
- Youngest leaves at the tips going first, often with wilting or dieback: a real problem, and usually a root problem.
The first pattern is the one most readers have. The other two call for action. Below, I work through the common causes, each with the tell that helps you recognize it.
Drought stress and the delayed drop
Camellias show drought in a fairly recognizable way. Leaves lose their gloss, turn dull, curl slightly inward, and sometimes brown along the edges. Flower buds may drop before opening. If the dry spell is severe, the plant can start shedding leaves while the stress is still going on.
The delayed version is the one that frustrates people most. A plant gets through a dry July, holds its leaves, and then drops a batch in September after the autumn rains arrive. The gap between cause and effect can be several weeks. From the owner’s side, nothing happened, so the drop seems to come from nowhere.
To test for drought, push a trowel or your finger 4 to 6 inches (10 to 15 cm) into the root zone, away from the trunk. Surface soil can be damp while the root ball is bone dry. Established beds under eaves are especially prone, because they receive far less rain than the open lawn. For a fuller picture of timing, see watering camellias correctly in every season.
Overwatering and root rot: the wilt that does not recover
Overwatering causes a counterintuitive problem. A plant sitting in saturated soil can wilt, because its roots are drowning and cannot move water upward. The classic sign is wilting that does not recover overnight. A plant short of water usually perks up after a deep drink. A wilted plant in wet soil is not short of water at all.
Look for soggy or sour-smelling soil, a surface that stays wet for days after rain, and leaves that yellow and drop from the bottom up. Heavy clay and compacted beds are the usual setting here. Our wet winters make this worse in the Pacific Northwest, particularly where a planting sits in a low spot or gets runoff from a downspout.
Here is a simple drainage check I rely on. Dig a hole about 12 inches (30 cm) deep next to the plant, fill it with water, and time how long it takes to drain. If water still stands after several hours, the site has a drainage problem. Roots that sit in that water for weeks can rot. For the full sequence of signs and rescue steps, read about root rot signs, causes and how to save the plant.
I should admit that sources do not always agree on how quickly root rot shows up above ground. Some growers see decline within weeks, while others notice it only after a whole season. The soil test is more reliable than waiting for the leaves to tell you.
Cold and wind damage
Cold damage has a clear progression. Leaf margins brown first, sometimes with a water-soaked look just after the freeze. The damaged leaves then go dull and drop over the following days or weeks. Flower buds on japonica types can brown and fall too, which is often the first clue that a cold snap came through overnight.
Wind adds to the picture. In my garden, the windward side of a plant usually shows the worst damage, with leaves scorched or shredded on that face while the sheltered side looks fine. If you see that asymmetry, a cold or drying wind is the likely culprit. Walk around the plant before deciding it is sick all over.
Timing matters too. Our Pacific Northwest winters often include a warm spell followed by a hard freeze, and that swing does the most harm. Check the temperature record for the nights before the damage appeared. A drop after a documented freeze is almost always cold injury, and it usually stops once the plant recovers.
Scale insects and the sooty mold that follows
Scale insects are easy to miss because they sit still and look like part of the plant. They appear as small, flat or domed bumps, often brown, tan, or white, clustered on leaf undersides and along stems. Scale feeds on sap, and the stress of that feeding can make leaves yellow and drop.
Scale also leaves sticky honeydew behind. Sooty mold grows on that residue, forming a black, powdery film on the upper leaf surface. If your leaves feel tacky or look coated in soot, turn a few over and check the undersides with a hand lens. Scrape a suspicious bump gently with a fingernail. Live scale is often firm, while dead scale crumbles.
Treatment depends on the species and the life stage, and extension sources differ on exact timing. Many recommend a horticultural oil applied when the crawler stage is active, but check your local extension office for what works in your area. Washing sooty mold off the leaves helps the plant photosynthesize again, although it does not address the scale itself.
Transplant shock, sunburn, and bloom-year drop
Transplant shock is common after planting or moving a camellia. The root ball has lost many of its fine feeder roots, so the top of the plant struggles to keep up. Leaves may drop within weeks, or the decline may take several months to show. Recovery usually depends on keeping the root zone evenly moist while new roots establish. My full notes on camellia transplant shock and recovery cover the timeline in more detail.
Sunburn is the other common post-move problem. A shade-grown plant moved into strong afternoon sun can develop pale, bleached patches, crisp edges, and then leaf drop. The leaves most exposed suffer first. The fix is gradual acclimation, moving the plant into more light over several weeks rather than all at once.
A heavy bloom year can also cause some leaf loss. A plant that set an enormous crop of flowers may shed a few more interior leaves than usual the following season. This is a mild and temporary effect. If the pattern matches normal late-spring shedding and the plant looks vigorous otherwise, I would not worry about it.
Container-specific causes
Potted camellias have their own failure modes. The most common is a pot that dried out completely. When dry peat-based mix pulls away from the pot walls, water runs straight down the gap and out the bottom. The root ball stays dry while the surface looks wet. Leaves then drop in a pattern that resembles drought in the ground.
The second problem is a pot that has never been refreshed. Over several years, potting mix breaks down, compacts, and loses its air spaces. Roots circle the pot, water drains slowly, and the plant slides into a slow decline. Yellowing and drop from the interior are common. Repotting in fresh mix every two to three years, in spring after bloom, prevents much of this. Sources vary on the exact interval, so watch the plant rather than the calendar.
Diagnosis at a glance
Use this table to match what you see with the most likely cause. Urgency reflects how quickly I would act, not how serious the eventual outcome might be.
| Pattern of leaf loss | Season | Likely cause | Urgency |
|---|---|---|---|
| Oldest interior leaves yellow, then drop gradually, new growth at tips | Late spring to early summer | Normal annual shedding | Low: monitor only |
| Sudden heavy drop across the whole plant | Any season | Drought, root stress, or other systemic stress | High: check soil and roots this week |
| Drop after a hard freeze, browning margins, windward side worst | Winter or early spring | Cold and wind injury | Moderate: protect and wait |
| Sticky leaves, black sooty coating, drop from stress | Any season, often summer | Scale insects and sooty mold | Moderate to high: inspect undersides now |
| Drop after a move or repot | Within weeks to months of moving | Transplant shock or sunburn | Moderate: keep evenly moist, shade gradually |
| Wilting that does not recover overnight, followed by drop | Any season, often after rain | Overwatering and root rot | High: stop watering and check drainage |
Leaf drop is not the same as yellowing
Leaf drop and leaf yellowing overlap, but they are different problems. Yellowing describes what a leaf looks like, usually from age, light, or nutrient issues. Drop describes the leaf leaving the plant. A single leaf can yellow for weeks before it falls. A plant can also drop leaves that never yellowed, as happens with a sudden drought or a hard freeze.
If your main concern is the color change, read why camellia leaves turn yellow for the color-specific causes. Use this post to work out whether the falling is the normal kind or the warning kind.
What to do this week
When leaves start falling, resist the urge to act immediately. Work through this sequence first, in order:
- Check soil moisture at depth before anything else. Push a trowel or finger 4 to 6 inches into the root zone.
- Look under the leaves for scale, using a hand lens on the undersides and stems.
- Check drainage. Note whether water stands after rain and whether a pot drains freely.
- Then wait. Give the plant two to three weeks before making any further changes.
The most common mistake I see is responding to leaf drop by watering and feeding a plant that needs neither. Extra water on a drowning root system makes things worse. Fertilizer on a stressed plant can add more strain. Wait, watch the new growth, and let the pattern tell you what comes next.
If the pattern points to a real problem and you cannot find the cause, the full diagnostic guide for a struggling camellia walks through each possibility step by step. For serious tree-size plants or suspected disease, a certified arborist or your county extension office can give a site-specific opinion.
About This Article

Written by Helen Pritchard. Helen Pritchard is a lifelong gardener in the Pacific Northwest who has grown more than 200 named camellia cultivars over two decades. She writes practical, experience-based guides to camellia care, from variety selection and pruning to troubleshooting yellowing leaves and bud drop. More about this site.
Verify this against a primary source
Specifics change, and your situation may differ from the one described here. These are the authorities worth checking directly:
- American Camellia Society — cultivar registration and culture guides
- USDA Plant Hardiness Zone Map — zone verification for your location
- Royal Horticultural Society — camellia cultivation and pest guidance