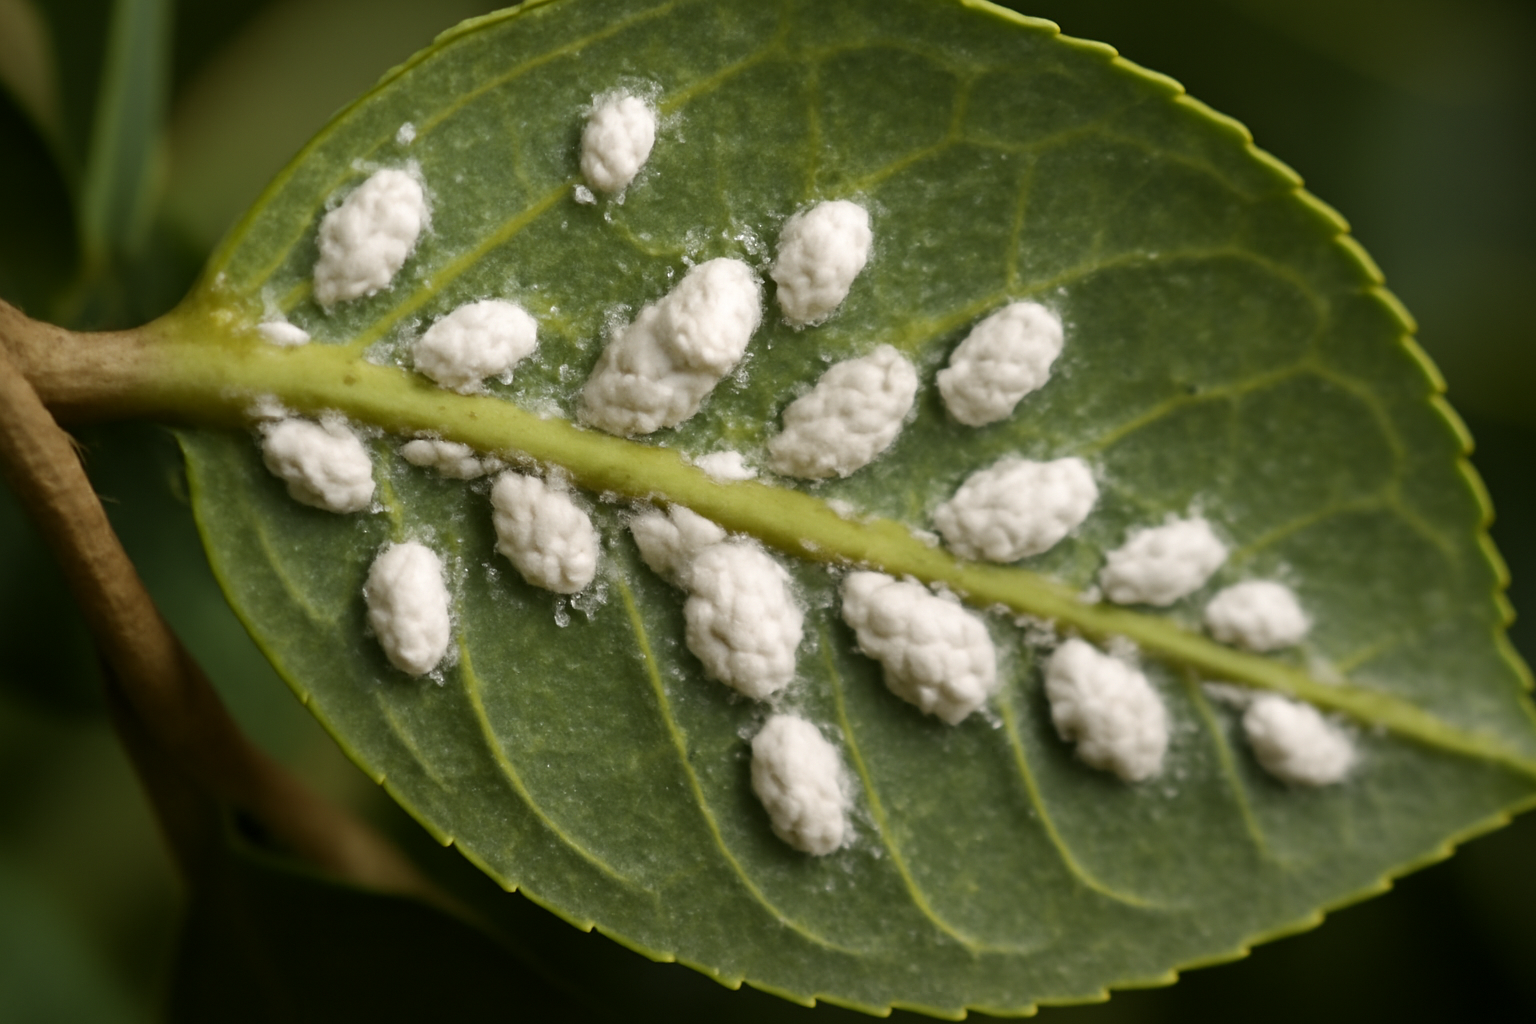
Most camellia growers don’t realize tea scale is already on their plants.
I didn’t either—not until I zoomed in on the underside of a leaf from my ‘Yuletide’ one February morning and found what looked like tiny cream-colored bumps arranged in neat rows. That’s when I understood why my otherwise healthy japonica had started dropping leaves for no obvious reason. It was a lesson learned the hard way, but one I’m grateful for now as it pushed me to understand this pest better.
Tea scale (*Fiorinia theae*) is the most persistent pest I’ve dealt with across my 200+ cultivars in three different hardiness zones, particularly here in the Pacific Northwest. It’s not flashy like spider mites or dramatic like scale crawlers. But it’s sneaky, stubborn, and if left unchecked, it’ll weaken your camellias year after year. I’ve seen beautiful blooms turn into sad, leaf-dropping shells when the scale gets out of control.
The good news? Once you know what you’re looking for and understand its life cycle, tea scale becomes completely manageable. I’ve prevented infestations on dozens of plants and cleared established ones without chemicals I’m uncomfortable using. Here’s what I’ve learned.
What Tea Scale Actually Looks Like
Tea scale isn’t an insect you’ll notice from across the garden. You have to get close. Really close.
The female scale looks like a tiny, elongated oval bump—cream, tan, or light brown in color. Size matters here: she’s only about 2-3mm long. That’s roughly the width of a pencil tip. Males are even smaller and rarer to spot. I remember the first time I found them; I felt like a detective uncovering a hidden mystery in my garden.
Both sexes attach to the underside of leaves, usually arranged in loose rows along the leaf’s midrib or secondary veins. This is the key detail: check the *undersides* of leaves first. You’ll almost never see tea scale on top. I learned this the hard way when I spent weeks worrying over a beautiful ‘Pink Perfection,’ only to find the scale lurking where I least expected it.
In my experience, older, lower leaves on a plant get hit hardest. When I inspect a suspected plant, I always flip the leaves on the interior of the canopy—exactly where light is lowest and airflow is weakest. That’s where infestations hide longest. It’s become part of my routine, almost like a ritual, to check these leaves every spring.
How to Tell Your Camellia Has Tea Scale
Symptoms aren’t always obvious at first. A light infestation might look like nothing more than a plant that’s not thriving the way it should. I’ve seen healthy plants suddenly start to look lackluster, and I initially chalked it up to winter blues.
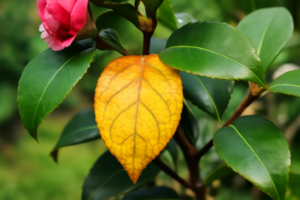
Look for yellowing or browning spots on the upper leaf surface, directly above where the scale are feeding underneath. The leaf might develop a speckled, stippled appearance. Over time, affected leaves drop—sometimes in surprising numbers during late winter or early spring. With my ‘Yuletide,’ I assumed it was cold damage or winter stress until I flipped a few lower leaves, and the tiny bumps were unmistakable.
Heavy infestations cause more severe damage. Your camellia might flower poorly, produce smaller blooms, or develop a generally weakened appearance. Growth slows. In my zone 7b bed, I’ve seen untreated infestations gradually decline plants over two to three seasons. Some of my prized japonicas took years to recover from infestations I didn’t catch early enough.
On the other hand, a single cluster of scale on a new leaf might not warrant immediate action. The trick is distinguishing light pressure from a real problem. I’ve learned to keep an eye on the overall health of the plant as well as the scale itself.
Understanding the Tea Scale Life Cycle
Tea scale survives year-round in most hardiness zones where camellias grow. Knowing when they’re active helps you time your treatments for maximum effect.
Females overwinter on leaf undersides in a dormant-ish state. Starting in late spring—May or June in zone 8—they begin laying eggs beneath their protective waxy covering. One female can produce 100+ eggs over several weeks. It’s astounding how quickly they can multiply if you’re not vigilant!
Eggs hatch into tiny, mobile crawlers. These are the vulnerable stage. Crawlers have legs, antennae, and the ability to move around briefly before they settle on a new leaf and start feeding. This crawler stage lasts only a few days. I’ve often thought of these little guys like tiny soldiers on a mission to conquer my camellias.
Once settled, crawlers insert their feeding tube into the leaf and stay put for the rest of their lives. They develop their protective waxy scale covering and become nearly immune to most contact sprays. In my garden, there are typically two to three generations per year depending on heat. I always make a note in my gardening journal when I spot them, so I can keep track of their life cycle.
This lifecycle detail is crucial. Your best window for control is when crawlers are mobile—late spring through early summer, and again in mid to late summer. That’s when contact treatments actually work. I’ve had my best success when I stay on top of things during those critical months.
My Preferred Treatment Methods
I use different approaches depending on severity and plant location. None require harsh chemicals, which is something I take seriously in my garden.
Insecticidal Oil Spray
This is my go-to for active infestations. Horticultural oils coat crawlers and block their breathing spiracles. The key is timing and thoroughness. I always keep a bottle handy during the summer months.
In late May or early June, when crawlers are emerging, I spray affected plants. The oil must coat both leaf surfaces, especially the undersides where scale hide. I use a spray bottle for smaller specimens, but for my larger japonica and hybrid beds, I break out a pump sprayer. It can be a bit of a workout, but it’s worth it to protect my plants.
One application isn’t usually enough. I typically spray again 10-14 days later to catch the next flush of crawlers. Some years I’ve done three applications spaced two weeks apart through July. It’s become part of my summer gardening routine, and I often find myself humming a little tune while I work.
Important: spray only in early morning or late evening when temperatures are below 80°F. Oil in heat can burn foliage. Also, never spray oil within two weeks of using sulfur—the combination damages leaves badly. I learned that the hard way on a susceptible ‘Alba Plena’ years ago. That memory still makes me cringe!
Systemic Insecticide
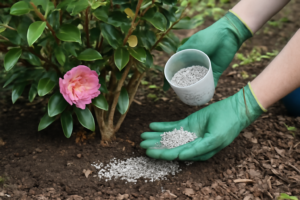
For severe infestations or persistent problems, I’ve used soil-applied systemics like imidacloprid. The plant absorbs the active ingredient, poisoning the sap that scale insects feed on. It’s like giving my camellias a little boost in their fight against pests.
This method works well because it doesn’t rely on perfect spray coverage. However, I reserve it for plants I really value or situations where oils haven’t worked. Systemics persist in the plant for weeks, which is both an advantage and a consideration I think about carefully. I always weigh the pros and cons before deciding to go this route.
If you go this route, apply in spring when the plant is actively growing so it uptakes the chemical effectively. Follow label directions precisely—dosing varies by plant size. I remember the first time I miscalculated; it was a lesson I won’t forget!
Manual Removal
For light infestations, sometimes a soft brush and pruning shears work fine. I find it quite meditative to manually remove pests. It’s become part of my gardening therapy.
I use an old toothbrush dipped in rubbing alcohol and gently brush the undersides of infested leaves. This crushes crawlers and disrupts established scale. It’s tedious on large plants but satisfying on smaller ones. I often put on my favorite gardening gloves and settle in for a good session with my camellias.
Alternatively, I’ll simply prune out the most heavily affected branches, especially if they’re interior growth anyway. This improves airflow simultaneously—a bonus since poor air circulation encourages scale. I’ve learned to appreciate the dual benefits of pruning over the years.
Prevention Strategies That Actually Work
The best treatment is the one you never need. I’ve found three practices dramatically reduce tea scale pressure across my collection. Prevention truly is the best medicine!
Space Plants for Air Movement
Tea scale thrives in humid, stagnant air. Don’t crowd camellias. Leave room between plants—I aim for at least 4-5 feet between mature specimens, depending on the cultivar’s natural habit. It’s like giving them their own personal space to thrive.
In my zone 8a bed, I’ve noticed a ‘Black Lace’ planted in an open spot stays cleaner than one tucked in a corner with limited air movement. Same cultivar, same care—the difference is airflow. I’ve often joked that my camellias are like people; they need room to breathe!
Prune Out Dead Interior Growth
Dense, dead wood in the plant’s interior creates pockets of still air. I prune these out annually during dormancy—late winter in my zones. Remove crossing branches and thin congested areas. I’ve even made it a point to involve my grandchildren; they love helping me with the pruning and learning about the plants.
This isn’t about creating a perfect shape. It’s about opening the canopy so light and air can penetrate. A camellia should be slightly airy inside, not a dense green ball. I sometimes refer to it as giving my camellias a “haircut,” and they seem to thrive because of it!
Monitor Early and Often
I check leaf undersides on my susceptible plants monthly during the growing season. Specifically, I target new growth and lower leaves. It’s become a part of my gardening routine, like clockwork.
Catching scale early—when infestations are small and localized—makes control so much easier. Waiting until you see leaf yellowing means the population has already exploded. Monthly inspections take 15 minutes across my whole collection. It’s preventive medicine, and I often find it quite calming to spend that time in the garden.
Cultivars I’ve Found More Susceptible
Not all camellias face equal risk. In my experience, certain cultivars and types attract tea scale more readily. It’s like they have a neon sign inviting pests in!
Japonicas with glossy, thin-textured leaves seem more vulnerable. ‘Alba Plena,’ ‘Debutante,’ and ‘Mathotiana’ have given me trouble more often than others. Hybrids like ‘Winter’s Dream’ and ‘Yuletide’ are moderately susceptible in my gardens. I’ve even had to create a special section in my garden journal just for tracking these troublemakers!
By contrast, my sasanquas—particularly ‘Autumn Glory’ and ‘Navajo Rose’—rarely show heavy infestations. Whether it’s leaf texture, sap chemistry, or simple chance, I honestly don’t know. But the pattern holds year after year. It’s one of those delightful surprises that keeps gardening interesting!
If scale has been a recurring issue on a specific plant, you might consider whether that cultivar is worth the management effort. I’ve removed two japonicas over the years simply because the scale pressure never quit, even with diligent treatment. Sometimes that’s the most practical choice, even if it’s a tough call.
The Bottom Line
Tea scale is annoying, but it’s not a camellia death sentence. With consistent monitoring, good cultural practices, and timely treatment during the crawler stage, you’ll keep it under control without fuss. I remind myself that every gardener has their battles, and this is just one of mine.
The plants in my collection that get regular inspections and good spacing rarely need intervention. Those I’ve neglected or crowded? They need active treatment every couple of years. It’s a reminder that in gardening, as in life, a little attention goes a long way.
Start flipping leaves this spring. Look for those tiny cream-colored ovals on the undersides. Catch them early, act decisively, and your camellias will flourish. Trust me; it’s a labor of love that pays off with stunning blooms and vibrant greenery!
About This Article

Written by Helen Pritchard. Helen Pritchard is a lifelong gardener in the Pacific Northwest who has grown more than 200 named camellia cultivars over two decades. She writes practical, experience-based guides to camellia care, from variety selection and pruning to troubleshooting yellowing leaves and bud drop. More about this site.
Verify this against a primary source
Specifics change, and your situation may differ from the one described here. These are the authorities worth checking directly:
- American Camellia Society — cultivar registration and culture guides
- USDA Plant Hardiness Zone Map — zone verification for your location
- Royal Horticultural Society — camellia cultivation and pest guidance