
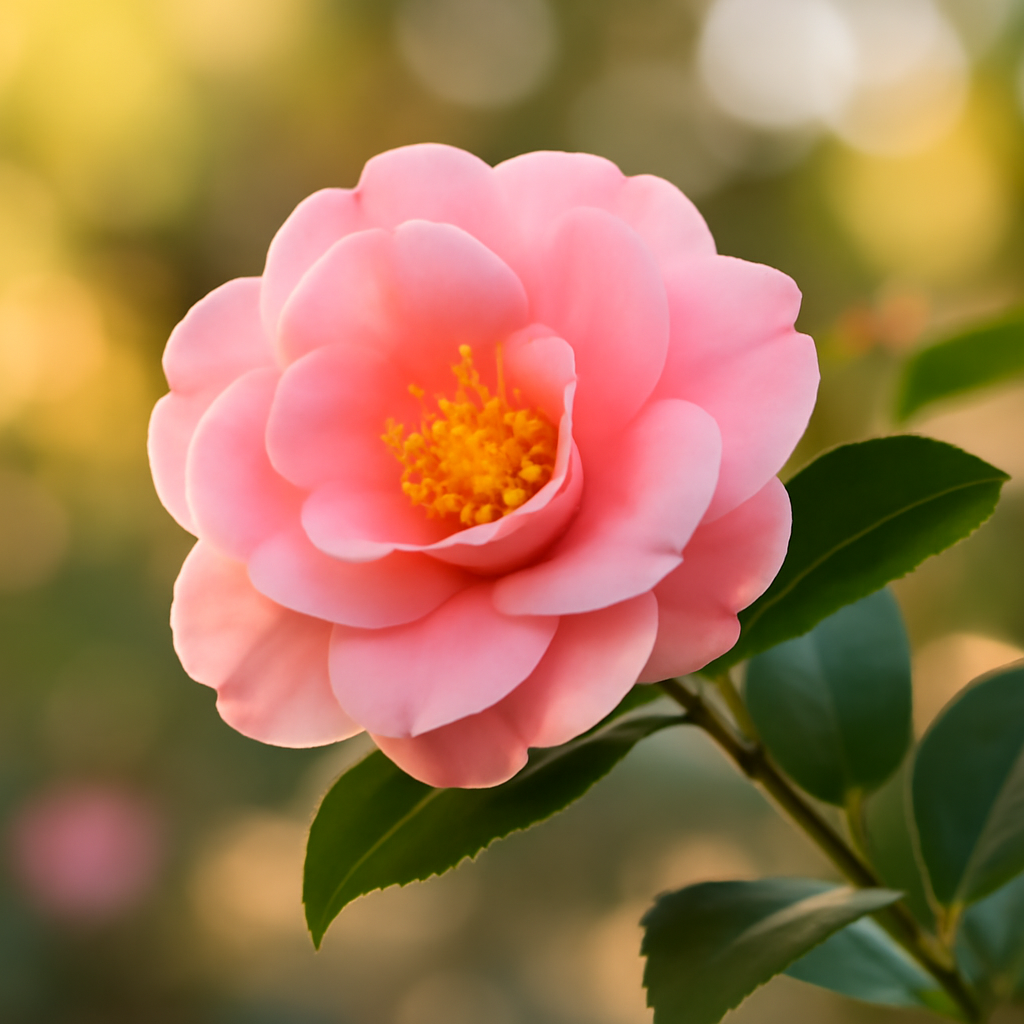

Camellia landscaping opens up more design possibilities than most gardeners realize. With evergreen leaves, showy flowers, and a growth habit that adapts to nearly any setting, camellias rank among the most versatile plants you can build a landscape around. Whether your growing space is a modest patio or a sprawling estate lot, camellia landscaping has the power to keep your yard looking finished and alive in every season. This guide walks through the layout choices, plant pairings, and upkeep habits that make that kind of camellia landscaping possible.
Pine Straw Mulch: The Camellia Fix I Nearly Passed Over
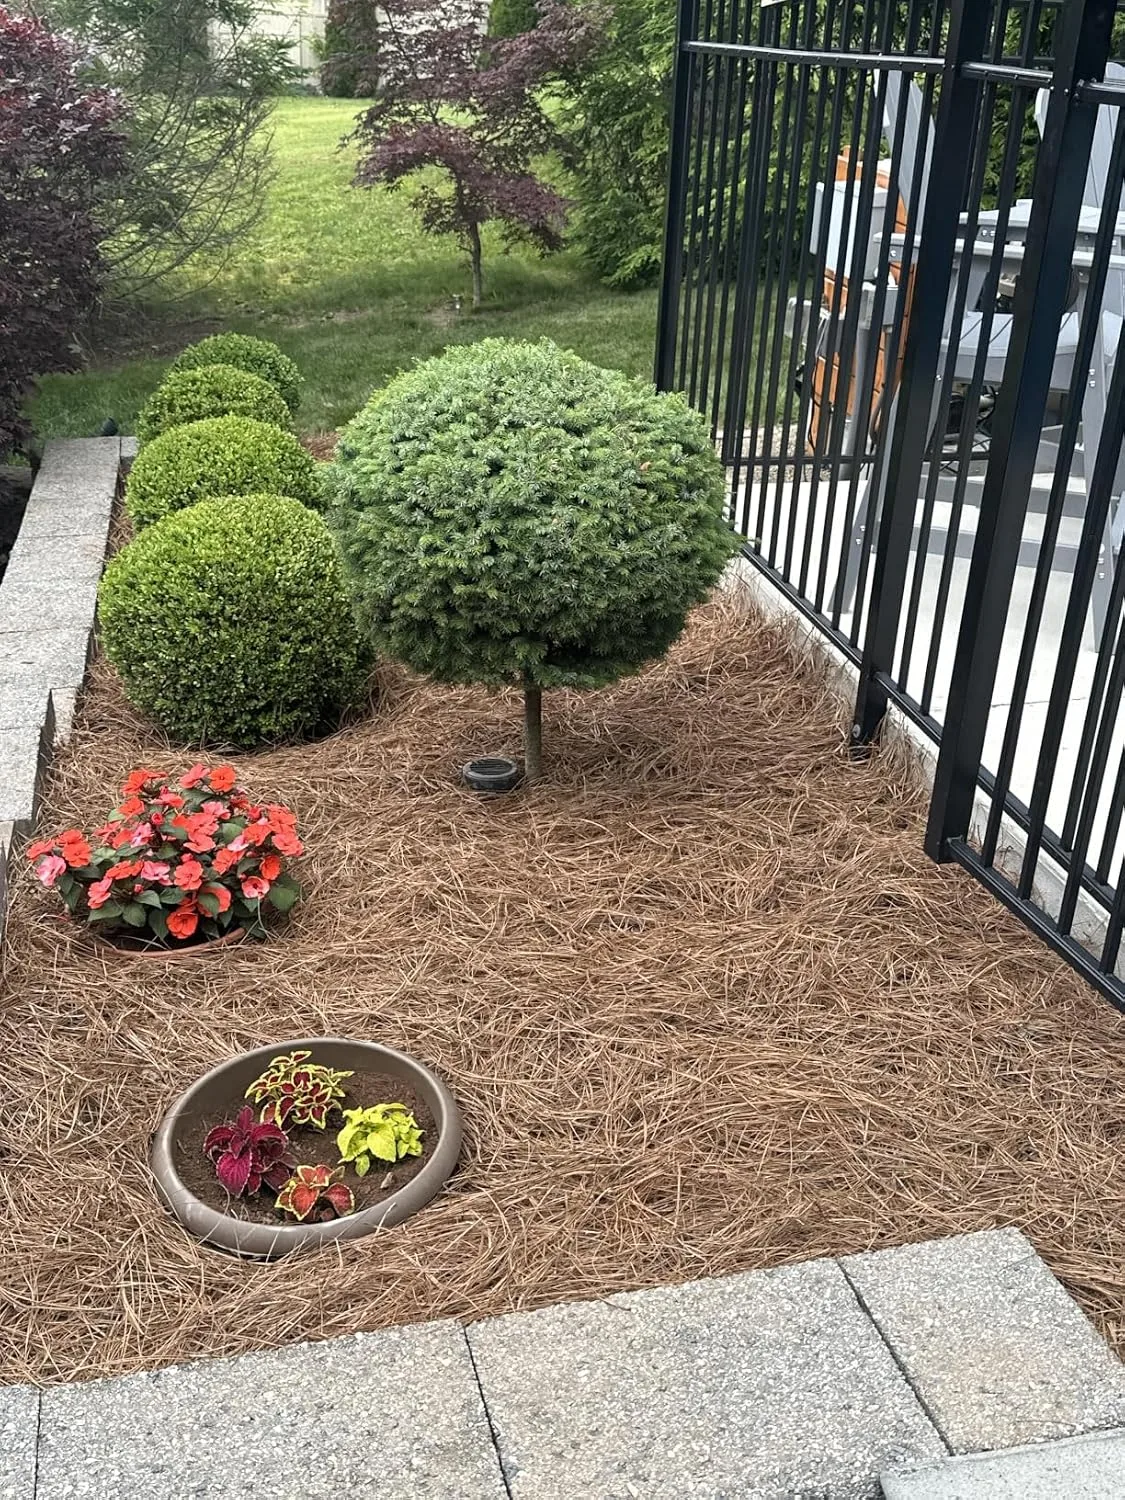
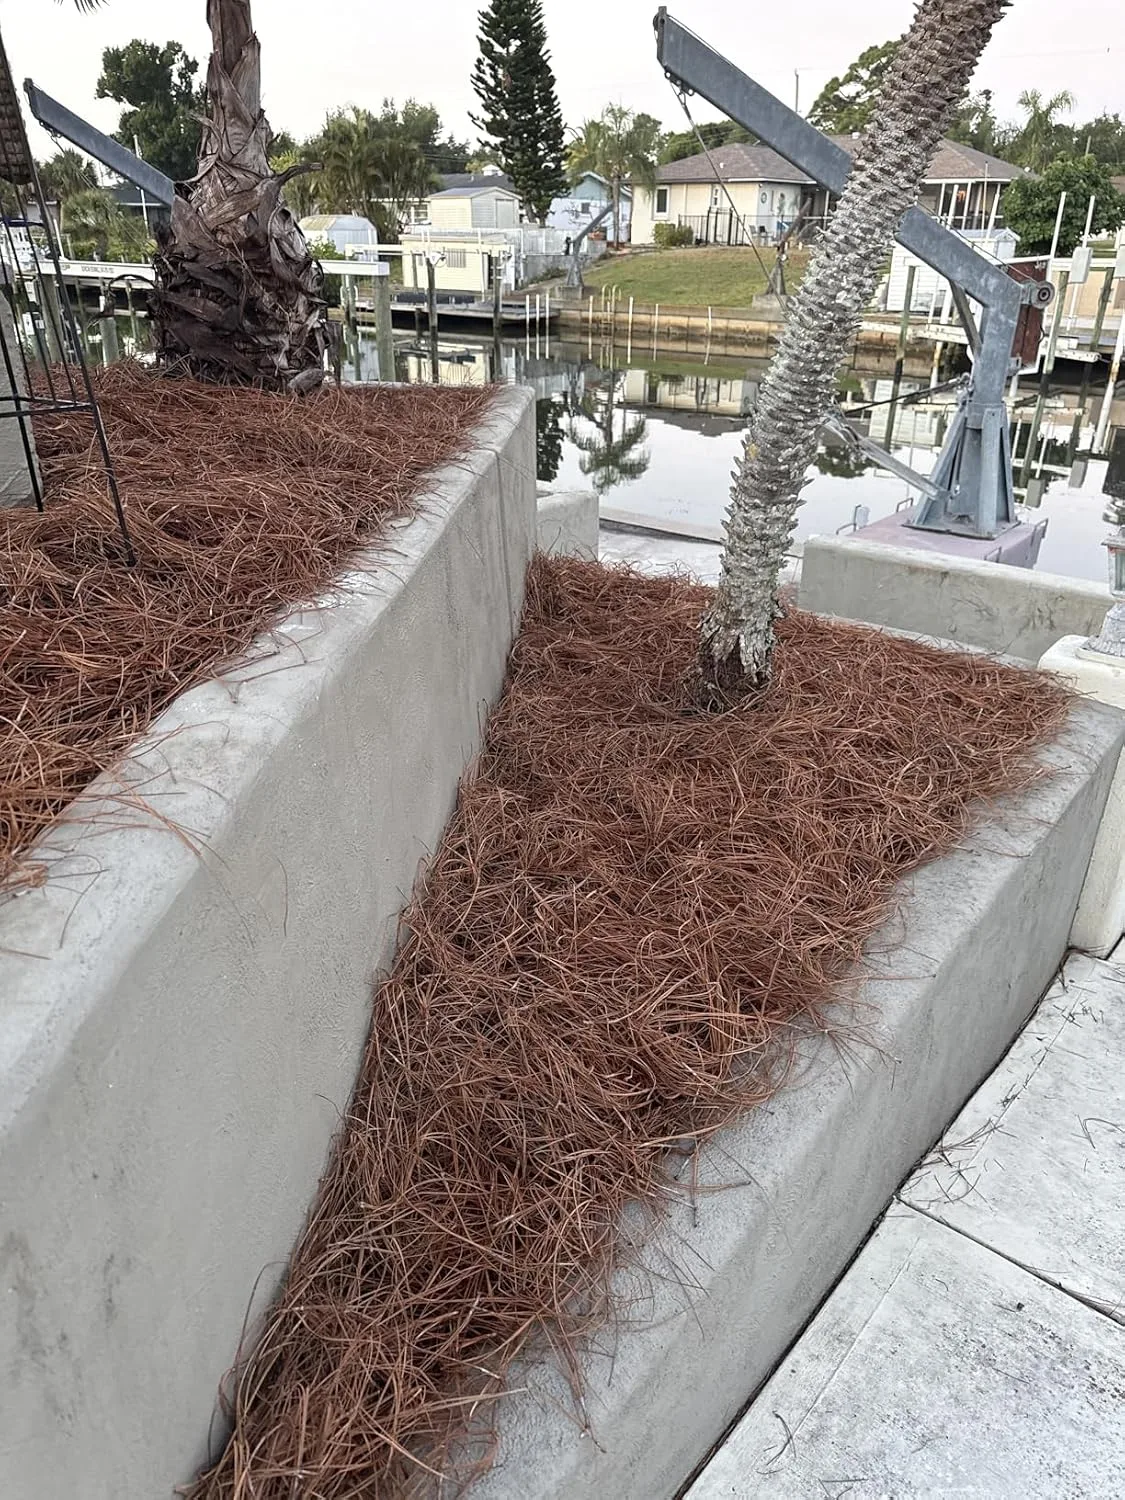
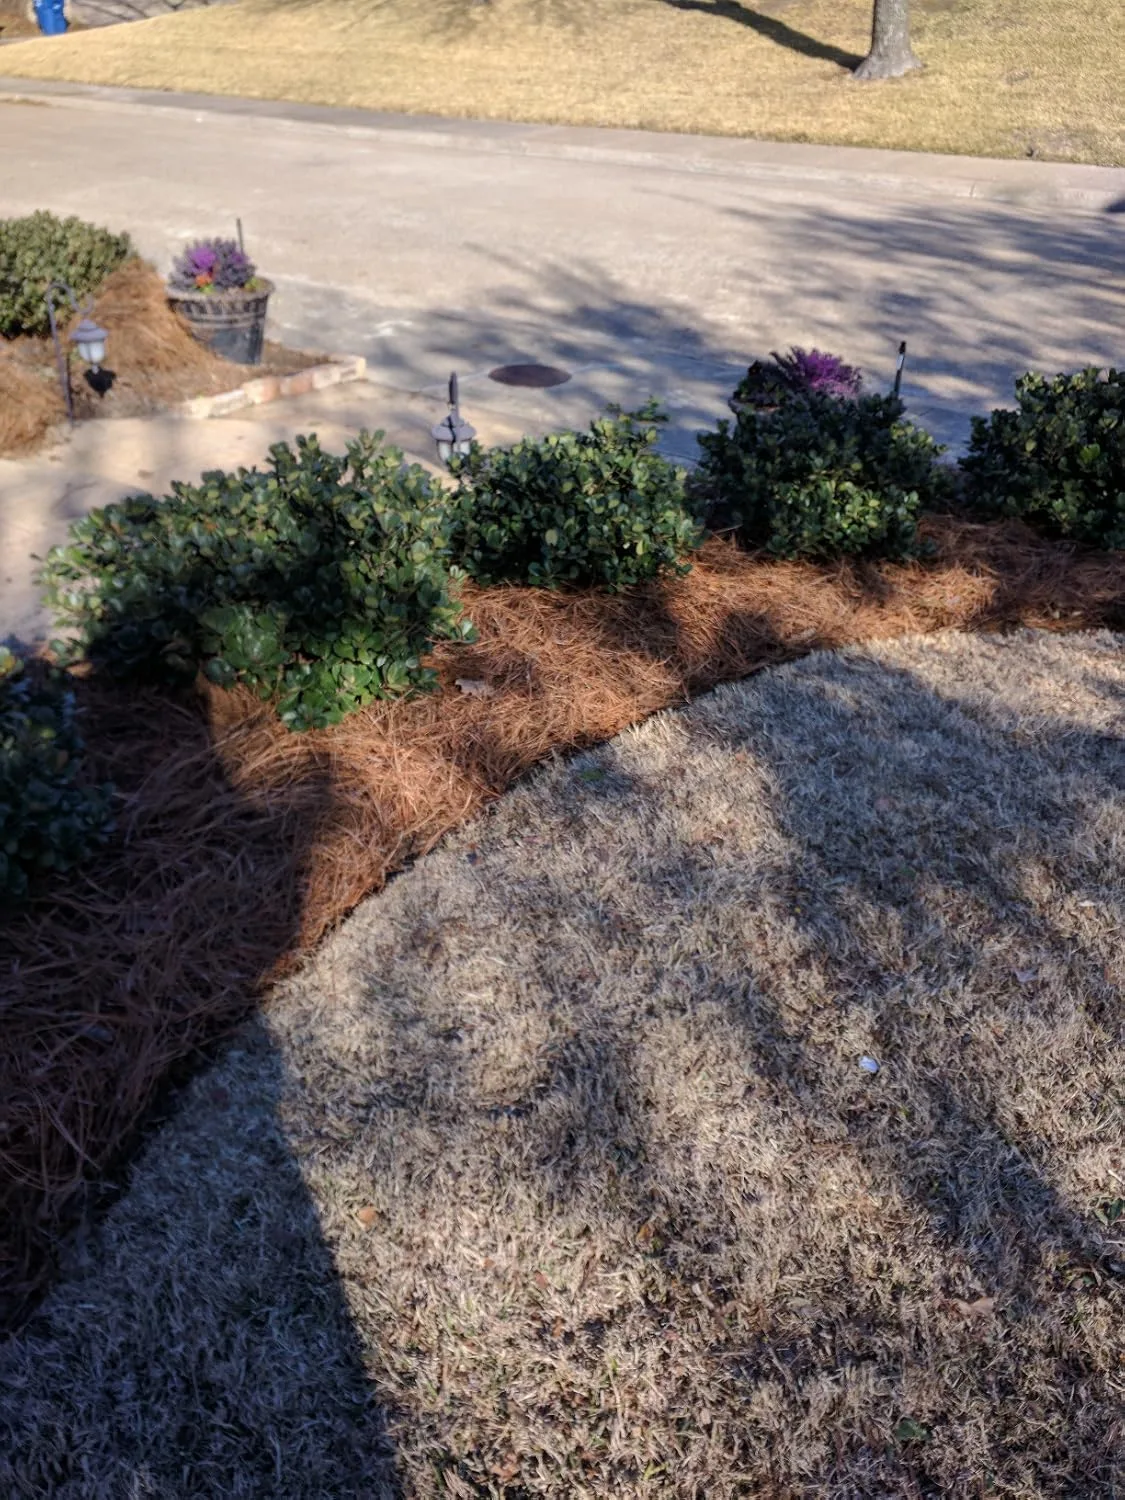
Camellias want acidic soil and steady moisture, and finding a mulch that won’t pack down into a smothering mat or nudge your pH toward alkaline is genuinely frustrating. Pine straw needle mulch handles both problems at once — but only if you’re willing to walk away from the wood chips every landscaper on your street swears by. I learned this lesson the hard way after a few years of battling dull foliage and wilting blooms before discovering the magic of pine straw.
Where It Delivers
- No additives needed — it keeps the soil naturally acidic, and my foliage shifted from a dull yellow-green to a rich, deep green in just one growing season once I dropped cedar mulch for good. I remember the first time I noticed the change; it felt like my plants were finally breathing again!
- Stays airy and loosely packed all year long, resisting the hard, water-shedding crust that forms after downpours or repeated foot traffic. I’ve had my fair share of rain-soaked springs here in the Pacific Northwest, and I can attest to how pine straw holds up.
- Breaks down gradually enough to hold for a year and a half or more, cutting down on how often you’re hauling in fresh mulch, all while enriching the soil as it decomposes. I love the bonus of knowing I’m feeding my camellias while keeping maintenance to a minimum.
Where It Falls Short
- Costs more out of pocket than typical hardwood mulch, and in a lot of areas you’re buying it bale by bale instead of having it dumped in bulk. I’ll admit, I hesitated at first, but the results were worth every penny.
- Lightweight enough to scatter in a stiff breeze or drift away under a heavy hose stream — I’ve raked my beds back into shape more than once after a windy spring storm. It’s a small price to pay for those lush, vibrant blooms, though!
I almost gave up after my first batch scattered during a nor’easter, but once I accepted that a simple landscape edging was essential, the mulch finally stayed put and my camellias thrived. pine straw needle mulch
Mapping Out Your Camellia Garden Layout
Before a single camellia goes in the ground, spend some time thinking through placement and how the pieces fit together. Camellias do best under the dappled shade of taller trees, or along the east side of a house or fence where they catch soft morning light but stay shielded once the afternoon sun turns harsh. That protection matters most in warmer climates, where afternoon rays can scorch tender blooms and put real stress on the plant during its busiest growing months. In my own garden, I’ve experimented with different placements, and I’ve found that the right light can truly change the game.
Rather than scattering single plants across the yard, group camellias in threes or fives for a bolder, more cohesive display. I’ve found that mixing early bloomers like ‘Yuletide’ with mid- and late-season varieties such as ‘Pink Perfection’ and ‘Kramer’s Supreme’ keeps color going from autumn clear through spring, so the garden stays a focal point straight through the cold-weather months. It’s a joy to look out and see those different shades of pink, red, and white overlapping in a beautiful tapestry.
Don’t limit your thinking to ground level, either. Camellias can be trained flat against a wall or fence as espaliers, or planted in a row to divide one garden space from another. Their dense, evergreen growth makes them natural privacy screens, and their shape alone adds a sense of structure to the design. I’ve had success with espaliers, creating a stunning backdrop for my spring blooms while maximizing my small garden space.
Picking the Right Companions for a Camellia Bed
Camellias rarely look their best planted in isolation. Fill the space around them with plants that share their taste for shade and acidic soil. Azaleas, rhododendrons, and mountain laurels build a woodland feel and flower at slightly staggered times, stretching your spring color show longer. Down at ground level, hostas, ferns, and hellebores add texture and foliage interest year-round, filling in the bare patches that tend to open up beneath a camellia’s canopy. I love how these companions create a lush, layered look that’s just mesmerizing.
I’ve also had good luck tucking shade-tolerant perennials like liriope and mondo grass in around the base of my camellias. These low, spreading plants crowd out weeds, cut down on how much mulch I need to add each year, and give the whole bed a tidy, finished look. It’s a win-win for keeping my garden low maintenance while still looking fabulous!
Steer clear of aggressive, shallow-rooted neighbors that will fight camellias for water and nutrients. Maples are a good example — their root systems compete too hard for camellias to settle in comfortably nearby. I made that mistake once and learned my lesson the hard way. My poor camellias struggled to thrive until I finally moved them to a more suitable spot.
Pruning Choices That Shape Your Garden’s Look
Pruning does more than keep a camellia healthy — it’s a real design tool for the look you’re going for. A light, targeted trim right after the blooms fade keeps the shape in check without shocking the plant. Cut away crossing limbs, dead wood, and spent flowers to push the plant toward fuller, bushier growth and put its energy into forming next season’s buds. I find that a little pruning goes a long way in maintaining the vigor of my plants!
If you want something more formal, shape camellias into single-stemmed standards or topiary forms — a lollipop silhouette that brings real architectural weight to a design, though it takes patience and steady upkeep to pull off. For a looser, more naturalistic garden, pruning as little as possible and letting the plant follow its own habit gives a softer, more romantic feel instead. I’ve dabbled in both techniques and often find myself leaning toward the latter for its effortless charm.
Watering and Upkeep Through the Seasons
Steady moisture isn’t optional with camellias. While plants are still getting established — roughly the first year or two — water deeply twice a week unless rainfall is already delivering an inch weekly. Even mature, well-settled camellias need regular water during bloom season and stretches of hot, dry weather. Drip lines or soaker hoses send water straight to the root zone, which helps sidestep the fungal problems that come with wetting the foliage from above. I can’t stress enough how important it is to keep that moisture consistent, especially as blooms start to form.
Pile on the mulch — three to four inches of pine straw works well — to hold moisture and buffer soil temperature swings. In colder zones, that extra layer shields roots from freeze-thaw damage. In hot climates, it keeps roots cooler and eases water stress during dry spells. I’ve seen firsthand how a good layer of mulch can transform the health of my plants.
Keeping the Garden Alive Across Every Season
What makes camellia landscaping so rewarding is how it holds visual interest no matter the time of year. Beyond the flowers, camellias bring glossy, dark green leaves that play beautifully against deciduous trees and lighter garden materials. Come winter, when most yards fade to brown and bare branches, a well-planned camellia landscape stays green and full of life. I love stepping outside in the depths of winter to see my camellias standing proud against the stark backdrop of the season.
Bring in hardscape elements — stone paths, a seating nook, or raised beds — to frame your camellia plantings and give the space a sense of purpose. Well-placed lighting, aimed to backlight the blooms or uplight your biggest specimens, keeps the garden’s appeal going well after the sun goes down. I’ve even set up a cozy bench by my favorite camellia, turning it into a perfect spot for morning coffee while admiring the blooms.
About This Article

Written by Helen Pritchard. Helen Pritchard is a lifelong gardener in the Pacific Northwest who has grown more than 200 named camellia cultivars over two decades. She writes practical, experience-based guides to camellia care, from variety selection and pruning to troubleshooting yellowing leaves and bud drop. More about this site.
Verify this against a primary source
Specifics change, and your situation may differ from the one described here. These are the authorities worth checking directly:
- American Camellia Society — cultivar registration and culture guides
- USDA Plant Hardiness Zone Map — zone verification for your location
- Royal Horticultural Society — camellia cultivation and pest guidance



