
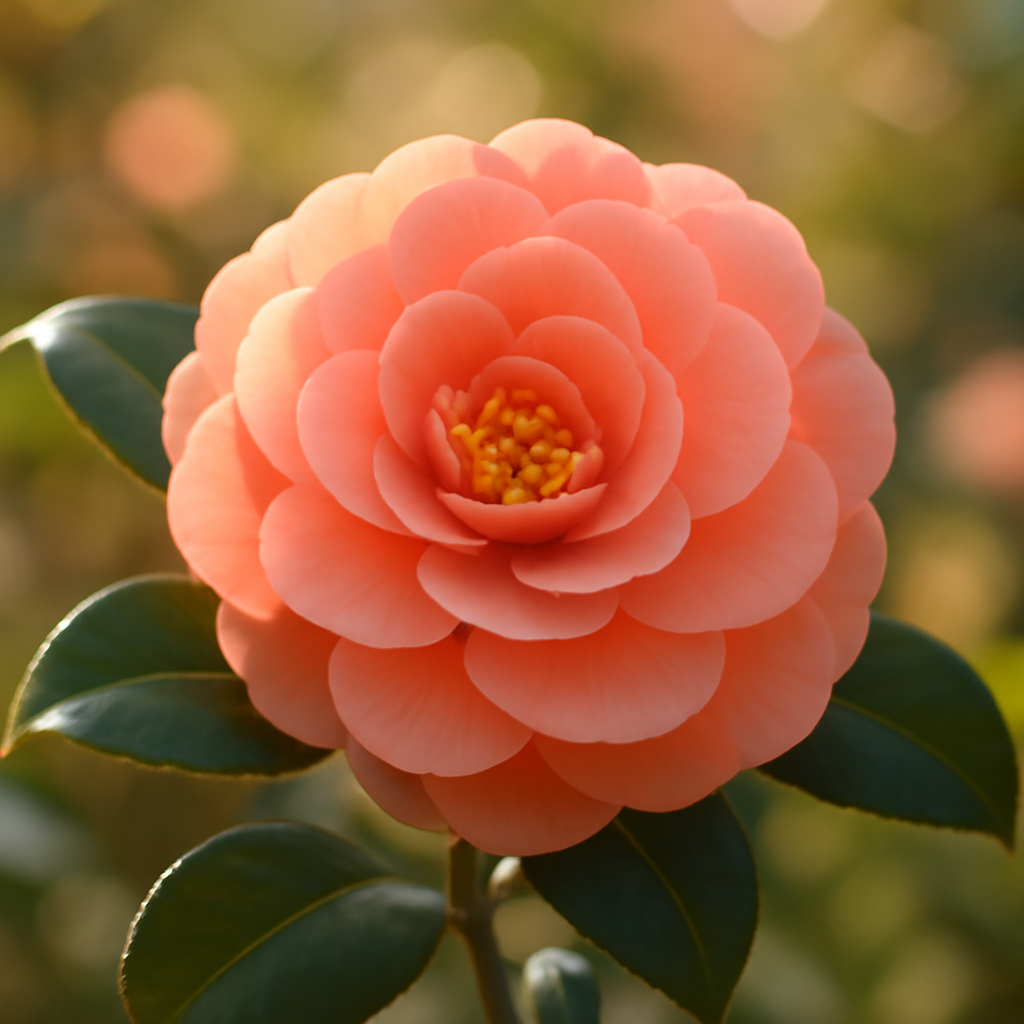

Picking the Right Camellias for Your Garden
Get the soil right, choose a good spot, and stay consistent with watering, and camellias will reward you generously. Between the range of flower shapes, colors, and bloom windows on offer, it’s realistic to have some camellia or another flowering from September clear through May. I started my journey with a simple Camellia japonica, and now, decades later, I have over 200 named cultivars—from the delicate blooms of Camellia sasanqua to the stunning reticulatas. Trust me, when you prioritize soil prep from day one, you’ll see your garden transform just as mine has, blossoming with vibrant color and lush greenery.
Ask three different nursery employees how to pick a camellia and you’ll likely hear three different answers—but one piece of advice that deserves pushback is the idea that “any camellia will do fine as long as it’s shady.” That’s simply wrong, and I’ve seen many gardeners become disheartened because of this myth. The truth is, these graceful evergreen shrubs come in dozens of distinct forms, each with its own light requirements, cold tolerance, and bloom window. Treating them as interchangeable ignores centuries of careful breeding. What hasn’t changed is why we gardeners fall for camellias in the first place—glossy foliage paired with jewel-toned flowers that open precisely when the rest of the garden has gone quiet for the season. Depending on the cultivar, you might see color anywhere from the first cool days of autumn clear through early spring, and individual blossoms often hang on the branch for weeks before fading.
Growers have been refining camellia varieties for hundreds of years, especially throughout Asia where the genus first took root. The catalog of options can be staggeringly beautiful. Whether this is your very first camellia purchase or you’re rounding out a collection that’s grown over the years, learning what separates one type from another matters more than most people realize—it can mean the difference between a shrub that sulks and one that settles in and thrives. I remember planting my first Camellia ‘Debutante’ in full sun, only to watch it struggle through the summer heat. Some cultivars sulk in bright sun, while others shrug it off entirely. Flowering schedules can shift by months depending on which one you bring home. With the genus being so varied, there’s a good chance a suitable match exists for nearly any garden, regardless of climate quirks.
Sorting Out the Camellia Species
In my experience, gardens typically host one of three species: Camellia japonica, Camellia sasanqua, or Camellia sinensis. Japonicas dominate the market and get the most attention because of their large, structured blooms and their fondness for shade during the hottest part of the day. I’ve had immense success with varieties like Camellia japonica ‘Lady Campbell’, whose stunning pink blooms never fail to impress. Sasanquas, on the other hand, open earlier in the year and are hardier in the cold than their japonica cousins, making them a smart pick if you’re gardening somewhere with harsher winters. I’ve grown the delightful Camellia sasanqua ‘Shishi Gashira’, which has bright white flowers and can handle more sun. And then there’s sinensis, the species tea leaves come from. While it’s mainly grown commercially for that purpose, ornamental sinensis selections are finding their way into more home landscapes, like Camellia sinensis ‘Baihao’, which I’ve found to be quite charming.
Before falling in love with a particular cultivar, factor in your hardiness zone, the light your yard actually gets, and what your soil is doing. Camellias, broadly speaking, are happiest in USDA zones 7 through 10, though a handful of tougher selections can survive as far north as zone 6. I once tried to grow a lovely Camellia japonica ‘Professor Sprague’ in a zone 6 garden without considering its needs. Nailing down these fundamentals ahead of time saves you from the letdown of watching a beautiful plant fail simply because it was never built to handle your winters or your growing conditions.
The Soil Fix That Finally Ended My Yellow-Leaf Problem
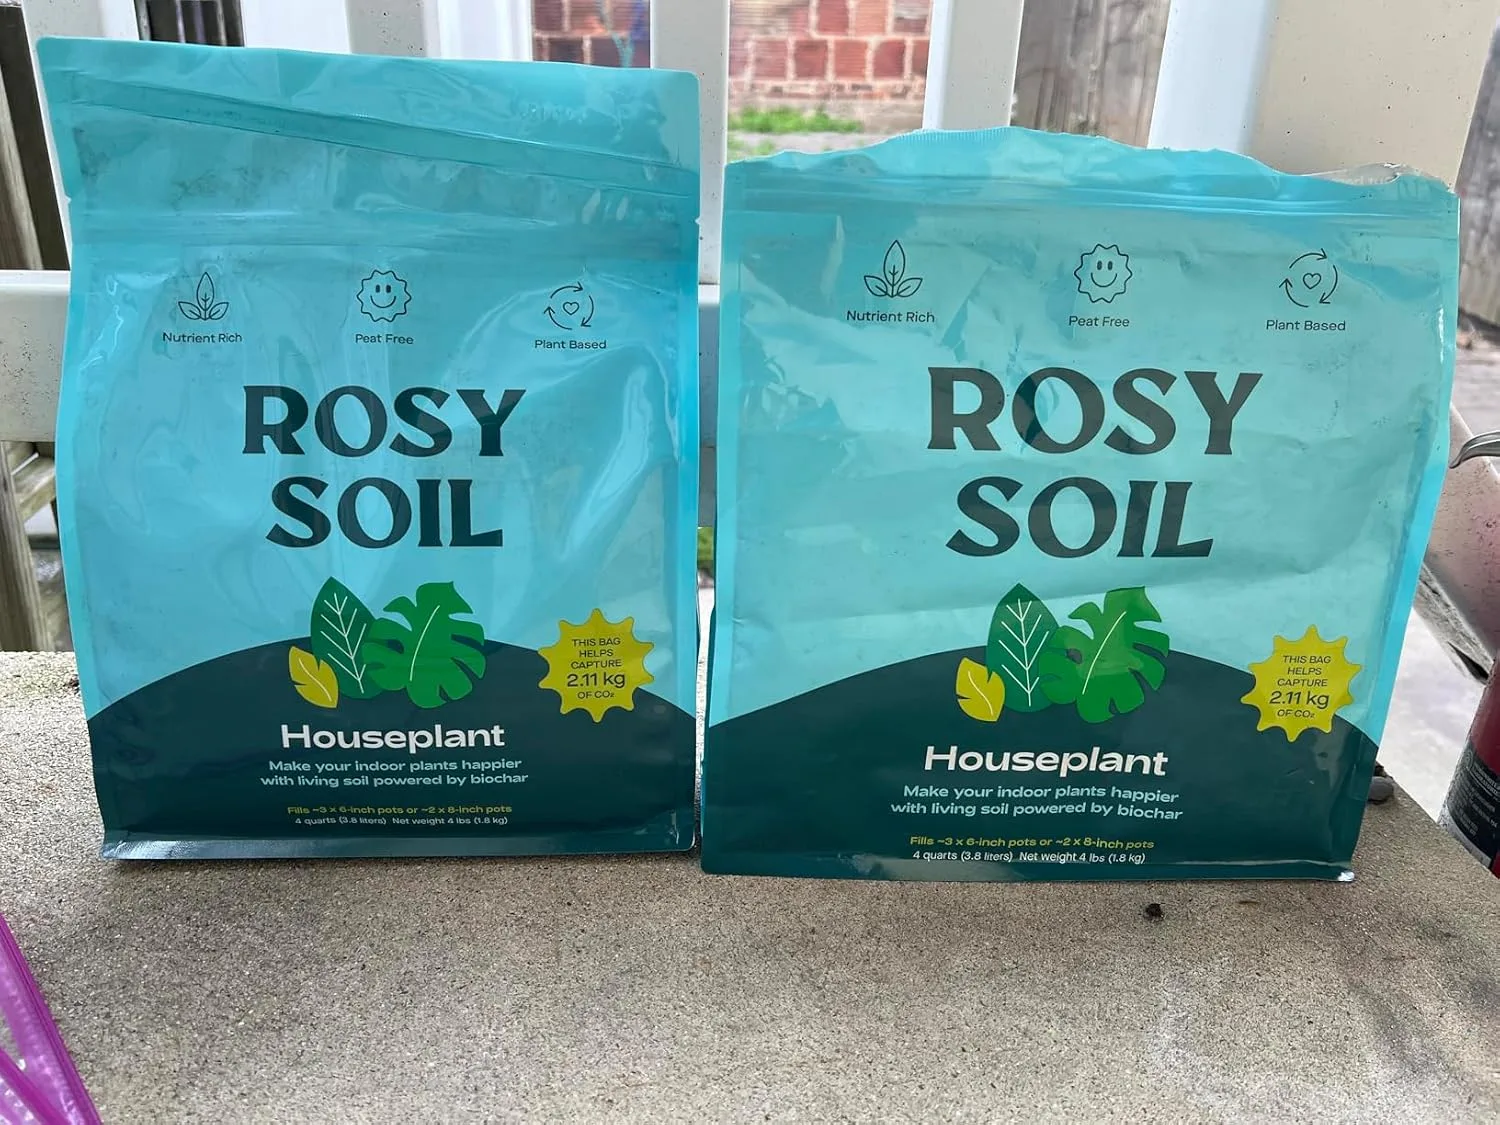
Camellias need acidic soil to thrive, and when the ground beneath them isn’t acidic enough, decline sets in slowly no matter how carefully you’re watering. I burned through two full growing seasons battling pale, yellowing leaves on my beloved Camellia ‘April Dawn’ before I finally accepted that my heavy native clay was the real culprit working against every other thing I was doing right. The struggle was so real, and I had almost given up on the plant entirely!
Where it delivers
- Drops soil pH in a meaningful way once worked into the planting hole—within roughly two months of switching away from generic potting soil, my camellias were pushing greener, noticeably more vigorous new growth.
- Holds onto moisture without turning dense or compacted, so roots avoid sitting in standing water while the plant still stays hydrated between dry stretches, without you having to babysit the watering can constantly.
- Mixes in cleanly with your existing garden soil whether you’re planting new stock or reworking beds around camellias that are already established—none of the odd layering or drainage headaches I ran into with cheaper peat substitutes.
Where it falls short
- Let it dry out completely and it starts shedding water instead of absorbing it, which undoes the whole point—staying consistent with moisture matters a lot, especially through that first year in the ground.
- Expect a heavy, messy bag, and you’ll go through more of it than you’d think for real results—I found that out after trying to stretch a smaller amount to save a little money.
I almost gave up on that first struggling camellia—was ready to rip it out—but a friend who gardens seriously suggested I rebuild the soil completely with quality amendments instead of patching the problem. quality sphagnum peat moss was the turning point. It was a game-changer that revitalized my garden.
Figuring Out Light and Placement
Where you plant a camellia has an outsized effect on both flowering and overall plant vigor. Most japonica types do best with filtered shade in the afternoon, particularly in warmer regions where harsh afternoon sun can scorch blossoms and put the whole plant under stress during hot stretches. I’ve seen it firsthand with my Camellia japonica ‘Pink Perfection’, where it thrived in dappled sunlight but struggled in full afternoon sun. The sweet spot tends to be gentle morning sun paired with afternoon cover, which lets the plant photosynthesize freely without cooking in the heat. Sasanquas handle brighter conditions better than japonicas as a rule, though even they benefit from a break from the sun once temperatures climb in warmer climates.
Gardeners in cooler regions, like mine here in the Pacific Northwest, have more flexibility since moderate temperatures mean camellias can go in more exposed spots without much risk. Pay attention to how light shifts across your garden through the seasons—a bed shaded all summer might turn into a full-sun spot come winter once nearby deciduous trees have dropped their canopy. Those swings in available light can influence both when blooms show up and how long they last on the plant.
Getting Watering and Moisture Right
Steady, reliable moisture matters a great deal, especially while the plant is actively growing and setting buds. Camellias aren’t like some drought-tolerant shrubs that shrug off inconsistent watering—they respond poorly when moisture levels swing back and forth. I learned this the hard way with my Camellia ‘Nuccios Gem’, which suffered from inconsistent watering during a particularly dry summer. Watering deeply but less often builds a stronger root system than frequent light sprinkles ever will. A 2-3 inch layer of pine bark or a similarly acidic mulch spread around the base helps hold moisture in place while gradually nudging soil pH downward over time.
The two mistakes I run into most often are established in-ground plants getting too little water and container-grown camellias getting too much. Pots need more frequent monitoring, especially during warm stretches, but soggy soil is just as damaging as dryness. When in doubt, dig down 2-3 inches to check moisture directly, and only reach for the hose once that depth has actually dried out. Remember, camellias thrive with a little care and attention, and the rewards they bring to your garden are well worth the effort.
About This Article

Written by Helen Pritchard. Helen Pritchard is a lifelong gardener in the Pacific Northwest who has grown more than 200 named camellia cultivars over two decades. She writes practical, experience-based guides to camellia care, from variety selection and pruning to troubleshooting yellowing leaves and bud drop. More about this site.
Verify this against a primary source
Specifics change, and your situation may differ from the one described here. These are the authorities worth checking directly:
- American Camellia Society — cultivar registration and culture guides
- USDA Plant Hardiness Zone Map — zone verification for your location
- Royal Horticultural Society — camellia cultivation and pest guidance



