
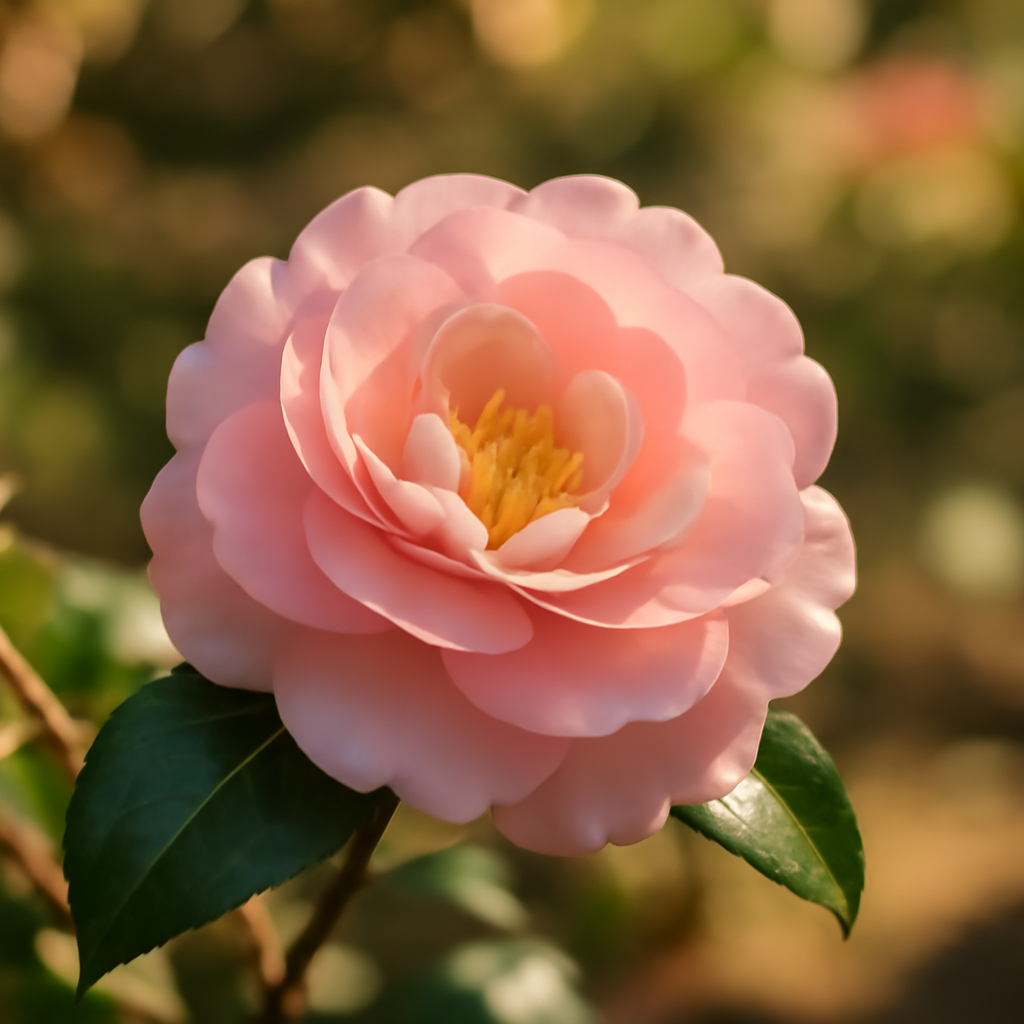

A nursery tag will tell you a camellia wants “well-drained, acidic soil” and then leave you completely on your own to figure out what that actually means in your yard. Getting camellia soil conditions right is really the entire foundation this genus rests on—nail it, and every other aspect of care becomes far easier. Below is the specific breakdown a plant label never gives you: what camellia soil conditions genuinely require, whether you’re working with garden beds or pots on a patio.
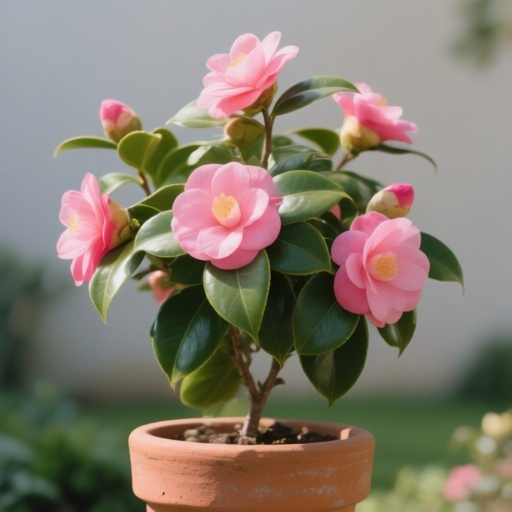
What Camellias’ Native Habitat Reveals About Their Soil Needs
As Helen Pritchard, a lifelong gardener here in the Pacific Northwest, I find that the best way to figure out what a camellia wants is to look at where it evolved. In their native range, most wild camellias live in loose communities beneath partial tree cover—often in the pine forests scattered across China. Over thousands of years, they’ve adapted to a fairly narrow band of soil conditions, and studying those native surroundings gives us a blueprint for recreating them at home.
Here’s the twist: some wild camellia populations in China actually grow in dense, clay-heavy soil packed with fine particles—soil that would normally be a red flag for most gardeners. But those clay pockets almost always sit on well-drained slopes in regions with dry winters, meaning roots rarely sit in standing water long enough to rot. The lesson here is that texture and drainage carry just as much weight as the raw ingredients in the soil itself.
The Key Insight: Camellias are flexible about the exact soil type beneath them, but they will not compromise on drainage and airflow around their roots. Your soil doesn’t need to be flawless—it simply needs thoughtful preparation and ongoing upkeep.
Getting Soil pH Right: Where Camellia Success Begins
Why pH Matters So Much to Camellias
Few factors influence camellia health as heavily as soil pH. As acid-loving shrubs, they perform best in a slightly sour soil range—generally pH 6.0 to 6.5, although some growers consider anything at or under 7.0 workable. I’ve learned that pH controls how well nutrients dissolve and become usable; once soil tips too far toward alkaline, camellias lose access to essentials like iron, even when plenty of it sits right there in the ground.
Why pH Matters:
- Nutrient Absorption: Acidic conditions let camellias pull in iron, magnesium, and other trace nutrients they’d otherwise miss out on
- Root Health: The correct pH range keeps roots developing and functioning properly
- Plant Metabolism: Balanced pH keeps every internal chemical process running smoothly
- Disease Resistance: Plants rooted in properly balanced soil fend off disease more successfully
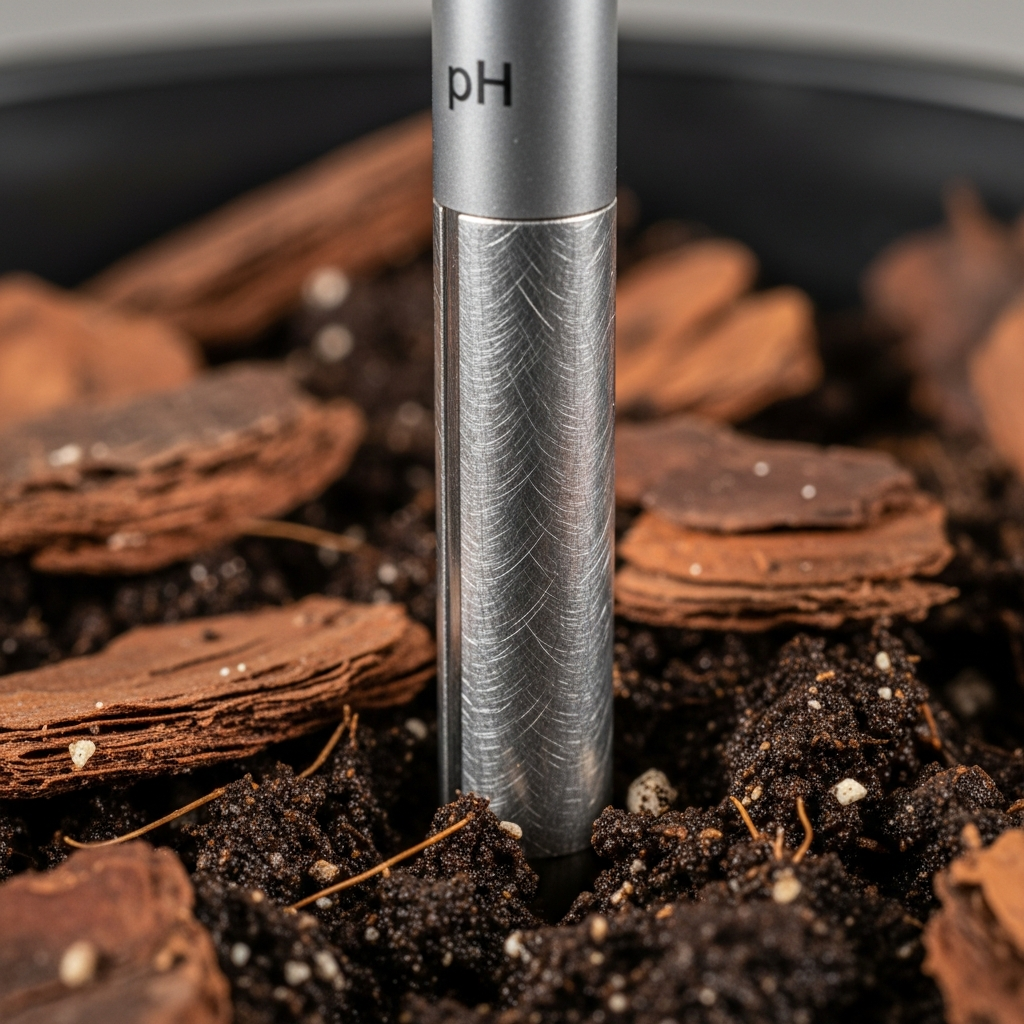
Testing Your Soil pH:
- Grab a home test kit, or ship soil samples off to a lab for analysis
- Run a pH check yearly, and definitely if you spot signs of nutrient trouble
- Sample multiple spots across bigger gardens rather than relying on one reading
- Test ahead of planting so you’re not correcting course after the fact
Bringing Alkaline Soil Back Into Range
Soil sitting above pH 7.0 needs correction before your camellias will thrive—this becomes even more pressing if your tap water leans alkaline or your native soil already runs that way.
Methods to Lower pH:
- Agricultural sulfur: A slow mover, but reliable given enough time
- Acidifying fertilizers: Blended specifically for acid-craving plants
- Organic matter: Pine needles, peat moss, and rotted leaves quietly push pH downward
- Acidifying kits: Handy add-ons for irrigation setups where the water supply runs alkaline
Important Note: pH shifts don’t happen overnight. Expect the process to unfold over several months rather than days. Keep testing periodically and nudge your amendments forward gradually rather than all at once.
Soil Texture and Drainage: Two Sides of the Same Coin
Nailing the Right Soil Texture
Camellias want soil that drains freely yet still holds onto enough moisture to keep roots satisfied—the classic “moist but well-drained” paradox. It sounds contradictory, but really it’s a matter of striking the right balance.
Ideal Soil Characteristics:
- Good drainage: Excess water should move on quickly instead of collecting around roots
- Air circulation: Roots depend on oxygen, and compacted ground chokes that supply off
- Moisture retention: Soil should still hold enough water to carry roots between waterings
- Organic matter: Delivers structure, feeds the plant, and supports beneficial soil life
The Texture Sweet Spot:
- A loose, airy blend loaded with organic material
- Coarse particles that let air and water pass through freely
- Just enough fine particles to hang onto moisture
- Steer clear of heavy clay unless it sits on a slope that drains well
- Skip pure sand—it lets water run straight through
Why Drainage Can Make or Break Your Camellia
Bad drainage ranks among the top culprits behind camellia trouble. Soil that stays saturated cuts off oxygen to the roots, setting the stage for root rot and, eventually, plant death. Winter is a particularly risky season, since roots are already more fragile then.
Signs of Poor Drainage:
- Puddles linger on the soil surface after rainfall
- The ground stays soggy for days following a watering
- Plants look stressed even though moisture clearly isn’t lacking
- Leaves turn yellow and stay that way regardless of feeding
- Symptoms of root rot show up
Improving Drainage:
- Work organic matter into the soil to rebuild its structure
- Choose slopes or raised beds when the native drainage is weak
- Switch to container growing if in-ground drainage can’t realistically be fixed
- Put in drainage systems where the situation calls for it
- Steer clear of low spots that naturally collect runoff
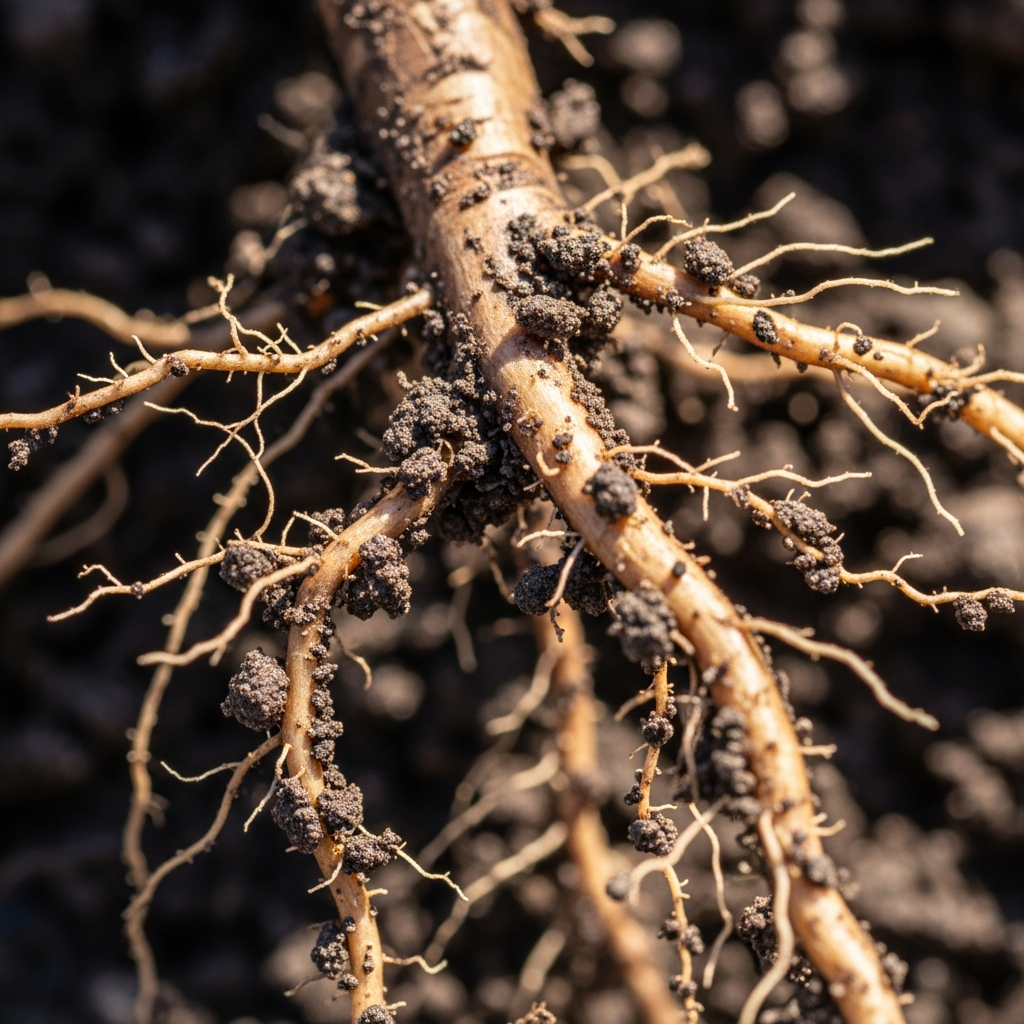
Prepping the Soil: Laying the Groundwork Before Planting
Getting the Ground Ready for a New Camellia
Solid ground prep sets up a young camellia for a much stronger start. Time spent on this step before the plant ever goes in the ground almost always translates into fewer headaches and healthier growth down the road.
Preparation Steps:
1. Clear out any perennial weeds from the planting site—they’ll fight your camellia for water and nutrients
2. Work in well-rotted organic matter across roughly a 1-meter (3-foot) square area, digging down a full spade’s depth for each plant
3. Check the soil pH beforehand and correct it if the numbers are off
4. Confirm the drainage is adequate—build a raised bed or improve the site if it isn’t
5. Blend organic matter evenly into the surrounding soil rather than leaving it isolated, which creates a “bathtub” effect that traps water
Organic Matter Options:
- Compost: Well-aged compost boosts both structure and fertility
- Peat moss: Adds acidity and holds moisture (choose a sustainably harvested option)
- Leaf mold: A great pick for improving texture and nudging pH downward
- Pine needles: Doubles as both a natural acidifier and mulch
- Well-rotted manure: Adds nutrition and helps rebuild soil structure
- Wood chips or bark: Break down over time to improve drainage and structure
Why Planting Depth Is Non-Negotiable
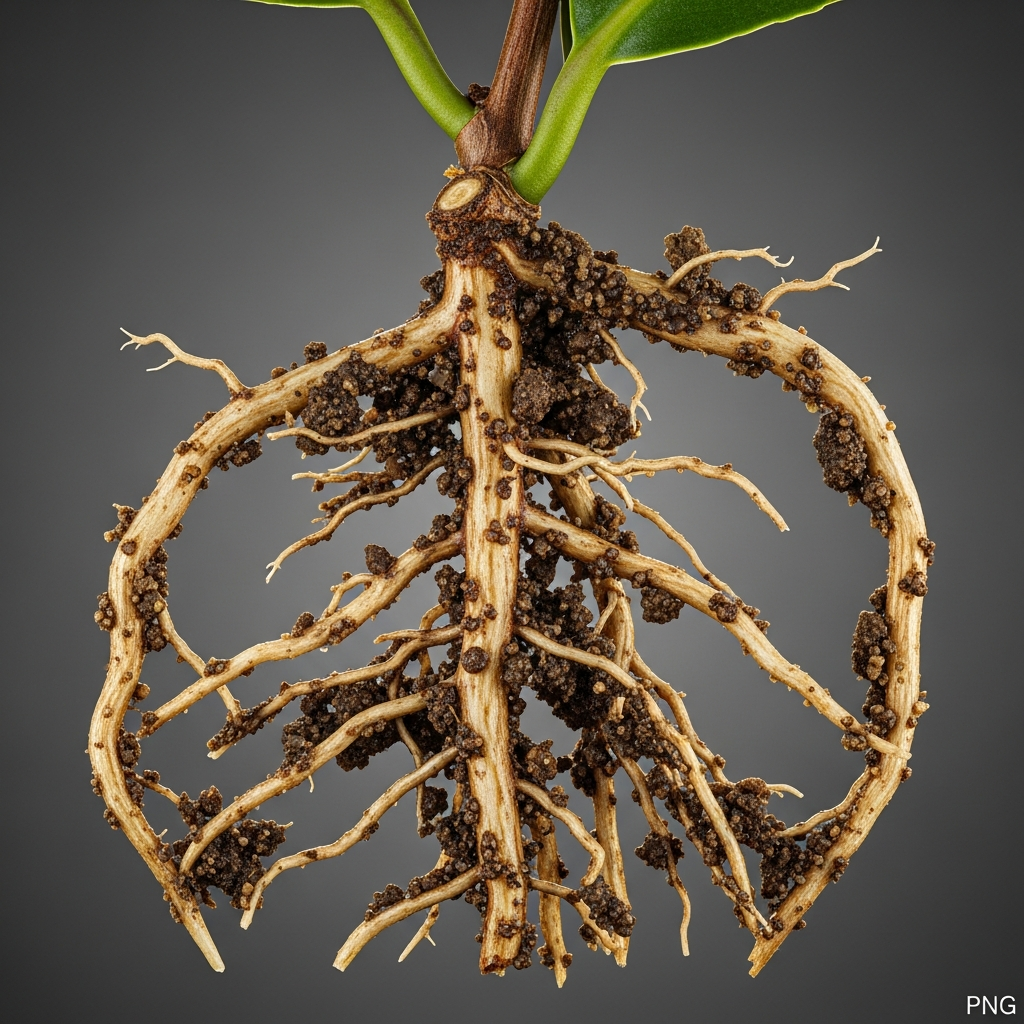
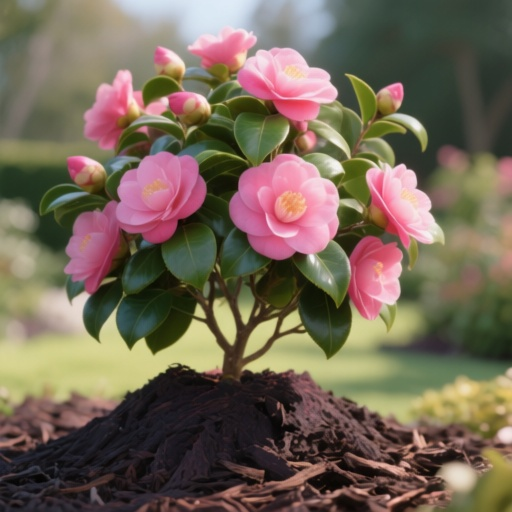
Planting a camellia too deep is one of the most frequent errors gardeners make. This detail is critical—camellias need breathing room around the “neck,” the spot where stem meets root system.
Why This Matters:
- Countless young, freshly planted camellias die simply from lack of airflow at the neck of the plant
- That suffocation triggers rot, which kills off the vessels responsible for moving water and nutrients
- Those same vessels carry water and nutrients upward from the soil and sugars back down from the leaves, and both directions can be compromised
- This is frequently the hidden reason a plant seems to die for no obvious cause soon after planting
Proper Planting Technique:
- Set the root ball so it sits a touch above the surrounding soil line
- The base of the trunk should rest just above ground level—never buried
- Once planted, spread mulch around the base but hold it back from the trunk itself
- This keeps air moving freely around that crucial junction between stem and root
Building the Right Soil Mix From Scratch
Breaking Down What Belongs in the Blend
Camellias thrive on a soil mix that juggles three jobs at once: structure, nutrition, and drainage. The exact ratios can shift a bit, but a few core rules hold true no matter what.
Essential Components:
- Base soil: Your native garden soil or a decent-quality topsoil
- Organic matter: Compost, peat moss, or leaf mold, making up roughly 30-50% of the total mix
- Drainage material: Coarse sand, perlite, or bark chips, useful when the base soil is heavy
- Nutrients: Well-rotted organic matter supplies the early nutrition the plant needs
The Ideal Mix:
- 40-50% well-rotted organic matter—compost, leaf mold, or peat moss
- 50-60% native soil or a solid topsoil
- Add sand or perlite if drainage still needs help
- Blend everything fully—layers left unmixed cause problems
What to Avoid:
- Fresh materials that haven’t fully composted (they’ll scorch roots)
- Heavy clay used without any amendment
- Pure sand, which drains far too fast
- Fresh manure, since it runs “hot” and can burn
- Lopsided mixes that end up creating their own drainage issues
How Your Water Supply Shapes Soil pH
The Link Between Irrigation Water and pH
Over time, the water you use has a real effect on soil pH. Alkaline tap water—anything at pH 8 or higher—will slowly push your soil’s pH upward, working against everything camellias need.
Understanding Water Impact:
- Natural rainwater: Naturally mild and acidic—about as good as it gets for camellias
- Stored rainwater: A great option if you have the means to catch and hold onto it
- Alkaline tap water: Slowly nudges soil pH higher with continued use
- Acidified water: A workaround for gardeners stuck with an alkaline water supply
Solutions for Alkaline Water:
- Catch rainwater whenever you can and use it for your camellias
- Fit irrigation lines with acidifying kits
- Feed with acidifying fertilizers on a regular schedule to offset alkaline water
- Keep checking soil pH and adjust course as conditions shift
- This becomes especially crucial in regions with long, dry summer stretches
When It Matters Most:
- Temperate zones with plenty of summer rain: less of a concern
- Regions with long, dry summers: a much bigger deal
- Container plantings: more critical, since there’s less soil volume to buffer changes
- Well-established, in-ground plants: less critical once roots have spread wide
Feeding the Soil: Camellia Nutrition Explained
What Camellias Actually Need to Eat
Camellias rely on a well-rounded mix of nutrients to stay healthy, and soil pH governs how available those nutrients actually are—which is exactly why pH keeps coming up as such a big deal.
Essential Nutrients:
Nitrogen (N)
Of all the nutrients, nitrogen shows its effects the most visibly, driving lush green foliage and vigorous stem growth. It’s a core building block of chlorophyll, the pigment plants rely on to turn sunlight into usable energy. In camellias, sufficient nitrogen keeps foliage strong enough to support a heavy bloom set. That said, dosing matters—overdo it and you get lots of leafy growth at the expense of flowers, while too little leaves foliage pale, yellowed, and stunted. Camellias generally do best with moderate nitrogen, particularly through their active growth window in spring and early summer.
Phosphorus (P)
Phosphorus drives root growth and is a must-have for flowering camellias. It matters most in the early establishment phase, when a young plant is trying to build out a root system capable of pulling in water and nutrients on its own. Later, phosphorus becomes just as vital during bud set and bloom time, when the plant needs extra fuel to produce its flowers. It also assists with moving energy around inside the plant, supporting broader metabolic function. Acidic soil tends to make phosphorus more accessible to camellias, which is another reason correct pH stays so important.
Potassium (K)
Potassium bolsters overall vigor and plays a big part in disease resistance and stress tolerance. It regulates how water moves through the plant, which keeps leaves and stems firm and properly pressurized. It also switches on numerous enzymes tied to photosynthesis and other metabolic tasks. With enough potassium on hand, camellias handle drought, cold snaps, and disease pressure far better. It’s also key to keeping blooms intact and warding off bud drop. Plants with healthy potassium levels tend to show more overall vigor and adapt better to whatever soil conditions they’re dealt.
Iron
Iron is fundamental to chlorophyll formation, making it especially important for camellias given their acid-loving nature. As a core piece of the chlorophyll molecule, without enough iron, a camellia simply can’t photosynthesize properly. Iron shortfalls are among the most frequent nutrient issues camellias face, particularly once soil pH climbs too high. Past pH 7.0, iron becomes chemically locked away from roots no matter how much is actually present in the ground, resulting in chlorosis—yellow leaves laced with green veins. That’s exactly why keeping soil in the 6.0-6.5 range matters so much: acidity keeps iron in a form roots can actually use.
Magnesium
Magnesium sits at the very center of the chlorophyll molecule, making it essential to photosynthesis. Without it, camellias simply can’t manufacture chlorophyll, meaning they lose the ability to convert light into energy. It also switches on a range of metabolic enzymes and supports protein production. A magnesium shortage typically shows up as yellowing between the veins—interveinal chlorosis—most often on older foliage. The upside is that acidic soils generally supply plenty of magnesium naturally, so camellias in well-prepared soil rarely run short. Still, keep an eye on overall nutrient balance, since too much potassium can crowd out magnesium uptake.
Sulfur
Sulfur supports plant metabolism and shows up in several key amino acids and proteins. It plays a part in enzyme activation and contributes to chlorophyll formation. For camellias, it aids general metabolic function and energy production. As a bonus, sulfur naturally nudges soil pH downward, which lines up nicely with camellias’ acid preference. True sulfur shortages are uncommon in camellias, especially when organic amendments like compost or aged manure are already part of the routine, since these typically carry adequate sulfur on their own. That said, heavily leached soils or very pure sulfur-free fertilizers might call for a supplemental boost.
Calcium
Calcium supports cell structure, playing a central role in forming and stabilizing cell walls. That structural strength translates into sturdier overall growth and better disease resistance. Calcium also factors into cell division and root development. In camellias, adequate calcium underpins strong roots and healthy cell growth throughout the plant. But it needs to stay in balance with pH—very acidic soils can leach calcium away too fast, while overly alkaline soils can carry too much of it, crowding out uptake of other nutrients like iron and magnesium. Camellias grown in well-prepared soil rich in organic matter and compost usually get all the calcium they need.
Trace Elements
A handful of trace elements support essential plant functions, and even though camellias need them in tiny amounts, they’re not optional. This group includes boron, copper, manganese, molybdenum, and zinc, each handling a distinct job. Boron assists cell division and flower formation, copper activates enzymes, manganese backs up photosynthesis, molybdenum aids nitrogen processing, and zinc supports growth hormone production. Well-prepared soil enriched with organic matter, compost, and other organic amendments usually covers these needs on its own. In very sandy or heavily leached ground, though, trace element shortfalls can crop up and may need addressing through targeted fertilizers or soil amendments.
The pH Connection:
These nutrients all work together inside the plant to power metabolism, and they only become usable when soil pH stays at 7.0 or below. Push soil too far toward alkaline, and nutrients get chemically “locked up,” present in the ground but inaccessible to the plant.
Fertilizing: The Right Timing and Approach
Timing Matters:
- Spring: Right after flowering wraps up, once active growth kicks in
- Early Summer: To keep that growth momentum going
- Avoid Late Summer: Skip fertilizing past mid-summer, since fresh growth won’t have time to harden off before winter arrives
- Dormant Season: Largely pointless—plants aren’t actively growing, so feeding does little
Fertilizer Types:
- Acid-loving plant fertilizers: Blended specifically for camellias, azaleas, and rhododendrons
- Balanced fertilizers: Something like 10-10-10, used with a light hand
- Organic fertilizers: Release slowly, so there’s less chance of burning roots
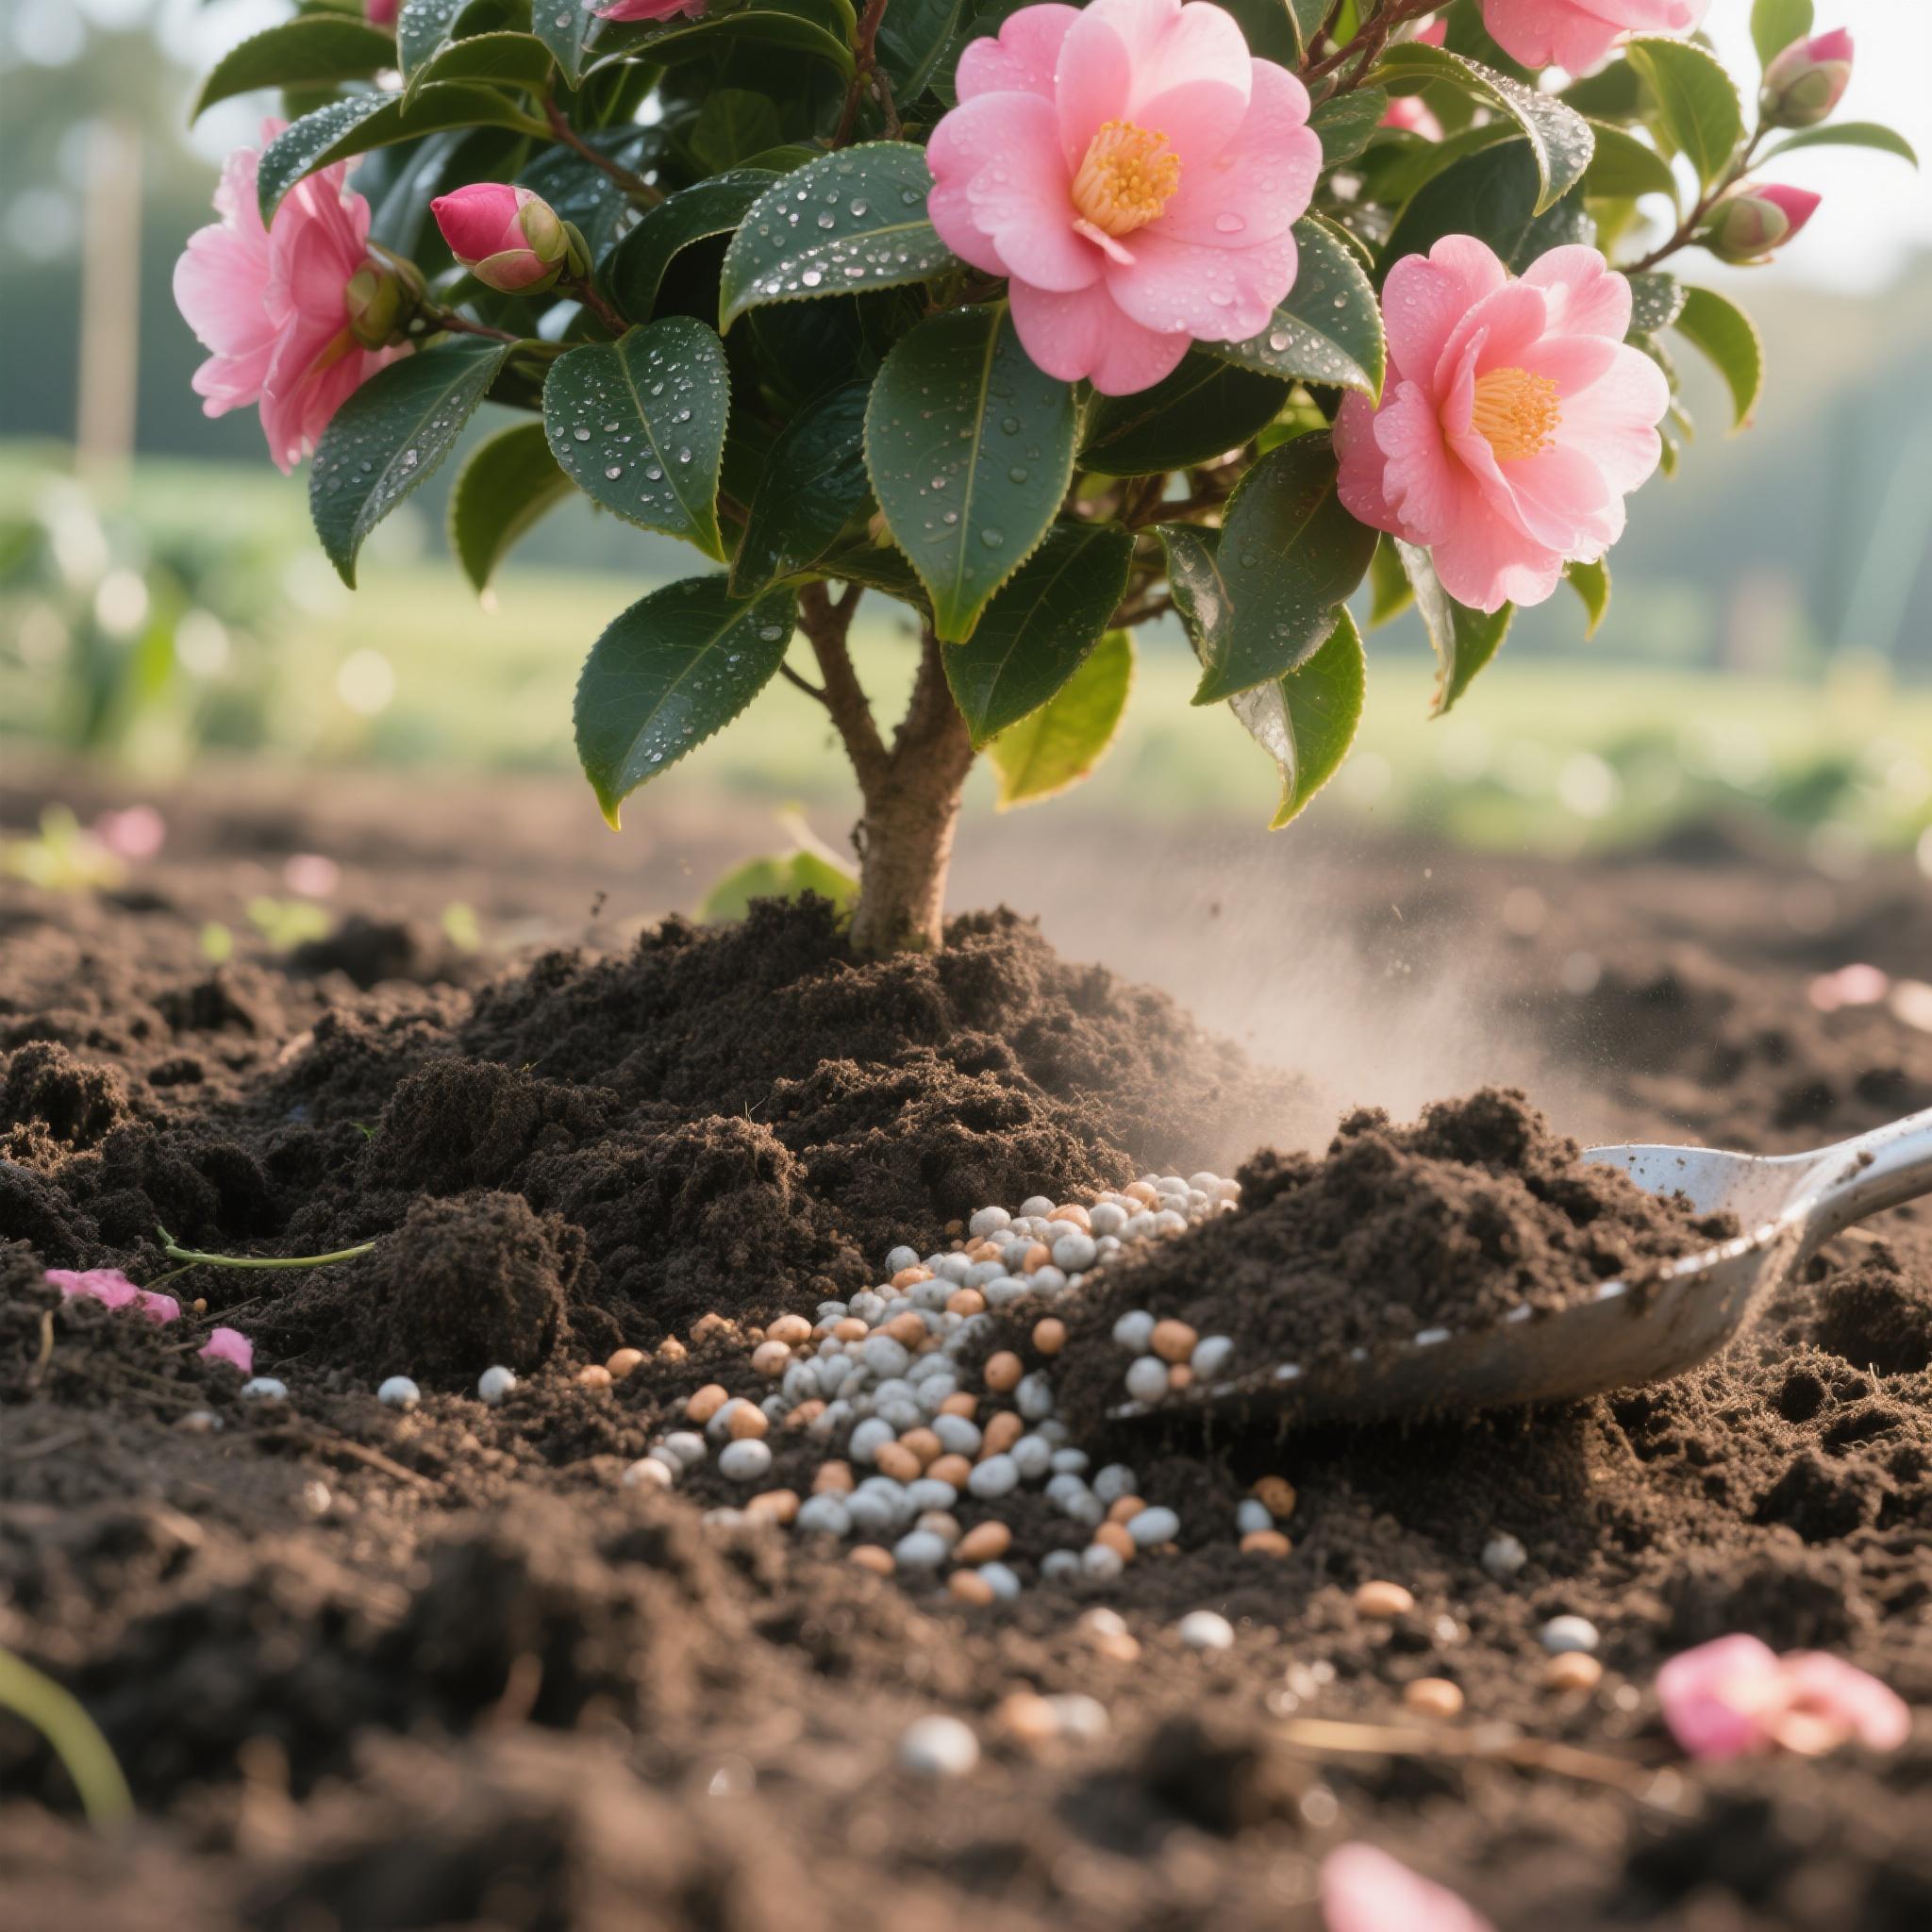
- Slow-release pellets: A single spring application, with a possible second dose in mid-summer
Application Guidelines:
- Feed while plants are actively putting on growth
- Give the soil a thorough watering afterward to keep roots from burning
- Stick to package guidance based on the plant’s size
- Resist the urge to overfeed—it can kill a camellia outright
- Let soil test results guide which fertilizer you reach for
What Container-Grown Camellias Need From Their Soil
Why Pots Play by Different Rules
A camellia in a pot has different soil demands than one planted directly in the ground. Container soil has to deliver excellent drainage while still keeping enough moisture on hand, since pots dry out noticeably faster than open garden beds.
Container Soil Mix:
- Base: A quality potting mix built for acid-loving plants
- Organic matter: Peat moss or compost, roughly 30-40% of the total
- Drainage: Perlite or coarse sand, around 10-20% of the mix
- Structure: Pine bark or wood chips for added texture
- pH: Dial it into the 6.0-6.5 range
Container Considerations:
- Choose pots with generous drainage holes
- Size containers for the plant’s eventual mature spread, not just its current size
- Plan to repot roughly every 2-3 years as roots fill the space
- Check pH more often in containers than you would in the ground
- Water more frequently, since container soil dries out much faster
Repotting Your Camellia
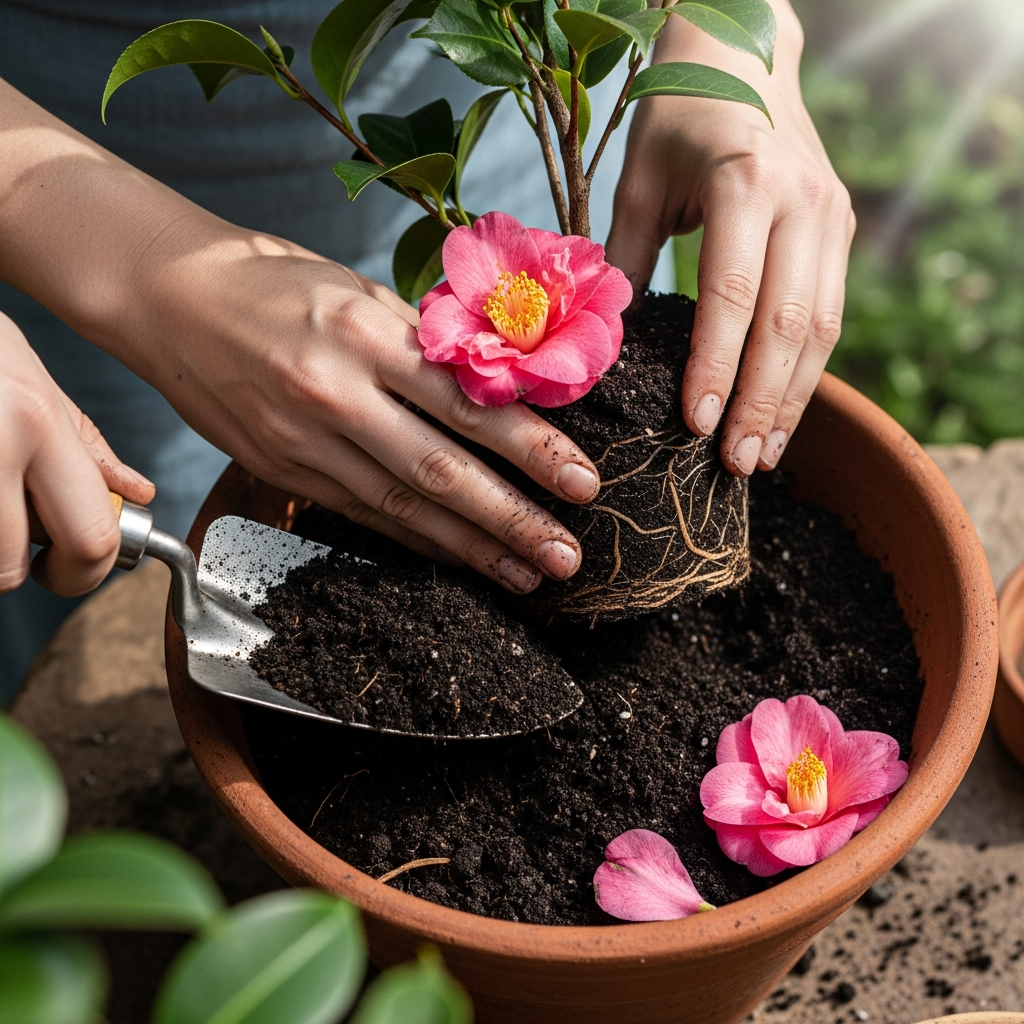
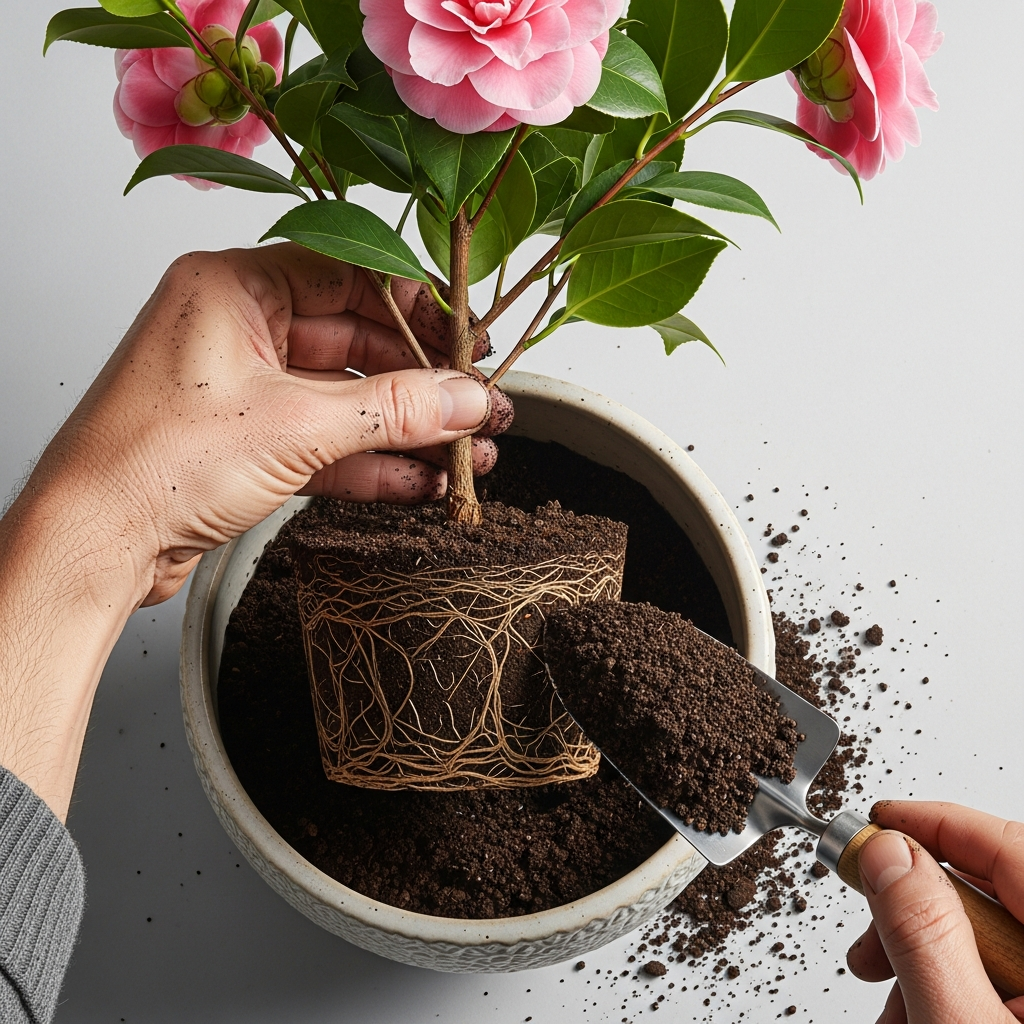
Once a camellia outgrows its pot or the soil inside loses its nutrients, it’s time to repot. This usually falls somewhere around the 2-3 year mark, or whenever roots have filled the container.
Repotting Steps:
1. Pick the right window: Early spring works best, after blooming ends but before active growth resumes
2. Grab a suitable container: One size up, with solid drainage
3. Mix fresh soil: A new, well-draining blend suited to camellias
4. Lift the plant carefully: Loosen the roots gently if they’ve become root-bound
5. Set it at the correct depth: Keep the root ball at the same level as before—don’t bury it any deeper
6. Water it in well: A thorough soak after repotting helps the soil settle
7. Shield it for a bit: Keep the plant out of direct sun for a couple of weeks afterward
Signs It’s Time to Repot:
- Roots pushing out through the drainage holes
- The plant becomes top-heavy and starts tipping
- Soil dries out unusually fast
- Growth has visibly slowed down
- Roots become visible right at the soil surface
Soil Products I’d Actually Recommend for Camellias
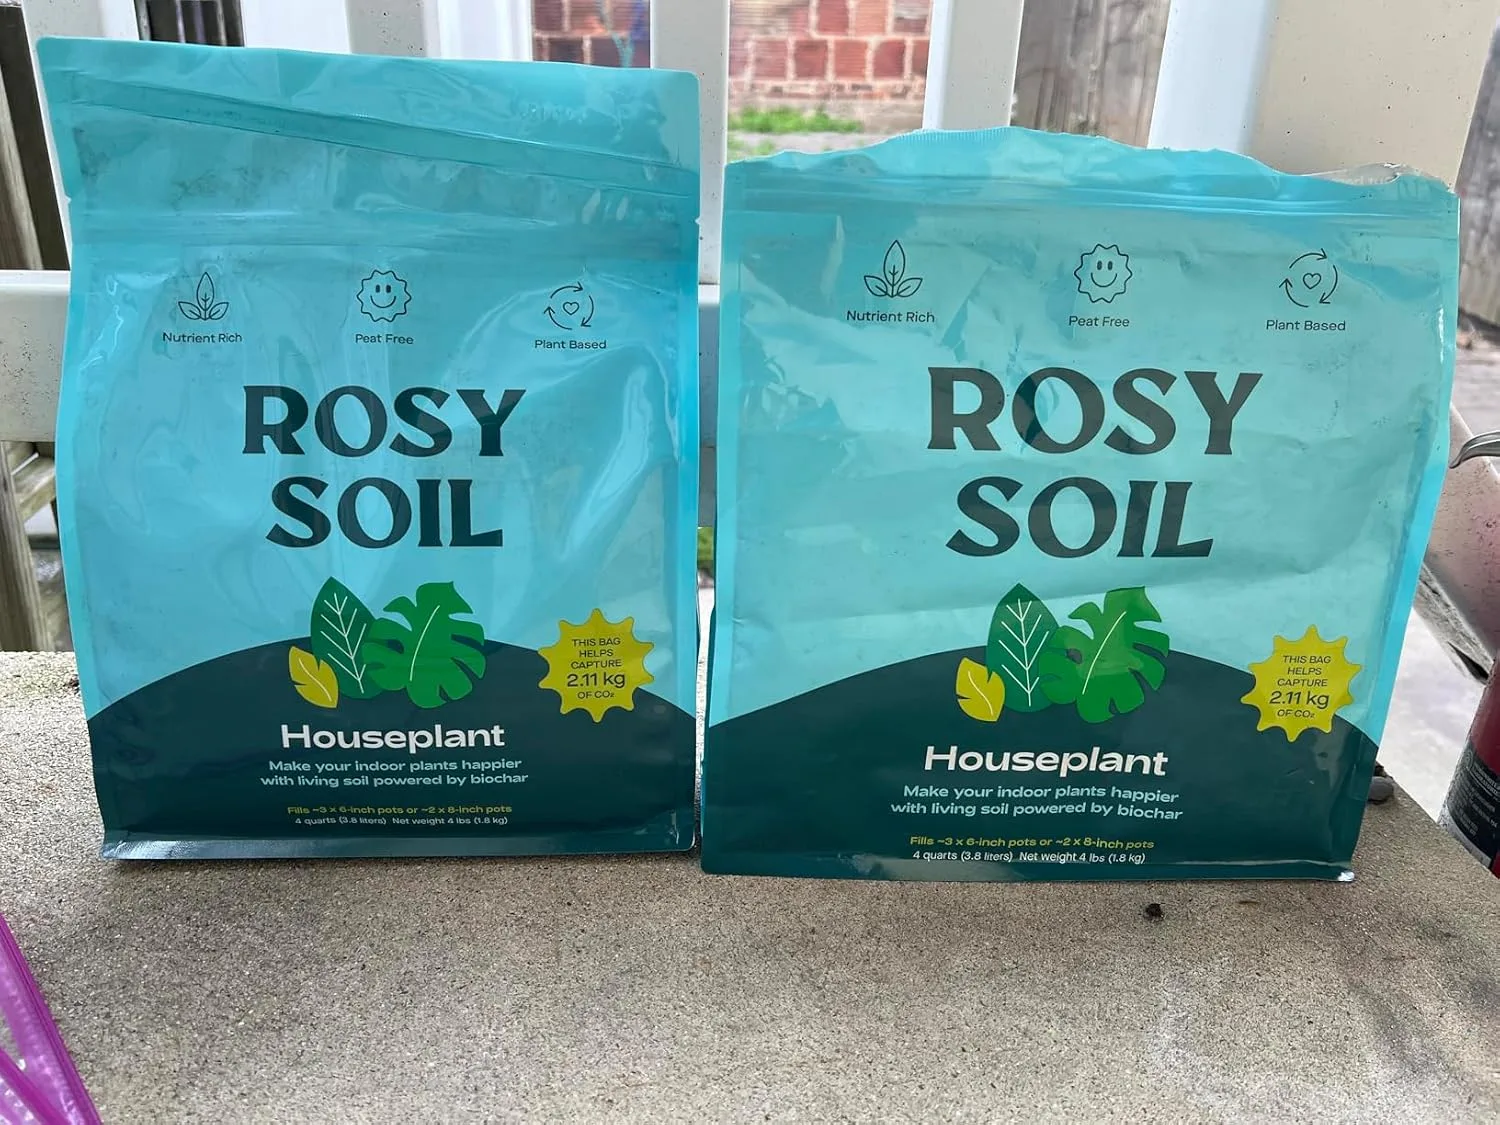
The right soil products change everything when you’re growing camellias, container plants especially. I’ve tested plenty of potting mixes and amendments over the years, and what follows are the ones that have genuinely earned a spot in my routine. Each has its own strengths, and I’ve added my honest take on each so you can figure out what fits your setup.
1. Premium Balsam Camellia Potting Mix
Description: A premium mix built specifically for camellias, combining peat moss, worm castings, perlite, and organic compost. Delivers strong moisture retention, reliable drainage, and solid aeration for container plants.
My Experience: I’ve relied on this camellia-specific potting mix for my container plants for the last couple of years, and it’s genuinely shifted how healthy and vigorous they look. The combination of peat moss, worm castings, and perlite hits that moisture-versus-drainage balance camellias are so picky about. What sold me is that it’s already tuned for acid-loving plants, so pH tinkering isn’t something I have to think about. The organic compost keeps a steady trickle of nutrition flowing, and I’ve watched my plants develop sturdier roots and richer blooms since switching. It costs more than a generic bag of potting soil, but the payoff justifies it. Works equally well indoors or out.
2. Acid-Loving Plant Potting Soil
Description: A specialized mix built for acid-loving species like camellias, azaleas, and rhododendrons, with pH and organic content dialed in for strong camellia growth.
My Experience: This acid-loving potting soil has genuinely simplified life for my container camellias. It arrives with pH already balanced correctly, so I skip the whole adjustment process. The organic content gives good structure and drainage, and I’ve noticed new plants settle in faster once I switch to this soil. It’s particularly useful for fresh plantings or repotting an already-established camellia. The texture strikes a nice middle ground—never too dense, never too loose—and it holds moisture without ever turning soggy. I’ve used it for both repotting sessions and initial plantings, and the results have been consistently good.
3. Camellia & Azalea Potting Mix
Description: A professional-grade blend built specifically for camellias and azaleas, combining organic matter, drainage materials, and pH-balanced ingredients suited to thriving container plants.
My Experience: This has turned into my default choice whenever I’m repotting a camellia. Because it’s formulated specifically for camellias and azaleas, I trust that the pH and nutrient ratios are already correct. The organic matter it contains provides real structure and nutrition, while the drainage ingredients keep waterlogging off the table. I’ve run through several repotting rounds with this mix, and my camellias always settle in without a hitch—no transplant shock, no yellowing. Its consistency makes it dependable, and I appreciate not having to doctor it before use. Good for both brand-new plantings and repotting older plants.
4. Organic Camellia Soil Amendment
Description: An organic amendment built to enhance existing soil conditions for camellias, improving structure, delivering key nutrients, and helping keep pH in the acidic range these plants need.
My Experience: I reach for this amendment both in containers and when improving garden soil for camellias planted in the ground. It’s loaded with organic material that boosts structure and feeds nutrients slowly over time. Whenever I work it into existing potting mix or garden beds, drainage and root development both noticeably improve. Because it’s organic, it’s gentle on the environment while still supporting long-term soil health. I especially like using it when prepping brand-new planting sites or refreshing soil in containers that have been in use a while. It’s a flexible amendment whether your starting point is heavy clay or loose sand.
Keeping Soil Healthy for the Long Haul
Managing Soil as Your Camellias Mature
As camellias age, what they ask of their soil shifts too. Mature plants develop wide-reaching root systems capable of drawing nutrients from a much larger area, but that doesn’t mean soil upkeep stops mattering.
Ongoing Maintenance:
- Mulching: Lay down 2-3 inches of organic mulch each year to keep soil structure intact
- pH Monitoring: Check pH annually and correct course as needed
- Organic Matter: Work in compost or other organic material periodically to preserve soil structure
- Drainage: Keep an eye on drainage as soil naturally settles over time
- Nutrient Monitoring: Stay alert for early signs of nutrient deficiency
As Plants Mature:
- Mature plants need fertilizer less often than younger ones
- Wider-spread roots can tap nutrients from a broader area
- Soil pH tends to stabilize once root systems mature fully
- Mulch and organic matter still matter, even for older plants
- Watch for soil compaction building up over time
Why Mulch Pulls So Much Weight
Mulch does more than one job in a camellia bed:
Benefits of Mulch:
- Moisture retention: Cuts down evaporation and keeps soil moisture steady
- Temperature regulation: Keeps roots cooler in summer and shielded through winter
- pH maintenance: Organic mulches like pine needles help hold acidity steady
- Weed suppression: Cuts down on competition for water and nutrients
- Soil improvement: Breaks down over time, feeding organic matter back into the ground
- Prevents compaction: Shields soil structure against heavy downpours
Mulching Guidelines:
- Lay down 2-3 inches of organic mulch
- Leave 6-10 inches of clearance between mulch and the trunk
- Choose acidifying mulches such as pine needles or pine bark
- Top it off as it breaks down over time
- Never pile mulch into a “volcano” against the trunk
Diagnosing Soil-Related Problems
Frequent Soil Issues and How to Fix Them
Yellow Leaves with Green Veins (Chlorosis):
- Cause: Soil pH too high, blocking iron uptake
- Solution: Bring pH down using sulfur or acidifying fertilizer
- Prevention: Test pH regularly and adjust before it becomes a problem
Root Rot:
- Cause: Weak drainage leaving soil waterlogged
- Solution: Fix the drainage, possibly moving the plant to a raised bed
- Prevention: Proper soil prep combined with correct planting depth
Poor Growth:
- Cause: Missing nutrients, weak soil structure, or an off pH
- Solution: Run a soil test, rebuild structure, adjust pH accordingly
- Prevention: Solid soil prep from the very start
Bud Drop:
- Cause: Usually tied to poor drainage or moisture stress
- Solution: Improve drainage and keep watering consistent
- Prevention: Proper soil prep and steady upkeep
Fertilizer Burn:
- Cause: Too much fertilizer, or fertilizer placed too close to roots
- Solution: Flush the soil thoroughly with water and cut back on feeding
- Prevention: Stick to package directions and water right after fertilizing
Sorting Out the Best Soil Amendments
Matching the Amendment to the Job
Every soil amendment does something different. Knowing what each one actually accomplishes helps you pick the right combination for your specific soil.
For pH Adjustment:
- Agricultural sulfur: Brings pH down slowly but steadily
- Peat moss: Adds acidity while improving soil structure
- Pine needles: A natural acidifier that doubles as great mulch
- Acidifying fertilizers: Adjusts pH quickly while adding nutrients
For Structure Improvement:
- Compost: Builds structure, adds nutrients, and feeds beneficial soil organisms
- Leaf mold: Great for improving texture, with a naturally acidic bonus
- Perlite or vermiculite: Loosens up drainage in dense soils
- Coarse sand: Helps drainage, but use it sparingly
For Nutrient Addition:
- Well-rotted manure: Adds nutrients while improving structure
- Compost: Slow-release nutrition paired with organic bulk
- Organic fertilizers: Balanced nutrition released gradually
- Mineral supplements: Targeted nutrients when specific gaps show up
Adjusting Soil Strategy by Region
Tailoring Care to Your Local Conditions
Soil varies dramatically from one region to the next, and understanding what’s typical where you live helps you adjust camellia care accordingly.
Coastal Areas:
- Frequently alkaline soil
- Likely to need more frequent pH correction
- Salt exposure can be a concern—make sure drainage stays strong
- Container growing is worth considering if the ground soil is too alkaline
Mountain/Highland Areas:
- Usually naturally acidic ground
- Less pH correction typically needed
- Natural drainage tends to be good
- Think about protecting roots from cold
Desert/Arid Regions:
- Alkaline soil is the norm
- Drainage is usually a non-issue
- Water supply often runs alkaline too
- Requires steady irrigation alongside active pH management
Temperate Regions:
- Often close to ideal without much intervention
- Minimal adjustment usually required
- Regular rainfall generally supplies enough moisture
- Keep an eye on pH if your tap water runs alkaline
Wrapping Up: Camellia Soil Conditions, Simplified
Building the right soil environment for camellias really isn’t all that complicated—it comes down to understanding what they need and delivering the basics: mildly acidic pH, dependable drainage, sufficient organic matter, and correct planting depth. What matters most is starting strong with soil prep and staying consistent with upkeep afterward.
Keep in mind that camellias are surprisingly forgiving plants. They have clear preferences, but they’ll grow well across a range of soil types as long as drainage holds up and pH stays in the right zone. The biggest threats are the same handful of mistakes: burying the plant too deep, tolerating poor drainage, and letting alkaline soil block nutrient uptake.
Begin with careful soil prep, check your pH on a regular schedule, keep drainage in good shape, and refresh organic matter now and then. Do that, and your camellias will pay you back with decades of strong growth and impressive blooms. The soil is where it all starts—get that part right, and everything that follows gets simpler.
The pH Meter That Finally Explained My Struggling Camellias
Two full seasons went by with pale leaves and disappointing blooms before it dawned on me that I had never actually measured my soil’s pH. A decent pH meter takes the guesswork out of the equation and shows you, in real numbers, exactly what your camellias are dealing with—and whether that “ideal” soil mix you built is actually doing its job.
What works
- Delivers a reading in seconds flat—no waiting on lab results, no guessing whether you’ve landed in that 5.5–6.5 window.
- Makes it easy to check several spots across a bed or compare different pots, so pH drift gets caught before it hurts your plants.
- Pays for itself the moment it stops you from amending in the wrong direction or buying sulfur you didn’t actually need.
What doesn’t
- Requires routine calibration, or the readings drift—skipping the buffer solution step has thrown my numbers off completely more than once.
- Can throw wildly inconsistent numbers if the soil’s too wet or too dry at test time, so timing matters more than the device itself lets on.
I almost tossed mine after getting three different readings in one afternoon, but then I learned it needed proper calibration—something the manual buried on page six.
About This Article

Written by Helen Pritchard. Helen Pritchard is a lifelong gardener in the Pacific Northwest who has grown more than 200 named camellia cultivars over two decades. She writes practical, experience-based guides to camellia care, from variety selection and pruning to troubleshooting yellowing leaves and bud drop. More about this site.
Verify this against a primary source
Specifics change, and your situation may differ from the one described here. These are the authorities worth checking directly:
- American Camellia Society — cultivar registration and culture guides
- USDA Plant Hardiness Zone Map — zone verification for your location
- Royal Horticultural Society — camellia cultivation and pest guidance



