
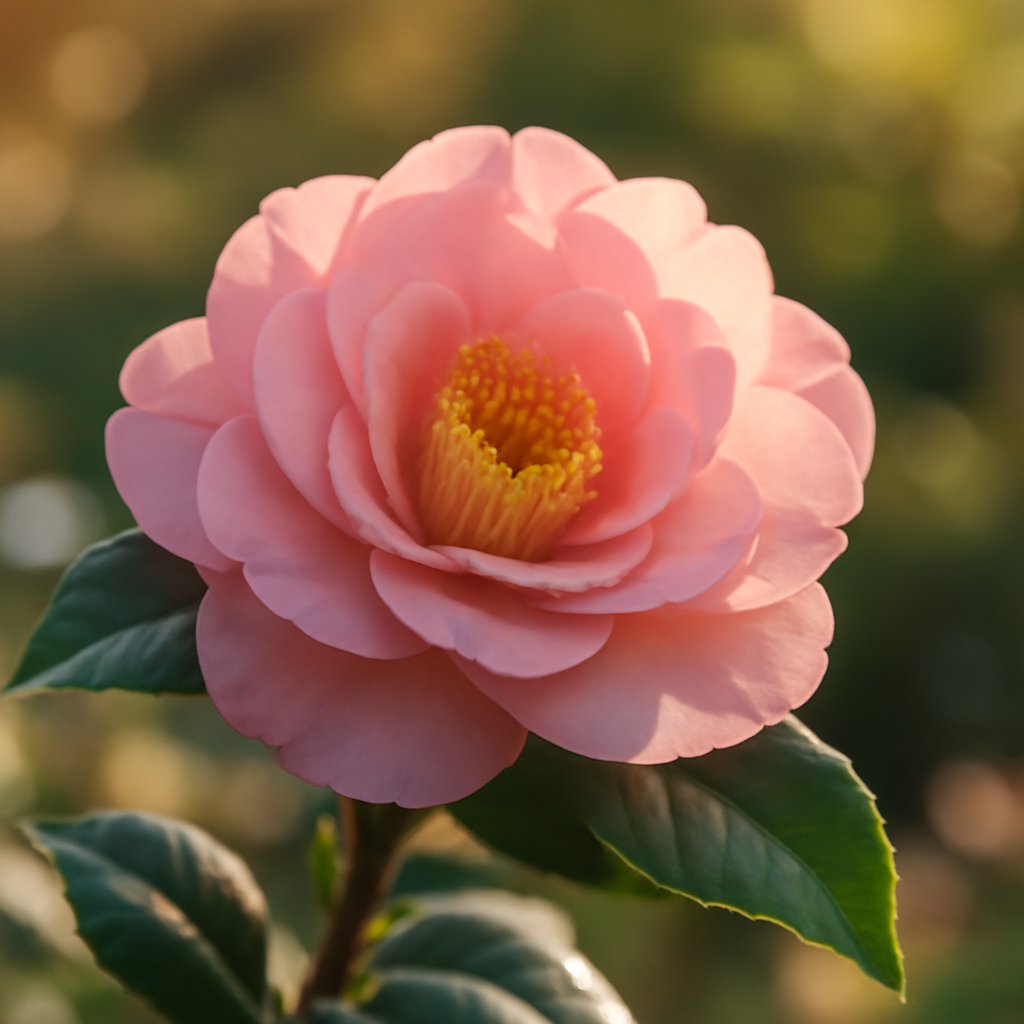

Yellow leaves dropping in October? Buds falling before they open? A healthy camellia bush shouldn’t behave this way, yet I see it happen in gardens across my zones 7b, 8a, and 8b more often than I’d like. Most camellia problems aren’t mysterious—they’re signals that something’s off balance.
After tending over 200 named cultivars for two decades, I’ve diagnosed nearly every camellia ailment that exists. The good news: most are preventable or fixable with the right approach. This guide walks you through the problems I encounter most, what causes them, and exactly how to solve them.
Bud Drop: Why Your Camellia Flowers Never Bloom
Bud drop is the most frustrating problem I face. Your camellia sets gorgeous buds all fall, then they shatter and fall to the ground before opening. No flowers. Just disappointment.
This happens for three main reasons: inconsistent watering, temperature fluctuations, or nutrient stress. In my experience, water is the culprit 70% of the time. Camellias demand steady moisture while buds develop—not soggy, but never truly dry.
I learned this lesson with my ‘Yuletide,’ a reliable early bloomer I’d neglected one dry fall. The buds formed perfectly through September and October. Then November hit with an unusual dry spell. I watered sporadically instead of consistently. Result: 95% bud drop, zero flowers that year.
Fluctuating soil moisture stresses the plant and causes it to abort buds. The fix sounds simple because it is: water deeply twice weekly during bud development. Check your soil 2–3 inches down. It should feel like a wrung-out sponge—moist but not waterlogged.
Temperature swings also trigger bud drop, particularly late spring frosts. A camellia in zone 7b that experiences an unexpected 25-degree drop after a warm week will often shed buds. You can’t control weather, but mulching heavily in fall (3–4 inches) insulates roots and stabilizes soil temperature.
Nutrient deficiency—especially boron—causes buds to brown and drop. This is less common but devastating when it happens. Acidic soil (pH 5.5–6.5) helps camellias absorb boron naturally. If your buds blacken before dropping, have your soil tested, then apply a balanced camellia fertilizer formulated for acidic conditions.
Yellowing Leaves and Chlorosis: Reading Your Plant’s Distress Signals
Yellow foliage comes in different patterns, and each one tells a different story. I’ve learned to diagnose them like a gardener reads tea leaves.
Uniform yellowing across the entire plant—older leaves first—usually means nitrogen deficiency. This is common in camellias planted in poor soil or grown in containers without regular feeding. Apply a slow-release fertilizer labeled for camellias or acid-loving plants every 6 weeks during the growing season (April through September).
Veiny yellowing—where leaf veins stay green but the tissue between them yellows—signals iron chlorosis. This typically occurs in alkaline soil (pH above 7) where iron becomes locked up and unavailable to roots. My ‘Eleanor’s Gem’ developed this problem when I planted her too close to a concrete pathway that was leaching lime into the soil.
The fix: acidify your soil. Lower the pH toward 5.5–6.5 using elemental sulfur (slow) or aluminum sulfate (faster). This can take weeks to months. In the short term, apply a chelated iron foliar spray every 10 days until new growth appears green again.
Yellowing concentrated at the tips or margins suggests poor drainage and root stress. Soggy soil for more than a few days suffocates camellia roots. They can’t absorb nutrients or water properly, so foliage yellows as a stress response. Check your soil moisture honestly. If it stays wet, amend with coarse sand and aged bark to improve drainage.
Pest Problems: Scale, Aphids, and Spider Mites
Camellias aren’t pest-free plants, despite what some gardeners claim. In my experience, three pests dominate: scale insects, spider mites, and aphids. The good news: all are manageable with early detection and consistent treatment.
Scale Insects
Scale looks like tiny bumps or waxy discs on stems and leaf undersides. Affected leaves yellow and drop. I notice scale most often on dense cultivars like ‘Mathótiana’—the bushy foliage creates humid microclimates that scale loves.
Light infestations respond to horticultural oil spray applied in early spring before new growth hardens. Heavy infestations need systemic insecticide. Spray every 10 days for three applications. Repeat in late winter if scale returns.
Spider Mites
Spider mites are invisible to the naked eye, but their damage is obvious: stippled, yellowing leaves that feel papery. You’ll see fine webbing on leaf undersides. These thrive in hot, dry conditions.
Spray forcefully with water weekly to dislodge mites. Increase humidity around the plant. In severe cases, use neem oil every 7 days for three applications. Mites reproduce rapidly, so consistency matters more than strength.
Aphids
Aphids cluster on new spring growth, causing leaves to curl and stick. I see them most on young plants. They’re easier to manage than scale or mites—a strong spray of water dislodges most of them instantly.
For persistent infestations, insecticidal soap works well. Spray every 5–7 days until aphids vanish. That said, beneficial insects often control light aphid populations naturally, so I avoid spraying unless the damage becomes obvious.
Leaf Spot and Fungal Diseases
Fungal leaf spot appears as brown or black circular patches on foliage. In zone 8b where humidity runs high, this is a genuine nuisance. My ‘Debutante’ collection suffered badly during a wet spring without good air circulation.
Prevention beats treatment every time. Provide at least 6 hours of morning sun—it dries dew quickly. Space plants far enough apart for air to move freely. Avoid overhead watering; water at the soil line instead. Remove fallen leaves immediately, as fungal spores overwinter there.
If leaf spot appears, prune affected branches back to healthy tissue. Disinfect your pruners between cuts using rubbing alcohol. Once the disease is established, copper or sulfur fungicides help, but they work best as prevention applied before wet weather arrives.
Petal blight is another fungal problem, less common but devastating. Flowers develop brown spots, wilt, and drop prematurely. It thrives in cool, wet conditions. Improve air circulation, remove infected flowers immediately, and avoid wetting blooms.
Root Problems and Poor Growth
A camellia that grows slowly, looks weak, or fails to bloom despite being established for years likely has root stress. This is harder to diagnose because the problem lives underground, but symptoms appear above.
Poor drainage is the biggest culprit. Camellias hate wet feet. If water pools around your plant or drains sluggishly after rain, roots rot. Waterlogged roots can’t absorb nutrients or water, creating the paradox of a dying plant in wet soil.
My ‘Pink Perfection’ in zone 8a suffered this way until I redesigned her bed. Heavy clay soil held moisture too long. I dug out the entire planting area 18 inches deep, mixed in coarse aged bark and sand, and replanted her higher. Growth improved immediately.
Container camellias face root problems more often than landscape plants. Soil dries out unevenly in pots, and if you use regular potting soil instead of an acid-based, well-draining mix, roots stay too wet. Use a meter to check moisture depth accurately—don’t guess based on surface appearance.
Over-potting (using a container much larger than necessary) also causes root rot in containers. The extra soil holds water far from the roots, creating waterlogged conditions. Repot into a vessel only 1–2 inches larger in diameter than the current pot, using fresh acid-based potting soil annually.
Winter Damage and Cold Stress
Hard freezes kill camellia buds and sometimes wood itself. Winter damage is zone-dependent but manageable with forethought. My zone 7b camellias experience regular temperature dips below zero, yet most thrive because I’ve chosen cold-hardy cultivars and protected them properly.
Late-season cultivars like ‘Nobilissima’ and ‘Midnight’ set buds that can survive harsh winters. Early bloomers like ‘Yuletide’ risk frost damage to open flowers. Choose cultivars suited to your zone’s typical winter severity.
Mulch heavily in fall—3–4 inches of bark or pine straw insulates roots and stabilizes soil temperature. Avoid mulching right against the trunk; keep it 3–4 inches away. Burlap screening provides some protection for plants in exposed locations, though it’s labor-intensive. I use it only on young, valuable specimens in my zone 7b beds.
Evergreen shelter helps too. I plant my more tender cultivars where a taller shrub or tree blocks north winds. This simple positioning makes the difference between survival and winter kill.
Slow Growth and Weak Blooming
A camellia that grows inches per year instead of 6–12 inches, or rarely flowers, isn’t happy. This usually traces back to light, soil pH, or overall plant health.
Camellias need dappled shade—about 50% filtered light. Too much shade (under deep evergreens, for example) stunts growth and eliminates blooms. Not enough shade (hot afternoon sun in zone 8b) causes stress, yellowing, and poor flower production.
Soil pH below 5.5 or above 6.5 locks up nutrients. Have your soil tested specifically—don’t guess. A professional test costs $20–$40 and identifies exactly what’s limiting your plant. Adjust pH slowly using sulfur or lime, following test recommendations precisely.
Underfeeding also limits growth and blooms. Camellias are not heavy feeders, but they do need regular nutrition. Apply a camellia-specific fertilizer or all-purpose acid-plant formula every 6 weeks from April through September. Stop feeding after Labor Day to avoid triggering soft new growth before winter.
Wrapping Up: Your Troubleshooting Checklist
Most camellia problems stem from four core issues: inconsistent moisture, poor drainage, incorrect soil pH, or insufficient light. Address those fundamentals, and you’ll solve 80% of what ails your plants.
Before assuming disease or pests, honestly assess water and light. A stressed plant from drought or shade is far more common than a sick one. Once you’ve ruled out those basics, work through the specific diagnosis steps I’ve outlined above.
Healthy camellia gardening isn’t complicated—it’s consistent. Watch your plants. Learn what normal looks like for each variety. Adjust your care as seasons change. That’s how I’ve kept over 200 camellias thriving across three zones, and that’s how you’ll solve problems before they become serious.
About This Article

Written by Helen Pritchard. Helen Pritchard is a lifelong gardener in the Pacific Northwest who has grown more than 200 named camellia cultivars over two decades. She writes practical, experience-based guides to camellia care, from variety selection and pruning to troubleshooting yellowing leaves and bud drop. More about this site.
Verify this against a primary source
Specifics change, and your situation may differ from the one described here. These are the authorities worth checking directly:
- American Camellia Society — cultivar registration and culture guides
- USDA Plant Hardiness Zone Map — zone verification for your location
- Royal Horticultural Society — camellia cultivation and pest guidance



