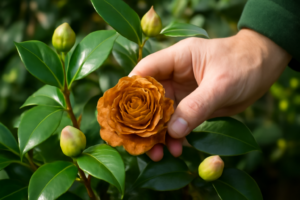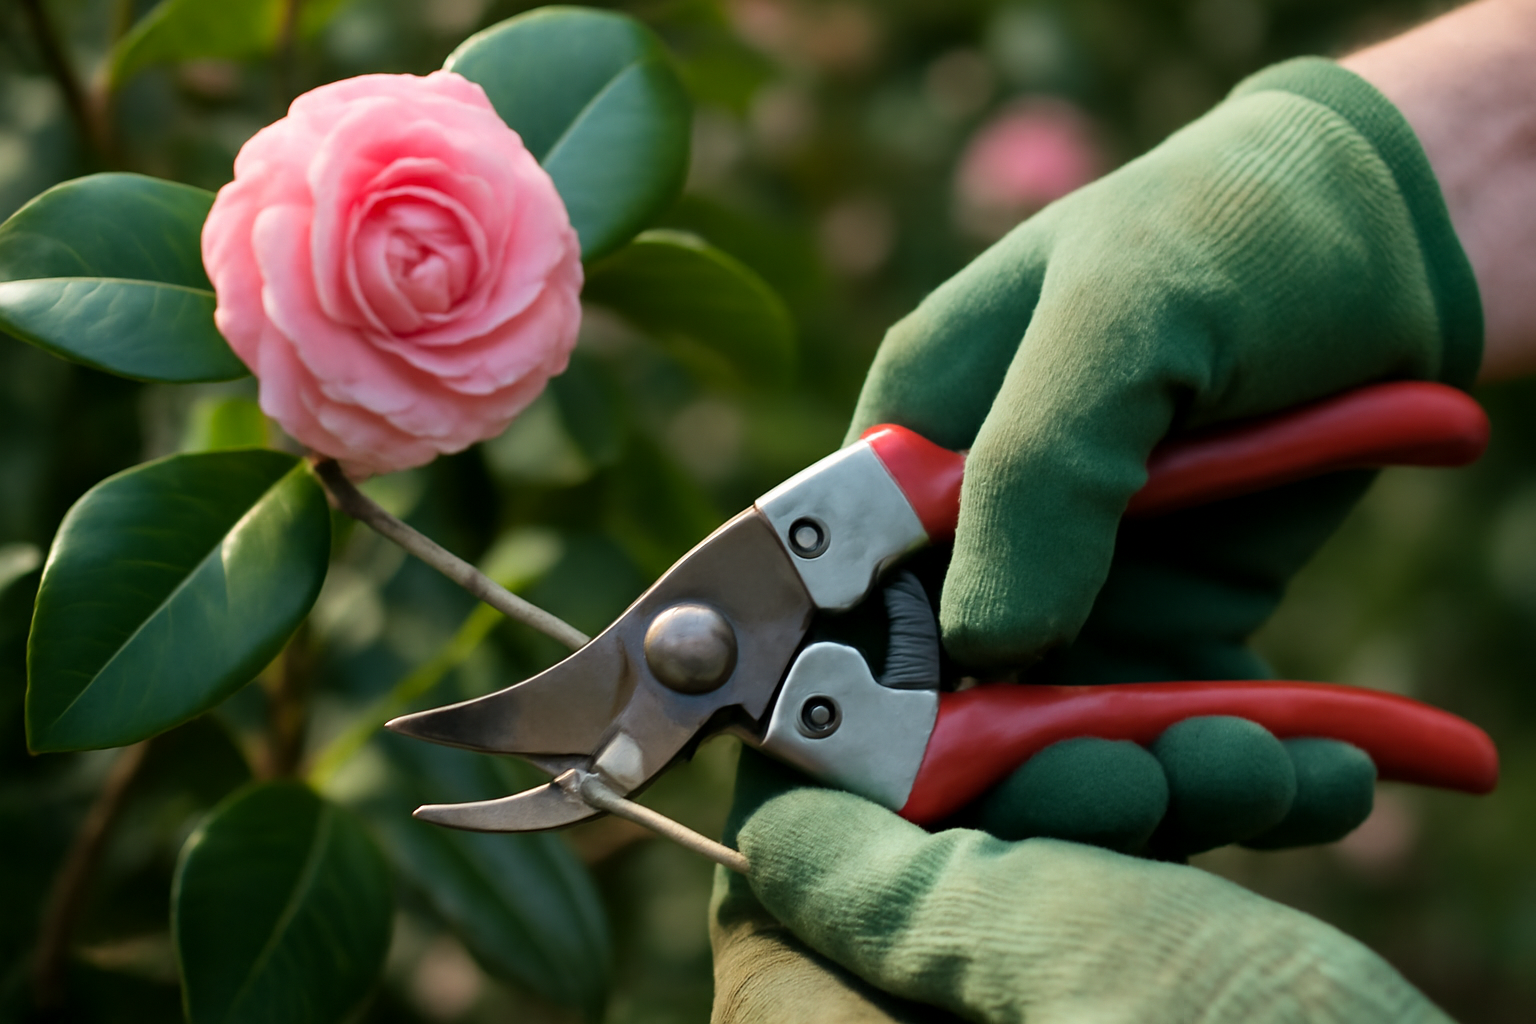
I still remember crouching in front of a ‘Debutante’ one November afternoon, counting its flower buds — eleven, maybe twelve, scattered thinly along stems that should have carried three times that number after a good rainy summer. That meager count told me everything I needed to know: somewhere the previous year, a badly timed cut had wiped out a whole season of blooms before they’d ever gotten the chance to open. Knowing when to prune camellias is, without exaggeration, one of the most consequential pieces of knowledge any camellia gardener can carry — and it’s one of the easiest lessons to get badly wrong. Twenty-some years into growing these plants, I still pause and think it through before a single blade touches a branch. The calendar, it turns out, matters more than almost anything else you’ll do with these shrubs.
Across my growing space, which spans zones 7b, 8a, and 8b, I keep more than 200 named cultivars going at once — early Sasanquas, mid-season Japonicas, and the famously temperamental Reticulatas among them. Each of those camps operates on its own internal clock, with its own ideal pruning window. Line it up correctly and you’re rewarded with a knockout bloom season. Miss it, and you’re staring at bare stems for an entire year, wondering where all your flowers went.
What follows is the exact approach I use, the reasoning behind it, and a few painful lessons that hammered most of it home for me.
The One Rule That Governs Camellia Pruning Timing
Here’s the core principle I never abandon: cut your camellias right after they’ve finished flowering, and nowhere near that window otherwise. Sounds straightforward on paper. In practice, it’s astonishingly easy to miss.
Flower buds for the following year form during late spring and summer. Snip anything after mid-summer, and you’re removing buds that already exist. There’s no visible scar or clue on those stems — the buds sit there, invisible and microscopic, quietly building toward next season’s show. Cut past that point and those flowers are simply gone.
From what I’ve observed in my own beds, the safe cutting window closes around the last days of June in zones 7b and 8a. In the warmer stretch of zone 8b, I’ll stretch that to the very start of July, but no further. Once that date passes, the shears go back in the shed, and they stay there until blooming wraps up the following year.
Sasanqua and Japonica Schedules Aren’t Interchangeable
This is where a lot of growers stumble. Sasanquas and Japonicas flower on entirely different calendars, so treating their pruning schedules as identical is a recipe for disappointment.
My Sasanquas — ‘Yuletide,’ ‘Setsugekka,’ and ‘Kanjiro’ among them — flower from October into December here in zone 8a. Once the final blooms drop, usually somewhere between late January and February, that’s my signal to prune. Doing it then leaves the plants ample runway to push new growth and set buds before summer heat rolls in.
Japonicas run on a completely separate schedule. The bulk of mine — ‘Debutante,’ ‘Governor Mouton,’ ‘Kramer’s Supreme’ — bloom between January and March. So March and April become my pruning months, right on the heels of flowering. That still leaves enough of the spring growing season for fresh buds to form before the summer heat sets in.
Reticulatas Demand a Lighter Touch
The Reticulata group plays by its own set of rules. Cultivars like ‘Captain Rawes’ and ‘Crimson Robe’ bloom in late winter into early spring, but they also grow noticeably slower than Japonicas or Sasanquas. That sluggish growth rate means they can’t afford to lose any of their limited growing season.
With my Reticulatas, I keep cuts minimal and time them early — right as the last petals let go in March. I limit myself to dead wood and crossing branches, nothing more. These plants simply don’t need the aggressive shaping a Sasanqua hedge might benefit from. A heavy hand on a Reticulata can set it back for a long stretch, so restraint is always my default here.
The Year I Pruned My Way Out of an Entire Bloom Season
I should confess to the summer I nearly wrecked my ‘Nuccio’s Gem.’ It was a sticky July afternoon, textbook zone 8a weather, and I decided the plant had gotten shaggy. Loppers in hand, I gave it a fairly enthusiastic shaping session. It looked neat afterward. I was, frankly, pretty proud of myself.
Come the following winter, that plant produced a grand total of four flowers. Four — on a shrub that normally buries itself in hundreds of flawless white double blooms. I was crushed, and honestly, I’d earned it. I’d cut in July, right after the plant had already finished laying down its buds for the coming season. Every snip I made had taken flowers with it that I simply couldn’t see yet.
That whole ordeal taught me to take seriously the biology I couldn’t see happening inside the plant. Invisible doesn’t mean absent. Ever since that summer, I’ve treated my pruning calendar like scripture.
Beyond Timing: Getting the Actual Cuts Right
Everyone fixates on timing, understandably, but technique carries just as much weight. A sloppy cut can invite disease, trigger die-back, and stress out a plant that otherwise has no business struggling.
Keeping Your Tools Clean and Sharp
Start every session with tools that are both clean and sharp. I reach for bypass pruners on anything under half an inch thick, loppers for larger limbs, and a narrow pruning saw once I hit old, thick wood. Between plants, I wipe the blades down with diluted bleach or rubbing alcohol. Camellias aren’t immune to petal blight and other fungal troubles, and dirty blades are an efficient way to spread them around the garden.
A dull blade is arguably just as risky as a filthy one. Instead of slicing cleanly, it crushes plant tissue, leaving ragged wounds that heal slowly and practically invite infection. Sharp tools produce clean cuts, and clean cuts close up the way they should.
Choosing the Right Spot to Cut
Make your cuts just above a leaf node or a side branch. Leave roughly a quarter inch of stem above that node — not flush, but not a long dangling stub either. Stubs like that tend to die back and turn into an open door for disease.
When I’m actively shaping a plant, I hunt for buds pointed outward and cut just above those. That directs new growth away from the center of the plant, keeping it open enough for decent airflow. Weak air circulation is a leading cause of fungal trouble, particularly given the humid climates where camellias tend to flourish.
The Order in Which I Remove Things
I stick to a set sequence every time I prune, tackling obvious problems long before I think about overall shape.
- Any dead, damaged, or diseased wood — cut it back completely, into healthy tissue
- Branches that cross or rub against each other — pick one and take it out
- Branches growing inward and crowding the plant’s center
- Suckers or water sprouts shooting straight up from the base or main trunks
- Any limb that’s working against the plant’s natural form
Once those are handled, take a step back before doing anything more. Often there’s little left to do. In my experience, most people over-prune camellias simply because they’re used to shrubs that shrug off heavier cutting. Camellias, on the other hand, reward a lighter hand.
Figuring Out How Much to Cut
This question comes up constantly. My rule of thumb caps a single pruning session at removing no more than a third of the plant. That said, on healthy, established camellias that just need a light tidy-up, I typically remove far less than that ceiling.
For a badly overgrown specimen — think an old Japonica that’s turned leggy and is closing in on fifteen feet tall — I handle renovation differently altogether. I stretch heavy pruning across two or three seasons instead of tackling it all in one go. That approach softens the shock to the plant and keeps some blooms coming even while the renovation is underway.
I’ve worked through this process on several overgrown camellias, including one enormous ‘Pink Perfection’ that had swallowed an entire garden bed in shade. It took three seasons, but she’s now a manageable, attractive size and blooms without fail every February.
Is Hard Pruning a Camellia Ever a Good Idea?
It can be — as long as you’re deliberate about it. Healthy, well-established camellias are capable of regenerating from old wood. That said, hard pruning at the wrong time of year will still cost you flowers, even if the plant eventually bounces back. If a severe renovation cut is unavoidable, do it immediately after bloom and accept upfront that next season’s flowers will likely be sacrificed. Think of it as trading one quiet, flower-light year for many strong ones down the road.
Helping Your Camellias Recover Before and After the Cuts
Even a textbook-perfect pruning job puts stress on a plant. A well-nourished, healthy camellia bounces back faster and produces stronger new growth. So soil health is always part of how I think about pruning, not a separate step.
Camellias want acidic soil, ideally somewhere between 5.5 and 6.5 on the pH scale. Stray outside that band and the plant struggles to take up nutrients no matter how diligently you fertilize. I test my soil every spring. When pH creeps above 6.5, sulfur goes down. When it dips below 5.5, I hold off on acidifying amendments and let things settle naturally.
Right after pruning, I put down a slow-release fertilizer formulated for acid-loving plants, typically in early spring as the pruning wraps up. That gives the plant a steady stream of nutrients as it starts pushing new growth from the cuts. I steer clear of high-nitrogen feeds in late summer, since they spur soft new growth that can’t harden off before cold weather arrives.
Why I Mulch Right After Pruning
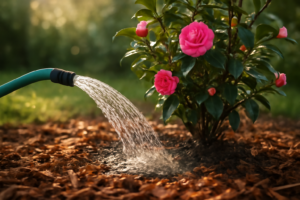
A fresh mulch layer after pruning does more heavy lifting than most gardeners realize. I lay down two to three inches of pine bark or shredded leaves around each plant’s base, pulling it back a few inches from the stem so rot doesn’t set in. Mulch buffers soil temperature swings, holds onto moisture, and breaks down slowly to build better soil structure. For camellias already growing in decent soil, it’s one of the best-value tasks you can do.
If you want a deeper dive into feeding and soil prep for camellias overall, I’ve laid that out in my post on fertilizing camellias for maximum bloom — worth reading before your growing season really gets moving.
A Quick-Reference Pruning Timetable by Type
Let me consolidate everything into one simple reference. Every garden runs a little differently, and your actual bloom dates will shift depending on cultivar and climate. Even so, these windows hold up as a solid starting point for most gardeners in zones 7b through 9a.
- Sasanqua camellias (flower October–December): prune late January into February
- Japonica camellias (flower January–March): prune March into April
- Reticulata camellias (flower February–April): prune lightly, right after bloom, roughly March–April
- Cutoff point for every type: stop pruning by late June in zones 7b/8a; early July at the latest in zone 8b
- Off-limits window: mid-summer through late fall, while buds are actively forming
Tape this somewhere you’ll actually see it in your potting shed. Future-you will thank present-you the next time a balmy autumn afternoon has you itching to grab the shears too soon.
Where I’ll Leave This: Final Thoughts on Timing
Understanding when to prune camellias ranks among the most genuinely valuable skills any camellia gardener can develop. These plants are forgiving in plenty of ways — they tolerate drought better than most people assume, adapt readily to varying conditions, and generally shrug off a lot of stress. But wrong-season pruning is where their patience runs out. Losing a bloom season stings every single time, no matter how many years you’ve been doing this.
My advice: track bloom dates in a garden journal, noting exactly when the last petals fall from each plant. Then prune somewhere within four to six weeks of that date. Keep the process simple, keep your blades sharp, and resist reaching for the shears in summer just because the garden looks a little wild and you’re feeling motivated.
Your camellias will pay back that patience with a bloom season that makes every bit of restraint feel worthwhile. I watch it happen in my own garden year after year, and it never gets old.
About This Article

Written by Helen Pritchard. Helen Pritchard is a lifelong gardener in the Pacific Northwest who has grown more than 200 named camellia cultivars over two decades. She writes practical, experience-based guides to camellia care, from variety selection and pruning to troubleshooting yellowing leaves and bud drop. More about this site.
Verify this against a primary source
Specifics change, and your situation may differ from the one described here. These are the authorities worth checking directly:
- American Camellia Society — cultivar registration and culture guides
- USDA Plant Hardiness Zone Map — zone verification for your location
- Royal Horticultural Society — camellia cultivation and pest guidance