Ask a nursery employee how to handle aphids on camellias and you might hear “just hose them off.” Ask a different one, or scroll through enough gardening forums, and you’ll be told to reach straight for a systemic insecticide before you’ve even described what’s happening on the leaf. That second answer is the one to be wary of — not because systemics fail, but because jumping to them first skips over cheaper, gentler fixes that solve the vast majority of infestations without any chemical involved. I understood this the hard way one April morning, coffee still warm in hand, when I noticed the new growth on my ‘Debutante’ Japonica looking off — curled, puckered, glazed in something sticky. I leaned in and found the source: hundreds of pale green aphids packed onto growth I’d nursed through a late frost. My stomach sank a little. I’d tangled with aphids plenty of times, but never this densely, and never on a plant I’d grown myself from a rooted cutting more than a decade prior.
That single discovery launched my most thorough aphid-fighting stretch to date. In the weeks after, I worked through nearly every control method sold — everything from a plain garden hose to systemic chemical treatments. Some earned a permanent place in my routine. Others turned out to be a waste of time. Below is everything that stretch taught me.
The Real Damage Aphids Do to Camellias
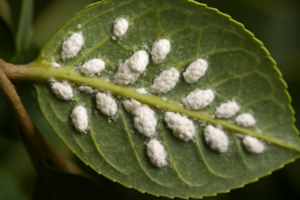
Aphids are small, soft-bodied pests, most no wider than 3mm. On camellias, the two you’ll run into most often are green peach aphids (Myzus persicae) and melon aphids (Aphis gossypii). Both go after the same tender real estate: emerging shoot tips and the underside of young foliage.
Their method is simple — puncture the tissue, draw out the sap. It seems harmless at first glance, but the effects stack up fast. Leaves twist and warp, which then shelters the aphids inside the fold and makes them harder to reach with any spray. New shoots stop developing the way they should, and bud formation often stalls along with them — a real blow on a later-blooming Japonica such as ‘Nuccio’s Gem’.
Then there’s the honeydew factor. As aphids feed, they excrete a sugary, sticky residue known as honeydew, which coats nearby foliage and rapidly invites sooty mold — a black fungal film that blocks sunlight and drains the plant further. I’ve watched this exact chain turn a lush, glossy ‘Bob Hope’ Japonica into a dull, struggling shrub in the span of a single season.
Which Cultivars Take the Worst Hits?
From what I’ve seen, the plants pushing the most vigorous spring growth suffer the most. Sasanquas like ‘Setsugekka’ and ‘Yuletide’ produce a flush of soft new tissue every spring, and that’s precisely the texture aphids gravitate toward. My reticulata hybrids — ‘Captain Rawes’ and ‘Francie L’ in particular — seem to draw heavy colonies too, likely because their broad, soft leaves retain the moisture aphids favor.
Young plants and recent transplants carry the greatest risk. Their roots haven’t fully established, so they lack the reserves a mature, well-anchored camellia relies on to shrug off pest pressure. Gardeners in Zone 7b, where spring temperatures lurch up and down, will find that added stress makes plants even more susceptible.
Spotting an Aphid Problem Before It Snowballs
Catching an infestation early is what makes any control method work well. I walk my camellias at least twice weekly from late February through May — that stretch lines up with peak aphid activity across my Zone 8a and 8b beds.
Watch for these warning signs:
- New shoot tips that look curled or puckered
- A sticky film on the leaves or on anything sitting beneath the plant
- Ants traveling up and down the stems (they tend the aphids for the honeydew)
- Buds that open oddly or fail to open at all
- Black sooty mold showing up on older leaves beneath the fresh growth
Flip over the younger leaves and check the undersides — reading glasses or a hand lens help a lot here. Aphid numbers climb quickly: a starter colony of twenty can multiply into the thousands inside two weeks under the right conditions. If you can already spot them standing upright and at a distance, the infestation has moved past the early stage.
Non-Chemical Ways to Get Aphids Under Control
My default is always to try the gentlest option first. My garden is shared territory — pollinators, songbirds, and beneficial insects I’ve spent years cultivating all depend on it. Grabbing chemicals at the first sign of trouble would undo that work. Fortunately, when you act early, non-chemical methods hold up well on their own.
Don’t Skip the Garden Hose
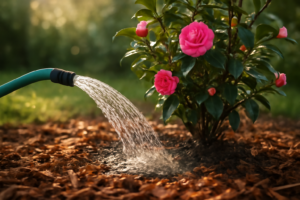
It sounds almost too basic to mention, but use it anyway. A firm blast of water dislodges aphids from the foliage, and they seldom make it back up the plant. I repeat this every couple of days on smaller specimens while an infestation is active.
Aim the water directly at shoot tips and leaf undersides, and do it in the morning so the foliage has time to dry before nightfall. On my sprawling ‘Elegans’ Japonica, with its dense canopy, I use a wand attachment to get water down into the interior branches. On something like my ‘Francie L’ reticulata, which now clears twelve feet, spraying gets impractical fast. But for anything shorter than about six feet, this is where I always start.
Reaching for Insecticidal Soap
Insecticidal soap kills aphids on contact by breaking down their cell membranes, then degrades quickly afterward, leaving nothing harmful behind. That makes it low-risk around bees, birds, and beneficial insects, provided you spray in the early morning or after dusk when pollinators have cleared out.
My mix runs 1 to 2 teaspoons of pure castile soap per quart of water. I know gardeners who use plain dish soap, but my results with it have been inconsistent — I once scorched fresh growth on a ‘Kramer’s Supreme’ Japonica after using a dish soap brand loaded with degreasers. The takeaway I hung onto: stick with insecticidal soap concentrate or plain castile soap, nothing else.
Coverage matters more than almost anything else here. Aphids tucked under the leaves will survive a spray that only hits the tops. Reapply every five to seven days for two to three weeks running to interrupt their reproductive cycle fully.
Working With Neem Oil
Neem oil ranks second on my list of natural fixes. It functions as both a contact killer and a deterrent. Its active ingredient, azadirachtin, also interferes with aphid reproduction — a crucial detail, since killing off the adults while leaving reproduction untouched barely slows the population down.
Dilute the neem oil in water per the label, and always add a touch of liquid soap so it emulsifies properly. Spray in the evening. Applied in strong daylight, neem can trigger photosensitivity in foliage — I saw mild leaf scorch on ‘Dr. Clifford Parks’ reticulata hybrids after a mid-morning summer application. Keep applications to the evening and that risk disappears.
Bringing in Beneficial Insects
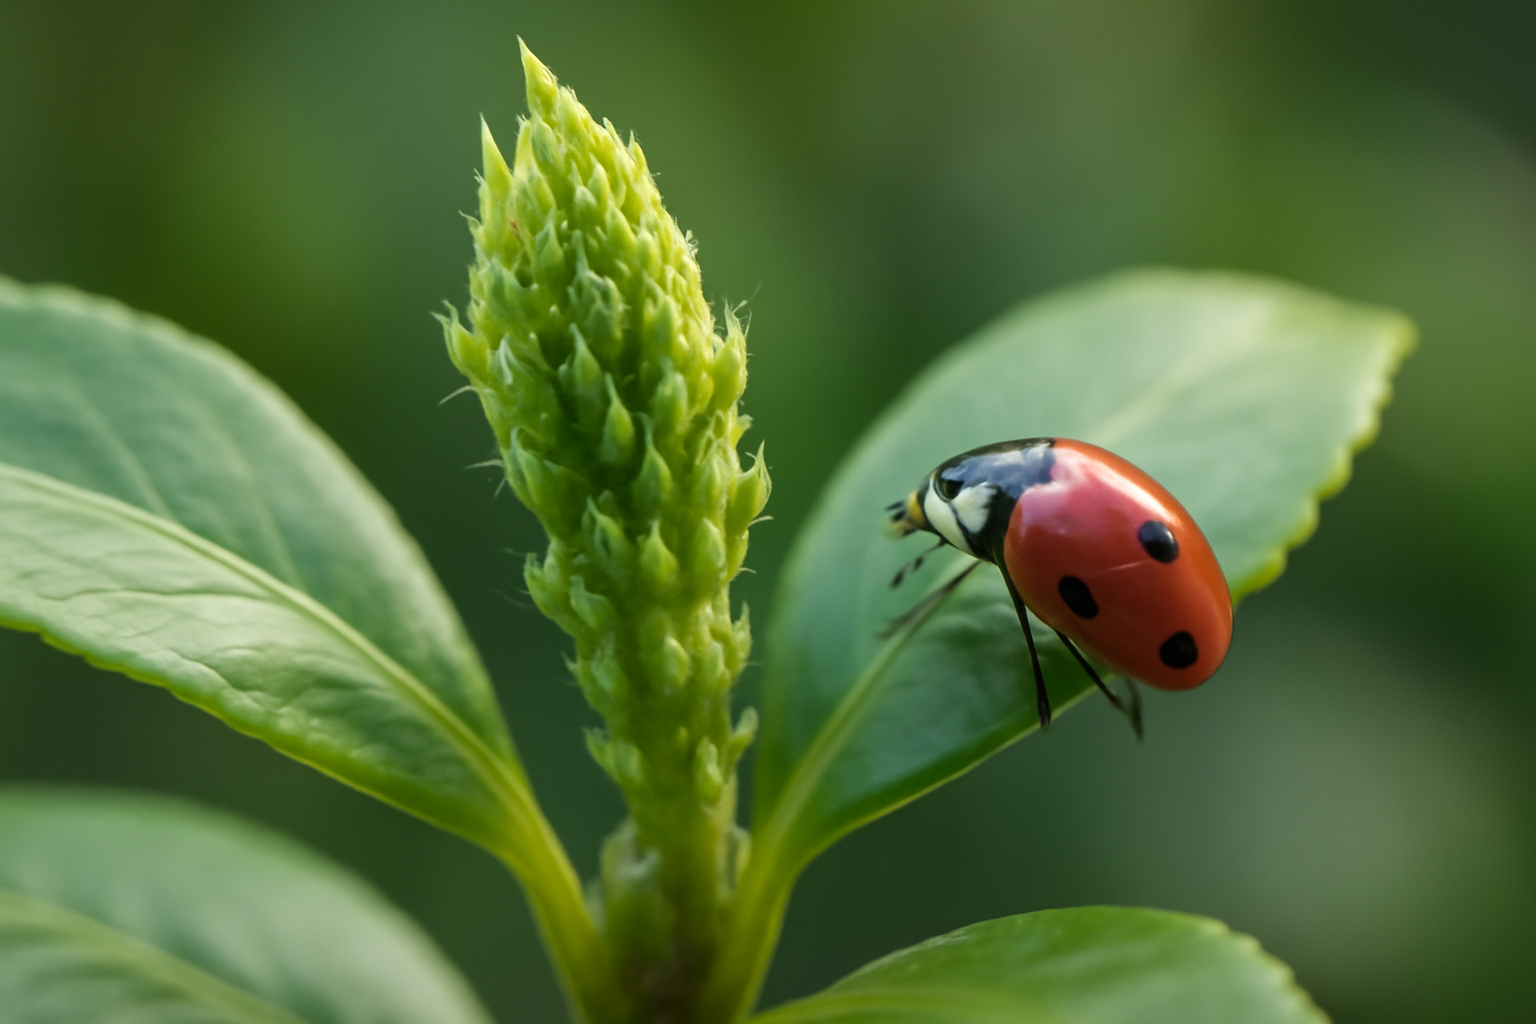
Ladybugs and lacewings are relentless aphid hunters — a single ladybug larva can work through hundreds of aphids in a day. I keep alyssum, dill, and fennel scattered through the garden specifically to draw in and sustain these beneficial populations.
That said, beneficial insects take time to build up numbers, so they won’t rescue you from an outbreak that’s already raging. Treat them as a long-term safeguard rather than a quick fix. Over the years, I’ve noticed the parts of my garden planted with the most variety consistently show lighter aphid pressure on the camellias growing nearby.
When to Bring in Chemical Controls — and What Actually Works
I’ll be straightforward: natural methods don’t always cut it. A mature shrub deep in an infestation during peak spring flush may genuinely need a chemical solution, and there’s nothing wrong with that. What matters is picking the right product and applying it thoughtfully.
Sprays Built on Pyrethrins
Pyrethrins come from chrysanthemum flowers. They knock out aphids on contact and degrade quickly once applied. That rapid breakdown cuts both ways — it’s gentler on the surrounding environment, but you’ll be reapplying more frequently than with a systemic product.
The upside is that pyrethrins are much easier on soil life and disappear before they can reach groundwater. For a targeted treatment on something like a ‘Nuccio’s Jewel’ or ‘Professor Charles S. Sargent’ Japonica planted near a pond or vegetable patch, pyrethrins are my go-to over any systemic alternative.
Systemic Insecticide Options
Imidacloprid is the systemic most commonly reached for on ornamental plants dealing with aphids. Poured on as a soil drench, it’s absorbed by the roots and carried through the plant’s vascular tissue, so any aphid feeding on treated growth is killed. The effect holds for weeks, sometimes even months.
I treat imidacloprid as a last-resort measure, and I never apply it to a plant currently in bloom. This isn’t optional — systemic products travel into pollen and nectar, and using one on a flowering ‘Donation’ Sasanqua hybrid or an open ‘Show Girl’ bloom puts pollinators directly in harm’s way. Save soil drenches for summer, once the bloom cycle on fall-flowering Sasanquas has wrapped up.
With spring-blooming Japonicas, autumn is the window — well past the last flowers and well ahead of winter buds opening. Getting the timing right is everything with systemics.
A Fertilizing Misstep Worth Learning From
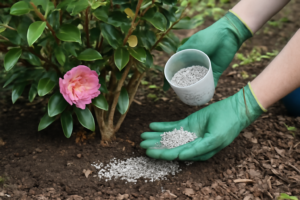
Years back, trying to make up for a rough spring, I over-fertilized my ‘April Kiss’ Japonica with a high-nitrogen product at double the label rate. What followed was a burst of lush, soft, nitrogen-heavy growth — precisely the conditions aphids can’t resist.
Within three weeks, the aphid population had quadrupled, and I spent the rest of that growing season trying to claw the numbers back down. The takeaway stuck with me: heavy nitrogen is basically an open invitation to aphids. These days I stick with a balanced, slow-release fertilizer made for acid-loving plants, dosed correctly for camellias’ preferred soil pH of 5.5 to 6.5. Plants fed at a healthy, moderate rate hold up against pests far better than ones pushed into overdrive.
If your soil chemistry is a question mark, get it tested. I go into more depth on feeding and soil care in my post on camellia fertilizing — worth a read before your next application.
Keeping Aphids Off Camellias in the First Place
Prevention beats treatment every time. Here’s what I do without exception, every single year:
- Begin weekly checks in late February, sooner if you’re in Zone 8a or warmer
- Wrap sticky bands around trunks to intercept ants, since ants shield aphid colonies from natural predators
- Cut off and dispose of any shoot tip showing heavy infestation the moment you spot it
- Skip heavy nitrogen feeding while the plant is pushing its spring growth flush
- Keep the canopy open with a light annual pruning for better airflow (I cover pruning timing in detail in another post)
- Water consistently through dry stretches, since a stressed plant draws more pests
None of these tasks takes more than a couple of minutes at a time. Taken together, though, they’ve cut my aphid issues down considerably over the last ten years.
Clearing Sooty Mold Once the Aphids Are Gone
Even after the aphids are dealt with, you may still have leaves coated in sooty mold. It looks worse than it is — it’s not a disease on its own, just a fungus feeding on leftover honeydew. Once the aphids are gone, the mold typically dries up and flakes away without further help.
To speed things along, wipe the leaves down gently with a damp cloth or give them a thorough rinse. That’s not realistic on a full-sized shrub, but for a container-grown ‘Survivor’ Japonica or a young potted plant, a careful wipe-down makes a noticeable difference. Most Japonicas have deep, glossy leaves that come back looking sharp once the underlying cause is removed.
Where I Land on Aphids and Camellias
Aphids on camellias rank among the problems gardeners worry about the most — and also among the easiest to manage once you know the right sequence to follow. Start early, keep it simple, and only escalate when it’s truly warranted.
A hose and insecticidal soap resolve most of the infestations I run into across my collection of over 200 cultivars. Neem oil handles the stubborn holdouts.
About This Article

Written by Helen Pritchard. Helen Pritchard is a lifelong gardener in the Pacific Northwest who has grown more than 200 named camellia cultivars over two decades. She writes practical, experience-based guides to camellia care, from variety selection and pruning to troubleshooting yellowing leaves and bud drop. More about this site.
Verify this against a primary source
Specifics change, and your situation may differ from the one described here. These are the authorities worth checking directly:
- American Camellia Society — cultivar registration and culture guides
- USDA Plant Hardiness Zone Map — zone verification for your location
- Royal Horticultural Society — camellia cultivation and pest guidance