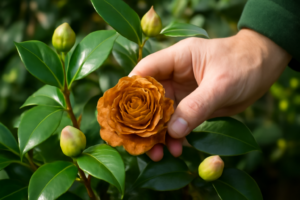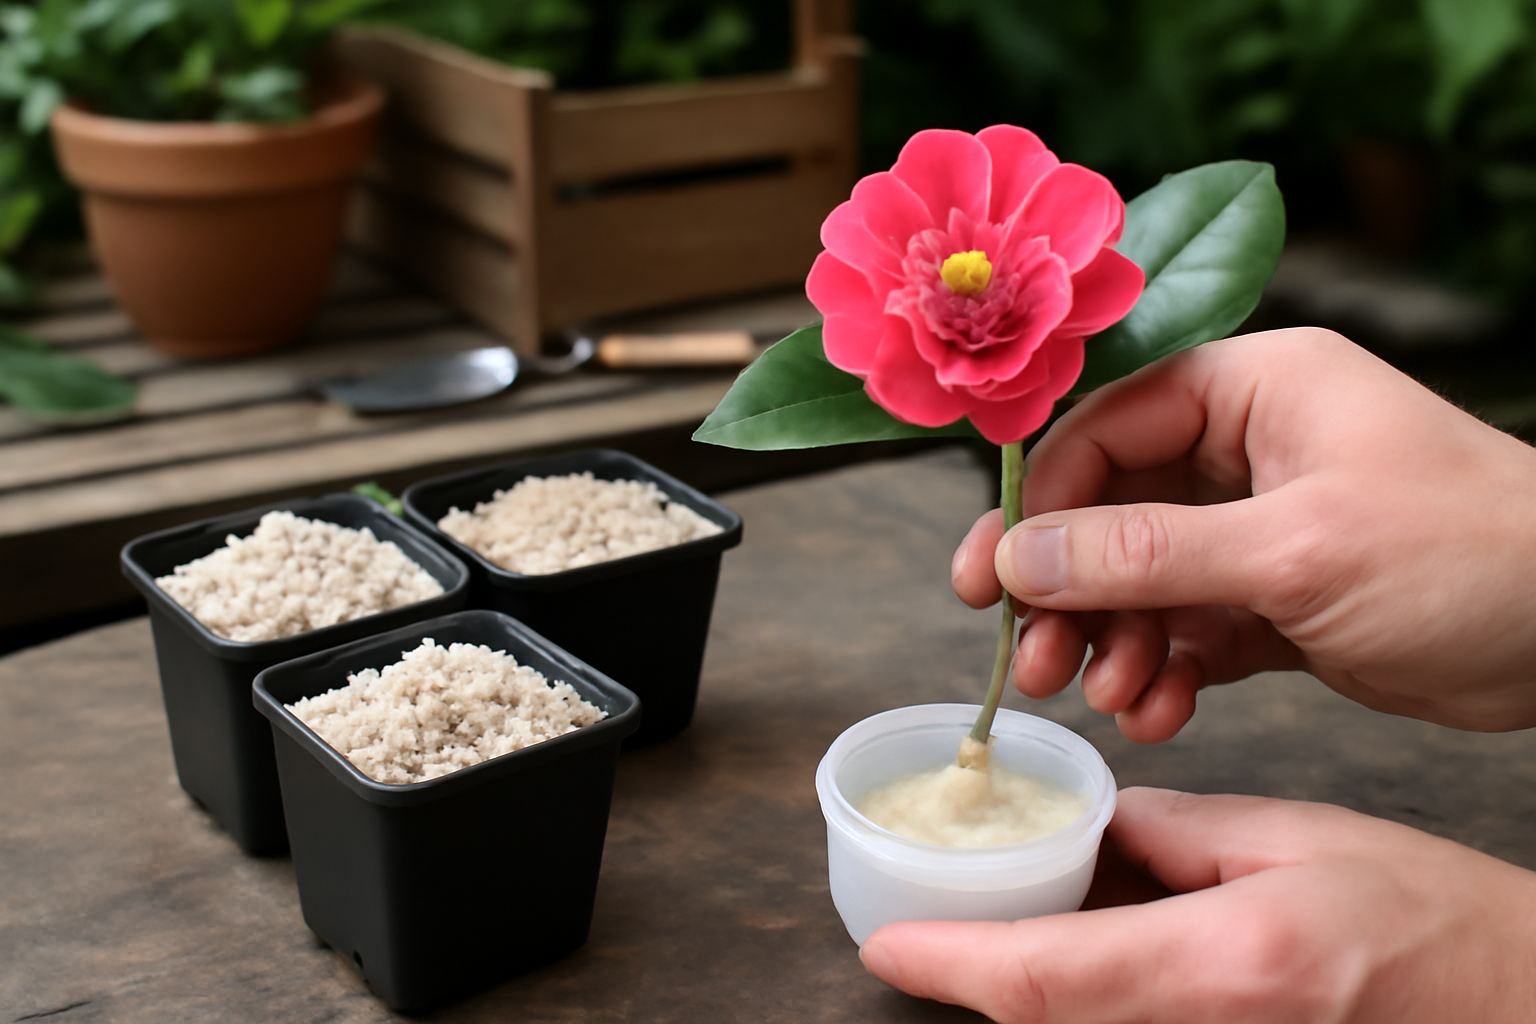
Back around 2003 or so, I very nearly killed a cutting of ‘Nuccio’s Gem’ — still one of my favorite white japonicas to this day — simply because patience wasn’t my strong suit yet. I yanked it from the propagation tray too soon, absolutely certain it had rooted, and in doing so tore off every fragile root thread it had managed to grow. That one careless moment cost me a whole growing season. Ever since, I’ve turned into something of a stickler about doing every step correctly when propagating camellias from cuttings, and the payoff has been real: my success rate went from a frustrating 40% up to well over 80%, and I’d like to walk you through exactly what changed.
It doesn’t matter if you’re working with a cherished japonica, a fragrant sasanqua, or a jaw-dropping reticulata — the underlying technique stays consistent. Still, each type brings its own personality to the process, and I’ll flag those differences as we move through it. Let’s dig in.
Why Bother Propagating Camellias from Cuttings?
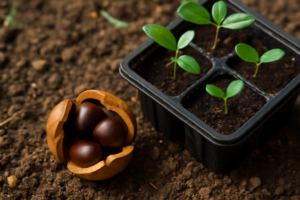
You may be asking yourself why anyone would go through cuttings when seeds are sitting right there. Truth is, seeds simply don’t stay true to the parent. Plant a seed from ‘Kramer’s Supreme’ — my deep red semi-double that flowers every October in my Zone 8a garden — and you could end up with something gorgeous, or something entirely forgettable. A cutting, on the other hand, gives you an exact genetic clone of the plant you already adore. When it comes to named cultivars, that distinction matters a great deal.
There’s also the matter of speed — cuttings simply outpace seeds. From what I’ve seen, a properly rooted cutting can move from the propagation tray into its own pot within roughly 8 to 12 weeks, and be planted in the ground inside a year. Seeds, meanwhile, might take two or three years before you even discover what you’ve grown. When you’re juggling upwards of 200 named cultivars — plus a growing wish list — that kind of time gap isn’t something you can afford to ignore.
When to Take Your Camellia Cuttings
Getting the timing right matters more than almost anything else. I take the bulk of my cuttings between late June and mid-August, once that season’s new growth has firmed up just enough to qualify as what horticulturalists call “semi-hardwood” — no longer soft and green, but not yet fully woody either. That narrow window is where rooting success is most consistent.
From what I’ve observed, sasanquas root quicker and with far less fuss than japonicas do. I’ve watched ‘Setsugekka’ cuttings put out roots in as few as six weeks. Reticulatas, though, are an entirely different story — the true prima donnas of the camellia family. They root grudgingly and slowly. With reticulatas such as ‘Captain Rawes’ or ‘Francie L,’ I often stretch the rooting timeline out to 14 or even 16 weeks and adjust my expectations to match.
Gardeners in warmer zones — Zone 9 and up — often have a wider window to work with. But for those of us gardening in Zone 7b, as I do at my mountain property, late-summer cuttings need to be well-established before that first frost arrives.
Supplies to Have on Hand Before You Begin
Assembling every supply ahead of time makes the whole process go far more smoothly. Scrambling to find something you forgot while your cuttings sit drying out on the potting bench is a classic beginner error — and trust me, I’ve committed it more than once.
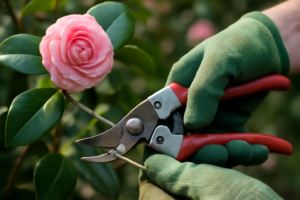
- A pair of sharp, sterilized pruning shears or a clean razor blade
- Rooting hormone in powder or gel form (look for IBA, indole-3-butyric acid, as the active ingredient)
- A rooting medium — my go-to is a 50/50 blend of perlite and coarse bark fines
- Small pots or cell trays that measure at least 3 to 4 inches deep
- A clear humidity dome, or a zip-lock bag roomy enough to drape over your tray
- A propagation heat mat (not required, but genuinely useful)
- Rubbing alcohol to sterilize your cutting tools between snips
You’ll notice ordinary potting soil isn’t on that list — that’s on purpose. Regular potting mixes hold too much water and compact far too easily for delicate camellia roots to push through. What you want is a medium that drains fast yet still retains enough moisture to keep your cuttings from drying out. My perlite-and-bark blend does exactly that — light, airy, and free-draining. Some growers rely on plain perlite alone, and it works just fine too, particularly for sasanquas.
Selecting and Preparing the Ideal Cutting
First things first: pick your wood with care. Look for a stem carrying two to four leaves that’s already finished its spring growth spurt and firmed up just a touch. Skip anything still bright chartreuse and soft — too young. On the flip side, steer clear of fully hardened, brown wood left over from last year. What you’re after sits in between: semi-firm stems, a slightly darker green shade, with leaves that feel leathery rather than limp.
Cut just beneath a leaf node, angling your blade at 45 degrees. Aim for a cutting between 3 and 5 inches in length — I personally settle on around four inches for most japonicas, including varieties like ‘Debutante’ and ‘Professor Charles S. Sargent.’ Strip away all but the top two or three leaves. Those you leave behind aren’t optional decoration — they drive photosynthesis and fuel new root growth. That said, leaving on too many invites excessive water loss through transpiration, a burden the cutting can’t handle before roots exist.
When the remaining leaves are oversized — a common trait among reticulatas — slice each one in half horizontally. This small trick cuts moisture loss noticeably. Next, wound the cutting’s base by scraping a thin strip of bark away from either side with your knife. That exposed cambium layer is exactly where new roots tend to sprout. Skip this wounding step for japonicas or reticulatas at your own peril. Sasanquas will often root just fine without it, though it never causes harm.
Getting Rooting Hormone Application Right
Dip the lowest inch of the stem in water first, then coat it in rooting hormone powder, tapping off whatever’s extra. Piling on too much hormone can actually work against you — I learned this after puzzling over why a batch of ‘Elegans’ cuttings kept underperforming. When it comes to hormone powder, less truly does more.
Prefer gel hormone instead? Apply it directly onto the wounded section using a clean toothpick or a small brush. Gel tends to cling better, which is why I reach for it specifically with reticulatas. Powder does the job perfectly well for standard japonicas and sasanquas.
Building the Right Propagation Setup
Moisten your rooting medium thoroughly before a single cutting goes in — it should feel like a sponge that’s been wrung out, damp all the way through but never dripping. Fill your trays or pots, then poke a hole with a pencil or chopstick before setting each cutting in place. Doing this keeps you from accidentally scraping the hormone off as you push the stem down.
Insert each stem somewhere between one and one-and-a-half inches deep, then firm the medium snugly around it. Cover the whole tray with your humidity dome or plastic bag afterward. Keeping humidity high around the foliage is non-negotiable while roots are absent — without them, cuttings depend entirely on their leaves staying plump and hydrated to survive. That humid microclimate is what buys them enough time.
Set your whole setup somewhere with bright, indirect light. Direct sunlight beaming through a dome will bake your cuttings in no time — I found that out the hard way one July, losing a tray of ‘April Dawn’ japonicas. A windowsill facing north, a shaded bench in the greenhouse, or a spot beneath fluorescent grow lights all do the trick. Bottom heat from a heat mat, keeping the medium hovering around 70 to 75°F, speeds things up noticeably, especially with the slower-rooting types.
A Lesson I Learned the Hard Way
For a long stretch of years, I checked on my cuttings far too frequently — giving them a gentle tug every week or so, telling myself that testing for resistance was harmless. It isn’t. Each tug tears at the tiny, delicate root hairs that are only just starting to develop. These days, I leave cuttings completely alone for a full six weeks before I so much as touch them. Patience really is the toughest part of this whole process, and also the most crucial.
Looking After Cuttings While They Root
Inspect your humidity dome every few days and clear away any heavy condensation building up on the inside — a little moisture is normal, but droplets falling onto the leaves can invite fungal problems. Spot any stems that have turned black or mushy? Remove them right away. Botrytis spreads quickly in a humid propagation setup.
Prop open one corner of the dome for about ten minutes each week to let some air circulate. This helps keep fungus at bay without dropping humidity too drastically. Once you start noticing fresh leaf growth — a real milestone worth celebrating — begin easing ventilation upward gradually over roughly two weeks before pulling the dome off altogether. Removing humidity too abruptly shocks newly rooted cuttings, causing wilting and setbacks that take a while to bounce back from.
Transplanting Rooted Cuttings into Pots
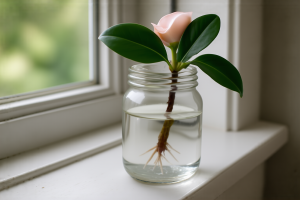
Once your cuttings show clear signs of rooting — fresh growth up top and firm resistance when you tug lightly on the stem — it’s time to move them into pots. It’s honestly one of the more satisfying steps in this whole process. Transfer each one carefully into a 4-inch pot filled with acidic potting mix, since camellias thrive in soil with a pH between 5.5 and 6.5. Because standard potting soil tends to run too alkaline, I reach for a purpose-made azalea-and-camellia blend, or I mix in pine bark to naturally bring the pH down.
Keep freshly potted cuttings somewhere sheltered for another two to four weeks. They’re still delicate at this stage and appreciate some shade along with protection from wind. Mine go under my covered potting bench, which offers filtered light while shielding them from rain splash. Feed with a diluted acid-formulated fertilizer at half strength every couple of weeks — resist jumping to full-strength feeding too soon, since the root system is still very much a work in progress.
If you garden in Zone 7b or somewhere colder, it’s smart to overwinter these newly rooted cuttings in a cold frame or a cool greenhouse. Even cold-hardy japonicas such as ‘Survivor’ and ‘Korean Fire’ need shelter through their first winter while they’re still this young and small. I’ve covered overwintering young camellias in more depth in a separate post, in case you want to explore that topic further.
Fixing Common Rooting Problems
Cuttings wilting badly even with humidity in place? Chances are the stem is losing water faster than it appears. Try double-bagging the tray for about a week before returning to a single dome. Leaves turning yellow and falling off? That’s fairly typical and doesn’t necessarily mean failure — cuttings sometimes shed older leaves as they redirect energy toward growing roots. That said, if the stem itself goes soft or turns dark, that cutting has likely been lost.
Still no roots after 12 weeks? With japonicas, simply try again using fresher wood. For stubborn reticulatas, grafting becomes a worthwhile alternative — specifically cleft or side-veneer grafting onto rootstock of C. sasanqua or C. japonica. I’ll dive into that technique in a future post, but it’s genuinely a good backup method to keep in your back pocket for the trickier varieties.
Get Growing: Propagate Your Own Camellias This Season
If you take away just one thing from this guide, let it be this: mastering camellia propagation from cuttings ranks among the most rewarding skills any camellia grower can pick up. It opens the door to multiplying rare cultivars, sharing plants with other enthusiasts, and expanding your collection without draining your wallet on nursery stock.
Here’s my honest advice: start this summer with one or two easy-rooting sasanquas. Both ‘Setsugekka’ and ‘Yuletide’ root reliably and are forgiving of beginner slip-ups. Build up your skills and confidence there before moving on to your treasured japonicas. Save reticulatas for later, once you’ve got a handful of successful seasons behind you.
The semi-hardwood cutting window kicks off in late June across most of our growing zones, so pencil it into your garden calendar now. Gather your materials, choose your stems with intention, and fight the urge to peek too soon. When you eventually pot up a rooted cutting of ‘Nuccio’s Gem’ — or whichever cultivar means the most to you — you’ll fully understand why this whole process is worth every ounce of patience it demands.
About This Article

Written by Helen Pritchard. Helen Pritchard is a lifelong gardener in the Pacific Northwest who has grown more than 200 named camellia cultivars over two decades. She writes practical, experience-based guides to camellia care, from variety selection and pruning to troubleshooting yellowing leaves and bud drop. More about this site.
Verify this against a primary source
Specifics change, and your situation may differ from the one described here. These are the authorities worth checking directly:
- American Camellia Society — cultivar registration and culture guides
- USDA Plant Hardiness Zone Map — zone verification for your location
- Royal Horticultural Society — camellia cultivation and pest guidance