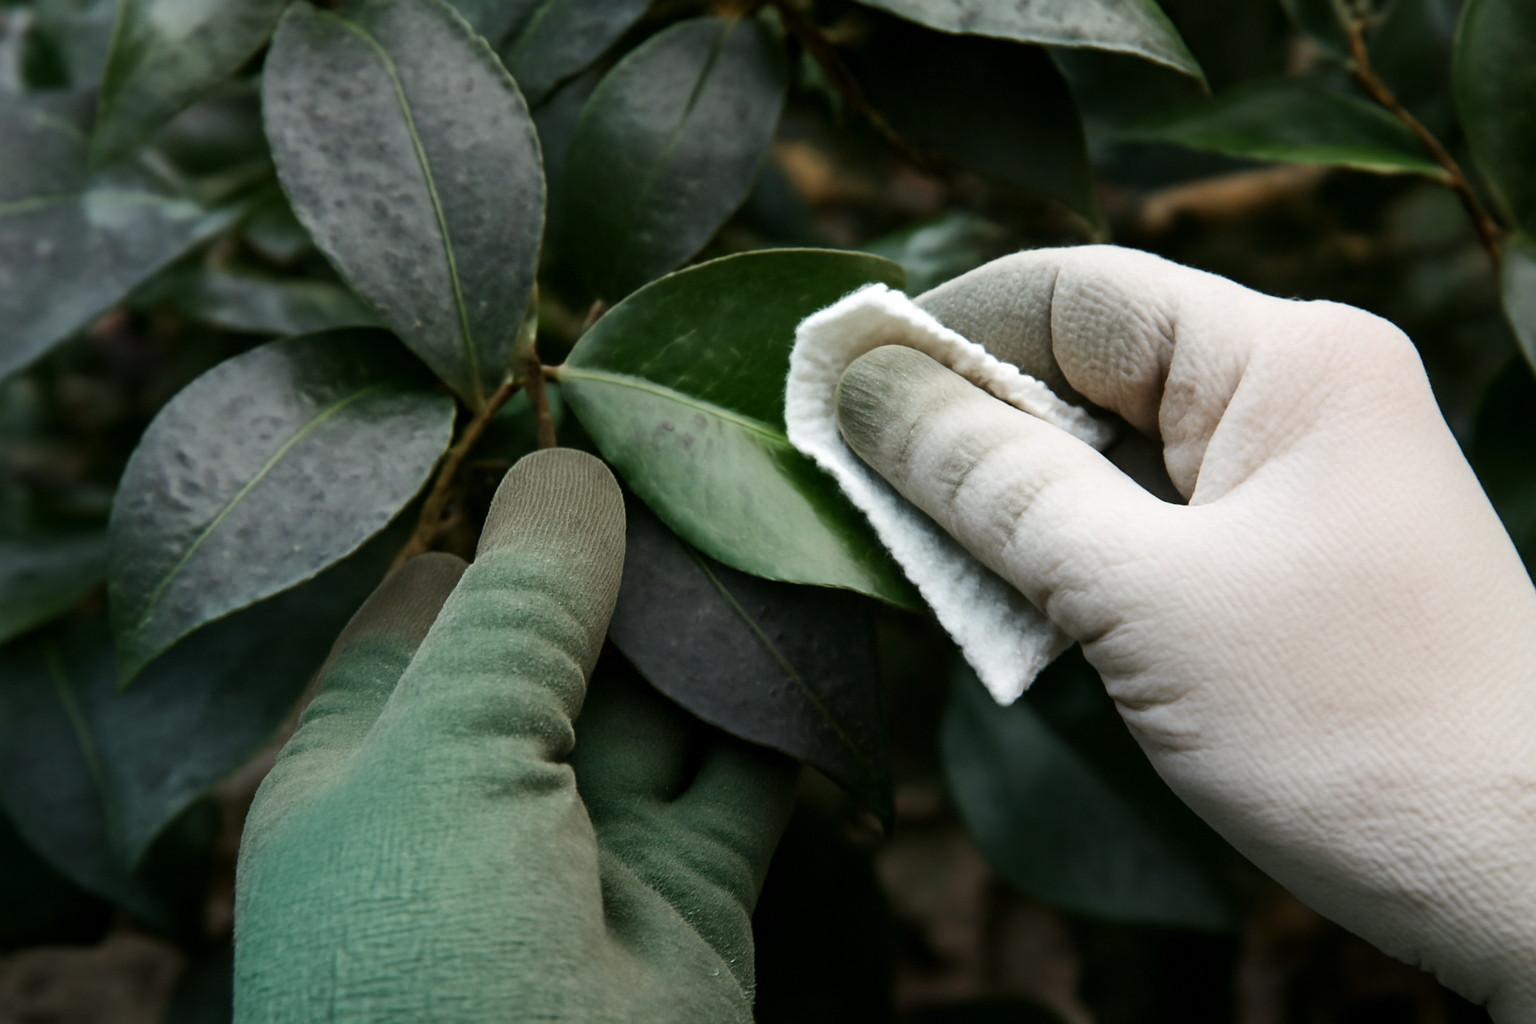
Every leaf on my ‘Survivor’ sasanqua had gone a flat, ashy black by the afternoon I finally stopped to really look at it, and that color alone told me something was badly wrong before I’d even touched a branch. It reminded me of chimney soot brushed across the foliage — dark, powdery, unsettling to see on a plant I’d been proud of. Anyone who’s dealt with sooty mold on camellias knows that particular jolt of dread. The reassuring part is that it responds well to treatment once you understand what’s actually driving it.
Two decades-plus of growing camellias across three separate USDA zones — 7b, 8a, and 8b — has put me face to face with sooty mold more than once, on plants ranging from a treasured ‘Professor Sargent’ japonica to a barely-established ‘Kanjiro’ sasanqua. It’s a condition that looks like disaster but is almost never the real story; it’s a signal pointing to something happening underneath. Here’s the full picture of what’s going on, and more importantly, the fix.
So What Exactly Is Sooty Mold?
Sooty mold is fungal, yes — but it never actually invades your camellia’s tissue. What it does instead is colonize honeydew, a sugary residue left behind by insects that feed on plant sap. In small doses, the mold does little harm. Where it becomes a real concern is when a thick layer builds up, cutting off light from the leaf surface and gradually interfering with photosynthesis.
Picture the mold as the visible symptom, with the insect infestation acting as the underlying disease. Scrub away only the black film and you’ll be repeating that chore in a matter of weeks. Deal with the insects, though, and the discoloration fades away by itself. From what I’ve observed, growers who skip straight to cleaning the leaves end up fighting the same battle year after year.
Which Pests Are Behind the Honeydew?
A handful of common sap feeders are responsible for the sticky residue sooty mold depends on. Pinpointing which one has moved in makes it much easier to pick the right response.
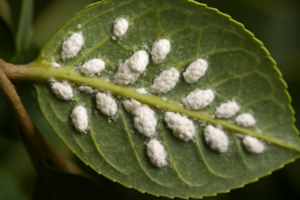
- Scale insects — By far the most common offender on camellias. Watch for tan, brown, or whitish waxy bumps clinging to stems and hiding on leaf undersides. Tea scale shows up especially often on camellia japonica varieties in zone 8a and warmer.
- Aphids — Small, soft, pear-shaped insects that congregate on tender new shoots. Their numbers explode quickly — a handful can turn into a full colony within days once spring warmth sets in.
- Whiteflies — Minute white insects that lift off in a startled cloud the moment you brush against a branch. They favor humid, warm climates and typically gather on the undersides of leaves.
- Mealybugs — Soft, cotton-like clusters that settle into leaf axils and stem junctions. They show up less often than scale but can still generate a surprising amount of honeydew.
My ‘Betty Ridley’ reticulata once carried a scale infestation for months without me noticing a thing. It was the black mold that finally forced me to look closely at the stems. The takeaway stuck with me: whenever that sooty film shows up, inspect every stem and branch junction, not just the leaf surfaces.
A Misstep I’d Rather You Skip
Years back, when I was newer to camellias, I reached for a fungicide on a ‘Debutante’ japonica that was badly coated in mold. The logic seemed sound — it’s a fungus, so treat it like one. That logic was flawed. The mold faded briefly, then rebounded within two weeks, worse than before.
The real culprits — aphids feasting on fresh spring growth — were untouched and still churning out honeydew. Fungicide simply can’t reach the insects causing the problem. That one wrong turn cost me a full season of stunted growth on a plant I’d nurtured for three years. These days, identifying the pest comes first, no exceptions.
Getting the Diagnosis Right
Before you grab any spray or treatment, take five minutes to actually inspect the plant. Turn leaves over and check the undersides — that’s the preferred hideout for most sap-sucking insects. A magnifying glass helps if one’s handy. Don’t skip stem joints, the point where petioles meet the branch, and the tips of new growth.
Timing matters too. Aphid numbers tend to spike in early spring when tender new growth is flushing. Scale, meanwhile, sticks around year-round but reaches its worst point from late spring into summer. In zone 7b, where my mountain beds sit, a late cold snap can temporarily suppress aphid populations — though they bounce back fast once temperatures level out.
As an example, my ‘Spring’s Promise’ sasanqua in zone 8a reliably shows aphid activity every March. Meanwhile, my older ‘Tama-no-ura’ japonica, planted in a shadier corner, tends to draw scale instead. Cultivar, siting, and local climate all shape which pest is most likely to turn up.
A Step-by-Step Fix for Sooty Mold
Step 1: Tackle the Insects First, Always
This part isn’t optional. The pest population is the actual source of the problem — everything after this is cleanup.
Aphids and whiteflies: A firm spray of water from the hose knocks off large numbers on the spot. Follow with insecticidal soap, making sure to coat leaf undersides thoroughly. Repeat every five to seven days for roughly three to four weeks. Neem oil works well too, with the bonus of interrupting the insect’s life cycle rather than only killing on contact.
Scale insects: Horticultural oil — labeled dormant oil or summer oil depending on the dilution rate — is the most dependable option. Apply a late-winter treatment before new growth appears to catch overwintering scale, or use a summer-strength dilution during the active growing season. Make sure every stem surface gets coated, since scale is notoriously easy to overlook against bark. Systemic products like imidacloprid can handle severe cases, though I use them sparingly near flowering camellias because of the risk to pollinators.
Mealybugs: For light infestations, touch individual colonies directly with a cotton swab soaked in rubbing alcohol. Heavier problems call for insecticidal soap or neem oil, applied with attention to stem junctions and leaf axils where they cluster.
Step 2: Clean the Mold Off the Foliage
Once the pest population is under control, the black residue will typically fade away naturally over time. But if it’s heavy and you’d rather speed the process — say, on a showpiece like my ‘Nuccio’s Gem’ japonica — a soft cloth dampened in mild soapy water will lift it off gently.
Resist the urge to scrub hard. Camellia foliage is glossy and fairly durable, but aggressive scrubbing can strip the waxy cuticle. Move leaf by leaf, wiping along the natural direction of the leaf instead of circling. Follow with a clean water rinse. On a large specimen this eats up real time, which is exactly why I typically just let the pest treatment do the work and leave the residue to weather off.
Step 3: Fix the Conditions Behind the Recurrence
Plants under stress or growing in subpar conditions tend to draw sooty mold more persistently. A vigorous, well-fed camellia simply shrugs off pest pressure better. Here’s what I prioritize to keep my collection strong and less appealing to insects in the first place.
- Soil pH: Camellias want acidic soil, somewhere between pH 5.5 and 6.5. Fall outside that window and nutrient uptake falters, leaving plants stressed and pests more likely to move in. I test annually with a basic meter and correct with sulfur as needed.
- Airflow: Crowded, dense plantings build exactly the warm, moist microclimate that both mold and pests thrive in. After clearing a mold outbreak, I always assess whether structural pruning would open up the canopy. My pruning guide covers timing and method in more depth — worth a read alongside this one.
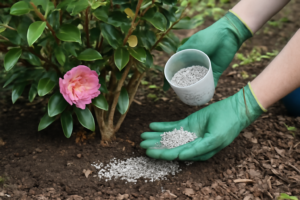
- Ease off nitrogen: Overfeeding with nitrogen produces soft, lush new growth — precisely the tender tissue aphids target. I stick to a slow-release, acid-forming camellia fertilizer, applied once in early spring and once after the main growth flush. That’s it.
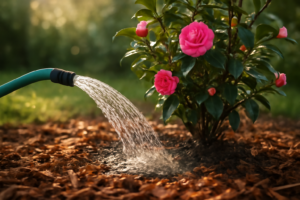
- Mulch thoughtfully: A layer of pine bark or pine straw, two to three inches deep, holds moisture and helps keep soil pH where it belongs. Just keep it pulled a few inches back from the trunk to prevent rot and discourage pests from settling at the base.
Can Sooty Mold Hurt Flowering?
This question comes up constantly, and honestly, the answer hinges on how severe and how well-timed the infestation is. A light dusting on foliage during the active growing season? Unlikely to visibly hurt bloom production. But a heavy, lingering coating that stretches from summer into fall, cutting real light from the leaves of a sasanqua that flowers September through November? That’s a much different scenario.
Sasanqua cultivars such as ‘Yuletide’ and ‘Setsugekka’ form their flower buds over the summer months. When photosynthesis takes a significant hit during that stretch, bud formation can suffer as a result. In my experience, the damage rarely becomes severe unless the plant is already struggling with something else — drought stress, poor drainage, or off-target pH. Even so, I wouldn’t gamble with a specimen plant that matters to me. Address the pest issue quickly and give the plant every possible advantage.
Beneficial Insects Worth Inviting In
After years of tending a sizable camellia collection, I’ve noticed that gardens rich in biodiversity simply have fewer chronic pest issues. Ladybirds, lacewings, and parasitic wasps all hunt aphids and scale as prey. Skipping broad-spectrum pesticides and adding companion plantings nearby genuinely encourages these allies to stick around.
I’ve begun tucking low-growing native plants beneath several of my camellia beds to support beneficial insect populations. It’s a gradual approach, but on my long-established japonicas — ‘Adolphe Audusson’, ‘Blood of China’, ‘Hagoromo’ — I’ve watched aphid pressure drop noticeably over the past three seasons compared with my more isolated potted specimens. The ecosystem-based approach genuinely pays off.
Knowing When to Bring in Outside Help
The vast majority of sooty mold cases on camellias are perfectly manageable without outside help. That said, certain situations warrant calling someone in. Picture a mature specimen — a reticulata pushing twenty years old and ten feet tall — with scale covering most of the plant; achieving proper coverage with horticultural oil on something that size can be genuinely tough to pull off solo.
Likewise, if you’ve already treated for insects twice and the mold keeps coming back, it’s worth having a local Cooperative Extension Master Gardener or a certified arborist come take a look. There are sometimes hidden pest populations tucked into nearby plants, or lurking in the structure of an old fence or wall, that an untrained eye simply won’t catch.
Wrapping Up: Sooty Mold on Camellias
Sooty mold on camellias looks dramatic, but once you understand what’s fueling it, it’s entirely manageable. The mold itself isn’t really the problem — the sap-feeding insects generating the honeydew are. Deal with those first, wipe away the residue if you want a faster cleanup, then shift focus to building conditions where your camellias are strong enough to fend off the next wave of pests.
Over twenty-plus years of growing these plants, I’ve come to appreciate just how resilient camellias are when they’re properly sited and cared for. Getting the soil pH right, ensuring good drainage, allowing for airflow, and going easy on fertilizer all add up to real protection against repeat problems. And don’t skip that annual soil test — it’s the easiest habit to build, yet the one most gardeners neglect.
Here’s your task for today: step outside, flip over a few leaves on your camellias, and take an honest look. Spot honeydew residue or tiny insects, and you’ll already know the right next move. Don’t wait around for a full black coating before you act. Catch it early, treat the actual source, and your camellias will reward you with the blooms they’re meant to produce.
About This Article

Written by Helen Pritchard. Helen Pritchard is a lifelong gardener in the Pacific Northwest who has grown more than 200 named camellia cultivars over two decades. She writes practical, experience-based guides to camellia care, from variety selection and pruning to troubleshooting yellowing leaves and bud drop. More about this site.
Verify this against a primary source
Specifics change, and your situation may differ from the one described here. These are the authorities worth checking directly:
- American Camellia Society — cultivar registration and culture guides
- USDA Plant Hardiness Zone Map — zone verification for your location
- Royal Horticultural Society — camellia cultivation and pest guidance