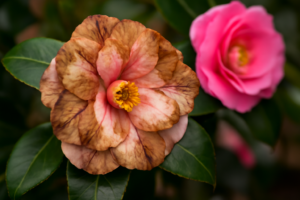
The first time I noticed camellia leaf gall on my ‘Debutante’ japonica, I genuinely thought she was dying. The leaves had ballooned into thick, pale, fleshy lumps — almost waxy-looking, completely alien. I stood there staring, convinced I’d done something catastrophically wrong. Turns out, I hadn’t. Camellia leaf gall is one of those plant problems that looks absolutely terrifying but is, in reality, far more bark than bite. If you’ve spotted something similar in your garden, take a breath. I’m going to walk you through exactly what this is, why it happens, and what to do about it.
What Is Camellia Leaf Gall, Exactly?
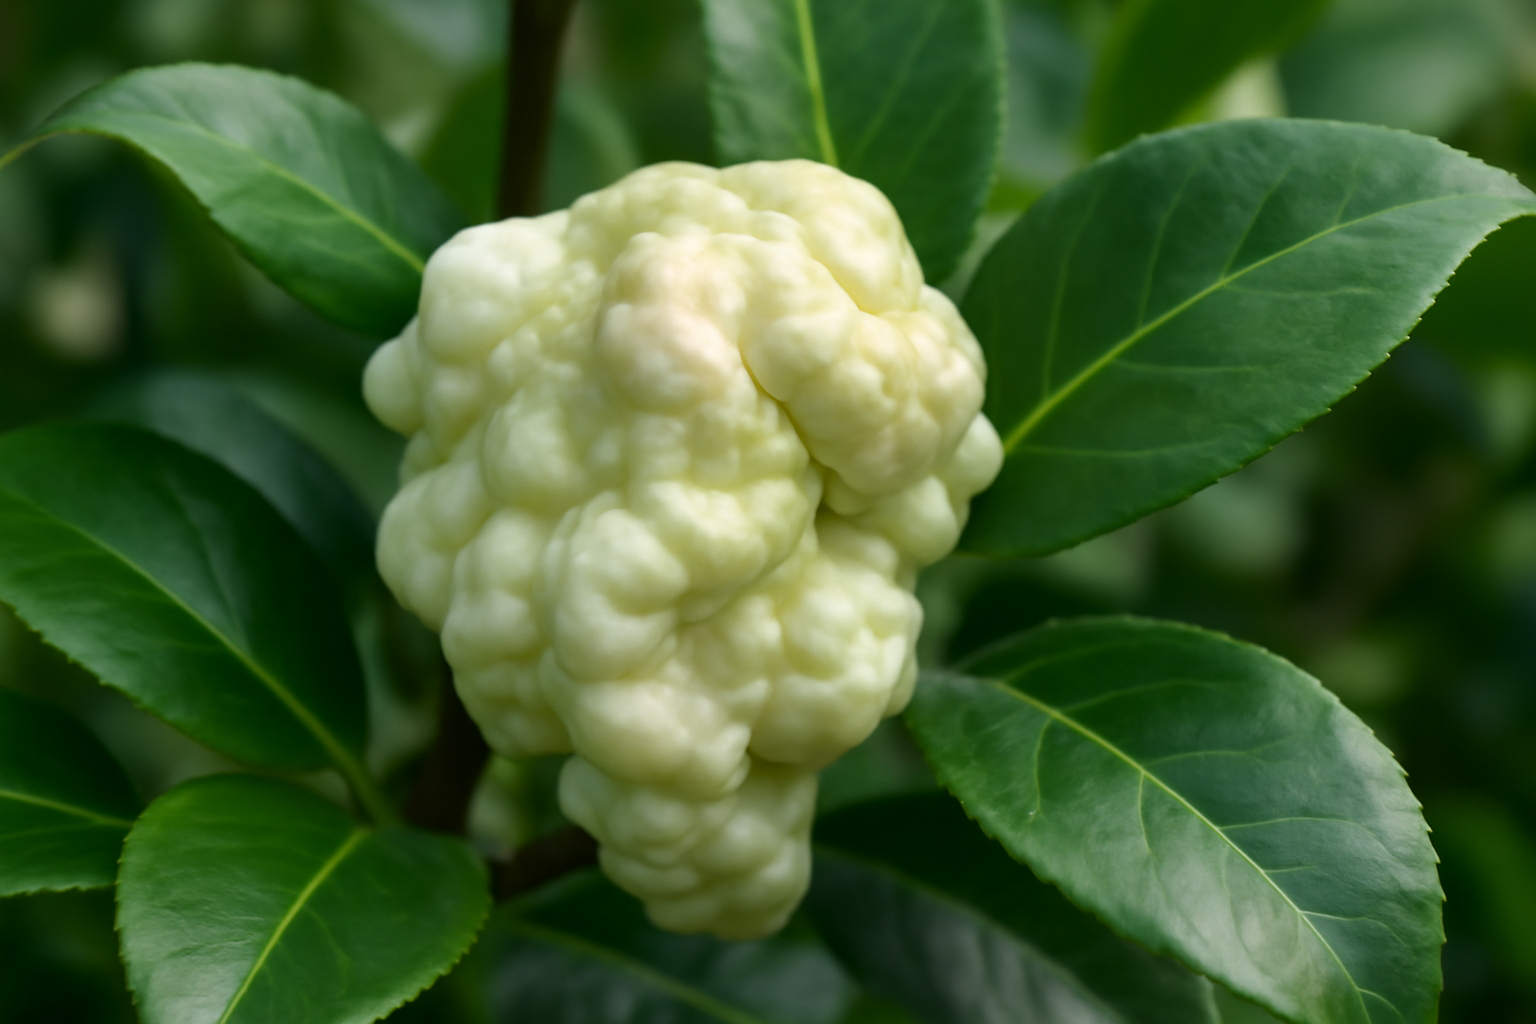
Camellia leaf gall is caused by the fungus Exobasidium camelliae. It’s a fascinating and slightly unsettling organism. Rather than rotting or spotting the leaf, it essentially hijacks the plant’s own cells, causing them to enlarge and multiply in strange ways. The result is those thick, distorted growths — usually pale green, cream, or pinkish-white — that appear on new spring foliage or flower buds.
The galls start out firm and somewhat shiny. Over time, they develop a powdery white coating on their surface. That powder is the fungal spores, and this is the moment the problem can spread. In my experience, the window between “gall appears” and “spores release” is only a few weeks. Acting quickly makes a real difference.
Which Camellias Are Most Affected?
I grow over 200 named cultivars across USDA zones 7b, 8a, and 8b, and I’ve noticed some clear patterns. Camellia japonica varieties seem to be hit hardest in my collection. Specifically, I’ve seen repeat infections on ‘Debutante,’ ‘Governor Mouton,’ and ‘Pink Perfection.’ My sasanqua varieties, including ‘Yuletide’ and ‘Setsugekka,’ occasionally show gall, but far less frequently.
Camellia reticulata cultivars, in my experience, appear somewhat more resistant — though I wouldn’t call any camellia completely immune. My ‘Crimson Robe’ reticulata has gone years without a single gall. That said, growing conditions play a huge role. Plants under stress or growing in heavy shade seem more vulnerable regardless of species.
Why Does Camellia Leaf Gall Happen? Understanding the Conditions
Leaf gall thrives in cool, wet, humid springs. The fungal spores overwinter in the soil and on plant debris. When temperatures sit in that mild range — roughly 50–65°F — and rainfall is frequent, conditions become ideal for infection. New, tender growth emerges right into the perfect storm.
In my zone 8a garden, late February through April is prime gall season. Certain springs are worse than others. After a particularly wet March, I once counted galls on eleven different plants in a single morning. However, in a dry spring with early warmth, I might find only one or two all season.
Poor air circulation is another major contributor. Camellias planted too close together, or tucked against walls and fences where airflow is restricted, are consistently more affected in my garden. This is something worth thinking about before you plant, not after.
Does Soil or Fertilizing Play a Role?
Honestly, I used to think overfertilizing was part of the problem. Rich, lush new growth does seem to attract the fungus. However, I haven’t found solid research that definitively links high nitrogen feeding to increased gall incidence. What I can say is that camellias growing in poorly draining soil, or with a soil pH outside the ideal 5.5–6.5 range, tend to be more stressed overall. Stressed plants get sick more easily — that’s just universal plant logic.
I keep my camellia beds at a pH between 5.8 and 6.2, confirmed with annual soil tests. Plants in that sweet spot seem to shrug off minor infections more readily. It’s not a cure, but healthy, well-fed camellias in well-draining, acidic soil simply perform better across the board.
How to Identify Camellia Leaf Gall vs. Other Problems
Let me save you some diagnostic anxiety. Leaf gall is very distinctive once you know what you’re looking for. Here’s what sets it apart from other camellia issues.
- Leaf gall: Thick, fleshy, swollen growths on new leaves or buds. Pale green, cream, or pinkish. Later turns white and powdery on the surface.
- Camellia petal blight: Affects flowers, not leaves. Causes brown streaking and rapid decay of petals. Completely different pathogen and appearance.
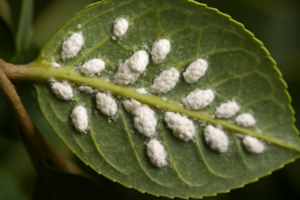
- Aphid or scale damage: Causes distortion but not swelling. Look for actual insects or sticky honeydew residue on leaves.
- Sunscald or frost damage: Causes browning or papery texture. No swelling or fleshy growth involved.
- Normal bud development: New buds are firm and pointed. Galls are rounder, larger, and oddly pale compared to healthy growth.
If your growth is swollen, pale, fleshy, and appearing on brand-new spring shoots — you almost certainly have leaf gall. In my experience, there’s really nothing else that looks quite like it.
A Mistake I Made That You Don’t Have To
Here’s my most embarrassing leaf gall story. Early in my camellia-growing years, I discovered galls on my ‘Governor Mouton’ and panicked. I grabbed the nearest pruning shears and cut off every gall I could find — but then I left them in a pile on the ground right under the plant. I thought I’d solved the problem.
I had done the opposite. Several of those galls had already turned powdery, meaning they were loaded with spores. Leaving them on the soil essentially seeded the area for next year’s infection. The following spring, ‘Governor Mouton’ had nearly twice as many galls as the year before.
The lesson: removal only works if you also dispose of the galls properly. I’ll explain exactly how to do that in the treatment section below.
How to Treat and Manage Camellia Leaf Gall
The good news is that treatment is simple and chemical-free. The bad news is that it requires consistency and good timing. Here’s my step-by-step approach, refined over many seasons.
Step 1: Remove Galls Before They Turn White
This is the single most important step. Check new spring growth on your camellias every few days during gall season — in my zone 8a garden, that’s late February through April. As soon as you spot a gall, remove it by hand or with clean pruners. Do this while the gall is still firm and green, before the white powdery coating appears.
Once that white surface develops, the spores are ready to spread. Wind, rain, and insects will carry them to neighboring leaves and plants. Removing galls at this late stage still helps, but you’ve lost some of your advantage.
Step 2: Dispose of Galls Properly
Do not compost them. Do not drop them on the ground under your plant. Seal removed galls in a plastic bag and put them in the trash. Alternatively, I sometimes burn them if I’m having a yard debris fire — complete destruction is satisfying and effective.
I keep small zip-lock bags in my garden apron pockets during spring walkabouts. It sounds fussy, but it takes about three seconds to bag a gall. That habit has genuinely reduced recurrence in my most affected beds.
Step 3: Clean Up Fallen Debris
Spores overwinter in the soil and on leaf debris. After gall season ends, rake up fallen leaves and spent flower petals from under affected plants. A fresh layer of pine bark mulch — my preferred choice for its soil acidification benefits — helps suppress soil-surface spore activity.
I apply mulch to a depth of about 2–3 inches, keeping it pulled back from the trunk to prevent moisture buildup at the base. This is good practice for camellia health generally, not just for gall prevention. I wrote more about mulching and soil prep in my guide to planting camellias for long-term success.
Step 4: Improve Air Circulation
If a specific plant suffers from gall year after year, look at its surroundings. Is it crowded? Is it planted against a solid fence with no airflow? Light structural pruning to open up the canopy can make a noticeable difference. For more detailed guidance on this, I covered camellia pruning technique in another post — it’s worth a read if your plants are getting dense.
Timing matters here too. Prune immediately after bloom. For my spring-blooming japonicas like ‘Pink Perfection,’ that means pruning in April or May. For my fall-blooming sasanquas like ‘Yuletide,’ I prune in late November or early December after the blooms drop.
Do Fungicides Help?
This question comes up constantly. The honest answer is: not really, for most home gardeners. Fungicides would need to be applied preventatively — before infection occurs — and timed precisely with bud break. For a large commercial nursery or a collector with a severely infected specimen, that might make sense.
For most of us, however, manual removal and sanitation are more practical and just as effective. In over 20 years of growing camellias, I have never once needed a fungicide to manage leaf gall. Consistent removal and good garden hygiene have always been enough.
Will Leaf Gall Actually Hurt Your Camellia?
Let me be reassuring here. Camellia leaf gall rarely causes serious, lasting harm to an established plant. An otherwise healthy camellia can carry a handful of galls each spring and still bloom beautifully. The affected leaves don’t function well, but the plant replaces them with normal growth as the season progresses.
Young plants and newly established camellias are slightly more vulnerable. A heavy infection on a one- or two-year-old plant could stress it more noticeably. For that reason, I’m especially diligent about monitoring any camellias planted within the last two years. My recently planted ‘Survivor’ japonica — a stunning single red that I adore — gets daily checks during gall season in its first few springs.
On the other hand, even severe-looking infections rarely kill a camellia outright. I’ve seen plants practically covered in galls one spring, receive proper treatment, and return perfectly healthy the following year. Don’t panic. Just act.
Final Thoughts on Camellia Leaf Gall
Camellia leaf gall is genuinely one of those problems where the appearance dramatically outpaces the actual threat. It’s weird, it’s alarming the first time you see it, and it makes you feel like something has gone terribly wrong. In reality, it’s a manageable fungal issue that responds beautifully to simple, consistent care.
Your action plan is straightforward. Check new spring growth every few days. Remove galls before they turn white and powdery. Bag them and throw them in the trash. Clean up debris at the end of the season. Improve airflow where possible. That’s genuinely it.
I’ve been managing camellia leaf gall across my collection for over two decades. Some years are worse than others — a wet, cool spring in zone 8a can feel relentless. However, I’ve never lost a camellia to it, and I’ve never had to reach for chemicals. Good observation habits and quick action are your most powerful tools.
If you’re growing camellias in zones 7b through 9 and you haven’t seen leaf gall yet, there’s a decent chance you will eventually. Now you know exactly what to do when it shows up. Don’t let those bizarre, swollen lumps send you spiraling — just grab a zip-lock bag and get to work.