
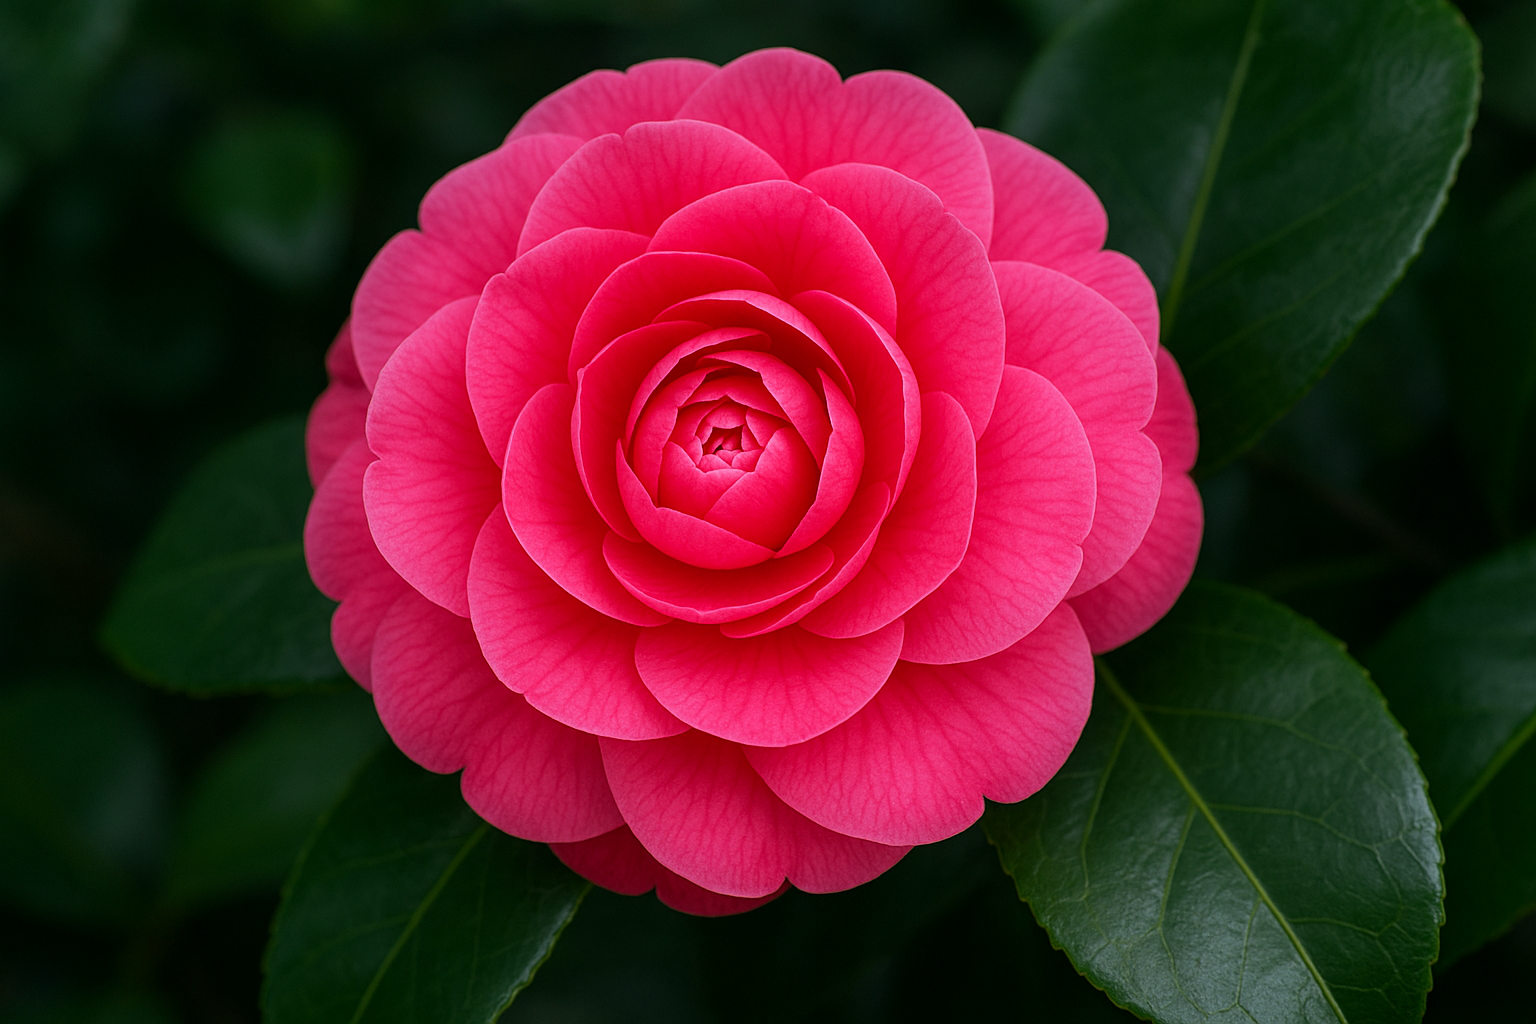

Walk with me to the far side of my shade house, past the potting bench and the stack of nursery flats I keep meaning to sort, and you’ll find a row of camellia stems wrapped in plastic like little science experiments — the current batch of air layers I’m nursing along beside a tray of rooting cuttings from the same parent plants. That side-by-side setup is exactly how I ended up with strong opinions about which propagation method actually deserves your time. Cuttings and air layering both turn one camellia into several, but the journey each takes looks nothing alike, and the “right” choice really depends on what you’re after. Below, I’ll walk through what each method demands, where each one shines, and where it tends to disappoint, so you can pick the route that fits your patience level and your goals.
The Cut Itself Matters More Than You’d Think — Here’s What Changed My Results
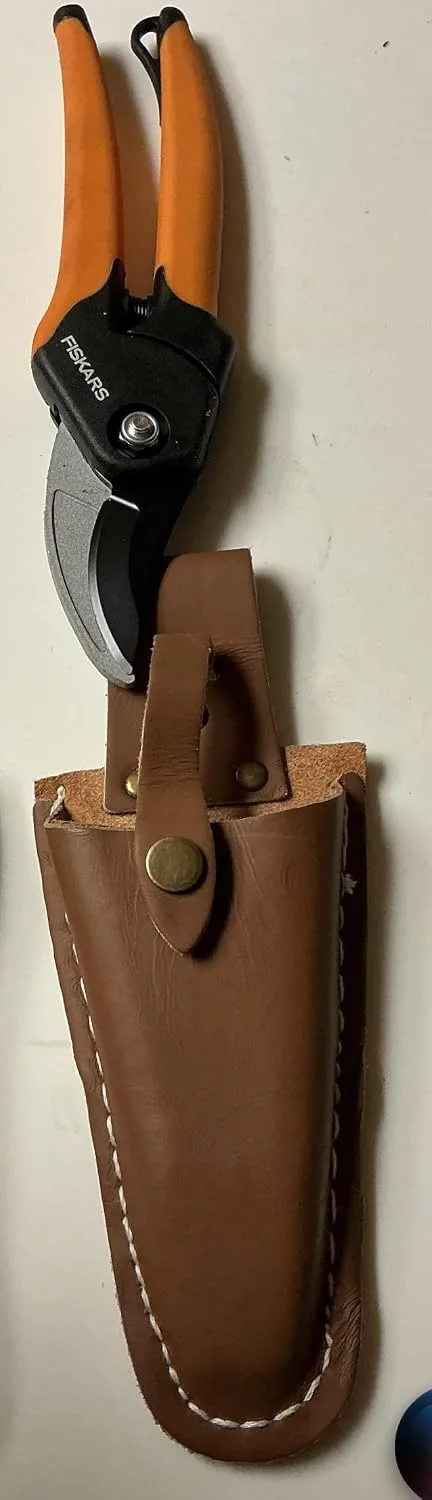
No matter which propagation route you pick, a torn or smashed cut is basically an open invitation for rot to move in before your new plant even has a chance. Cheap anvil-style shears crush the cambium instead of slicing through it cleanly, and I found that out the expensive way after losing a whole batch of promising ‘Yuletide’ sasanquas. It was heartbreaking to watch them collapse on me for no reason I could see at first.
What actually helped
- A bypass blade shears through woody camellia stems in one smooth pass rather than pinching the tissue, so your cuttings and layered sections stand a real shot at forming a proper callus.
- Because the bearing is sealed, sap doesn’t build up and gum the blades shut, meaning you can move through several stems in a row without constantly pausing to wipe them clean — a real time-saver mid-session.
- Comfortable, ergonomic grips mean your hand doesn’t give out during a long propagation stretch, and I’ve noticed far fewer stray slips that used to nick nearby leaves.
Where it falls short
- Upkeep is non-negotiable — the edge dulls quicker than you’d expect if you’re propagating often, so plan on sharpening or swapping blades at least once a year.
- They cost noticeably more upfront than bargain-bin anvil shears, and if you’re only rooting a handful of stems each season, that price tag might be hard to justify.
I almost gave up on bypass shears after the first pair seemed too expensive, convinced I could muddle through with old hand-me-downs—until I finally bit the bullet and saw the difference in rooting rates within weeks. If you’re serious about propagating camellias, grab a pair of bypass pruning shears.
Air Layering: The Slow-and-Steady Route
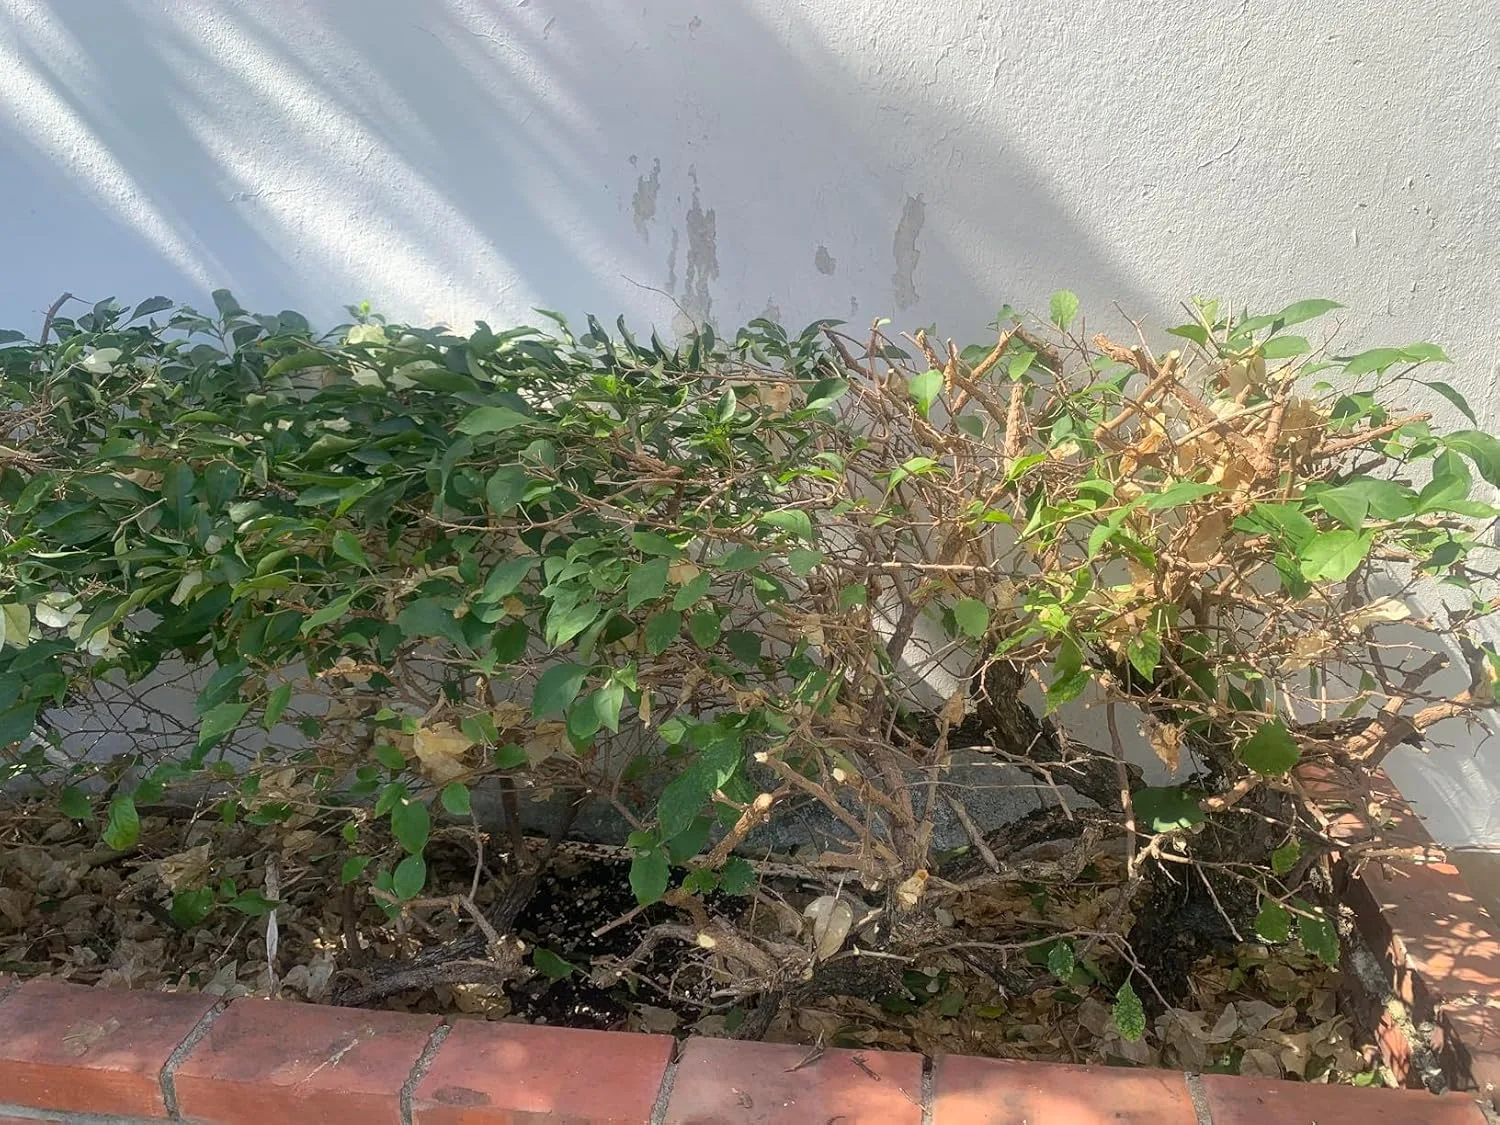
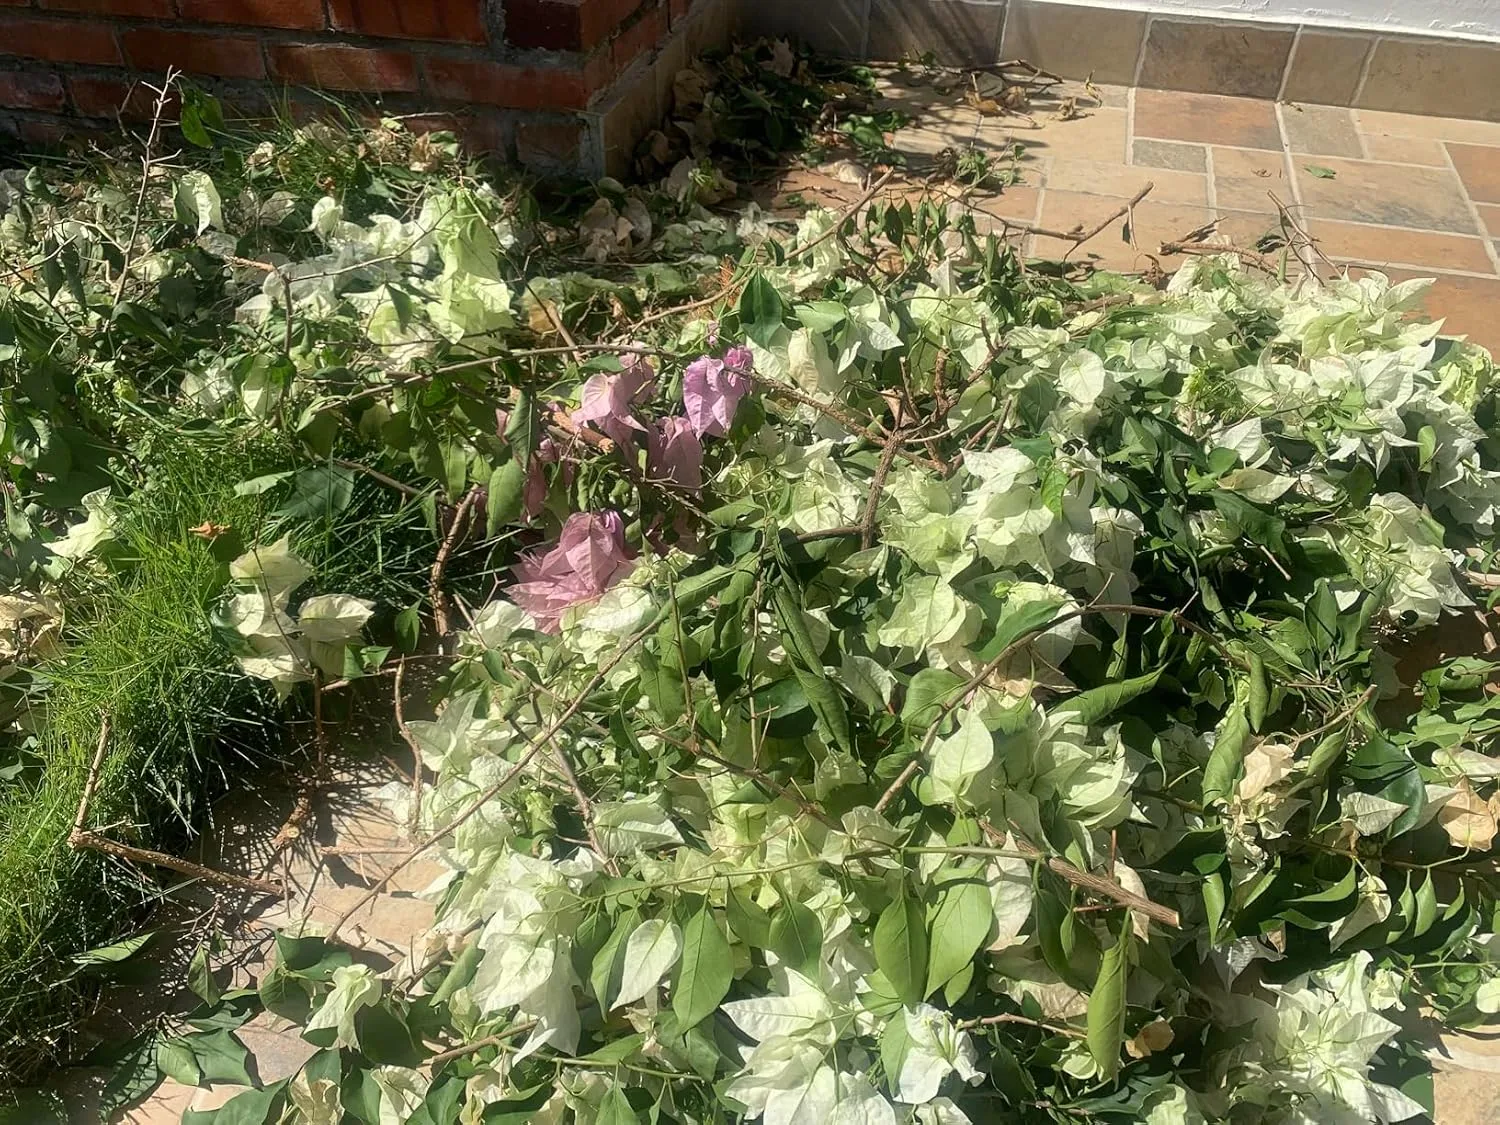
Out of all the ways I’ve propagated camellias over the years, air layering remains the one that asks the least fussing on my part. Rather than snipping a stem loose and gambling on it rooting in soil, you’re encouraging roots to form while that stem is still connected to and fed by the mother plant. The half-formed new plant keeps pulling water and nutrients from an already-established root system the whole time, which is a huge part of why the success rate climbs so much higher than with cuttings.
Here’s the mechanics of it: pick a healthy stem — I often go for a robust ‘Pink Perfection’ or a ‘Debutante’ — score or ring the bark with a small cut, pack the wound in damp sphagnum moss, then wrap the whole thing snugly in clear plastic. Roots slowly fill in that moss ball over the following weeks or months. Once you can actually see roots pressing against the plastic, cut the rooted section free and pot it up as its own plant.
Why I trust air layering with my trickiest cultivars
Reliability is air layering’s calling card, especially for camellia varieties that have a reputation for being difficult to root any other way. I remember trying to propagate a ‘Guilio Nuccio’ for the first time; it was nerve-wracking until I learned that air layering could give it the gentle coaxing it needed. Because the parent plant keeps supplying water and food throughout, the layered stem never experiences the same stress a severed cutting does. There’s no ticking clock counting down limited stored reserves — you’re simply letting roots form under near-ideal conditions, at their own pace. For a rare or sentimental cultivar, that trade-off is well worth the wait.
Where air layering starts to lose its appeal
Patience is the price of admission here. Expect anywhere from several weeks to two or three months before that new plant is ready to stand on its own, which makes this a poor fit if you need a large batch of plants fast. On top of that, your existing canopy sets a hard limit — you can only layer as many stems as the plant can spare without throwing its shape or overall health out of balance. I’ve found that with my larger ‘Winter’s Snowman’ bush, I can only effectively layer a couple of stems at a time.
Taking Cuttings: Quicker Numbers, More Risk
If speed and volume matter more to you than a guaranteed outcome, cuttings win hands down. A single stem can yield several cuttings at once, and with a good propagation medium plus steady humidity, you’ll typically see roots form somewhere between four and eight weeks. This route makes the most sense when you’re trying to multiply several different varieties at once or simply want a bigger stock of new plants in a shorter window.
Why cuttings still earn a spot in my routine
The steps are simple enough: choose semi-hardwood growth — skip the soft new shoots and the fully woody stems alike — strip the leaves off the bottom half, cut cleanly just below a node, dip the end in rooting hormone if you like, and set it into your propagation medium. Give each cutting enough breathing room that the leaves aren’t touching their neighbors, keep things warm and humid, and check regularly for callus formation and emerging roots. I usually use a mix of peat and perlite, which seems to do wonders for moisture retention.
Why cuttings can still let you down
Compared with air layering, the odds simply aren’t as good, and it stings when a whole tray of carefully tended cuttings rots out or succumbs to fungal trouble before rooting. A cutting has nothing to lean on but its own stored energy, which means humidity and moisture levels become make-or-break — too much moisture invites rot, too little dries the cutting out entirely. I remember losing a whole batch of ‘Cinnamon Cindy’ cuttings due to my overzealous misting. Expect to stay hands-on and troubleshoot throughout the entire rooting window.
So Which Should You Pick? Let Your Goals Decide
Got a rare cultivar on hand and a few months of patience to spare? Air layering is the smarter bet — its higher success rate and lower fuss factor make the wait worthwhile. Trying to multiply a common variety quickly and in bulk instead? Cuttings are your answer, though you should brace for a steeper learning curve and accept that a certain percentage simply won’t make it.
Whichever path you take, don’t skimp on quality bypass shears, and make clean cuts your non-negotiable habit every single time. That one habit alone will do more for your propagation success than any other variable you have control over.
About This Article

Written by Helen Pritchard. Helen Pritchard is a lifelong gardener in the Pacific Northwest who has grown more than 200 named camellia cultivars over two decades. She writes practical, experience-based guides to camellia care, from variety selection and pruning to troubleshooting yellowing leaves and bud drop. More about this site.
Verify this against a primary source
Specifics change, and your situation may differ from the one described here. These are the authorities worth checking directly:
- American Camellia Society — cultivar registration and culture guides
- USDA Plant Hardiness Zone Map — zone verification for your location
- Royal Horticultural Society — camellia cultivation and pest guidance



