
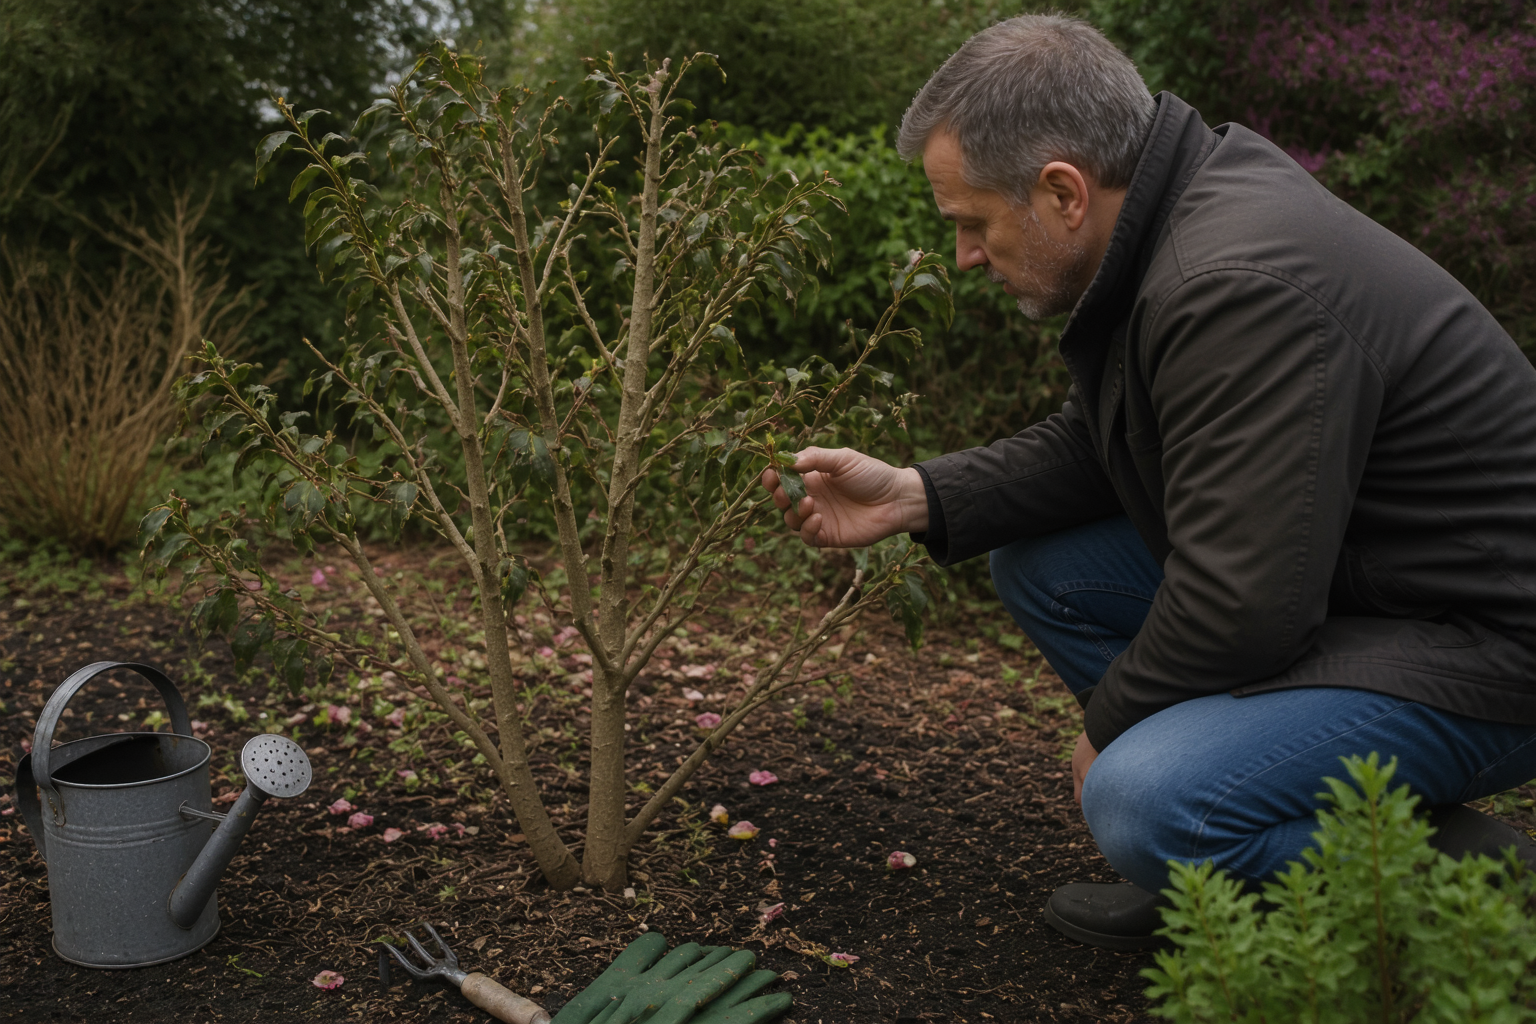
My inbox has been overflowing lately with photos of struggling camellias. “Is she dying?” people ask. “Should I dig her up?” “Will she come back?” I understand the panic. A camellia in decline can look genuinely hopeless—wilted leaves, yellowing growth, dropped buds. But here’s what twenty-plus years of tending over two hundred named cultivars has taught me: most camellias aren’t actually dying. They’re struggling, yes. But struggling and dying are entirely different conversations. The good news? A camellia that’s not looking healthy usually has a fixable cause. And once you know what to look for, reviving camellias becomes less mystery and more methodical troubleshooting. That’s exactly what this guide is for.
Start With One Question: What Changed?
Before you do anything else, pause. Take a breath. Then ask yourself this: when did the decline start, and what changed around that same time?
Here’s why I lead with this question. In my twenty years, I’ve rarely seen a camellia decline for no reason at all. Something always precedes the struggle. It might be obvious—a transplant last spring, a brutal freeze in February, a summer drought. Or it might be subtle—a gradual pH shift in the soil, a new mulch piled too high against the trunk, a change in how much rain the spot receives after nearby trees were pruned.
Most camellia problems trace back to one of four things: water (too much or too little), a recent move, a cold snap, or a slow environmental drift. Pinpointing which one is usually the first step toward a fix. As you work through the branches below, keep that timeline in mind. It narrows things down faster than anything else.
Sudden Wilting or Collapse—Check for Root Rot First
This one shows up constantly. The camellia looks visibly wilted, drooping, sad. Leaves are soft and limp. But the soil is wet. Sometimes soggy. This shouldn’t happen if the plant has enough water, right?
Wrong. And this is critical: waterlogged roots can’t take up water, even when water is everywhere. This is usually root rot, typically caused by Phytophthora (a soil fungus that thrives in poor drainage). The plant literally drowns.
Here’s how to check. Gently probe near the base of the plant, where the roots meet the soil. Do you smell anything sour or musty? That’s a red flag. Carefully excavate a small area and look at the roots themselves. Healthy camellia roots are pale, firm, and woody. Rotted roots are dark, mushy, and smell like decay. If you’re seeing mushy roots and a sour root zone, root rot is your culprit.
This is a serious but treatable problem. I’ve included the full diagnostic and recovery steps in my detailed root rot guide on the site. Cross-reference that post for the complete treatment plan. For now, know this: stop watering immediately. Improve drainage. Consider repotting if it’s in a container, or amending the planting hole if it’s in the ground.
The key is acting fast. Root rot progresses quickly. But camellias are tougher than you’d think. Caught early, most recover.
Yellowing Leaves—Which Pattern Are You Seeing?
Leaf yellowing is one of the most common “is my camellia sick?” concerns I hear. But there are several different yellowing patterns, and each one points to a different cause. The specific pattern matters enormously.
New Growth Yellow With Green Veins
This is textbook iron chlorosis, a pH problem. New foliage emerges pale or yellow, but the vein structure stays green. It’s striking and worrying to look at.
In my experience, this happens when soil pH drifts too high (above 6.5 for camellias). Iron is present in the soil but locked up in a form the roots can’t absorb. The plant literally can’t access it, even though it’s there. The fix? Test your soil pH. If it’s above 6.5, lower it. Sulfur amendments, pine bark mulch, and acidifying fertilizers all help. This usually resolves within a growing season once pH comes down.
Older Leaves Yellowing Between the Veins
This is different. The vein network stays green while tissue between the veins turns yellow. This pattern suggests magnesium deficiency. However—and I say this after decades of chasing nutritional problems—magnesium deficiency in camellias is genuinely rare. Before you assume it, rule out pH issues first with a soil test. Once I’ve confirmed pH is right and magnesium still looks low, a dilute Epsom salt spray (one tablespoon per gallon of water, applied to foliage) usually corrects it within a few weeks.
Whole Leaves Uniformly Pale or Yellowish
This one catches people off guard. If older, interior leaves are turning pale and dropping, that’s often just normal camellia housekeeping. These plants naturally shed older foliage. It’s not a problem; it’s how they work. Interior leaves don’t photosynthesize much anymore, so the plant moves nutrients out of them and lets them go.
However, if many leaves across the whole plant are turning pale, nitrogen deficiency might be at play. Nitrogen is mobile in the plant—when it’s low, the plant pulls it from old leaves first, leaving them pale. If this is the case, resume regular fertilizing with a balanced formula. That said, never fertilize a visibly stressed plant. Fix the stress first. Then feed.
Drought and Heat Stress—Should You Water or Feed?
Summer heat can make a camellia look terrible. Leaves wilt, curl inward, turn slightly gray or dull. It’s alarming. But here’s something crucial: on a hot afternoon, even a well-watered camellia may show temporary wilting. The roots simply can’t move water upward fast enough to replace what the leaves are losing to heat and evaporation. By evening or the next morning, if the soil is truly moist, the plant usually recovers. That’s normal heat response, not a crisis.
Real drought stress is different. The plant wilts, and that wilting doesn’t recover overnight even after it cools down. The soil is genuinely dry when you dig down. In that case, water deeply and consistently. Soak the root zone thoroughly. Then maintain steady moisture (not waterlogged, but not dry) while the plant recovers.
Should You Feed a Drought-Stressed Camellia? The Direct Answer.
No. Do not fertilize a visibly drought-stressed plant. Full stop.
Here’s why. Fertilizer pushes new growth. A drought-stressed root system can’t support new growth—it’s already struggling to keep existing leaves alive. Feeding is like asking someone who just ran a marathon to immediately climb a mountain. You’re adding demand to a system that’s already depleted. The stress worsens, not improves.
Instead, water deeply and consistently. Wait for genuine recovery—a full 2–3 weeks of steady growth and no wilting signs. Then, and only then, resume your normal feeding schedule. Patience here pays off. I’ve seen drought-stressed camellias bounce back beautifully once water stress is resolved and they’ve had time to recover before new nutrition demands are placed on them.
Recent Transplant? This Might Just Be Normal Shock
Transplanting camellias causes shock. It’s unavoidable, and it can be dramatic. Leaves drop. Growth stalls. The plant looks rough for weeks or even months.
If you moved or replanted your camellia within the last year, transplant shock is likely what you’re seeing. This doesn’t mean the plant is dying. It means the root system is recovering and re-establishing contact with new soil. Some leaf drop and slow growth during this period is completely normal. A full growing season (12 months) is the realistic recovery window.
During recovery, water carefully but don’t pamper. Resist the urge to fertilize heavily—that stresses the recovering roots further. Light feeding is okay once you see new growth emerging, but heavy feeding is not. Most importantly, give it time. I’ve had transplanted camellias that looked nearly dead by September respond beautifully the following spring. Patience is your best tool here.
For the complete transplanting protocol, see my full guide on moving camellias. It covers timing, technique, and the recovery timeline in detail.
Flowers Only Affected? That’s Likely Petal Blight, Not Plant Decline
If your camellia’s leaves look fine—green, perky, healthy—but the flowers are browning, turning mushy, or collapsing, you’re probably looking at petal blight. This is a fungal issue specific to flowers. It doesn’t signal whole-plant decline.
Petal blight is frustrating because it ruins the flowers. But it’s not fatal to the camellia itself. The plant is not sick. Just the blooms are affected. In my experience, reducing humidity around the flowers (better air circulation, avoiding overhead watering during bloom season) and removing infected flowers helps manage it. Some cultivars, like ‘Lady Clare’, seem more susceptible than others in my garden.
Check the site’s petal blight post for full management strategies. For now, rest assured: this is a cosmetic issue, not a camellia-in-decline situation.
Silvery or Sticky Leaves—Look for Pests First
Sometimes a camellia not looking healthy isn’t about water, nutrients, or disease at all. It’s about bugs.
Tiny silvery stippling on leaves, a sticky residue on stems or leaf undersides, or actual visible insects are all pest problems. Scale insects, thrips, and aphids hit camellias regularly, especially indoors or in mild climates. These pests weaken the plant and make foliage look stressed even if water and soil are perfect.
Look closely at leaf undersides and stem joints with a hand lens or magnifying glass. You might spot the culprits. Sticky residue (honeydew) is often a giveaway even if you don’t see the insects themselves.
I’ve written detailed posts on scale, thrips, and aphids on the site. Cross-reference those for treatment steps tailored to each pest. In general, neem oil, insecticidal soap, or horticultural oils work well on camellias, depending on the pest and the severity.
Frost and Cold Damage—Usually Cosmetic
Hard freezes happen, especially in zones 7b and 8a where I garden. A sudden plunge below 10°F can leave camellia foliage looking burnt. Leaf edges turn brown and crispy. Flower buds blacken. It looks catastrophic.
In most cases, it’s not. Cold damage is usually cosmetic. The plant itself survives. New growth in spring emerges fine and green. I’ve seen my ‘Nobilissima’ come through ugly-looking freezes and leaf out perfectly the following April.
Patience over hard pruning is the right move here. Resist the urge to cut back the damaged growth immediately. Leave it alone through winter. In spring, prune away what’s truly dead (it’ll be obvious), and the new growth will be beautiful. Drastic early pruning of frost-damaged camellias often triggers excessive branching in the wrong places and weakens the plant’s form.
A First-Aid Checklist for Any Struggling Camellia
Once you’ve identified (or narrowed down) what’s stressing your camellia, here’s a practical checklist to follow:
- Check drainage and soil moisture at root level, not just the surface. Dig down 4–6 inches. Soil should be moist but not waterlogged. If it’s soggy, drainage is the issue. If it’s bone dry, water is the issue.
- Test soil pH. Get a proper soil test done. Camellias prefer 5.0–6.5. If pH is off, that might explain yellowing or poor growth.
- Stop fertilizing immediately. Once you identify stress, pause feeding until the plant is clearly recovering. Fertilizer adds demand, not relief.
- Resist the urge to hard-prune. A stressed camellia doesn’t need aggressive cutting. Wait until it’s actively recovering before shaping or pruning.
- Give it a full growing season before declaring it dead. Camellias are slow to show both decline and recovery. Twelve months is the realistic timeline for meaningful improvement.
Following this checklist will address the majority of camellia problems. Most of the time, fixing the core issue (water, pH, or pest pressure) is enough to trigger recovery without anything fancy.
When a Camellia Really Is Beyond Saving
Let me be honest: sometimes a camellia doesn’t come back. But here’s what I’ve learned the hard way—it takes a lot to actually kill one.
I once pulled out a ‘Debutante’ that had looked absolutely dreadful after a brutal drought summer. I was convinced she was dead. Gone. No point keeping her taking up space. Out she came. The following spring, the stump sprouted vigorously with fresh, green growth. I was furious at myself—and humbled. That plant is now one of my healthiest specimens.
Here’s how to genuinely know if a camellia is dead. Check the main trunk and primary stems. Gently scratch the bark with your thumbnail or a small knife. If there’s no green layer (the cambium) underneath, and the wood is dry and brittle all the way through, the plant is truly gone. But if there’s any green, there’s hope. Even a plant that looks completely leafless can resprout from dormant buds if the cambium is alive.
Before you dig one out, do this simple test. Scratch the trunk. Look for green. If it’s there, wait through the next growing season. Reviving camellias often means resisting the panic and trusting in their toughness.
Your Camellia Likely Has More Life Left Than You Think
The camellia in your garden probably isn’t dying. It’s stressed, sure. Struggling, yes. But struggling isn’t terminal. It’s fixable.
Work through this guide in order. Start with the timeline question. Follow the branches that match what you’re seeing. Check soil and pH. Stop feeding. Give the plant room to recover. Reviving camellias is less about miracle cures and more about removing the stressor and letting time do its work.
In my twenty-plus years, I’ve seen camellias bounce back from conditions that looked genuinely hopeless. Patience, good drainage, consistent water, and appropriate pH do most of the heavy lifting. You’ve got this. Your camellia’s probably tougher than both of you realize.
About This Article

Written by Helen Pritchard. Helen Pritchard is a lifelong gardener in the Pacific Northwest who has grown more than 200 named camellia cultivars over two decades. She writes practical, experience-based guides to camellia care, from variety selection and pruning to troubleshooting yellowing leaves and bud drop. More about this site.
Verify this against a primary source
Specifics change, and your situation may differ from the one described here. These are the authorities worth checking directly:
- American Camellia Society — cultivar registration and culture guides
- USDA Plant Hardiness Zone Map — zone verification for your location
- Royal Horticultural Society — camellia cultivation and pest guidance



