
Is Tomato Feed or Epsom Salt Good for Camellias? Fertilizer Myths, Answered

7 min read

Post-bloom boost: After the main flower flush in late winter or early spring, apply a light second dose of granular feed. Growth is accelerating, and a modest nutrient top-up supports healthy foliage.

Banana peels contain potassium, true. Their effect on a camellia bed is marginal at best. You’d need enormous quantities to match a single application of granular feed.

Used tea leaves? Mostly folklore. They add negligible nutrients. Treat them as compost material, not fertiliser.

These fixes aren’t harmful, but they’re not solutions either. They’re band-aids on problems that need proper diagnosis and targeted treatment.

What Camellias Actually Need — Helen’s Feeding Routine

After two decades and countless experiments, here’s what actually works for keeping camellias thriving across three USDA zones.

Spring application: In early spring, as new growth emerges, apply a granular ericaceous (acid-plant) feed or an organic product like Holly-tone. Follow label rates carefully. This establishes the nutrient base for the season ahead.

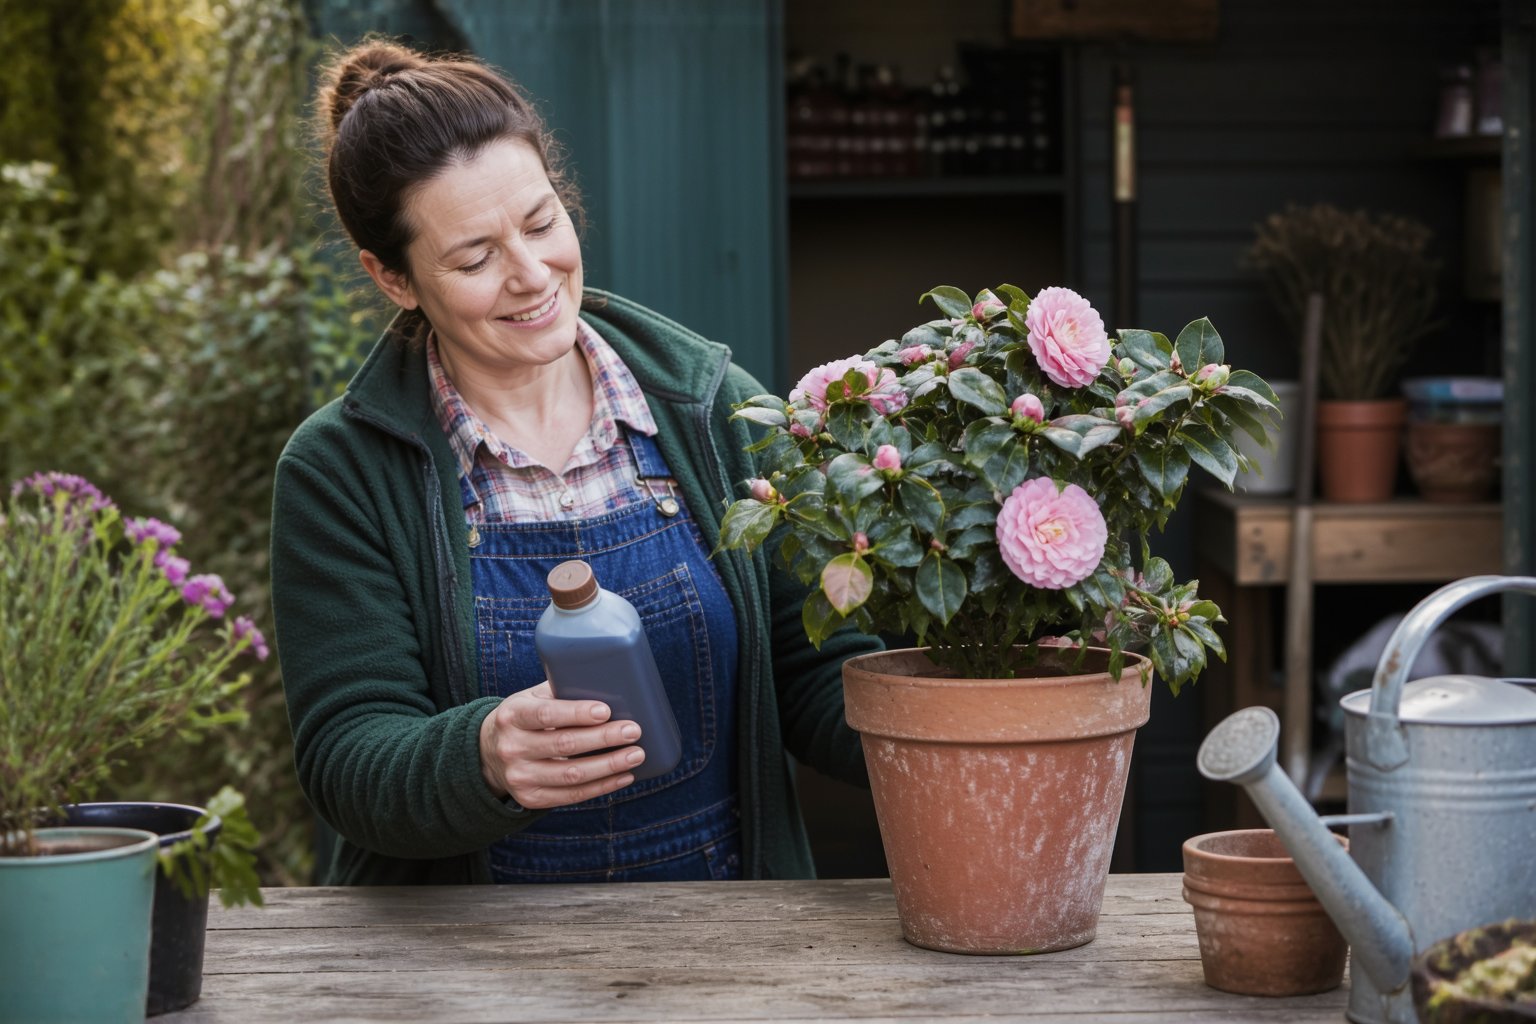
Liquid feeding (container plants): If you grow potted camellias—and I maintain several of my prized cultivars this way—apply a diluted liquid ericaceous feed every three to four weeks through the active growing season. Container plants exhaust nutrients faster than garden beds.

Post-bloom boost: After the main flower flush in late winter or early spring, apply a light second dose of granular feed. Growth is accelerating, and a modest nutrient top-up supports healthy foliage.

Summer stop: By late summer, stop fertilising altogether. Continuing to feed at this stage encourages soft, tender new growth that won’t harden off properly before winter frost. Hardy, mature wood is what you want heading into dormancy.

Soil pH matters more than brand names: Whether you choose Miracle-Gro, Espoma, or your local nursery’s house brand, what matters most is that it’s formulated for acid-loving plants. Test your soil every two to three years. Aim for pH 5.5 to 6.5. If it’s drifting upward, add sulfur in autumn to bring it back down.

This routine has kept ‘Nobilissima’, ‘Adolphe Audusson’, ‘Lady Clare’, and dozens of others in peak condition. Consistency beats heroic measures every time.

The Golden Rule: Diagnose Before You Dose

Before you reach for tomato feed, Epsom salt, coffee grounds, or anything else, pause and ask yourself: what problem am I actually solving?

Yellowing leaves? Look carefully. Are old leaves affected first, with green veins? Possibly magnesium deficiency—Epsom salt might help. Are new shoot tips yellowing? That’s iron chlorosis. Time to test soil pH and adjust acidity.

Weak growth and poor flowering? Could be low potash, could be poor light, could be overcrowded roots. Fertiliser alone won’t cure it.

The hardest lesson I’ve learned is this: not every problem is a fertiliser problem. Sometimes the answer is better drainage, pruning, mulching, or simply patience. But when feeding is the answer, make it count. Use feeds formulated for acid-loving plants. Maintain soil pH. Skip the shortcuts.

Your camellias will reward the thoughtfulness with years of glossy foliage and abundant blooms.

The result? No improvement. My camellias’ yellowing persisted. Why? Because their problem wasn’t magnesium. It was iron chlorosis caused by creeping soil pH, exactly like the ‘Nobilissima’ situation years earlier.

Iron deficiency chlorosis looks deceptively similar to magnesium deficiency at first glance. Both involve yellowing and green veins. The critical difference is which leaves get affected first. Iron deficiency appears on new growth at the shoot tips, not old lower leaves.

Think about it this way: iron, like magnesium, is essential for chlorophyll. But iron is immobile in the plant. When soil pH rises and iron becomes unavailable, the plant can’t move it around. Young leaves—with the most active growth—show the deficiency first. Old leaves stay relatively green longer.

If your camellia’s newest leaves are yellowing with green veins, iron chlorosis is likely the culprit. Epsom salt won’t help. What will? Lowering soil pH through proper acidifying feeds, sulfur, or iron chelate products designed for acid-loving plants.

Additionally, Epsom salt does not lower soil pH. It does not increase soil acidity. It simply adds magnesium and sulfur. If pH is your problem—and with camellias, it usually is—Epsom salt alone is just noise.

Other Homemade “Fixes” People Ask About

Coffee grounds, banana peels, used tea leaves—my inbox is full of kitchen-cupboard remedies. Let me set expectations honestly.

Coffee grounds do have a mild acidifying effect over time. However, they’re inconsistent, slow to break down, and unreliable as a pH management tool. Don’t skip proper soil testing and sulfur applications in favour of stockpiling grounds.

Banana peels contain potassium, true. Their effect on a camellia bed is marginal at best. You’d need enormous quantities to match a single application of granular feed.

Used tea leaves? Mostly folklore. They add negligible nutrients. Treat them as compost material, not fertiliser.

These fixes aren’t harmful, but they’re not solutions either. They’re band-aids on problems that need proper diagnosis and targeted treatment.

What Camellias Actually Need — Helen’s Feeding Routine

After two decades and countless experiments, here’s what actually works for keeping camellias thriving across three USDA zones.

Spring application: In early spring, as new growth emerges, apply a granular ericaceous (acid-plant) feed or an organic product like Holly-tone. Follow label rates carefully. This establishes the nutrient base for the season ahead.

Liquid feeding (container plants): If you grow potted camellias—and I maintain several of my prized cultivars this way—apply a diluted liquid ericaceous feed every three to four weeks through the active growing season. Container plants exhaust nutrients faster than garden beds.

Post-bloom boost: After the main flower flush in late winter or early spring, apply a light second dose of granular feed. Growth is accelerating, and a modest nutrient top-up supports healthy foliage.

Summer stop: By late summer, stop fertilising altogether. Continuing to feed at this stage encourages soft, tender new growth that won’t harden off properly before winter frost. Hardy, mature wood is what you want heading into dormancy.

Soil pH matters more than brand names: Whether you choose Miracle-Gro, Espoma, or your local nursery’s house brand, what matters most is that it’s formulated for acid-loving plants. Test your soil every two to three years. Aim for pH 5.5 to 6.5. If it’s drifting upward, add sulfur in autumn to bring it back down.

This routine has kept ‘Nobilissima’, ‘Adolphe Audusson’, ‘Lady Clare’, and dozens of others in peak condition. Consistency beats heroic measures every time.

The Golden Rule: Diagnose Before You Dose

Before you reach for tomato feed, Epsom salt, coffee grounds, or anything else, pause and ask yourself: what problem am I actually solving?

Yellowing leaves? Look carefully. Are old leaves affected first, with green veins? Possibly magnesium deficiency—Epsom salt might help. Are new shoot tips yellowing? That’s iron chlorosis. Time to test soil pH and adjust acidity.

Weak growth and poor flowering? Could be low potash, could be poor light, could be overcrowded roots. Fertiliser alone won’t cure it.

The hardest lesson I’ve learned is this: not every problem is a fertiliser problem. Sometimes the answer is better drainage, pruning, mulching, or simply patience. But when feeding is the answer, make it count. Use feeds formulated for acid-loving plants. Maintain soil pH. Skip the shortcuts.

Your camellias will reward the thoughtfulness with years of glossy foliage and abundant blooms.

If you see this exact pattern—old leaves yellowing, veins green—a diluted Epsom salt drench can help. Mix roughly one tablespoon of Epsom salt in a gallon of water. Apply it to the soil around the plant’s root zone, not the foliage. Repeat every four to six weeks if needed.

In my experience, this approach works within three to four weeks. The new growth comes in green, and the plant perks up noticeably. However, this is only necessary if you’ve actually confirmed a magnesium deficiency.

When Epsom Salt Won’t Fix the Problem

Here’s where I made a costly mistake. A neighbour insisted Epsom salt was the answer to everything. She dosed her entire camellia bed—and insisted I do the same. Against my better judgment, I did.

The result? No improvement. My camellias’ yellowing persisted. Why? Because their problem wasn’t magnesium. It was iron chlorosis caused by creeping soil pH, exactly like the ‘Nobilissima’ situation years earlier.

Iron deficiency chlorosis looks deceptively similar to magnesium deficiency at first glance. Both involve yellowing and green veins. The critical difference is which leaves get affected first. Iron deficiency appears on new growth at the shoot tips, not old lower leaves.

Think about it this way: iron, like magnesium, is essential for chlorophyll. But iron is immobile in the plant. When soil pH rises and iron becomes unavailable, the plant can’t move it around. Young leaves—with the most active growth—show the deficiency first. Old leaves stay relatively green longer.

If your camellia’s newest leaves are yellowing with green veins, iron chlorosis is likely the culprit. Epsom salt won’t help. What will? Lowering soil pH through proper acidifying feeds, sulfur, or iron chelate products designed for acid-loving plants.

Additionally, Epsom salt does not lower soil pH. It does not increase soil acidity. It simply adds magnesium and sulfur. If pH is your problem—and with camellias, it usually is—Epsom salt alone is just noise.

Other Homemade “Fixes” People Ask About

Coffee grounds, banana peels, used tea leaves—my inbox is full of kitchen-cupboard remedies. Let me set expectations honestly.

Coffee grounds do have a mild acidifying effect over time. However, they’re inconsistent, slow to break down, and unreliable as a pH management tool. Don’t skip proper soil testing and sulfur applications in favour of stockpiling grounds.

Banana peels contain potassium, true. Their effect on a camellia bed is marginal at best. You’d need enormous quantities to match a single application of granular feed.

Used tea leaves? Mostly folklore. They add negligible nutrients. Treat them as compost material, not fertiliser.

These fixes aren’t harmful, but they’re not solutions either. They’re band-aids on problems that need proper diagnosis and targeted treatment.

What Camellias Actually Need — Helen’s Feeding Routine

After two decades and countless experiments, here’s what actually works for keeping camellias thriving across three USDA zones.

Spring application: In early spring, as new growth emerges, apply a granular ericaceous (acid-plant) feed or an organic product like Holly-tone. Follow label rates carefully. This establishes the nutrient base for the season ahead.

Liquid feeding (container plants): If you grow potted camellias—and I maintain several of my prized cultivars this way—apply a diluted liquid ericaceous feed every three to four weeks through the active growing season. Container plants exhaust nutrients faster than garden beds.

Post-bloom boost: After the main flower flush in late winter or early spring, apply a light second dose of granular feed. Growth is accelerating, and a modest nutrient top-up supports healthy foliage.

Summer stop: By late summer, stop fertilising altogether. Continuing to feed at this stage encourages soft, tender new growth that won’t harden off properly before winter frost. Hardy, mature wood is what you want heading into dormancy.

Soil pH matters more than brand names: Whether you choose Miracle-Gro, Espoma, or your local nursery’s house brand, what matters most is that it’s formulated for acid-loving plants. Test your soil every two to three years. Aim for pH 5.5 to 6.5. If it’s drifting upward, add sulfur in autumn to bring it back down.

This routine has kept ‘Nobilissima’, ‘Adolphe Audusson’, ‘Lady Clare’, and dozens of others in peak condition. Consistency beats heroic measures every time.

The Golden Rule: Diagnose Before You Dose

Before you reach for tomato feed, Epsom salt, coffee grounds, or anything else, pause and ask yourself: what problem am I actually solving?

Yellowing leaves? Look carefully. Are old leaves affected first, with green veins? Possibly magnesium deficiency—Epsom salt might help. Are new shoot tips yellowing? That’s iron chlorosis. Time to test soil pH and adjust acidity.

Weak growth and poor flowering? Could be low potash, could be poor light, could be overcrowded roots. Fertiliser alone won’t cure it.

The hardest lesson I’ve learned is this: not every problem is a fertiliser problem. Sometimes the answer is better drainage, pruning, mulching, or simply patience. But when feeding is the answer, make it count. Use feeds formulated for acid-loving plants. Maintain soil pH. Skip the shortcuts.

Your camellias will reward the thoughtfulness with years of glossy foliage and abundant blooms.

Every spring, my inbox fills with fertiliser questions. “Helen, can I use tomato feed on my camellias?” “Is Epsom salt the answer to yellowing leaves?” “What about coffee grounds?” After twenty years and two hundred named cultivars, I’ve learned one thing: gardeners love a kitchen-cupboard shortcut. The trouble is, is tomato feed good for camellias—and whether Epsom salt actually helps—depends entirely on what your plant actually needs. Let me share what I’ve discovered the hard way.

Is Tomato Feed Good for Camellias? The Honest Answer

Tomato feed is a liquid fertiliser designed for fruiting vegetables. Products like Tomorite are high in potassium (K)—much higher than nitrogen (N)—to boost flowering and fruit set in tomatoes. So the logic is tempting: camellias flower prolifically, therefore tomato feed should help.

Here’s the truth: tomato feed won’t harm your camellia if you use it occasionally. The high potash can even support bud formation. However, it is not formulated for acid-loving plants, and it lacks the micronutrient balance camellias depend on in acidic soil.

Specifically, camellias thrive in soil with a pH between 5.5 and 6.5. This acidity helps them access iron, manganese, and other trace elements essential for green leaves and vigorous growth. Tomato feed has no acidifying effect whatsoever. Over a full season of repeated applications, you’re feeding your camellia without maintaining the soil chemistry it demands.

I learned this the expensive way with my ‘Nobilissima’—a stunning pale pink form that had produced perfect blooms for years. One season, I substituted tomato feed for my usual ericaceous routine, thinking the potash would ensure a bumper crop of flowers. It did. But within six weeks, new growth showed distinct yellowing. The veins stayed green, but interveinal chlorosis crept across the leaves. The plant was hungry for iron, despite being “fed” regularly.

That yellowing cleared up only when I returned to a proper acid-plant feed and had the soil pH tested. It was drifting toward neutral—exactly what happens when you omit acidifying feeds season after season.

So, do camellias like tomato feed? In moderation, yes. As your primary fertiliser? Absolutely not. Think of it as an occasional potash boost right before bud set, not a substitute for a dedicated camellia or ericaceous feed.

Is Epsom Salt Good for Camellias?

Epsom salt is magnesium sulfate. It provides magnesium and sulfur. For years, gardeners have sworn it cures yellowing camellias, chlorosis, and weak growth. On the internet, it’s positioned as a panacea. In reality? It’s far more nuanced.

Epsom salt genuinely helps when a camellia has a true magnesium deficiency. This is specific and recognisable. However, most yellowing camellias don’t have magnesium deficiency at all. They have iron deficiency chlorosis—an entirely different problem requiring a different solution.

The distinction matters. Applying Epsom salt without an actual magnesium deficiency does little useful and can even unbalance nutrient uptake if overused. That’s where many well-meaning gardeners go wrong.

When Epsom Salt Actually Helps — Recognising Magnesium Deficiency

True magnesium deficiency shows a specific pattern. Yellowing appears on the older, lower leaves first. The veins stay bright green, but the tissue between the veins—the interveinal areas—turns yellow or pale. This pattern is distinct and characteristic.

Why the lower leaves? Magnesium is a mobile nutrient in plants. When supplies run short, the plant redirects what’s available upward to new growth. Older leaves sacrifice themselves first.

If you see this exact pattern—old leaves yellowing, veins green—a diluted Epsom salt drench can help. Mix roughly one tablespoon of Epsom salt in a gallon of water. Apply it to the soil around the plant’s root zone, not the foliage. Repeat every four to six weeks if needed.

In my experience, this approach works within three to four weeks. The new growth comes in green, and the plant perks up noticeably. However, this is only necessary if you’ve actually confirmed a magnesium deficiency.

When Epsom Salt Won’t Fix the Problem

Here’s where I made a costly mistake. A neighbour insisted Epsom salt was the answer to everything. She dosed her entire camellia bed—and insisted I do the same. Against my better judgment, I did.

The result? No improvement. My camellias’ yellowing persisted. Why? Because their problem wasn’t magnesium. It was iron chlorosis caused by creeping soil pH, exactly like the ‘Nobilissima’ situation years earlier.

Iron deficiency chlorosis looks deceptively similar to magnesium deficiency at first glance. Both involve yellowing and green veins. The critical difference is which leaves get affected first. Iron deficiency appears on new growth at the shoot tips, not old lower leaves.

Think about it this way: iron, like magnesium, is essential for chlorophyll. But iron is immobile in the plant. When soil pH rises and iron becomes unavailable, the plant can’t move it around. Young leaves—with the most active growth—show the deficiency first. Old leaves stay relatively green longer.

If your camellia’s newest leaves are yellowing with green veins, iron chlorosis is likely the culprit. Epsom salt won’t help. What will? Lowering soil pH through proper acidifying feeds, sulfur, or iron chelate products designed for acid-loving plants.

Additionally, Epsom salt does not lower soil pH. It does not increase soil acidity. It simply adds magnesium and sulfur. If pH is your problem—and with camellias, it usually is—Epsom salt alone is just noise.

Other Homemade “Fixes” People Ask About

Coffee grounds, banana peels, used tea leaves—my inbox is full of kitchen-cupboard remedies. Let me set expectations honestly.

Coffee grounds do have a mild acidifying effect over time. However, they’re inconsistent, slow to break down, and unreliable as a pH management tool. Don’t skip proper soil testing and sulfur applications in favour of stockpiling grounds.

Banana peels contain potassium, true. Their effect on a camellia bed is marginal at best. You’d need enormous quantities to match a single application of granular feed.

Used tea leaves? Mostly folklore. They add negligible nutrients. Treat them as compost material, not fertiliser.

These fixes aren’t harmful, but they’re not solutions either. They’re band-aids on problems that need proper diagnosis and targeted treatment.

What Camellias Actually Need — Helen’s Feeding Routine

After two decades and countless experiments, here’s what actually works for keeping camellias thriving across three USDA zones.

Spring application: In early spring, as new growth emerges, apply a granular ericaceous (acid-plant) feed or an organic product like Holly-tone. Follow label rates carefully. This establishes the nutrient base for the season ahead.

Liquid feeding (container plants): If you grow potted camellias—and I maintain several of my prized cultivars this way—apply a diluted liquid ericaceous feed every three to four weeks through the active growing season. Container plants exhaust nutrients faster than garden beds.

Post-bloom boost: After the main flower flush in late winter or early spring, apply a light second dose of granular feed. Growth is accelerating, and a modest nutrient top-up supports healthy foliage.

Summer stop: By late summer, stop fertilising altogether. Continuing to feed at this stage encourages soft, tender new growth that won’t harden off properly before winter frost. Hardy, mature wood is what you want heading into dormancy.

Soil pH matters more than brand names: Whether you choose Miracle-Gro, Espoma, or your local nursery’s house brand, what matters most is that it’s formulated for acid-loving plants. Test your soil every two to three years. Aim for pH 5.5 to 6.5. If it’s drifting upward, add sulfur in autumn to bring it back down.

This routine has kept ‘Nobilissima’, ‘Adolphe Audusson’, ‘Lady Clare’, and dozens of others in peak condition. Consistency beats heroic measures every time.

The Golden Rule: Diagnose Before You Dose

Before you reach for tomato feed, Epsom salt, coffee grounds, or anything else, pause and ask yourself: what problem am I actually solving?

Yellowing leaves? Look carefully. Are old leaves affected first, with green veins? Possibly magnesium deficiency—Epsom salt might help. Are new shoot tips yellowing? That’s iron chlorosis. Time to test soil pH and adjust acidity.

Weak growth and poor flowering? Could be low potash, could be poor light, could be overcrowded roots. Fertiliser alone won’t cure it.

The hardest lesson I’ve learned is this: not every problem is a fertiliser problem. Sometimes the answer is better drainage, pruning, mulching, or simply patience. But when feeding is the answer, make it count. Use feeds formulated for acid-loving plants. Maintain soil pH. Skip the shortcuts.

Your camellias will reward the thoughtfulness with years of glossy foliage and abundant blooms.




