
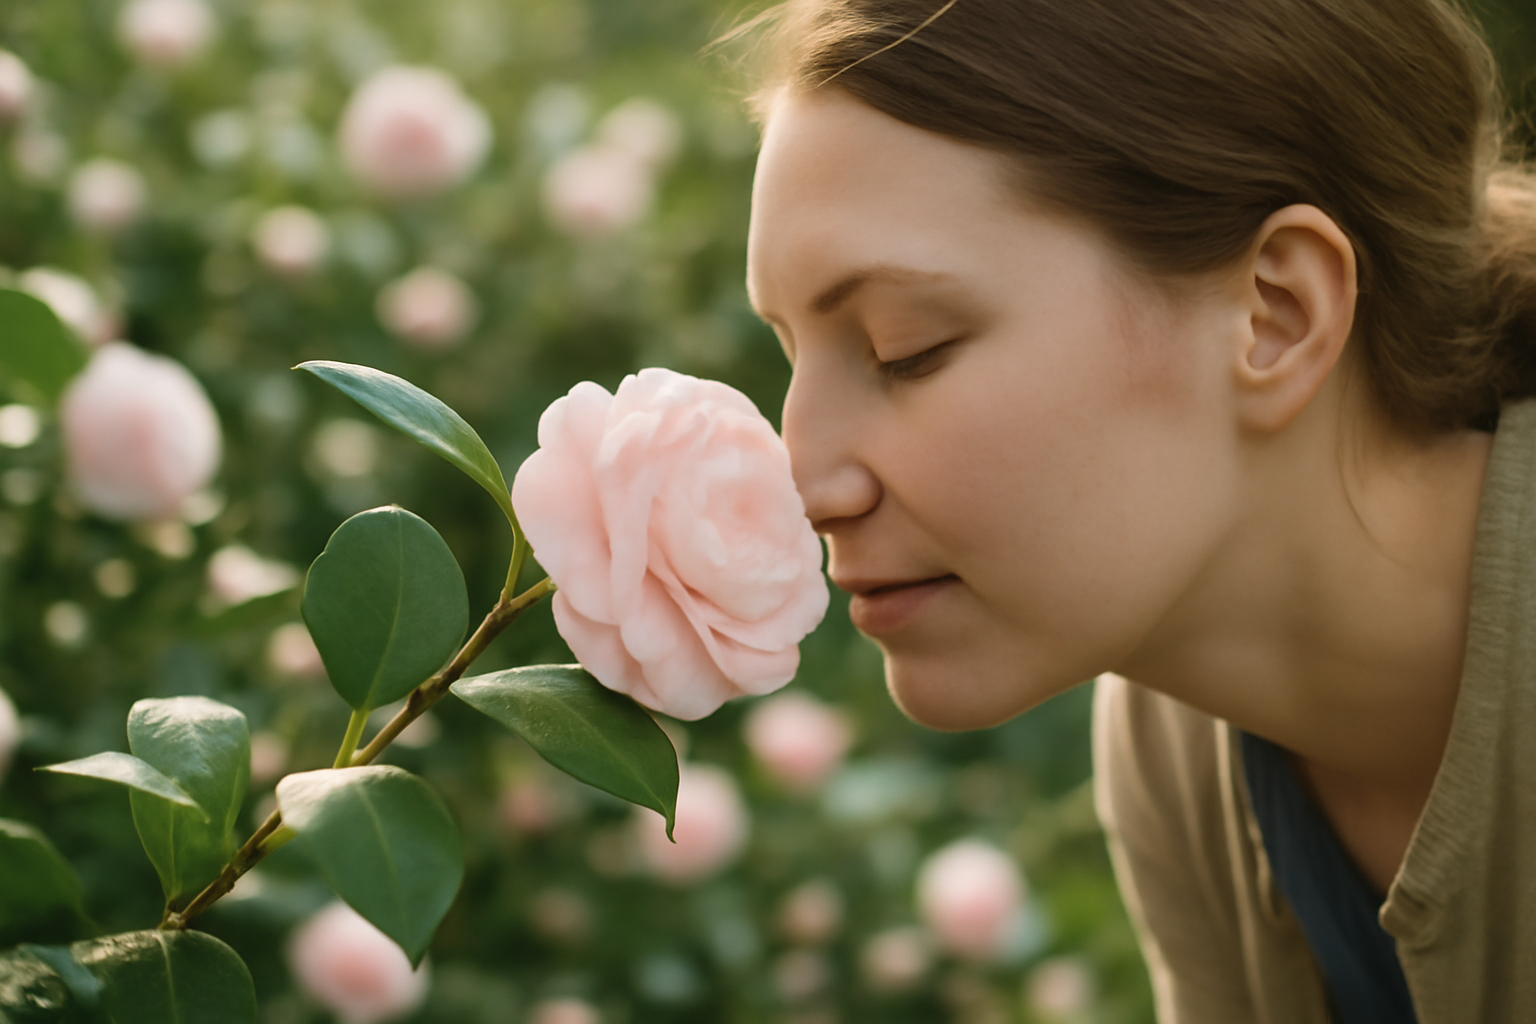
A stretch of unseasonably mild, rain-soaked days settled over my zone in late January roughly fifteen years back, the kind of weather that pulls you outside even when you’d normally be indoors waiting out winter. It was on one of those damp, warm walks that I stopped mid-step beside a Camellia lutchuensis hybrid, caught off guard by a scent drifting through the wet air — something hovering between honey and jasmine. That single afternoon turned me into a lifelong fragrance chaser, and it kicked off a fifteen-year experiment in figuring out how to grow and position these plants so their scent actually reaches a person, instead of dissipating unnoticed in some forgotten stretch of the yard. Nobody warns you of this when you bring home your first fragrant cultivar: picking a fragrant variety is merely step one. Where you plant it, and when it blooms, decide whether you’ll ever catch a whiff of anything at all.
A brief detour into the science first, because it shapes everything below: nearly all camellia fragrance traces back to Camellia lutchuensis parentage, refined across generations into hybrids such as ‘Scentuous’, ‘High Fragrance’, and ‘Cinnamon Cindy’. For the cultivar-by-cultivar detail — which ones smell like what, and how noticeably — I’ve laid that out separately in my guide to fragrant camellia varieties. What that piece skips, and what this one tackles instead, is the growing side: how to raise these plants so the scent truly delivers, and how to stagger varieties so your garden carries fragrance across five months rather than a single fleeting three-week window.
Why Sunlight Matters More Than Cultivar Selection for Scent
Here’s the lesson that permanently changed how I position every fragrant camellia I plant now. In my early years, I tucked ‘Fragrant Pink’ against a north-facing fence, purely to dress up a dim corner. It lived — camellias tend to shrug off less-than-ideal spots — yet the scent it produced was far fainter than every description I’d read had led me to expect. Three years in, I finally relocated it to a spot catching morning sun with dappled afternoon shade.
The change was dramatic. Light and warmth drive essential oil production in the blooms directly, so more sun genuinely translates to stronger scent — up to a point. The caveat: unrelenting afternoon sun in zones 8b and warmer will scorch camellia foliage, so this isn’t a straightforward “maximize sun exposure” equation. For fragrant cultivars in particular, I now aim consistently for morning light paired with afternoon shade protection as the ideal middle ground, and I’ll happily accept slightly smaller blooms in a shadier location rather than site a fragrant variety somewhere it’ll never release much scent at all.
Positioning Plants So the Scent Actually Travels
Most planting guides never touch on this part: fragrance behaves entirely differently based on the plant’s surroundings, quite apart from how much sun or shade it gets. Scent requires calm, somewhat contained air to concentrate and carry — set a genuinely fragrant camellia in an open, breezy spot, and most days you’ll notice nothing, because the scent scatters as quickly as the flowers produce it.
A handful of siting rules I keep coming back to whenever a new fragrant camellia goes in the ground:
- A backdrop of walls or hedges beats an open border every time. A south-facing wall works double duty — shielding the plant while banking heat, and giving fragrance a surface to bounce off instead of blowing past unnoticed. My ‘Scentuous’ sits against one, and the payoff has been reliable year after year.
- Plant at nose level, or bring the shrub within reach. Blooms perched six feet up a mature shrub mostly benefit the bees, not you. Compact, container-suited cultivars such as ‘Cinnamon Cindy’ sidestep this problem — mine sits right by my back door so I never miss the scent walking out in winter.
- Sheltered nooks beat open lawn every time. Courtyards, entry beds, and covered porches hold still air far better than an exposed strip of border. Gardening somewhere genuinely cold? A large container on a sheltered porch or in an unheated sunroom lets you catch scent that would otherwise get stripped away by wind and frost outside.
- Put fragrant varieties where your feet already go. Front entries, the path to the mailbox, seating areas you use regularly — anywhere you pass daily during that plant’s bloom window. A fragrant camellia tucked at the far edge of a garden you visit twice a season is wasted potential, no matter how impressive the cultivar.
One additional siting detail worth flagging: certain fragrant hybrids are more prone to petal blight in wet conditions than standard camellias tend to be, so if you’re planting one along a path where you’ll brush against it regularly, add some overhead protection — an eave, a pergola, or even a taller shrub positioned uphill — to keep rain from pooling directly on open flowers.
Layering Fragrant Bloom Times Across Five Months
This is the piece of fragrant camellia gardening I find genuinely thrilling: since fragrant cultivars bloom at staggered points from autumn through early spring, you can arrange a sequence that keeps something scented in the garden continuously, rather than one perfumed burst followed by long stretches of nothing. It’s less like buying a single plant and more like designing an actual scent garden.
Here’s the rotation I use in my own garden, and roughly how I’d map one out from scratch:
- October through December: A fragrant sasanqua such as ‘Survivor’ opens the season first. It’s a genuinely rugged plant — tolerant of heat, reasonably resilient to drought once established, and cold-hardy down into zone 7b — making it a dependable anchor for the earliest stretch of the sequence. Position it near an entrance you actually use in autumn, since that’s when it earns its keep.
- Late November into January: ‘Cinnamon Cindy’ carries things into winter with a warm, spice-forward note quite distinct from the sweeter lutchuensis-based hybrids. Its compact, tidy growth habit makes it the easiest to squeeze into a container by the door or a snug bed against the house.
- January through March: This stretch belongs to the strongly scented lutchuensis hybrids at their peak. Give these your warmest, most sheltered exposure — south or east facing — since this coincides with the coldest window in the whole sequence, and warmth is doing the heaviest lifting for fragrance here.
- February into March: A later-blooming lutchuensis hybrid wraps up the lineup, carrying scent into early spring right as the earlier bloomers taper off.
The real trick is clustering these along a single path or around one entry point, rather than spreading them thin across the yard. Arranged that way, someone walking from your driveway to your front door catches an entirely different scent in November than they would in February — with nothing replanted in between. That’s the real advantage of treating fragrant camellias as a coordinated sequence instead of a wish list of individually pleasant-smelling plants.
Care Basics That Keep the Sequence On Schedule
A fragrance sequence only holds together if every plant in it stays healthy enough to bloom right on time. A few things I treat as non-negotiable:
- Get the soil pH right. Aim for a range between 5.5 and 6.5. Drop below 5.5 and nutrient uptake suffers; climb above 6.5 and iron and manganese lock up, leading to yellowed leaves and weak flowering. I check my beds every couple of years and adjust with sulfur or lime as needed.
- Don’t skimp on mulch. A three-inch layer of pine bark or pine straw evens out moisture, keeps root zones cool, and gradually acidifies the soil. Leave a gap of a few inches around the trunk so it doesn’t sit against bare bark and invite rot.
- Water thoroughly, not often. Frequent shallow watering just trains roots to stay shallow. The lutchuensis hybrids especially want steady moisture while buds are forming in late autumn and early winter — precisely when they’re gearing up for that mid-season peak.
- Time the fertilizer carefully. I apply an acid-forming, slow-release camellia fertilizer in early spring, once flowering wraps up. Skip heavy nitrogen feeding in late summer — it triggers tender new growth that frost can damage early, which throws off the timing of next year’s whole sequence.
Closing Thoughts
Growing fragrant camellias has added more to my garden than I ever expected when I started down this path — though the real payoff came from nailing the growing conditions and placement, not simply from owning cultivars with the right reputation. Passing a well-placed fragrant camellia on a still February morning, or catching a drift of scent while hanging laundry out in November, only happens because you planted with that outcome in mind.
My advice, plainly stated: choose two or three cultivars that bloom in sequence rather than five that all crest at once, place them somewhere you’ll genuinely walk past every day, and give them morning sun with shelter from wind. Still deciding on varieties? My fragrant camellia varieties guide breaks down each cultivar in detail to help you choose. Once the plants are in the ground, the growing and placement choices covered here are what shift you from simply owning a fragrant camellia to having a garden that actually smells remarkable from October straight through March.
About This Article

Written by Helen Pritchard. Helen Pritchard is a lifelong gardener in the Pacific Northwest who has grown more than 200 named camellia cultivars over two decades. She writes practical, experience-based guides to camellia care, from variety selection and pruning to troubleshooting yellowing leaves and bud drop. More about this site.
Verify this against a primary source
Specifics change, and your situation may differ from the one described here. These are the authorities worth checking directly:
- American Camellia Society — cultivar registration and culture guides
- USDA Plant Hardiness Zone Map — zone verification for your location
- Royal Horticultural Society — camellia cultivation and pest guidance



