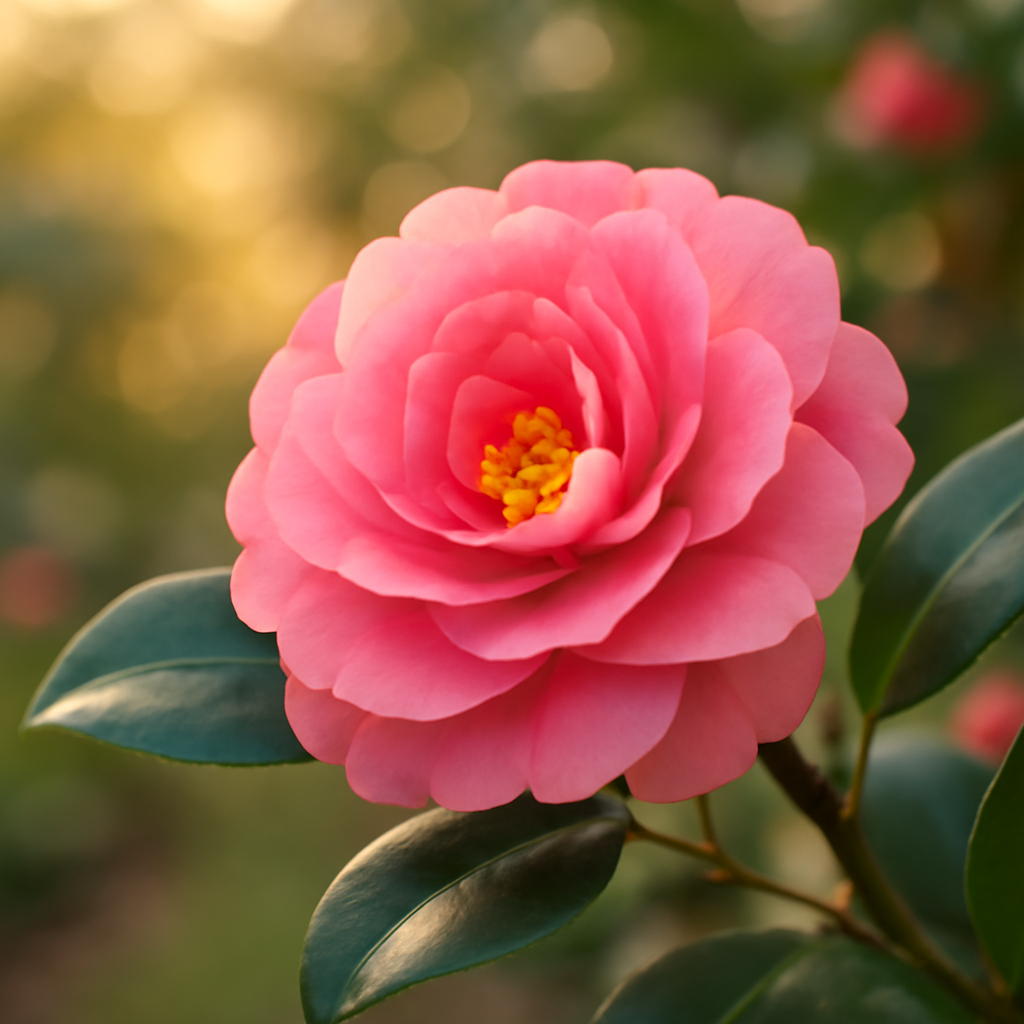
Growing camellias successfully requires understanding their specific needs, but these elegant and enduring flowering shrubs are among the most rewarding plants you can add to your garden. These evergreen beauties produce stunning blooms during the cooler months when most other plants have gone dormant, making them treasured additions to winter landscapes. Growing camellias with proper care allows them to become family heirlooms, living for centuries and gracing generations with their spectacular flowers. This comprehensive guide covers everything you need to know about growing camellias successfully.
Understanding Camellia Fundamentals
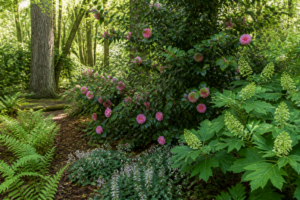
Before diving into the specifics of cultivation, it’s worth noting that camellias thrive in conditions that mimic their native forest understory environment. They prefer dappled shade rather than full sun, which can scorch their delicate petals and stress the plant during hot summers. Most camellia varieties perform best in USDA zones 6 through 10, though some hardier cultivars can tolerate zone 5. The key to success lies in replicating the cool, moist, slightly acidic conditions these plants naturally prefer.
The pH Test That Stopped My Camellia Decline
Camellias are acid-loving plants that struggle when soil pH creeps above 6.5, yet most gardeners never test their soil and wonder why their plants yellow and drop buds. I spent two seasons blaming watering and fertilizer before I actually measured what was happening in my beds.
What works
- The strips give you an instant read in under a minute—no waiting for lab results or fussing with electronic meters that need calibration.
- Testing multiple spots across your garden bed reveals pH variance you’d never guess (my back corner was 7.2 while the front was 6.1), which explained why some camellias thrived and others didn’t.
- Once you know your actual pH, you can amend with confidence—I added sulfur to problem areas and saw leaf color improve within weeks.
What doesn’t
- The color-matching squares are small and can be tough to read in afternoon light or if your eyesight isn’t sharp—I’ve had to go inside to compare against the chart more than once.
- A single strip only tells you the pH at that exact moment and spot; soil pH can shift seasonally and with rainfall, so you’re really getting a snapshot, not a guarantee.
I almost gave up on testing after my first strips seemed to contradict what I thought I knew, but taking samples from 4–5 different depths and locations painted the real picture. Grab some pH test strips and do the same before you spend money on amendments.
Soil Preparation and Amendment
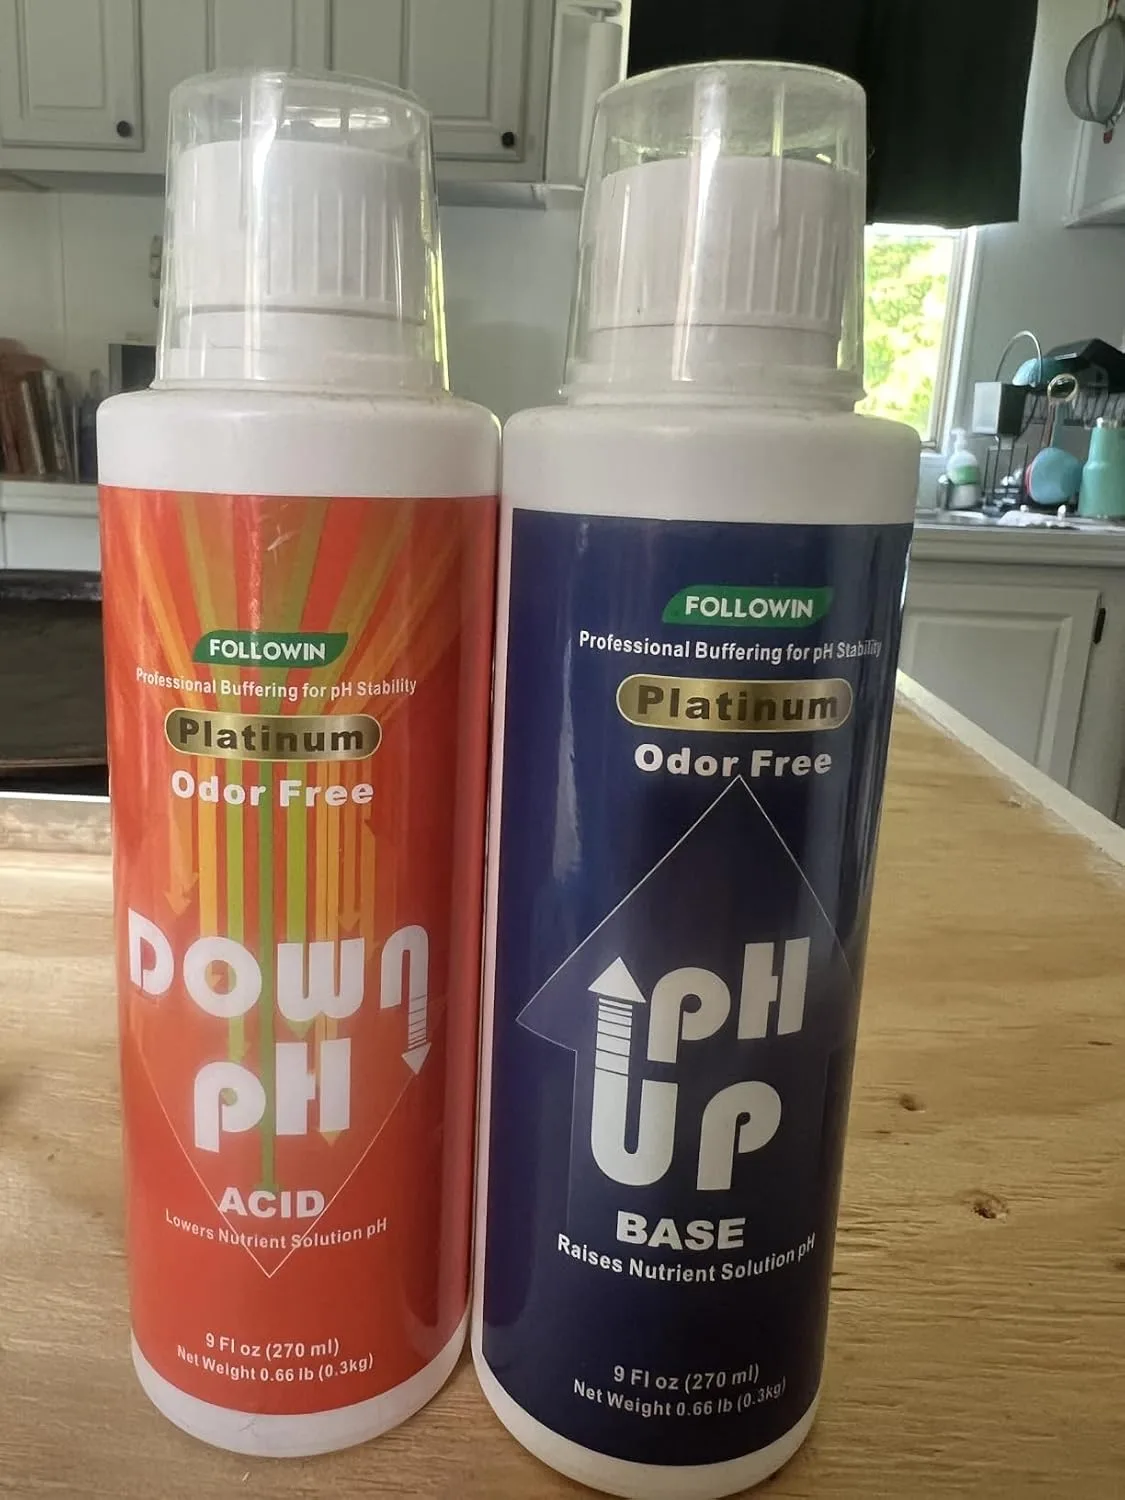
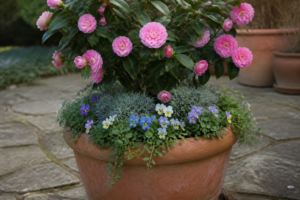
Once you’ve determined your soil pH, the real work begins. If your pH is above 6.5, you’ll need to lower it using sulfur or aluminum sulfate. I prefer sulfur because it works gradually and is less likely to shock the plant. Work it into the top few inches of soil and retest after four to six weeks. For camellias planted in containers or raised beds, I use a custom mix of equal parts peat moss, pine bark, and perlite—this combination provides excellent drainage while maintaining the acidity these plants crave.
Avoid composted materials that are too alkaline, and never add lime to camellia beds unless a soil test specifically recommends it. Many gardeners make the mistake of treating camellias like hydrangeas, but camellias have far less tolerance for pH variation.
Watering and Moisture Management
Camellias need consistent moisture, especially during their blooming season and the growing season that precedes it. Water deeply once or twice weekly rather than frequent shallow watering, which encourages weak root development. The goal is to keep the soil moist but not waterlogged—think of it as the moisture level of a wrung-out sponge.
Mulch is your friend here. A 2- to 3-inch layer of pine straw or shredded bark around the base of your camellia helps retain moisture, keeps roots cool, and slowly breaks down to further acidify the soil. Keep mulch a few inches away from the trunk to prevent rot.
Light and Placement
Place your camellias where they receive morning sun and afternoon shade. Morning sun helps dry dew from the leaves, reducing fungal disease, while afternoon shade protects buds and flowers from scorching. In very hot climates, even morning sun may be too intense—dappled shade all day is acceptable if that’s what your garden offers.
Fertilizing and Nutrient Needs
Feed camellias with an acid-formulated fertilizer designed for azaleas or rhododendrons. Apply fertilizer in early spring as new growth emerges and again in early summer. Avoid feeding in fall, as this encourages tender new growth that frost can damage. Most camellias don’t need heavy feeding if you’ve built good soil with plenty of organic matter.
Pruning and Maintenance
Prune camellias immediately after flowering ends, while you can still see the shape of the plant. Remove any dead or crossing branches, and thin crowded areas to improve air circulation. Unlike some ornamentals, camellias don’t require aggressive pruning—light shaping is usually all that’s needed. Never prune in late summer or fall, as this can trigger tender growth before winter arrives.
This post contains affiliate links. As an Amazon Associate, I earn from qualifying purchases at no extra cost to you.