Air Layering Camellias is an ancient propagation technique that has been used by gardeners for centuries to create camellia maintenance from existing ones. This method is particularly effective for camellias, allowing you to propagate your favorite varieties while the branch remains attached to the parent plant. Unlike cuttings, air layering camellias gives new plants a head start with an established root system, making it one of the most reliable ways to growing camellias.
Why Air Layer Camellias?
If you’ve tried propagating camellias from cuttings, you know how temperamental they can be. Cuttings require precise humidity, consistent moisture, and weeks of patience before roots develop—and even then, success rates hover around 50-70%. Air layering flips the equation. By encouraging roots to develop while the branch is still connected to the parent plant, you’re essentially giving the new plant a built-in support system and established nutrient flow. The developing roots have access to the parent plant’s resources, which dramatically increases survival rates once you sever and pot the new plant.
I’ve used air layering to propagate heirloom camellia varieties that are difficult to find commercially, and it’s one of the few methods that gives me consistent results. The timing is flexible too—you can air layer camellias in spring through early fall, giving you a long propagation window.
The Basic Steps to Air Layer Camellias
Air layering requires patience and attention to detail, but the process itself is straightforward:
- Select a healthy branch: Choose a branch that’s about pencil-thickness, growing horizontally or slightly downward. Avoid thin, weak growth or woody sections that won’t root easily.
- Make the wound: Using a sharp knife, make two shallow cuts about an inch apart around the branch, then remove the bark between them. This interrupts the plant’s nutrient and water transport, forcing roots to develop above the wound.
- Apply rooting hormone (optional): A powder rooting hormone can speed up root development, though camellias often root without it.
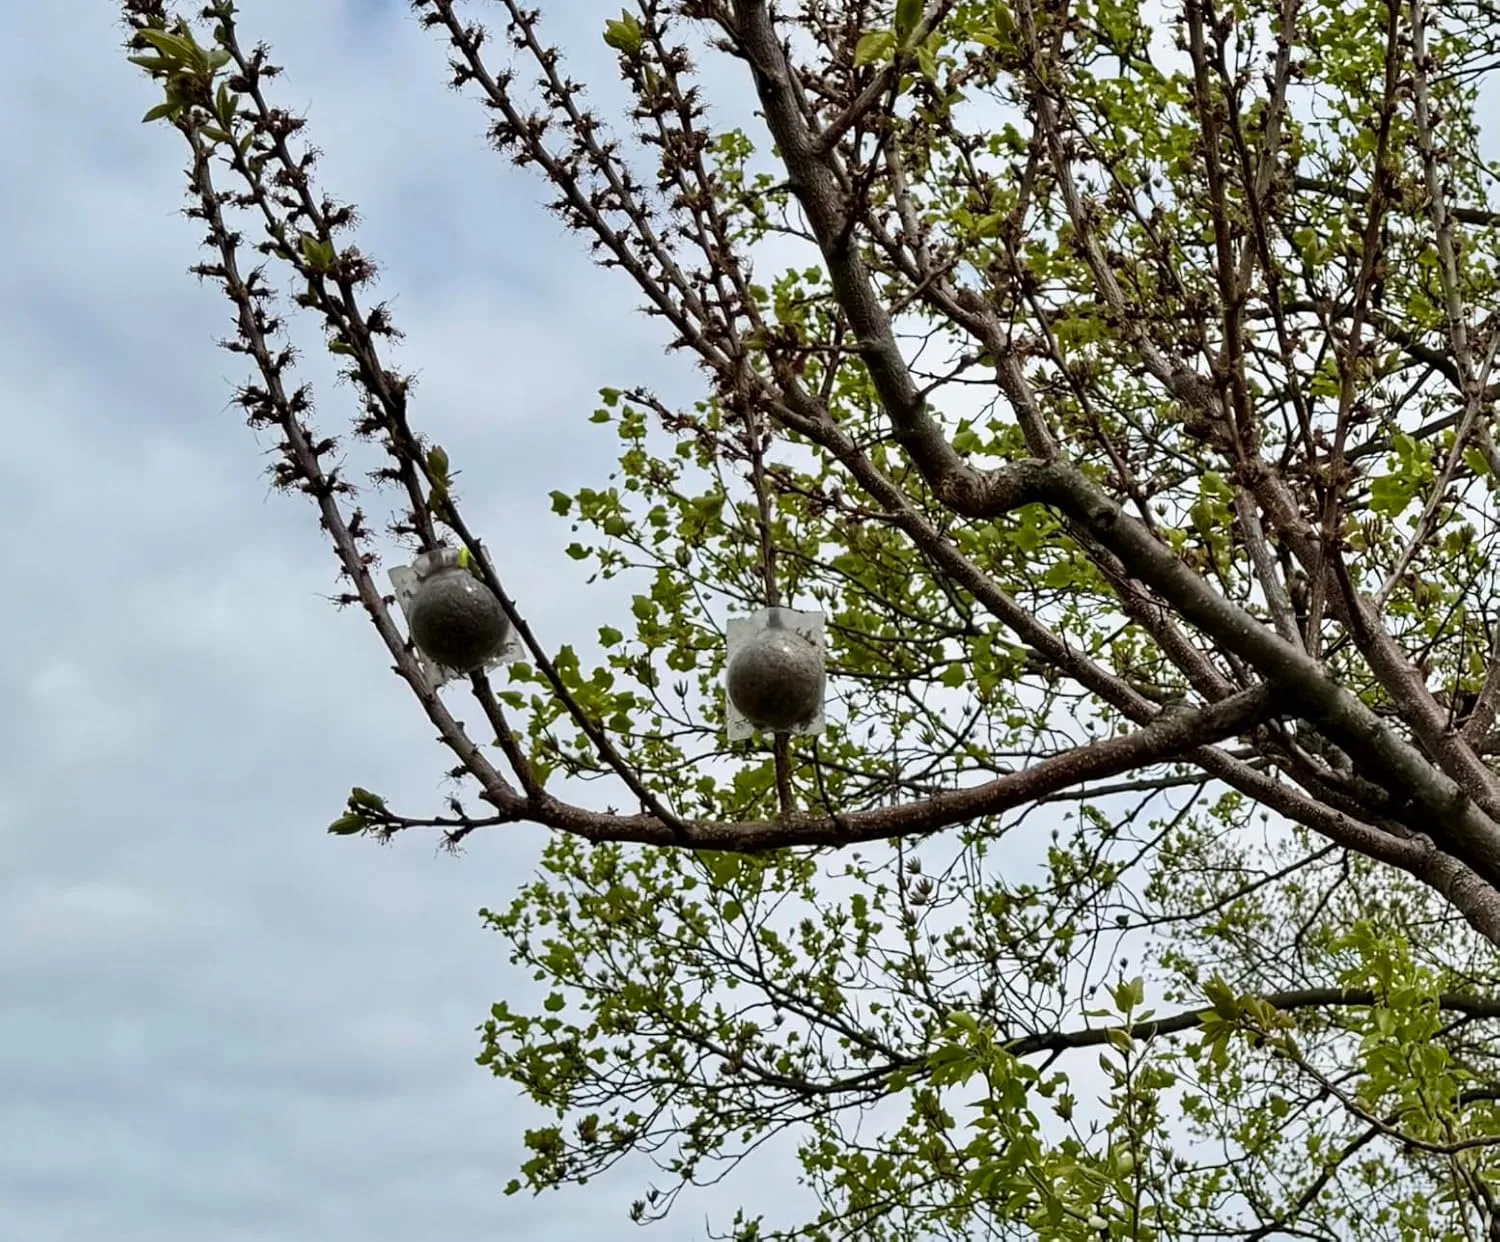
- Wrap with moist sphagnum moss: Pack damp sphagnum moss around the wounded area, creating a ball about the size of a golf ball or larger depending on branch thickness.
- Seal the moisture chamber: Wrap plastic around the moss to trap humidity and prevent it from drying out during the rooting period.
- Monitor and wait: Check periodically without opening the chamber too often. Roots typically develop within 6-12 weeks, depending on temperature and season.
- Sever and pot: Once roots are visible through the plastic, cut the rooted branch from the parent plant and pot it in well-draining camellia soil.
The Kit That Saved Me From Botched Air Layers
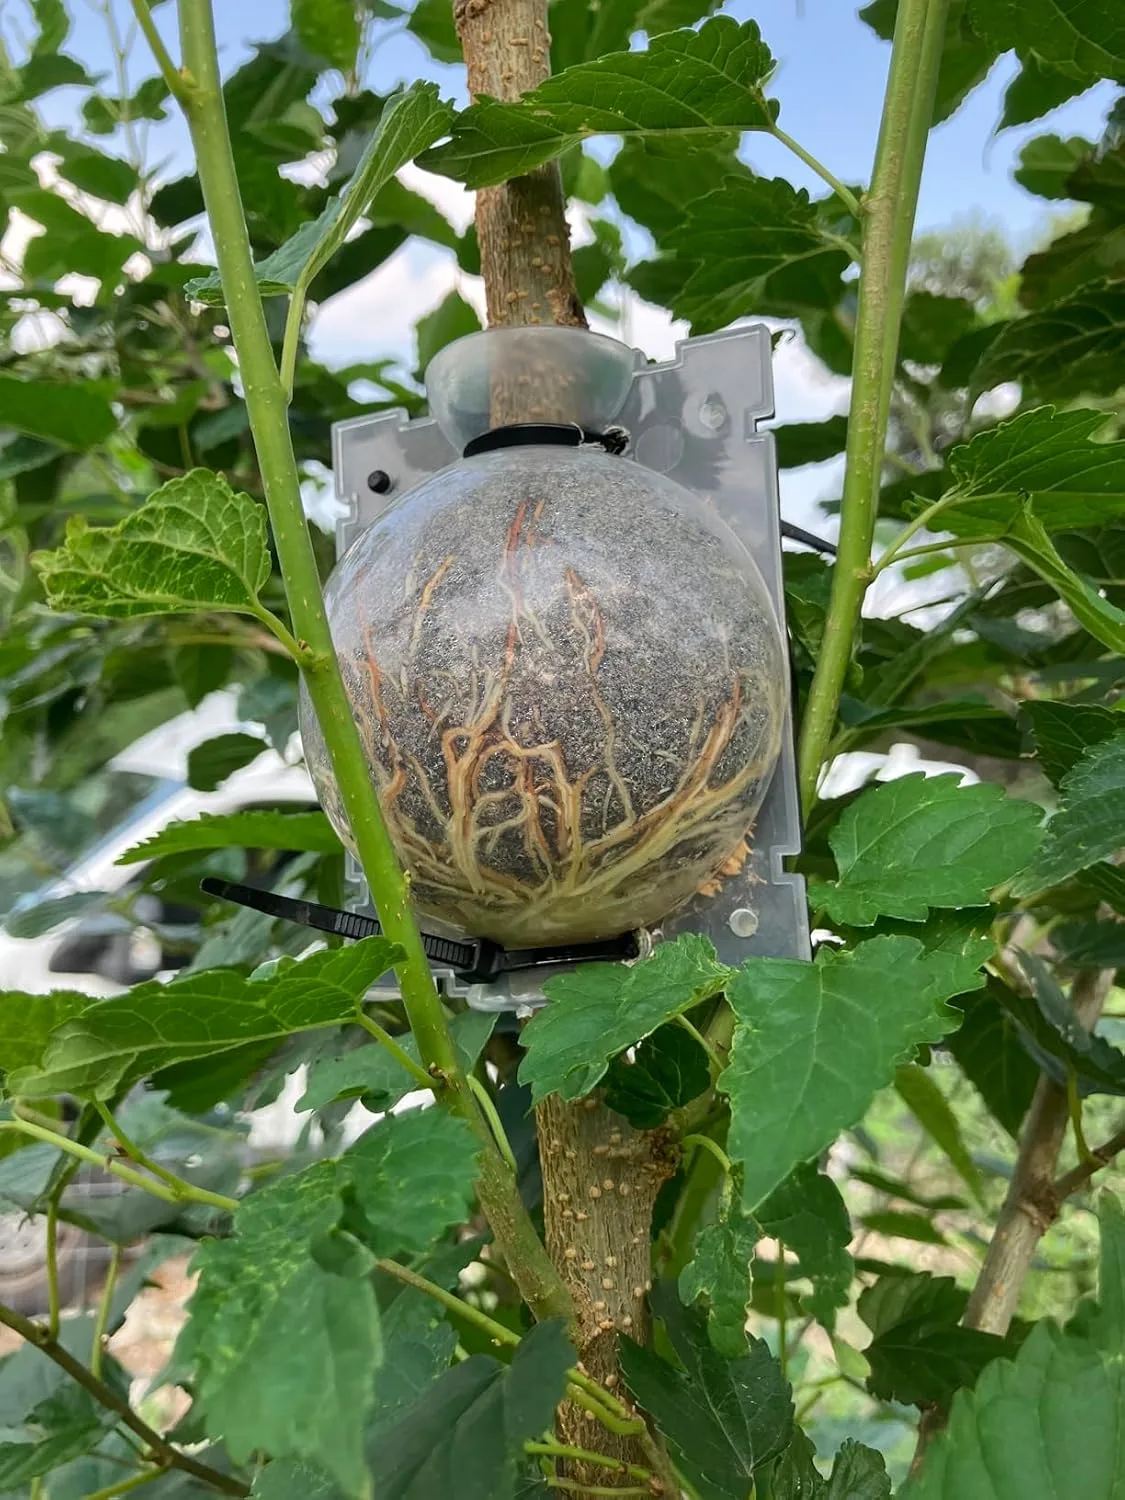
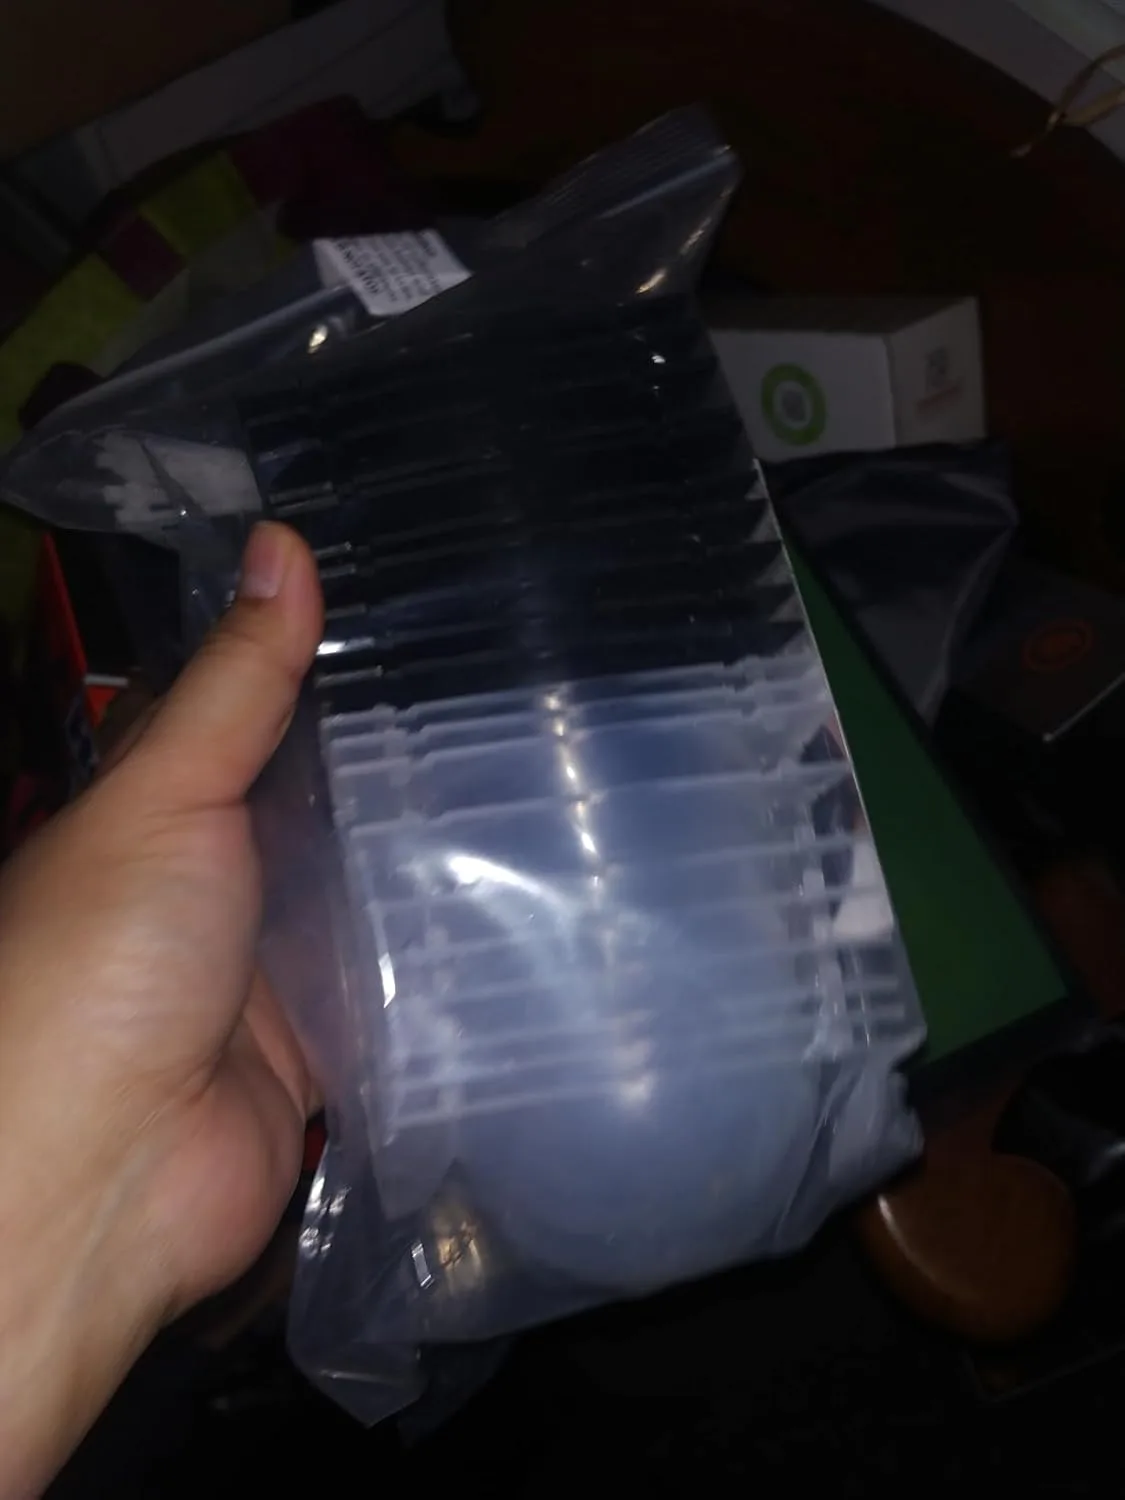
Air layering sounds simple until you’re halfway through and realize your moss is drying out, your plastic isn’t sealed right, or roots just… never show up. A dedicated air layering kit removes the guesswork and gives you everything sized and designed specifically for this fussy propagation method.
What works
- The moisture chamber actually stays moist for weeks without constant fiddling—I stopped opening it to check on roots every three days like I did with homemade setups.
- The included ties and fasteners create an airtight seal that doesn’t slip or loosen when branches move in the wind, which was my biggest failure mode before.
- Root development was noticeably faster (6-8 weeks vs. 10-12 with my DIY attempts), probably because the humidity stayed consistent.
What doesn’t
- It’s more expensive than wrapping a branch in plastic wrap and moss, which matters if you’re air layering a dozen plants at once.
- The chamber is sized for medium branches; anything thicker than a pencil requires creative fitting or abandoning the kit altogether.
I was skeptical spending money on a “kit” when I’d been using grocery bags for years, but after three failed layers in a row last spring, I decided to try it. MIIIM Air Layering Propagation Kit turned things around fast.
Common Mistakes to Avoid
After years of experimenting, I’ve learned what derails an air layer. The moss drying out is the most common culprit—if your seal isn’t airtight, moisture evaporates and roots won’t develop. I’ve also made the mistake of wounding too deeply or not deeply enough; you want to remove the bark completely without cutting into the wood. Another pitfall is being too eager to sever the branch; waiting until roots are thick and visible (not just starting to appear) gives the new plant a much better chance once potted.
Timing matters too. Air layering in cooler months slows root development significantly, so spring through early September gives you the best results.
Aftercare for Your New Camellia
Once you’ve potted your newly rooted air layer, treat it like a young cutting for the first growing season. Keep the soil consistently moist but not waterlogged, provide bright indirect light, and avoid feeding it heavily until you see new growth. Many propagators keep their new plants sheltered in a greenhouse or shaded cold frame for the first year before moving them into the garden.
Air layering camellias takes patience, but it’s one of the most rewarding propagation methods because success rates are so high. You’re essentially guaranteed a new plant once roots develop, which makes it worth the effort and the modest investment in proper tools and techniques.
Disclosure: This post contains affiliate links. If you make a purchase through these links, I may earn a small commission at no additional cost to you. This helps support the blog and allows me to continue providing free gardening content.