
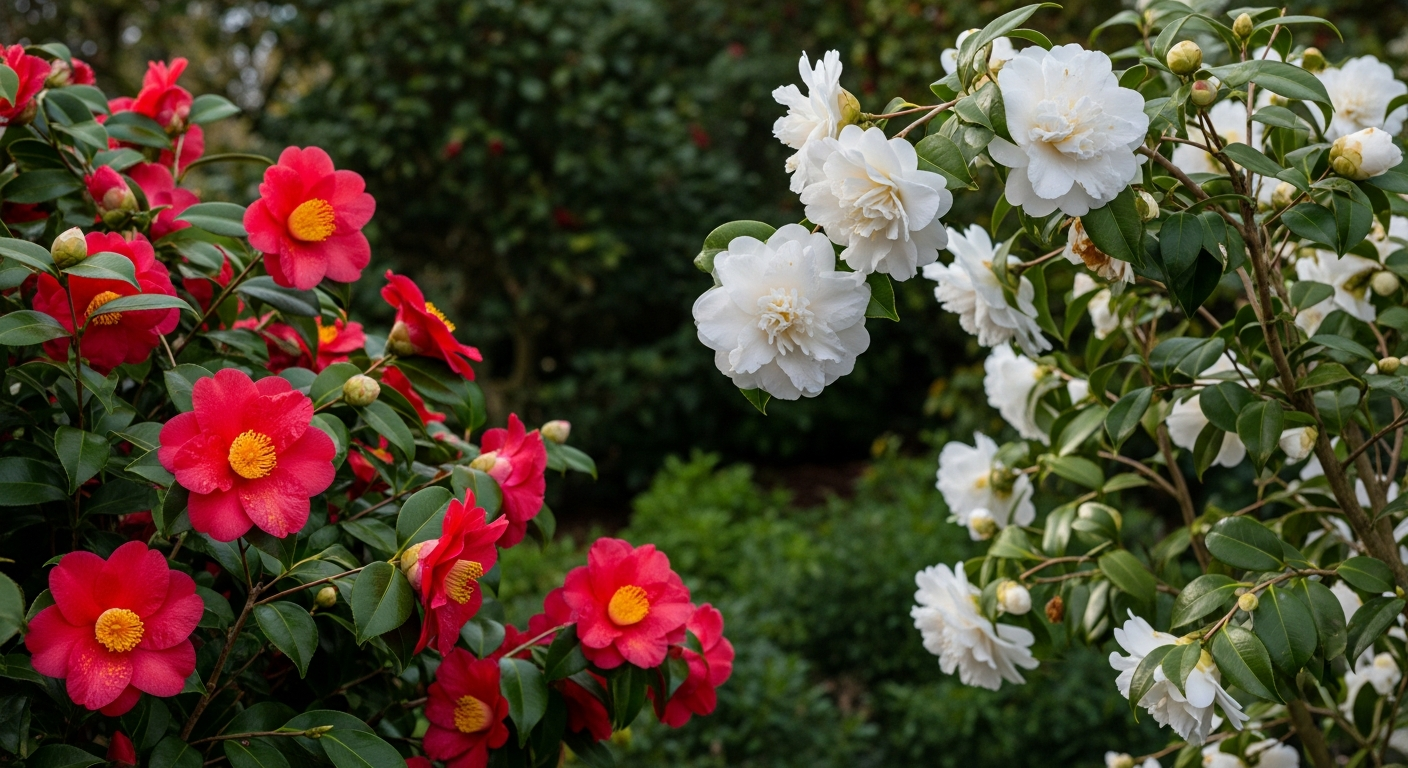

That plastic tag stuck in the pot at the nursery gives you a photo, a cultivar name, and maybe a vague note about “part shade.” What it won’t tell you is how to sequence your bloom season, why one japonica might sulk in your particular soil while another thrives, or how a single missed detail can leave your garden bare of flowers for half the year. Camellias reward growers who dig past the tag—their glossy, evergreen foliage anchors the landscape year-round, and their flowers arrive precisely when most other plants have shut down for the season. The real trick isn’t finding a pretty camellia; it’s stacking varieties so their bloom windows overlap and stretch, since different cultivars flower anywhere from early autumn to the edge of spring.
Sorting Out When Camellias Actually Bloom
Early in my camellia-growing years, I bought three varieties without checking a single bloom chart. The result: a garden bursting with color in February and utterly empty in December. That misstep taught me something valuable—pairing varieties deliberately by their flowering windows can stretch a single-color month into a half-year show.
Camellia bloom timing splits roughly into three windows: early (autumn into early winter), mid-season (deep winter through the start of spring), and late (late winter into spring proper). Some Camellia sasanqua selections, like ‘Shishi Gashira,’ open as early as October, while certain Camellia japonica cultivars, such as ‘Debutante,’ hold off until March or even April. Choose one plant from each timing group and you can realistically keep blooms coming for six months straight.
Your exact calendar shifts depending on climate. Living in the Pacific Northwest, I’ve learned that while our milder coastal climate often allows early varieties to open sooner, it also means late bloomers can linger well into spring. Before buying anything, look up your typical first and last frost dates for your area—that number grounds your expectations in reality rather than in a tag’s generic bloom-month range.
Fixing the Yellow Leaves: My Go-To Soil Fix
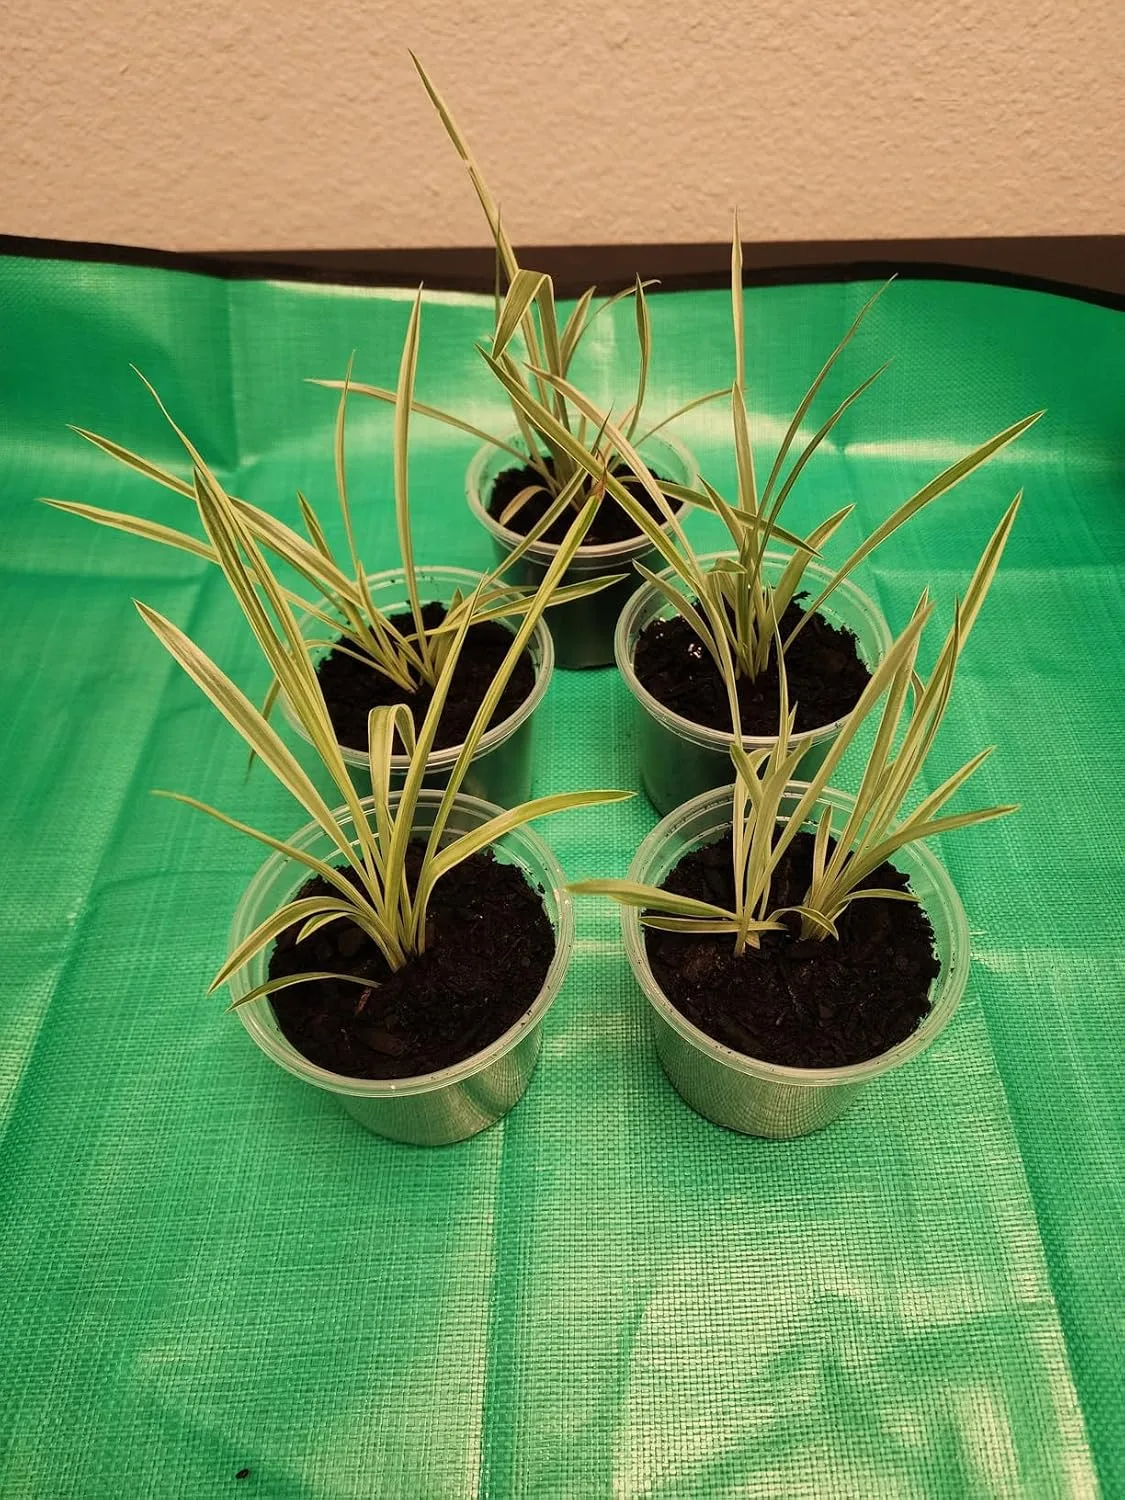
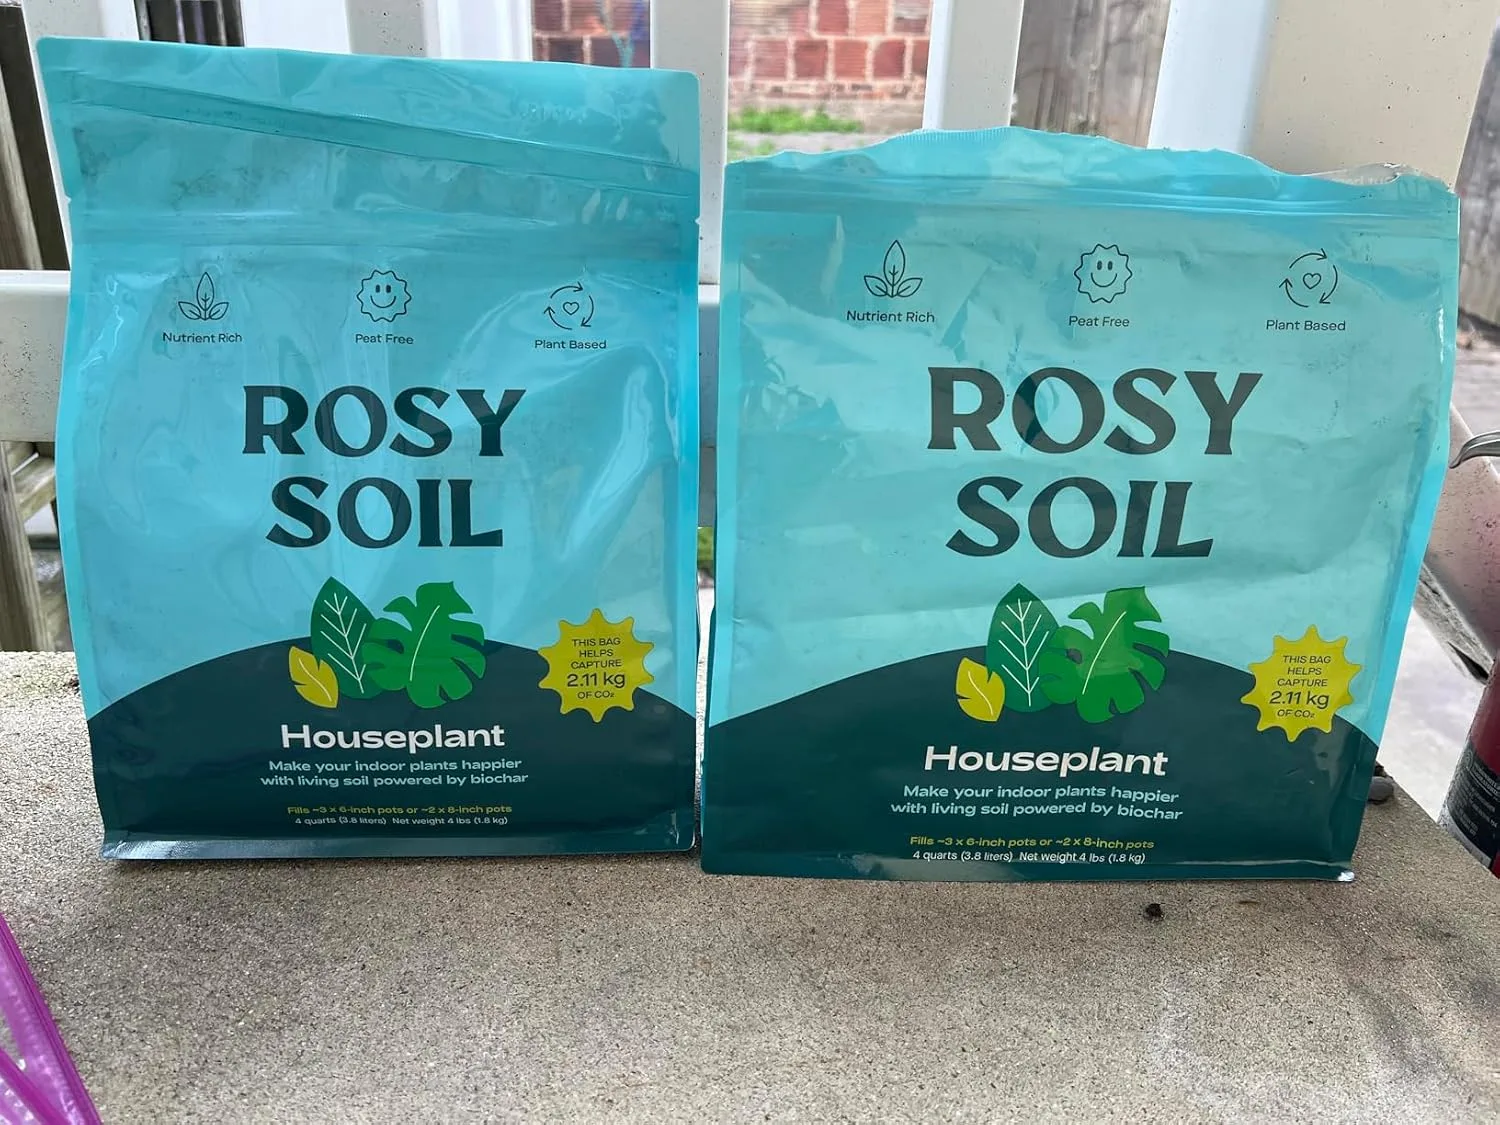
Camellias need acidic soil to function properly, and when garden soil leans neutral or alkaline, the leaves respond with chlorosis—that washed-out, sickly yellow that signals the roots can’t pull in the nutrients they need. I found this out the slow way, after watching two full seasons of underwhelming flowers from my ‘Nuccio’s Bella Rossa’ before I connected the dots.
Where it delivers
- Within four to six weeks of use, fresh growth pushed out noticeably darker and stronger, and the yellow discoloration stopped creeping further into the canopy.
- It mixes into soil smoothly, doesn’t clump, and one treatment typically carries a plant through most of the growing season before another dose is needed.
- Stirred directly into a planting hole for a new camellia, it noticeably boosts root establishment and branching compared with plants set into untreated ground.
Where it falls short
- Don’t expect overnight results—soil that’s significantly off in pH may need two or three seasons of steady amending before the foliage color fully bounces back.
- Skipping a pH test first is a gamble; you could end up treating soil that was never the problem to begin with.
I almost gave up on my ‘Nuccio’s Bella Rossa’ before I finally tested my soil and realized the problem wasn’t watering or light—it was chemistry. An acidic soil amendment turned that plant around, and now I can’t imagine my garden without its vibrant blooms!
Getting Your Soil Tested and Ready
Before you amend anything, send a soil sample off for testing first. Local cooperative extension offices typically run this cheaply and hand back both pH and nutrient readings. Camellias do best somewhere between pH 5.5 and 6.5. A reading above 7 means amendment is necessary; readings between 6.5 and 7 still allow camellias to grow, though targeted feeding during the season tends to help them along.
For newly planted camellias, work the amendment into the planting hole and the soil surrounding it. If an established plant is already showing yellow leaves, spread the amendment as a top dressing around its base instead, staying a few inches clear of the trunk itself. Give it a deep watering afterward so it works its way into the root zone.
Getting Water and Light Right
Soil chemistry aside, camellias depend on steady moisture, particularly leading up to and during their bloom period. Uneven watering is a common culprit behind bud drop—arguably one of the most maddening problems any camellia grower encounters. Aim for a deep soak once or twice weekly rather than frequent light sprinklings, and allow the soil to dry out a bit between sessions to keep root rot at bay.
As for placement, most camellias thrive with filtered shade or morning sunlight paired with afternoon cover. Cooler climates give plants more tolerance for direct sun, whereas intense afternoon heat—especially in warmer regions—can stress the plant and diminish flower quality. I’ve found that my ‘Pink Perfection’ thrives best when it gets morning sun but is shaded from the harsh afternoon rays. Gardeners in hot zones should position camellias to catch gentler morning light while shielding them from peak afternoon heat.
Building Out a Full Camellia Collection
With soil chemistry and basic care handled, your next move is layering varieties for continuous bloom. Drop by local nurseries across different seasons to see firsthand which cultivars actually perform in your climate—that observation beats trusting a generic bloom-time range every time. It also pays to swap notes with fellow camellia growers nearby, since they’ll tell you plainly which varieties genuinely deliver where you garden.
Keep a running log of which of your varieties bloom, and when. That record becomes genuinely useful as your collection grows. You might find, for instance, that your supposedly “early” camellia doesn’t actually open until mid-January because of a quirk in your microclimate—meaning you’ll still want a genuinely early October or November bloomer to round out the calendar.
About This Article

Written by Helen Pritchard. Helen Pritchard is a lifelong gardener in the Pacific Northwest who has grown more than 200 named camellia cultivars over two decades. She writes practical, experience-based guides to camellia care, from variety selection and pruning to troubleshooting yellowing leaves and bud drop. More about this site.
Verify this against a primary source
Specifics change, and your situation may differ from the one described here. These are the authorities worth checking directly:
- American Camellia Society — cultivar registration and culture guides
- USDA Plant Hardiness Zone Map — zone verification for your location
- Royal Horticultural Society — camellia cultivation and pest guidance



