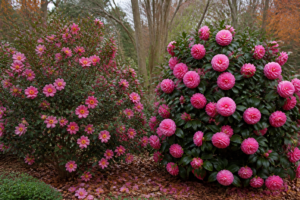
The first time I tried growing camellias in clay soil, I nearly gave up on the whole endeavor. My beloved ‘Professor Charles S. Sargent’ — a rich crimson double japonica I’d been coveting for years — sat sulking in a waterlogged bed for two full seasons before I finally admitted the problem wasn’t the plant. It was me. More specifically, it was my failure to properly prepare that dense, sticky, unforgiving clay soil before I ever put a single camellia in the ground. If you’re wrestling with clay soil camellias right now, I want you to know: it’s fixable. I’ve done it across three different properties spanning USDA zones 7b through 8b, and my collection of 200+ cultivars is living proof.
Clay soil is one of the most common challenges camellia growers face, particularly in the American South and Pacific Northwest. The good news is that clay isn’t a death sentence for your plants. In fact, properly amended clay can become some of the best camellia soil you’ll ever grow in. It retains nutrients beautifully and holds moisture during dry spells. The trick is knowing exactly what to add, when to add it, and how much. That’s what this guide is all about.
Why Clay Soil Is Such a Problem for Camellias
Camellias are acid-loving plants. They thrive in well-drained, humus-rich soil with a pH between 5.5 and 6.5. Clay soil throws a wrench into both of those requirements. Heavy clay tends to compact easily, which suffocates roots by cutting off oxygen. It also drains poorly, and sitting water around camellia roots is practically a guaranteed ticket to Phytophthora root rot.
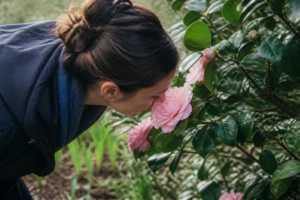
Beyond drainage, clay pH is often too high for camellias. In my zone 8a garden in particular, I regularly tested native clay at pH 7.2 or higher. That’s alkaline territory — far too high for the nutrient uptake camellias need. At that pH, iron and manganese become unavailable to the plant, leading to that telltale yellowing between leaf veins called chlorosis. I’ve seen gorgeous sasanqua varieties like ‘Yuletide’ and ‘Setsugekka’ turn almost yellow-green from this problem alone.
Then there’s the physical structure. Clay particles are tiny and pack together tightly. As a result, root systems struggle to push through and establish themselves. Young camellias especially need loose, friable soil in those first two to three years. Without it, growth stalls and plants become vulnerable to stress and disease.
Testing Your Soil Before You Do Anything Else
Please don’t skip this step. I know it’s tempting to just dig a hole and start amending, but guessing at your soil’s chemistry is a recipe for wasted effort and money. A basic soil test — available through your local cooperative extension service for around ten to fifteen dollars — will tell you your current pH, your nutrient levels, and your soil texture classification.
In my experience, extension service tests are far more reliable than the cheap kit strips you find at garden centers. They’ll also give you specific amendment recommendations for your region. That matters because clay in the Georgia Piedmont behaves differently than clay in coastal Oregon.
For camellias, you’re looking for that 5.5–6.5 pH sweet spot. Specifically, I aim for 5.8–6.2 in my gardens. That range keeps iron and aluminum available without tipping into the territory where manganese toxicity becomes an issue. Test in early autumn if you can — that gives you time to amend before spring planting.
The Amendments That Actually Work for Clay Soil Camellias
Over two decades of growing camellias, I’ve tried nearly every amendment under the sun. Some worked brilliantly. Others were a waste of time or, worse, actively harmful. Here’s what I’ve settled on after all that trial and error.
Pine Bark Fines: My Top Recommendation
If I could only add one amendment to clay soil, it would be aged pine bark fines. This material is the gold standard for camellia beds in the South, and for good reason. Pine bark improves drainage dramatically. It opens up clay structure, creating the air pockets roots desperately need. It also acidifies the soil slowly as it breaks down, which is exactly what you want.
I use a coarse to medium grind — not the powdery stuff, and not chunky mulch. You want particles roughly the size of pencil erasers. Mix it in at a ratio of roughly 30–40% by volume of your planting area. For a standard planting hole (twice the width of the root ball, same depth), that’s a generous addition. Don’t be timid with it.
Elemental Sulfur for pH Adjustment
When your clay tests above pH 6.5, elemental sulfur is your friend. Soil bacteria convert it to sulfuric acid over time, gradually lowering pH. The key word there is “gradually.” Sulfur works slowly — it can take three to six months to fully affect pH. That’s why autumn testing and amending makes so much sense.
For every full point you need to drop pH in clay soil, plan on applying roughly 2–3 pounds of elemental sulfur per 100 square feet. However, always follow your soil test recommendations rather than guessing. I’ve seen gardeners over-apply and crash their soil pH below 5.0, which creates its own set of nutrient problems. My reticulata cultivars — especially the temperamental ‘Crimson Robe’ — are particularly sensitive to pH swings in either direction.
Compost: The Workhorse Amendment
Well-aged compost improves clay soil in multiple ways simultaneously. It adds organic matter, feeds beneficial soil microbes, improves drainage, and adds a slow trickle of nutrients. I use it in every single bed. That said, not all compost is created equal for camellias.
Avoid mushroom compost — it’s often high in pH and salts, which is the opposite of what you need. Leaf mold compost made from oak leaves is exceptional. It’s naturally acidic and has a beautiful, open texture. I compost my own oak and pine leaves specifically for this purpose. My long-blooming japonica ‘Survivor’ — which I planted in a heavily amended clay bed — has never shown a day of stress in eight years.
What to Avoid Adding to Clay
Sand is the big one. I know it seems logical — clay is dense, sand is loose, so mix them together for the best of both worlds, right? Wrong. Adding sand to clay soil without also adding enormous quantities of organic matter produces something closer to concrete than garden soil. The particles fill the clay’s air spaces without opening them up. I made this mistake in my very first camellia bed back in the early 2000s. It was a disaster. My ‘Debutante’ (a lovely soft pink japonica, by the way) barely grew for three years.
Also avoid peat moss as a primary amendment these days. Beyond the sustainability concerns around peat harvesting, it breaks down quickly in warm climates and can become hydrophobic when it dries out. Pine bark fines and compost outperform it in almost every way for camellia culture.
How to Physically Prepare a Clay Bed for Camellias
Soil chemistry is only half the battle. Physical preparation matters just as much, especially in heavy clay. Here’s the step-by-step approach I use for any new camellia bed.
- Mark out the full bed area — not just individual planting holes. Camellias grow wide. Give them room.
- Till or loosen the soil to 12–18 inches deep. A single-pass rototiller won’t cut it in serious clay. I use a broadfork first, then a tiller.
- Spread your amendments across the full bed surface. For a typical new camellia bed, I apply 3–4 inches of pine bark fines, 2–3 inches of aged compost, and any sulfur or fertilizer called for by my soil test.
- Till again to incorporate. Mix everything to the full 12–18 inch depth as evenly as you can.
- Let it settle for two to four weeks before planting if possible. This gives amendments time to begin integrating.
One additional tip: in truly severe clay situations, I raise the bed by 4–6 inches above grade. This dramatically improves drainage without requiring you to excavate and haul away existing clay. My zone 7b garden has beds that were essentially solid red clay when I started. Raising them transformed the situation entirely.
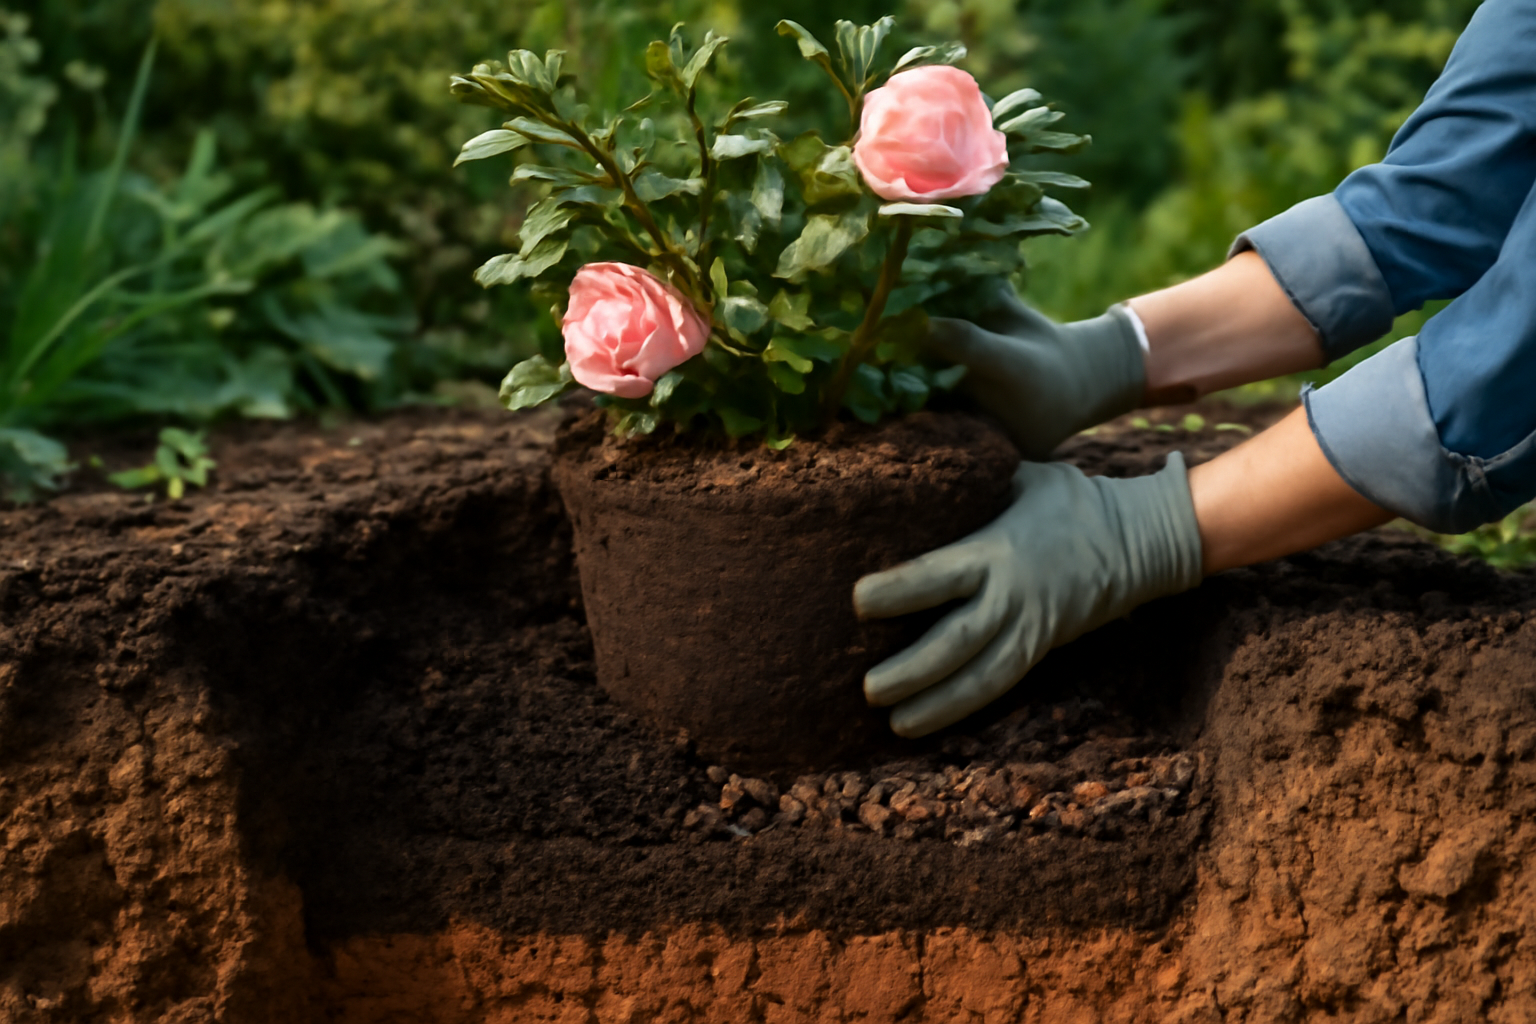
Planting Depth: The Mistake That Costs Most People Their Plants
Even perfectly amended soil won’t save a camellia that’s planted too deep. This is genuinely the most common mistake I see, and I’ve made it myself with a gorgeous ‘Taylor’s Perfection’ reticulata hybrid that I’ll never forgive myself for losing.
In clay soil, plant camellias slightly high — with the top of the root ball sitting about an inch above the surrounding soil level. Amended clay still settles. Rainfall compacts it further over time. As a result, a camellia planted flush with the soil surface in clay will often end up sitting too low by the following spring, with water pooling around the crown.
Plant high, mulch generously (3–4 inches of pine bark or pine straw, kept away from the trunk), and let the bed settle naturally. This approach has saved me countless plants over the years.
Ongoing Soil Maintenance After Planting
Getting the initial amendment right is a great start. However, clay soil doesn’t stay amended forever without ongoing attention. Organic matter breaks down. pH drifts. Soil compacts again over time, especially in high-traffic areas.
I re-test all my camellia beds every two to three years. Between tests, I top-dress each bed with an inch of aged compost every autumn. This feeds the soil food web, replaces organic matter that’s broken down, and keeps that beautiful open texture I worked so hard to create.
For pH maintenance, I use an acidifying fertilizer formulated for camellias and azaleas during the growing season — typically one application in early spring and another in early summer. On my zone 8b beds, where heat accelerates pH drift, I occasionally apply a light dusting of elemental sulfur in autumn as well. My sasanqua ‘Kanjiro’ and the early-blooming ‘Sparkling Burgundy’ in that bed have responded beautifully to this routine.
Signs That Your Clay Soil Amendment Is Working
How do you know it’s working? Watch your plants. New growth should be a healthy, glossy dark green — not yellow-green. Water should percolate into the soil within a few minutes of rainfall rather than pooling on the surface. When you dig nearby with a hand trowel, the soil should crumble loosely rather than coming up in sticky clods.
For me, the real proof came when my ‘Professor Charles S. Sargent’ — the same plant that sulked for two years in unamended clay — put on 18 inches of new growth in a single season after I finally got the soil right. Watching that happen made every hour of amendment work feel completely worthwhile.
Your Action Plan for Clay Soil Camellias
Working with clay soil camellias is absolutely achievable. It takes some upfront investment of time and materials, but the reward is a planting site that will support your camellias for decades. I’ve watched amateurs transform truly terrible clay beds into flourishing camellia gardens within two or three seasons by following these principles consistently.
Here’s your starting point: get a soil test this week. Seriously. Everything else — the amendments, the quantities, the pH adjustments — flows from that single piece of information. Once you have your results in hand, you’ll know exactly what your clay needs. From there, pine bark fines, aged compost, and patience will take you the rest of the way.
If you’re also thinking about how to care for your camellias once they’re established, I’ve written about camellia fertilizing schedules and how to prune camellias for shape and bloom performance elsewhere on this site. Both topics connect closely to soil health, and getting all three right together makes a real difference. Your camellias — whether they’re delicate reticulatas, rugged sasanquas, or showstopping japonicas — deserve soil that actually supports them. With the right approach to clay, you can give them exactly that.