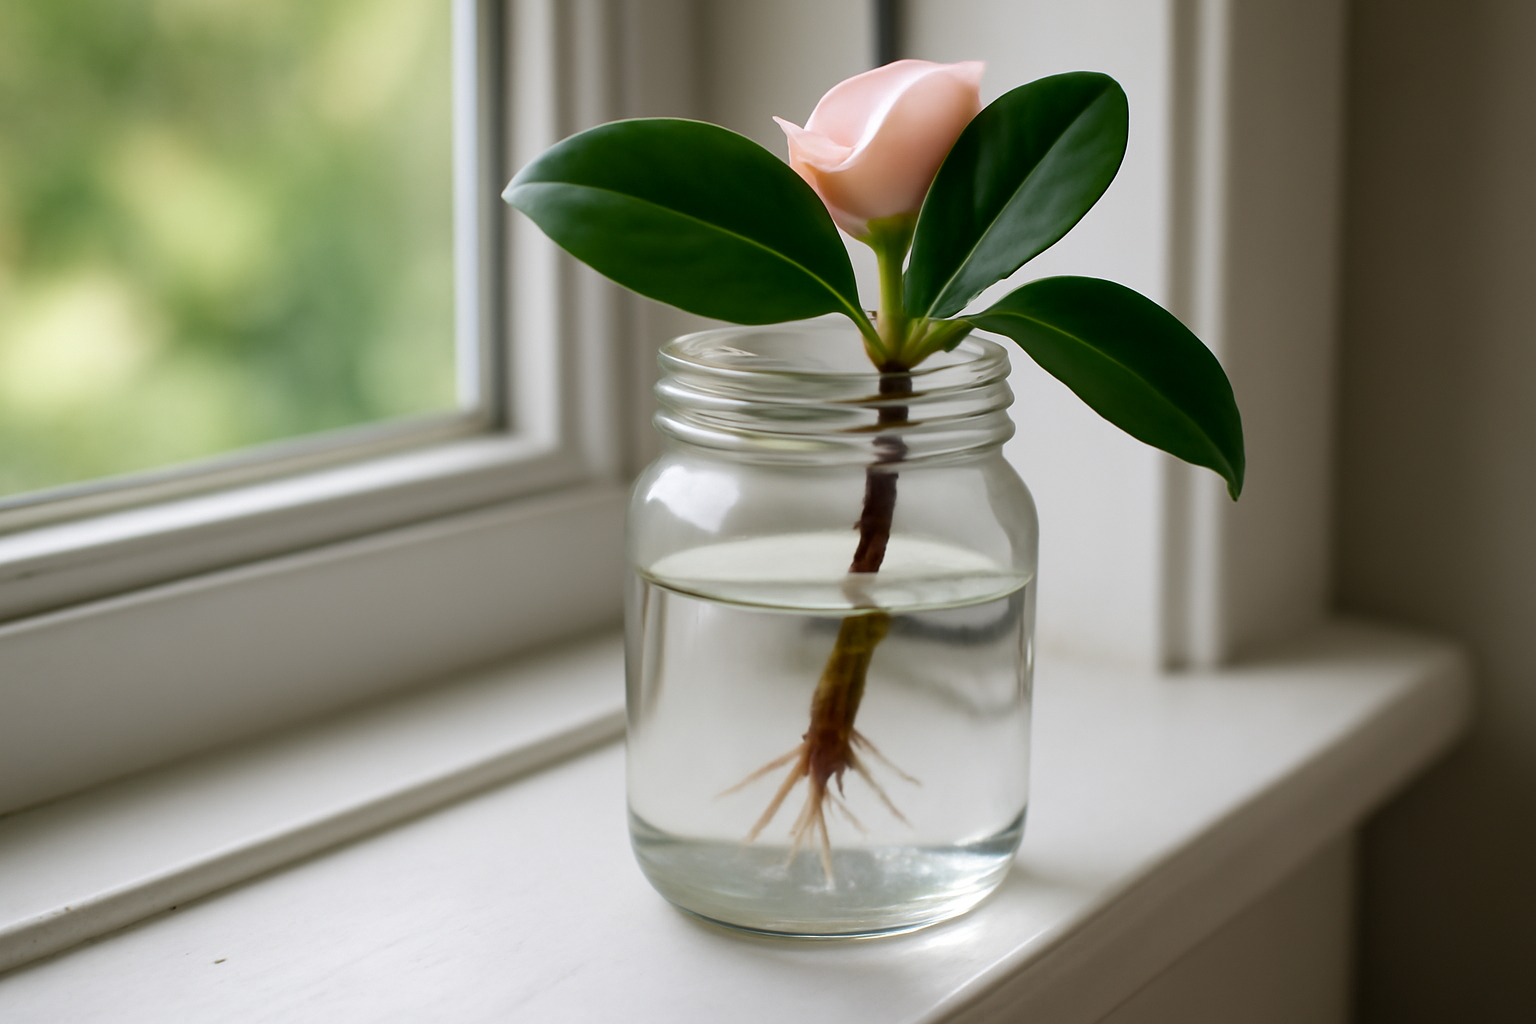
Every spring, I get some version of the same question in my inbox: “Helen, can you root camellia cuttings in water, like you do with pothos or coleus?” I completely understand the appeal. Water propagation looks magical on social media. You stick a cutting in a jar, set it on a sunny windowsill, and watch roots appear. But camellias are not pothos. After 20+ years of growing over 200 named cultivars across USDA zones 7b through 8b, I have a very specific answer to this question — and it is more nuanced than a simple yes or no.
So let me walk you through what I have actually tried, what the science says, and what method I now use instead. My goal is to save you a summer of frustration and dead cuttings.
Can You Root Camellia Cuttings in Water?
Technically, yes. Practically, it is almost never worth it. I learned this the hard way about fifteen years ago, when I tried to propagate a cutting of ‘Nuccio’s Gem’ — a stunning formal double japonica I had just acquired — by placing it in a glass of water on my kitchen windowsill. Three weeks later, I had a beautifully callused stem sitting in murky water, with not a single root to show for it.
Eventually, a few thin, brittle roots did form. However, when I tried to transfer that cutting to a pot of acidic propagation mix (pH around 5.5 to 6.0, which camellias need), every single root snapped off. Water roots and soil roots are structurally different. That is not my opinion — that is basic plant physiology. Water roots are adapted to an anaerobic, low-resistance environment. Soil roots are built to push through a medium and anchor.
In my experience, the transplant shock from switching a water-rooted camellia cutting to soil is severe enough that survival rates drop dramatically. For a common variety, that might be an acceptable gamble. For a rare reticulata cultivar or a named japonica you paid good money for, it is simply not a risk I recommend taking.
Why Camellias Are Stubborn About Rooting
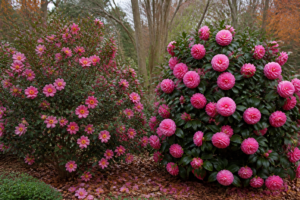
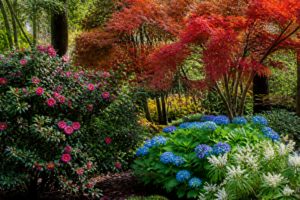
Camellias are notoriously slow and fussy to propagate compared to other shrubs. Part of this comes down to their woody stems and their natural chemistry. High levels of phenolic compounds in the stem tissue can actually inhibit rooting. This is especially pronounced in Camellia reticulata hybrids, which I grow several of in my zone 8a beds, including the gorgeous ‘Francie L’ with its enormous semi-double blooms.
On the other hand, Camellia sasanqua varieties tend to root more readily than japonicas. My ‘Yuletide’ and ‘Setsugekka’ cuttings strike with noticeably less fuss. That said, even sasanquas benefit enormously from a proper rooting medium rather than plain water.
The bottom line is that camellias need oxygen around their developing roots. A well-draining propagation mix — I use a 50/50 blend of perlite and fine pine bark — provides that oxygen. Standing water does not. As a result, the conditions that make water propagation easy for soft-stemmed plants actively work against camellias.
The Method That Actually Works: Semi-Hardwood Cuttings in Rooting Medium
After years of experimenting, I have settled on a reliable method for striking camellia cuttings. It takes patience — we are talking eight to sixteen weeks before you see real root development — but the success rates are dramatically better than water propagation. Here is exactly what I do.
Step 1: Time Your Cuttings Correctly
Timing matters enormously. For Camellia japonica varieties, I take semi-hardwood cuttings in mid to late summer — typically late July through August here in zone 8a. By then, the new season’s growth has firmed up but has not yet fully lignified. For sasanquas, which bloom in fall, I aim for late June to mid-July, before they start setting flower buds.
Specifically, you are looking for stems that snap crisply rather than bending. If the stem bends like a green willow whip, it is still too soft. If it takes real effort to snap, it may be too mature. That sweet spot of semi-hardwood is your propagation window.
Step 2: Take the Right Cutting
Each cutting should be four to six inches long with two or three nodes. Cut just below a node at a 45-degree angle using clean, sharp pruning shears. I sterilize my shears with isopropyl alcohol between each cultivar — cross-contamination of any disease between named varieties is not something I want to risk.
Remove all leaves from the lower half of the cutting. Leave two or three leaves at the top, but cut each of those remaining leaves in half horizontally. This reduces the surface area losing moisture through transpiration, which is critical because your cutting has no roots yet to replace that lost water.
Step 3: Use Rooting Hormone — Do Not Skip This
This is one area where I am not flexible. Camellias need rooting hormone. I use a gel formula with IBA (indole-3-butyric acid) at around 3,000 to 8,000 ppm concentration for semi-hardwood cuttings. Scrape the bottom inch of the stem lightly with a clean knife to wound the tissue, then dip it in the hormone gel and tap off any excess.
Wounding that stem tissue exposes the cambium layer, which is where root initials form. For stubborn cultivars like my ‘Professor Sargent’ japonica, this wounding step makes a noticeable difference in rooting rates.
Step 4: Prepare Your Rooting Medium
As I mentioned, I use a 50/50 mix of coarse perlite and fine pine bark fines. Some propagators use straight perlite, and that works well too. The key is that your medium must be free-draining and slightly acidic — aim for a pH between 5.5 and 6.5 to match camellia’s preferred soil conditions.
Avoid standard potting mix. Most commercial potting mixes retain too much moisture and can lead to stem rot before roots ever form. I have lost entire batches of cuttings this way, including a dozen cuttings of the beautiful reticulata hybrid ‘Valentine Day’ that I still mourn.
Step 5: Create Humidity Without Waterlogging
Insert your cuttings about two inches deep into moistened rooting medium, then create a humidity tent. For small batches, I place clear plastic bags over individual pots. For larger propagation runs, I use a dedicated mist bench in my greenhouse.
The goal is high humidity — 80 to 90 percent — without letting water pool at the base of the cutting. Lift the tent briefly every few days to allow fresh air exchange and check for mold. Bottom heat is also genuinely helpful. A propagation mat set to around 70 to 75°F at the root zone speeds up callus formation significantly.
Place your setup in bright indirect light. Direct sun through plastic will cook your cuttings fast. I keep mine in my shadehouse from July through September, then move them to a frost-free greenhouse for the winter.
What to Expect and When
Patience is the hardest part of camellia propagation. Do not tug on cuttings to check for roots after four weeks. You will likely just damage any emerging root initials that have not yet anchored. Instead, watch for new leaf growth at the tip of the cutting. New growth is your best indicator that roots have formed and the cutting is actively taking up water and nutrients.
For japonica varieties, I typically see the first signs of rooting between ten and sixteen weeks. Sasanquas often root faster — sometimes eight to ten weeks. My reticulata hybrids are the slowest and most unpredictable, occasionally taking four to five months.
Once you see consistent new growth, gently tip the cutting out of its pot. Look for white, healthy roots that have begun to circle the bottom. At that point, pot your rooted cutting into a slightly acidic mix (pH 5.5 to 6.5) and begin gradually reducing humidity over the following two weeks. Hardening off slowly is critical — moving a cutting from 90% humidity to a dry room overnight will cause rapid leaf drop and stress.
Common Mistakes I See (and Have Made)
Beyond the water-rooting mistake I already confessed to, here are a few other errors that have cost me batches of cuttings over the years.
- Taking cuttings too early: Soft new spring growth rots almost immediately in propagation medium. Wait for semi-hardwood — July at the earliest for most japonicas in zones 7b to 8b.
- Skipping rooting hormone: I tried “going natural” one season out of curiosity. My success rate dropped from roughly 60-70% to under 20%. Hormone matters.
- Using tap water to mist: My tap water runs around pH 7.8. Repeatedly misting with alkaline water raises the medium’s pH over weeks and suppresses rooting. I now use collected rainwater or pH-adjusted water.
- Not labeling cuttings immediately: I once mixed up cuttings of ‘Debutante’ and ‘Lady Clare’ — both light pink japonicas — and had no idea which plants were which for two years. Label everything the moment you take the cutting.
- Overwatering during rooting: Medium should be moist, not saturated. If you squeeze a handful and water streams out freely, it is too wet.
A Note on Air Layering as an Alternative
If you are trying to propagate a particularly difficult cultivar — I am looking at you, ‘Francie L’ — air layering is worth considering as an alternative to stem cuttings. Air layering essentially allows you to encourage root formation while the branch is still attached to the parent plant, giving it a continuous water and nutrient supply.
In a sense, air layering gives you the best of both worlds: the moisture availability that makes water propagation appealing, combined with the soil-type rooting environment that produces transplantable roots. I have had excellent results air layering large reticulata branches in late spring. That said, it does require a healthy, established parent plant — so it is not always an option for new acquisitions.
I wrote in detail about air layering camellias in another post on this site if you want to explore that method further. For most home gardeners with japonica or sasanqua varieties, semi-hardwood cuttings in rooting medium remain my top recommendation.
So Should You Try to Root Camellia Cuttings in Water?
Here is my honest, practical answer: do not try to root camellia cuttings in water if you care about actually getting a healthy plant. The odds are not in your favor. Water propagation works beautifully for many herbaceous plants, but camellias are woody, phenolic-rich, slow-rooting shrubs that need oxygen, acidity, and rooting hormone to succeed.
The attempt to root camellia cuttings in water is almost always a frustrating exercise that ends in either failure or a fragile water-rooted cutting that collapses when moved to soil. I have been there. I have the dead ‘Nuccio’s Gem’ cutting to prove it.
Instead, invest in a bag of perlite, a bottle of IBA rooting gel, and a propagation heat mat. Take your semi-hardwood cuttings in late July or August. Be patient for twelve to sixteen weeks. The reward — a rooted cutting of your favorite named cultivar that you propagated yourself — is genuinely worth every bit of that wait.
If you have questions about specific varieties you are trying to propagate, drop them in the comments below. Camellia propagation can feel like a dark art at first, but with the right technique, it becomes one of the most satisfying parts of growing this extraordinary genus.