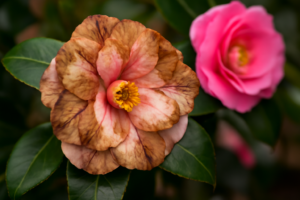
Every spring, I do a slow walk through my garden with my morning coffee. One April morning, I stopped dead in front of my ‘Debutante’ Japonica. The new growth looked wrong — curled, puckered, and coated in a sticky sheen. I leaned in close and saw them: hundreds of pale green aphids on camellias I’d been nursing through a late frost. My heart sank a little. I’d dealt with aphids before, but never this thick on a plant I’d grown from a rooted cutting twelve years ago.
That morning kicked off my most serious aphid-fighting season to date. Since then, I’ve tested nearly every control method available — from a simple garden hose to systemic insecticides. Some worked brilliantly. Others were a complete waste of time. Here’s everything I’ve learned.
What Aphids Actually Do to Camellias
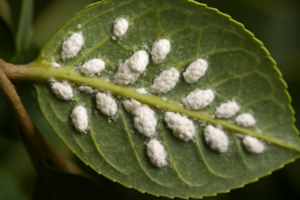
Aphids are tiny, soft-bodied insects. Most species measure under 3mm. On camellias, you’ll typically encounter green peach aphids (Myzus persicae) or melon aphids (Aphis gossypii). Both target the same vulnerable spots: fresh shoot tips and the undersides of young leaves.
They feed by piercing plant tissue and extracting sap. That sounds minor, but the damage compounds quickly. Leaves curl and distort, making them harder to treat once the aphids hide inside the curl. New shoots fail to develop properly. As a result, flower bud formation can suffer — and on a late-blooming Japonica like ‘Nuccio’s Gem’, that’s heartbreaking.
There’s also the honeydew problem. Aphids excrete a sticky, sugary waste called honeydew. That honeydew coats leaves and quickly attracts sooty mold — a black fungal coating that blocks light and further weakens the plant. I’ve seen this turn a beautiful ‘Bob Hope’ Japonica from glossy-leaved and vigorous to dull and struggling within a single season.
Which Camellias Are Most Vulnerable?
In my experience, plants with the most vigorous spring flush are hit hardest. Sasanqua varieties like ‘Setsugekka’ and ‘Yuletide’ put on enormous amounts of soft new growth in spring. That tender growth is exactly what aphids want. My reticulata hybrids — especially ‘Captain Rawes’ and ‘Francie L’ — also seem to attract heavy infestations, possibly because their large, soft leaves hold moisture that aphids thrive near.
Younger plants and recently transplanted specimens are especially at risk. Their root systems aren’t fully established, so they can’t push through pest pressure the way a mature, well-rooted camellia can. If you’re growing in Zone 7b where spring temperatures swing wildly, that stress compounds the vulnerability even further.
How to Identify an Aphid Infestation Early
Catching aphids early makes every control method dramatically more effective. I check my camellias at least twice a week from late February through May. That window covers the peak aphid season in my Zone 8a and 8b gardens.
Look for these signs first:
- Curling or puckering on new shoot tips
- Sticky residue on leaves or anything beneath the plant
- Ants running up and down the stems (they farm aphids for honeydew)
- Distorted buds that fail to open normally
- Black sooty mold appearing on older leaves below the new growth
Turn over young leaves and inspect the undersides with reading glasses or a hand lens. Aphid colonies build fast. A cluster of twenty insects can become thousands within two weeks if conditions are favorable. Don’t wait until you can see them from a standing position — by then, you have a serious infestation.
Natural Controls for Aphids on Camellias
I always try natural controls first. My garden shares space with pollinators, birds, and beneficial insects I’ve spent years encouraging. Reaching for chemicals immediately would undermine all of that. Fortunately, natural methods work very well when you start early.
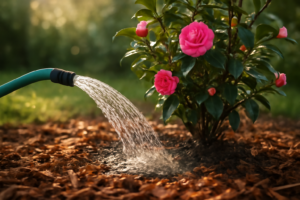
The Garden Hose — Seriously, Start Here
This sounds almost embarrassingly simple. Use it anyway. A strong jet of water knocks aphids off foliage, and they rarely climb back up. I do this every two or three days during active infestations on smaller plants.
Focus the spray on shoot tips and leaf undersides. Do it in the morning so foliage dries before evening. On my ‘Elegans’ Japonica — a wide, spreading plant with dense growth — I use a wand attachment to reach into the canopy. For large mature shrubs like my ‘Francie L’ reticulata hybrid that tops twelve feet, water spraying is less practical. That said, for anything under six feet, it’s my first line of defense.
Insecticidal Soap Spray
Insecticidal soap kills aphids on contact by disrupting their cell membranes. It breaks down quickly, leaving no harmful residue. That makes it safe around bees, birds, and beneficial insects — as long as you spray in the early morning or late evening when pollinators aren’t active.
I mix 1 to 2 teaspoons of pure castile soap per quart of water. Some gardeners use dish soap, but I’ve had mixed results. Specifically, I once burned the new growth on a ‘Kramer’s Supreme’ Japonica using a dish soap brand with added degreasers. Lesson learned the hard way: use insecticidal soap concentrate or pure castile soap only.
Thorough coverage is critical. Aphids on the undersides of leaves will survive if you only spray the tops. Reapply every five to seven days for two to three weeks to break the reproductive cycle.
Neem Oil
Neem oil is my second-favorite natural option. It works as both a contact killer and a repellent. The active compound, azadirachtin, also disrupts aphid reproduction — which matters, because killing adult aphids without stopping reproduction barely makes a dent.
Mix neem oil with water according to product directions, always adding a small amount of liquid soap as an emulsifier. Apply in the evening. Neem can cause photosensitivity on foliage, and I’ve seen minor leaf scorch on ‘Dr. Clifford Parks’ reticulata hybrids when I applied it mid-morning in summer. Stick to evening applications and you’ll avoid that problem.
Encouraging Beneficial Insects
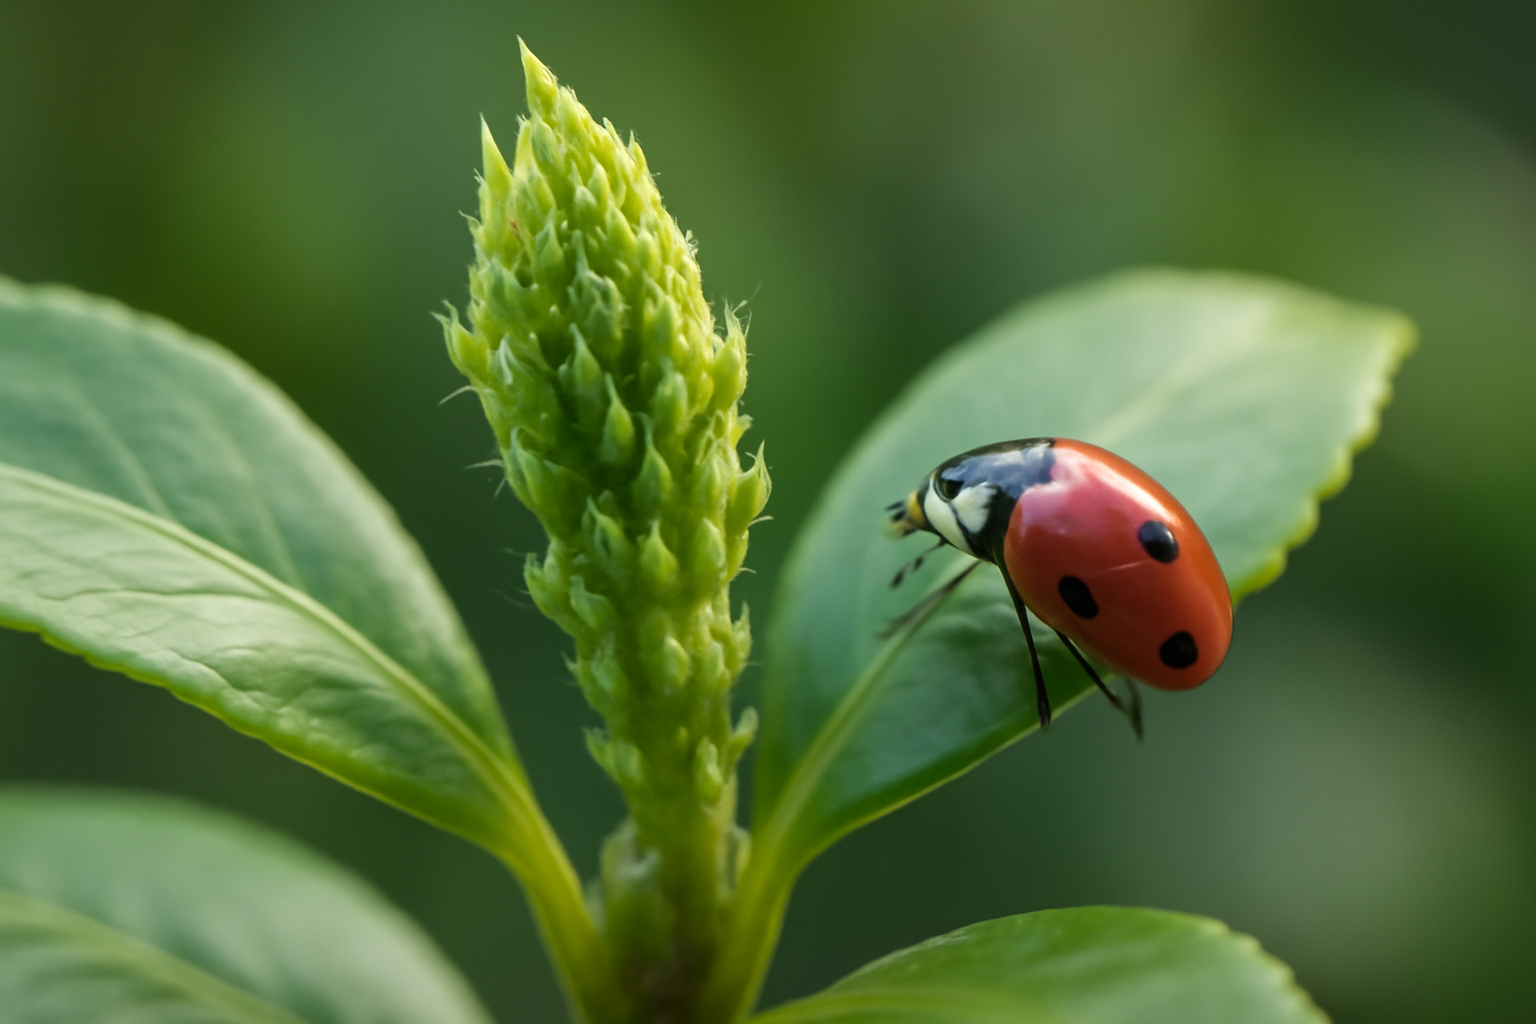
Ladybugs and lacewings are voracious aphid predators. A single ladybug larva can eat hundreds of aphids per day. I plant alyssum, dill, and fennel throughout my garden specifically to attract and support beneficial insect populations.
However, beneficial insects take time to respond to an infestation. They won’t save you from a heavy outbreak already underway. Think of them as long-term prevention rather than rapid response. Over the years, I’ve noticed that sections of my garden with the most diverse plantings have noticeably lower aphid pressure on nearby camellias.
Chemical Controls: When to Use Them and Which Ones Work
I want to be honest here: sometimes natural controls aren’t enough. A badly infected mature shrub in peak flush may need chemical intervention. There’s no shame in that. The key is choosing the right product and using it responsibly.
Pyrethrin-Based Sprays
Pyrethrins are derived from chrysanthemum flowers. They kill aphids on contact and break down rapidly in the environment. That fast breakdown is both a strength and a limitation — you’ll need to reapply more often than with systemic options.
On the other hand, pyrethrins are far safer around soil organisms and break down before reaching groundwater. For spot treatments on a ‘Nuccio’s Jewel’ or ‘Professor Charles S. Sargent’ Japonica near a water feature or vegetable bed, I reach for pyrethrins over anything systemic.
Systemic Insecticides
Imidacloprid is the most widely used systemic option for aphid control on ornamentals. Applied as a soil drench, it’s taken up through the roots and distributed through the plant’s vascular system. Aphids feeding on treated tissue die. The protection lasts for weeks — sometimes months.
I use imidacloprid only as a last resort and only on plants that aren’t currently flowering. This is critical. Systemic insecticides move into pollen and nectar. Using them on a blooming ‘Donation’ Sasanqua hybrid or a flowering ‘Show Girl’ would put pollinators at serious risk. Apply soil drenches in summer, after bloom season has finished, to protect fall-blooming Sasanquas.
For spring-blooming Japonicas, apply in autumn — well after the final blooms and well before any winter buds open. Timing matters enormously with systemics.
A Mistake I Made That You Can Avoid
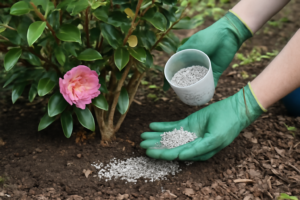
Several years ago, I over-fertilized my ‘April Kiss’ Japonica trying to push more growth after a hard spring. I used a high-nitrogen fertilizer at double the recommended rate. The result? An explosion of lush, soft, nitrogen-rich new growth — exactly the conditions aphids love most.
Aphid populations quadrupled within three weeks. I spent the rest of that season fighting them back. The lesson: excessive nitrogen is an aphid invitation. I now use a balanced, slow-release fertilizer formulated for acid-loving plants, applied at the correct rate for camellias’ preferred soil pH range of 5.5 to 6.5. Healthy, moderately-fed plants resist pest pressure far better than over-stimulated ones.
If you’re unsure about your soil, get a test done. I wrote more about feeding and soil management for camellias in my post on camellia fertilizing — it’s worth reading before your next application.
Preventing Aphids on Camellias Before They Start
Prevention is always easier than treatment. These are the steps I take every year without fail:
- Start weekly inspections in late February, especially in Zone 8a and warmer
- Control ants with sticky bands around trunks — ants protect aphid colonies from predators
- Prune off heavily infested shoot tips at the first sign of trouble and dispose of them
- Avoid excess nitrogen fertilizer during active spring growth flushes
- Maintain good air circulation through annual light pruning (I covered camellia pruning timing in a separate post)
- Keep plants well-watered during dry spells — stressed plants attract more pests
None of these steps takes more than a few minutes. Collectively, they’ve reduced my aphid problems significantly over the past decade.
Dealing with Sooty Mold After an Infestation
Once you’ve controlled the aphids, you may still have sooty mold coating the leaves. It looks alarming but isn’t a disease in itself — it’s a fungal growth feeding on honeydew residue. Eliminate the aphids, and the mold will eventually dry out and flake off on its own.
For faster results, wipe affected leaves gently with a damp cloth or rinse them thoroughly. On a large shrub, this is impractical. However, on a potted ‘Survivor’ Japonica or a young container specimen, a gentle wipe-down makes a real difference. The glossy dark green leaves of most Japonicas clean up beautifully once the source is gone.
My Final Thoughts on Aphids on Camellias
Aphids on camellias are one of the most common problems I see gardeners stress over — and one of the most manageable, once you understand the approach. Start early, start simple, and escalate only if necessary.
Water sprays and insecticidal soap handle the majority of infestations I encounter across my collection of 200-plus cultivars. Neem oil steps in for persistent cases.