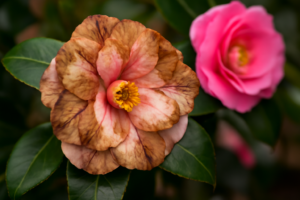
Last summer, I walked out to check on my ‘Survivor’ sasanqua and stopped dead in my tracks. The leaves looked like someone had dusted them with chimney soot. Dark, powdery, and frankly alarming. If you’ve ever spotted sooty mold on camellias, you know exactly that sinking feeling. The good news? It’s treatable, and understanding what’s actually causing it makes all the difference.
I’ve been growing camellias for over twenty years across three different USDA zones — 7b, 8a, and 8b. In that time, I’ve seen sooty mold show up on everything from my prized ‘Professor Sargent’ japonica to a young ‘Kanjiro’ sasanqua I’d only just planted. It’s one of those problems that looks catastrophic but is really a symptom of something else entirely. Let me walk you through what’s happening and, more importantly, how to fix it.
What Is Sooty Mold, Really?
Sooty mold is a fungal growth. However, it doesn’t actually infect your camellia directly. Instead, it feeds on a sticky substance called honeydew, which is excreted by sap-sucking insects living on your plant. The mold itself is relatively harmless in small amounts. That said, a heavy coating blocks sunlight from reaching the leaf surface, which can genuinely compromise photosynthesis over time.
Think of sooty mold as the symptom and insect infestation as the disease. Treat only the mold and you’ll be washing it off again within weeks. Address the insects, and the mold clears up on its own. In my experience, gardeners who skip that step end up frustrated every single season.
Which Insects Cause Sooty Mold on Camellias?
Several common pests produce the honeydew that feeds sooty mold fungi. Knowing which one you’re dealing with helps you choose the right treatment fast.
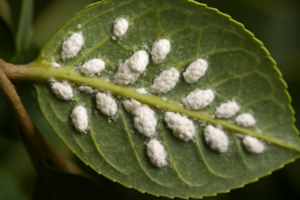
- Scale insects — The most frequent culprit on camellias. Look for tan, brown, or white waxy bumps along stems and the undersides of leaves. Tea scale is particularly common on camellia japonica cultivars in zones 8a and above.
- Aphids — Soft-bodied, pear-shaped, and usually clustered on new growth. They reproduce fast. A small colony becomes a big problem within days, especially in warm spring weather.
- Whiteflies — Tiny white insects that flutter up in a cloud when you disturb a branch. They’re more common in warmer, humid zones and tend to cluster on leaf undersides.
- Mealybugs — White, cottony masses usually found at leaf axils and stem joints. Less common than scale but absolutely capable of producing heavy honeydew deposits.
On my ‘Betty Ridley’ reticulata, I once had a severe scale infestation I completely missed for months. The sooty mold was the only reason I finally looked closely at the stems. Lesson learned: always check for pests when you see that black coating, not just on the leaves but along every stem and branch junction.
A Mistake I Made (So You Don’t Have To)
Early in my camellia journey, I sprayed a badly affected ‘Debutante’ japonica with a fungicide. It made sense at the time — sooty mold is a fungus, so a fungicide should handle it, right? Wrong. The mold cleared up slightly, then came back within a fortnight, thicker than before.
The aphids feeding on the new spring growth were still very much alive and very much producing honeydew. Fungicides do nothing to address the insect source. That single mistake cost me an entire growing season of stunted growth on a plant I’d been nurturing for three years. Now I always identify the pest first. Always.
How to Diagnose the Problem Correctly
Before reaching for any product, spend five minutes properly examining your plant. Flip leaves over and look at the undersides — that’s where most sap-sucking insects hide. Use a magnifying glass if you have one. Check stem joints, the base of leaf petioles, and the newest growth tips.
Also consider timing. Aphid infestations typically peak in early spring when soft new growth is flushing. Scale insects, on the other hand, can persist year-round and are often worst in late spring through summer. If you’re in zone 7b like my mountain-region beds, a late cold snap can actually knock aphid populations back temporarily — but they return quickly once temperatures stabilise.
For example, my ‘Spring’s Promise’ sasanqua in zone 8a almost always shows aphid pressure in March. By contrast, my older ‘Tama-no-ura’ japonica in a shadier spot tends to attract scale. Environment, cultivar, and location all influence which pest you’re likely facing.
Step-by-Step Treatment for Sooty Mold on Camellias
Step 1: Deal With the Insects First
This is non-negotiable. The pest is the root cause. Everything else is secondary.
For aphids and whiteflies: A strong blast of water from your hose dislodges large numbers immediately. Follow up with insecticidal soap spray, thoroughly coating leaf undersides. Repeat every five to seven days for three to four weeks. Neem oil is also effective and has the added benefit of disrupting insect life cycles rather than just killing on contact.
For scale insects: Horticultural oil (also called dormant oil or summer oil, depending on dilution) is your most reliable tool. Apply in late winter before new growth emerges for overwintering scale, or use a summer-rate dilution during the growing season. Specifically, coat every stem surface — scale is easy to miss because it blends with bark. Systemic insecticides like imidacloprid can be used for severe infestations, though I’m cautious about these near flowering plants due to pollinator impact.
For mealybugs: Dabbing individual colonies with rubbing alcohol on a cotton swab works well for small infestations. Larger problems respond to insecticidal soap or neem oil treatments, again focusing on stem junctions and leaf axils.
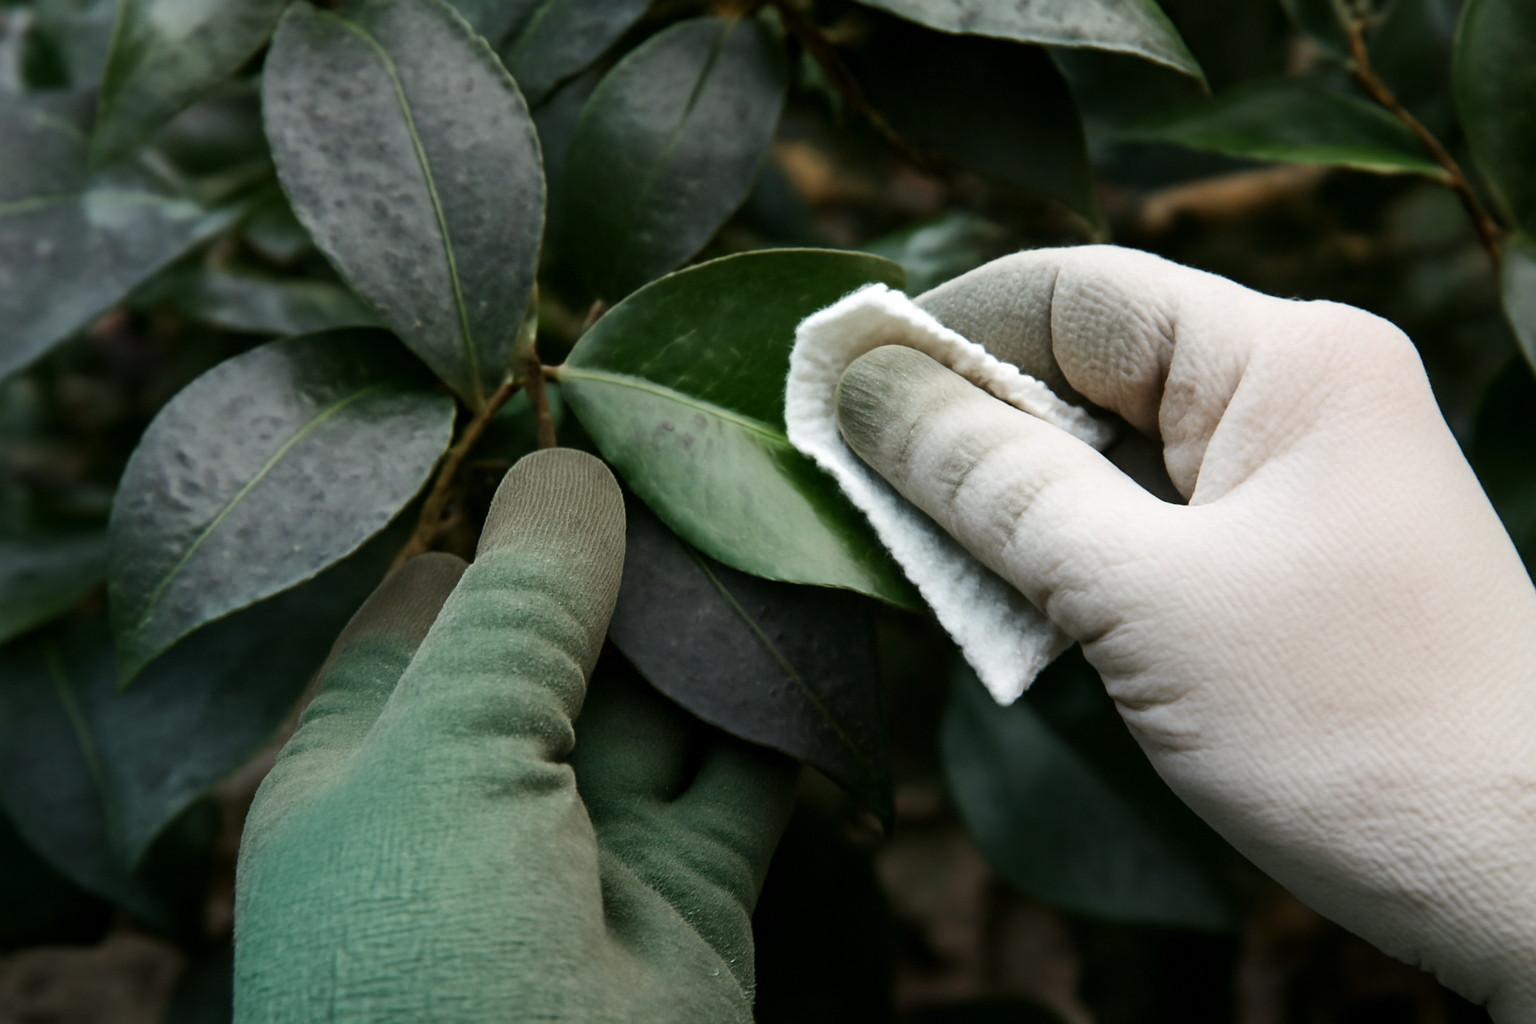
Step 2: Remove the Sooty Mold from Leaves
Once the insect population is under control, the mold will eventually weather off on its own. However, if it’s thick and you want to speed things up — especially on a show cultivar like my ‘Nuccio’s Gem’ japonica — you can wipe leaves gently with a soft cloth dampened in a mild soap-and-water solution.
Don’t scrub aggressively. Camellia leaves are glossy and relatively tough, but vigorous scrubbing can damage the waxy cuticle. Work leaf by leaf, wiping in the direction of the leaf rather than in circles. Rinse with clean water afterward. On large plants this is time-consuming, which is honestly why I prefer to let nature handle it once the pest problem is resolved.
Step 3: Improve Conditions to Prevent Recurrence
Sooty mold tends to be worse on plants that are stressed or growing in poor conditions. Vigorous, healthy camellias are simply more resilient. Here’s what I focus on to keep my plants strong and less attractive to pest pressure.
- Soil pH: Camellias need acidic soil, ideally between pH 5.5 and 6.5. Outside that range, nutrient uptake suffers and plants become stressed. Stressed plants attract pests. Test your soil annually — I use a simple meter and adjust with sulfur when needed.
- Air circulation: Dense, overcrowded planting creates the warm, humid micro-climate that pests and mold love. After treating a mold problem, I always evaluate whether the plant needs some structural pruning to open up the canopy. I wrote more about timing and technique in my camellia pruning guide — it’s worth reading alongside this.
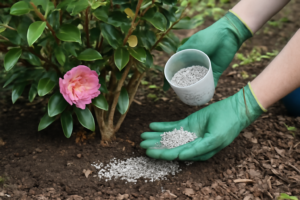
- Avoid excess nitrogen: Heavy nitrogen fertilising produces lots of soft, lush new growth — exactly what aphids target. I use a slow-release, acid-forming fertiliser formulated for camellias and apply it once in early spring, once after the main flush. No more.
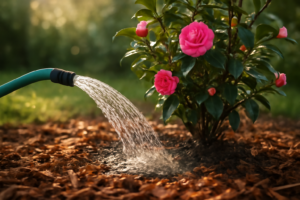
- Mulch correctly: A 2–3 inch layer of pine bark or pine straw mulch maintains moisture and keeps soil pH in the right range. However, keep mulch pulled back from the main stem to avoid rot and pest harborage right at the base.
Does Sooty Mold Affect Blooms?
This is one of the most common questions I get, and the honest answer is: it depends on severity and timing. A light coating on foliage during the growing season? Probably not much visible impact on flowering. A heavy infestation that persists through summer into autumn, blocking significant light from leaves on a sasanqua cultivar that blooms September through November? That’s a different situation.
Sasanqua varieties like ‘Yuletide’ and ‘Setsugekka’ set their flower buds through summer. If photosynthesis is significantly compromised during that window, bud set can suffer. In my experience, the impact is rarely dramatic unless the plant is already under other stresses — drought, poor drainage, or incorrect pH. That said, I wouldn’t take the risk on a specimen plant I care about. Treat the pest pressure promptly and give the plant every advantage.
Natural Allies Worth Encouraging
One thing I’ve noticed over years of managing a large collection is that gardens with strong biodiversity have fewer persistent pest problems. Ladybirds, lacewings, and parasitic wasps all predate on aphids and scale. Encouraging these by avoiding broad-spectrum pesticides and planting companion plants nearby genuinely helps over time.
I’ve started underplanting some of my camellia beds with low-growing natives that support beneficial insects. It’s a slower strategy, but on my older established japonicas — ‘Adolphe Audusson’, ‘Blood of China’, ‘Hagoromo’ — I’ve seen noticeably lower aphid pressure over the last three seasons compared to my more isolated container plants. The ecosystem approach really does work.
When to Call in a Professional
Most sooty mold problems on camellias are absolutely manageable at home. However, there are situations where professional help makes sense. If you’re dealing with a large, mature specimen — say, a twenty-year-old reticulata that’s ten feet tall — and scale infestation covers most of the plant, professional application of horticultural oil at the right coverage rate can be genuinely difficult to achieve on your own.
Similarly, if you’ve treated for insects twice and the mold keeps returning, it’s worth having a local Cooperative Extension Master Gardener or certified arborist take a look. Sometimes there are secondary pest populations hiding in nearby plants or in the structure of an old fence or wall that you simply can’t see without a trained eye.
Final Thoughts on Sooty Mold on Camellias
Sooty mold on camellias is alarming to look at, but it’s manageable once you understand what’s driving it. The mold itself isn’t the enemy — the sap-feeding insects producing the honeydew are. Address those first, clean up the mold residue if needed, and then focus on creating conditions where your camellias are healthy enough to resist future pest pressure.
In my twenty-plus years of camellia growing, I’ve learned that the plants themselves are remarkably tough when they’re well-sited and well-maintained. Correct soil pH, good drainage, appropriate air circulation, and restrained fertilising go an enormous distance toward preventing repeat problems. Specifically, don’t overlook that annual soil test — it’s the simplest thing you can do and the one most gardeners skip.
Your action step for today: go outside, flip over a few leaves on your camellias, and take a proper look. If you see honeydew residue or small insects, you now know exactly what to do. Don’t wait for a full black coating to appear before acting. Catch it early, treat the source, and your camellias will thank you with the glorious blooms they’re capable of producing.