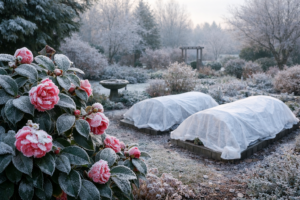
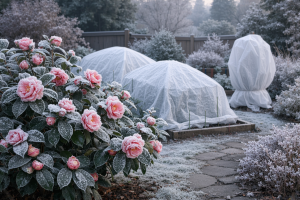
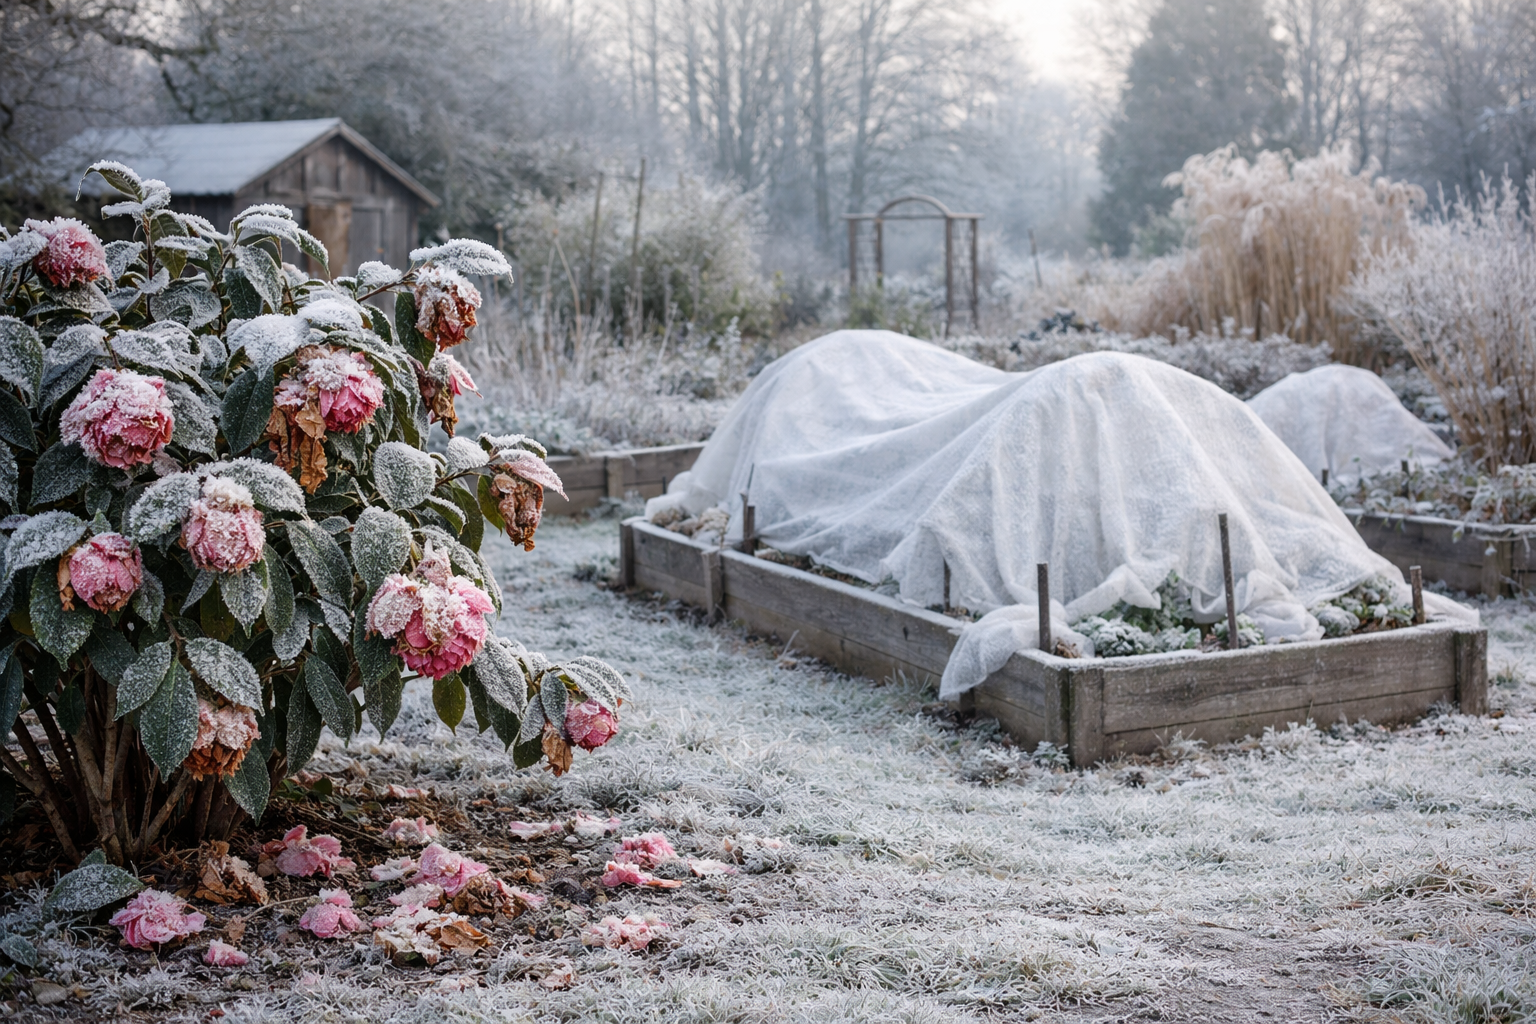
Twenty-six degrees Fahrenheit. That’s the number my weather station logged the night a routine “light freeze” warning turned into something far more brutal, and it’s the figure that nearly wiped out a twelve-year-old camellia I’d spent over a decade coaxing into full, glorious maturity. She’d been carrying a heavy load of plump pink buds that whole week. By the time the sun came up, every leaf on her had gone the color of old rust and curled inward like a clenched fist, and I stood out there with a mug of coffee going cold in my hand, certain I was looking at a plant that had reached the end of the road. Twelve years of patient growth, seemingly erased in a single night. She didn’t die, though — and this post lays out the exact sequence of recovery steps I followed in the weeks that followed, the ones that genuinely brought her back from the edge.
Step One: Put the Pruners Down and Wait
I have to admit, my gut reaction was to grab the shears and start hacking away at every brown, crisped, gut-wrenching section I could see. I’ve made the mistake of acting too fast in the garden more times than I’d like to admit, and this was shaping up to be another one of those episodes. What held me back was something a neighbor — a woman who’d been raising camellias far longer than I had — once told me: “The plant will show you what’s dead on its own schedule. Your job is to wait for that answer.”
Tissue that’s been hit by frost looks like a total loss well before it reveals what’s actually happened underneath. In the immediate aftermath of a hard freeze, every stem appears equally doomed. But plenty of that wood is only compromised on the surface, still alive and functioning beneath the damaged bark. Cut too soon, and you’ll almost certainly remove branches that would have bounced back on their own. Worse, you’ll add extra stress to a plant that needs to pour its remaining energy into survival rather than healing fresh pruning wounds.
My rule of thumb is simple: give it a minimum of four to six weeks after the final frost before you make a single pruning cut. When the damage comes from a late-season event, like the one my shrub endured, that timeline can stretch into late April or even May. Yes, it will be an eyesore that whole time. Yes, your neighbors will notice. Hold the line anyway.
While you’re waiting it out, there’s one useful task you can perform: press a thumbnail lightly against the bark of questionable stems and scratch a small patch. Green underneath means that stem is still alive. Gray or brown straight through means it’s finished. Jot down what you find, but resist grabbing your tools just yet.
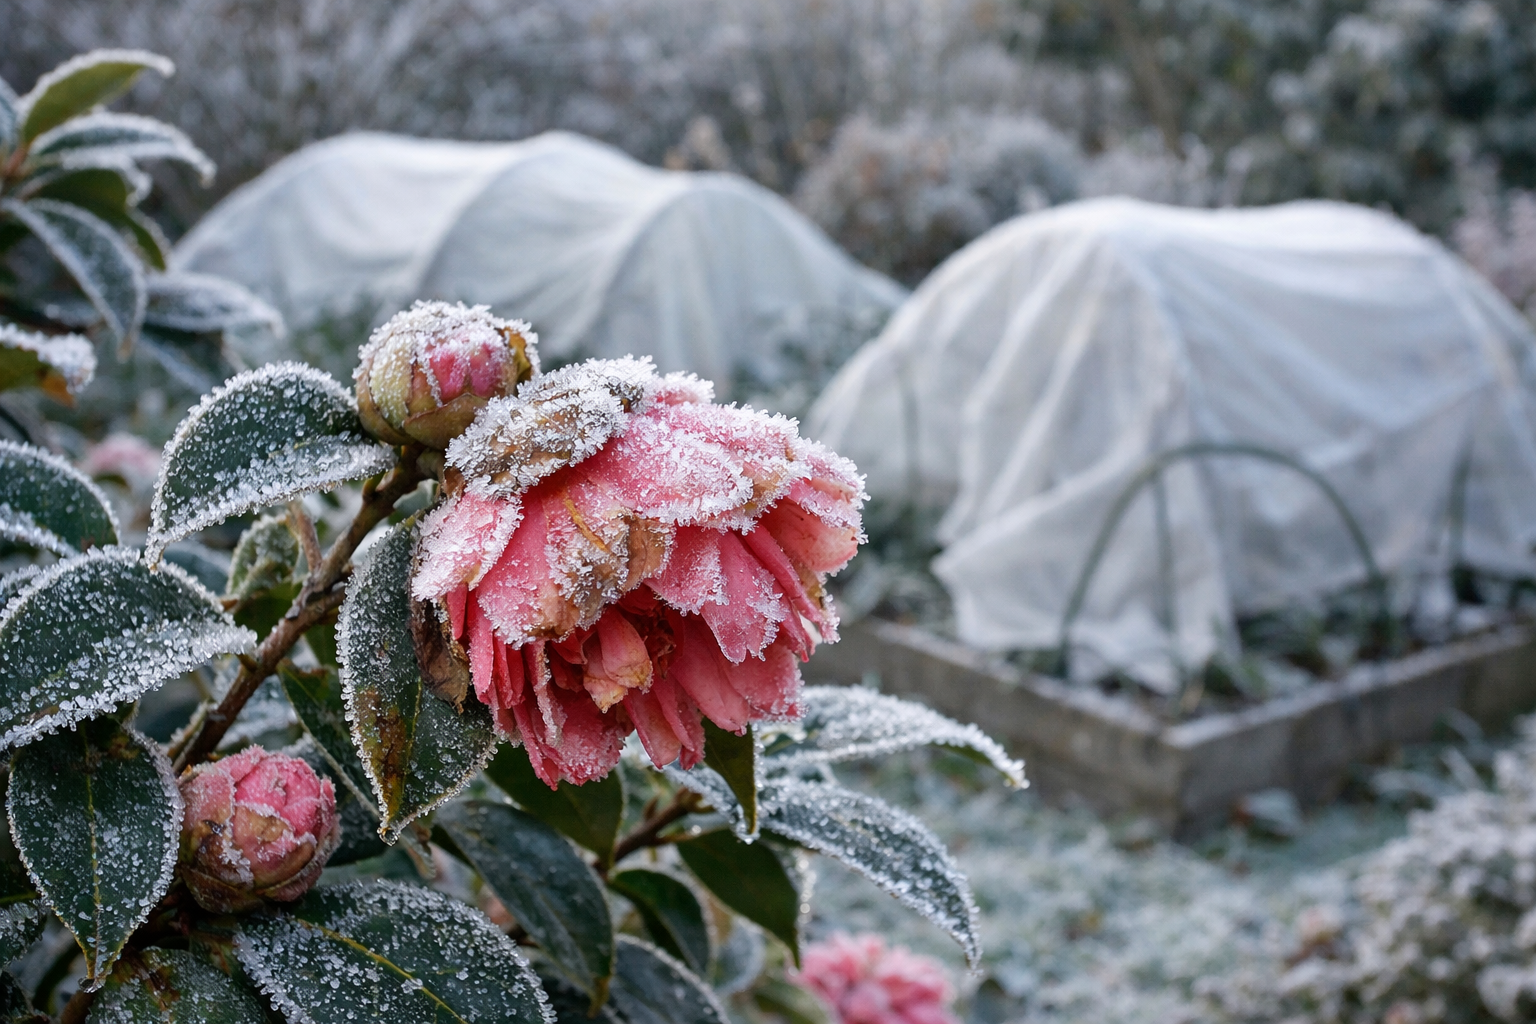
Reading the True Extent of Damage Before You Make a Single Cut
Once the weather has settled for good and you can spot fresh growth emerging on the parts of the shrub that made it through unscathed, it’s finally time for a real evaluation. For my camellia, that turning point arrived in late April. Tiny green buds had started pushing along the lower, interior branches — a genuinely encouraging sight after weeks of nothing but brown wreckage — even though most of the outer stem tips were unmistakably dead.
This is the process I used when it came time to cut:
- Start at the branch tips and work your way toward the center, cutting back until the scratch test reveals living green tissue.
- Position each cut just above a leaf node or side bud whenever you can find one, since that’s where fresh growth will emerge.
- Keep your pruning blades sharp and clean, wiping them down with rubbing alcohol between cuts so you don’t introduce disease into already-stressed wood.
- If a branch is dead down to the base, remove it entirely and cut back to the closest point of living wood.
- Pause frequently to step back and evaluate the overall form — since you’re already cutting, this is a natural chance to correct the plant’s shape as you go.
By the time I finished, my camellia had lost close to a third of its outer canopy. For most of that first summer, she sat there looking uneven and a bit forlorn. But once she wasn’t wasting resources trying to keep dead tissue alive, the interior growth took off, and by fall she’d filled back in considerably.
Nursing It Back: Water, Fertilizer, and Root Protection
Cutting away dead wood is just one piece of the puzzle. A camellia recovering from frost is, by definition, a stressed plant, and stressed plants are far more exposed to further trouble. What you do in the weeks after pruning matters enormously for whether the shrub can put out strong new growth.
Here’s what I stick to throughout the recovery window:
Watering Through the Recovery Window
A camellia bouncing back from frost damage can’t afford to dry out at the roots, especially while it’s putting out new growth. I give mine a deep soak once or twice weekly, adjusting for rainfall, and I always aim the water at the base rather than the foliage — wet leaves on an already-stressed plant invite fungal problems.
Knowing When to Start Fertilizing Again
Don’t reach for fertilizer until you can visibly confirm new growth is underway. Once you see that, switch to a balanced, slow-release feed made for acid-loving plants. Fertilize too soon — before the plant is truly growing — and you risk forcing tender new shoots that a late cold snap could easily wipe out. Waiting a bit longer here really does pay off.
Putting Mulch to Work
A thick layer of organic mulch spread across the root zone — three to four inches of bark chips or composted leaves works well — accomplishes several things simultaneously: it holds moisture in the soil, buffers temperature swings, and gradually enriches the soil as it decomposes. Leave a few inches of bare soil around the main stem so it doesn’t stay damp against the bark and rot. Of everything on this list, mulching might be the easiest and most effective step for any shrub trying to recover.
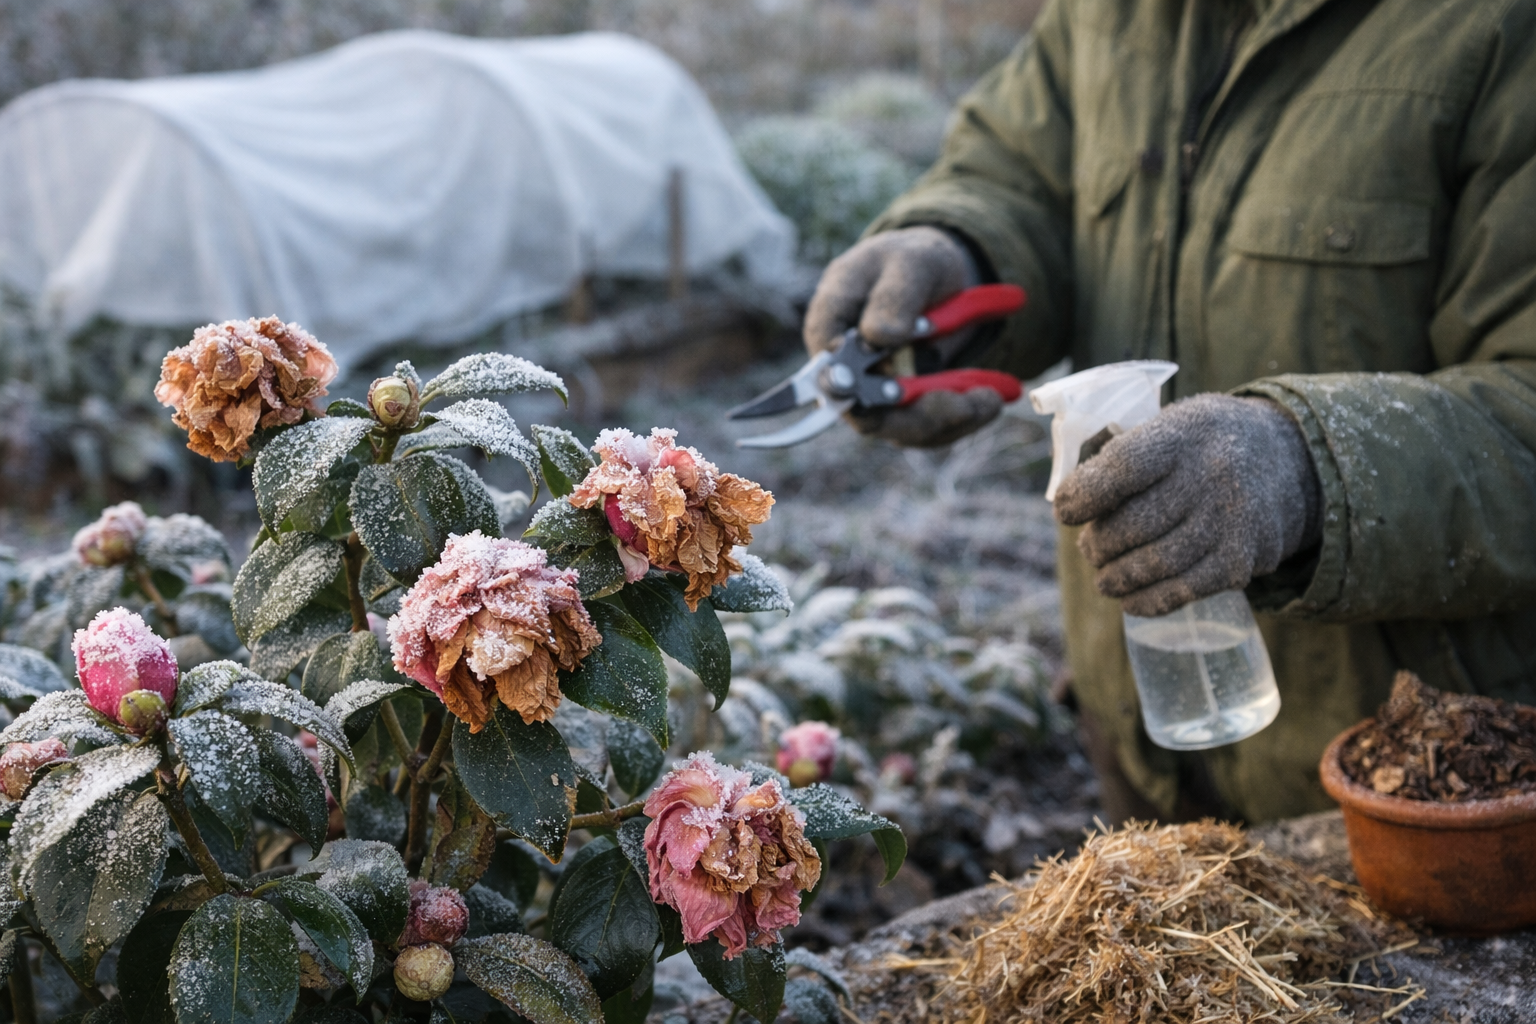
The Protective Spray I Wish I’d Used Instead of Just Watching the Forecast
The actual freezing takes only minutes, but stopping the damage starts weeks earlier. A protective spray creates a barrier you can’t even see, slowing down how quickly your camellia’s leaves lose moisture once a hard frost sets in — it won’t guarantee full protection against every freeze, but it can meaningfully limit the fallout when a surprise cold snap catches you off guard.
Where it delivers
- Applied back in late fall, it visibly cut down on leaf curl across the outer canopy during that surprise 26°F night — the harm stayed limited to roughly 30% of the plant rather than stripping it entirely.
- Once it dries, it disappears — no burlap wrap, no months of an awkward-looking shrub, just a camellia that looks completely ordinary in the garden.
- A second application mid-winter, if you catch a warm stretch, works just as well and won’t harm any new growth that’s started.
Where it falls short
- It isn’t a cure-all — genuinely severe cold, anything under 15°F, will still injure tender growth, particularly on young or recently planted camellias.
- Timing matters: it has to go on before the cold front arrives, since spraying after the frost has already struck accomplishes nothing.
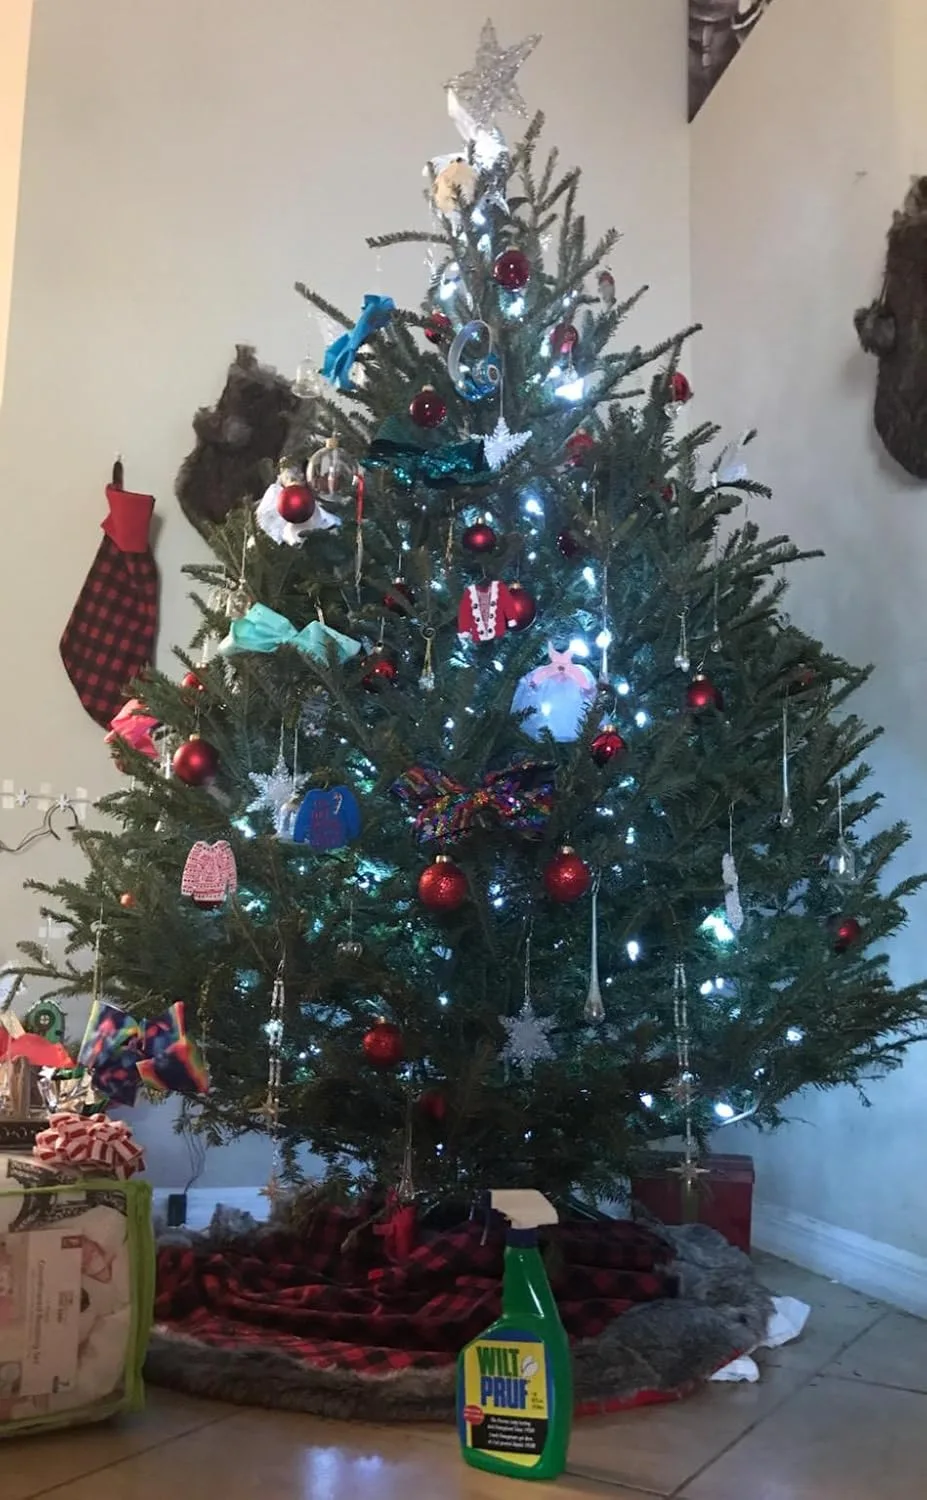
I was skeptical the first time I used it, convinced it was just expensive water, but when I compared my treated camellia to an unprotected one three doors down that winter, the difference was unmistakable. Don’t wait for the forecast like I did. Wilt-Pruf Original Winter Plant Protection
About This Article

Written by Helen Pritchard. Helen Pritchard is a lifelong gardener in the Pacific Northwest who has grown more than 200 named camellia cultivars over two decades. She writes practical, experience-based guides to camellia care, from variety selection and pruning to troubleshooting yellowing leaves and bud drop. More about this site.
Verify this against a primary source
Specifics change, and your situation may differ from the one described here. These are the authorities worth checking directly:
- American Camellia Society — cultivar registration and culture guides
- USDA Plant Hardiness Zone Map — zone verification for your location
- Royal Horticultural Society — camellia cultivation and pest guidance