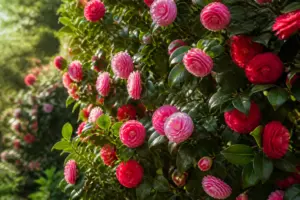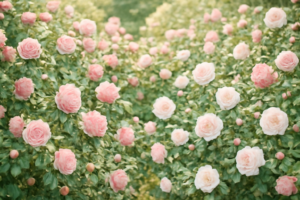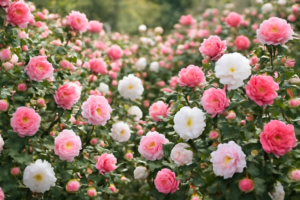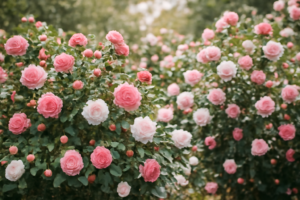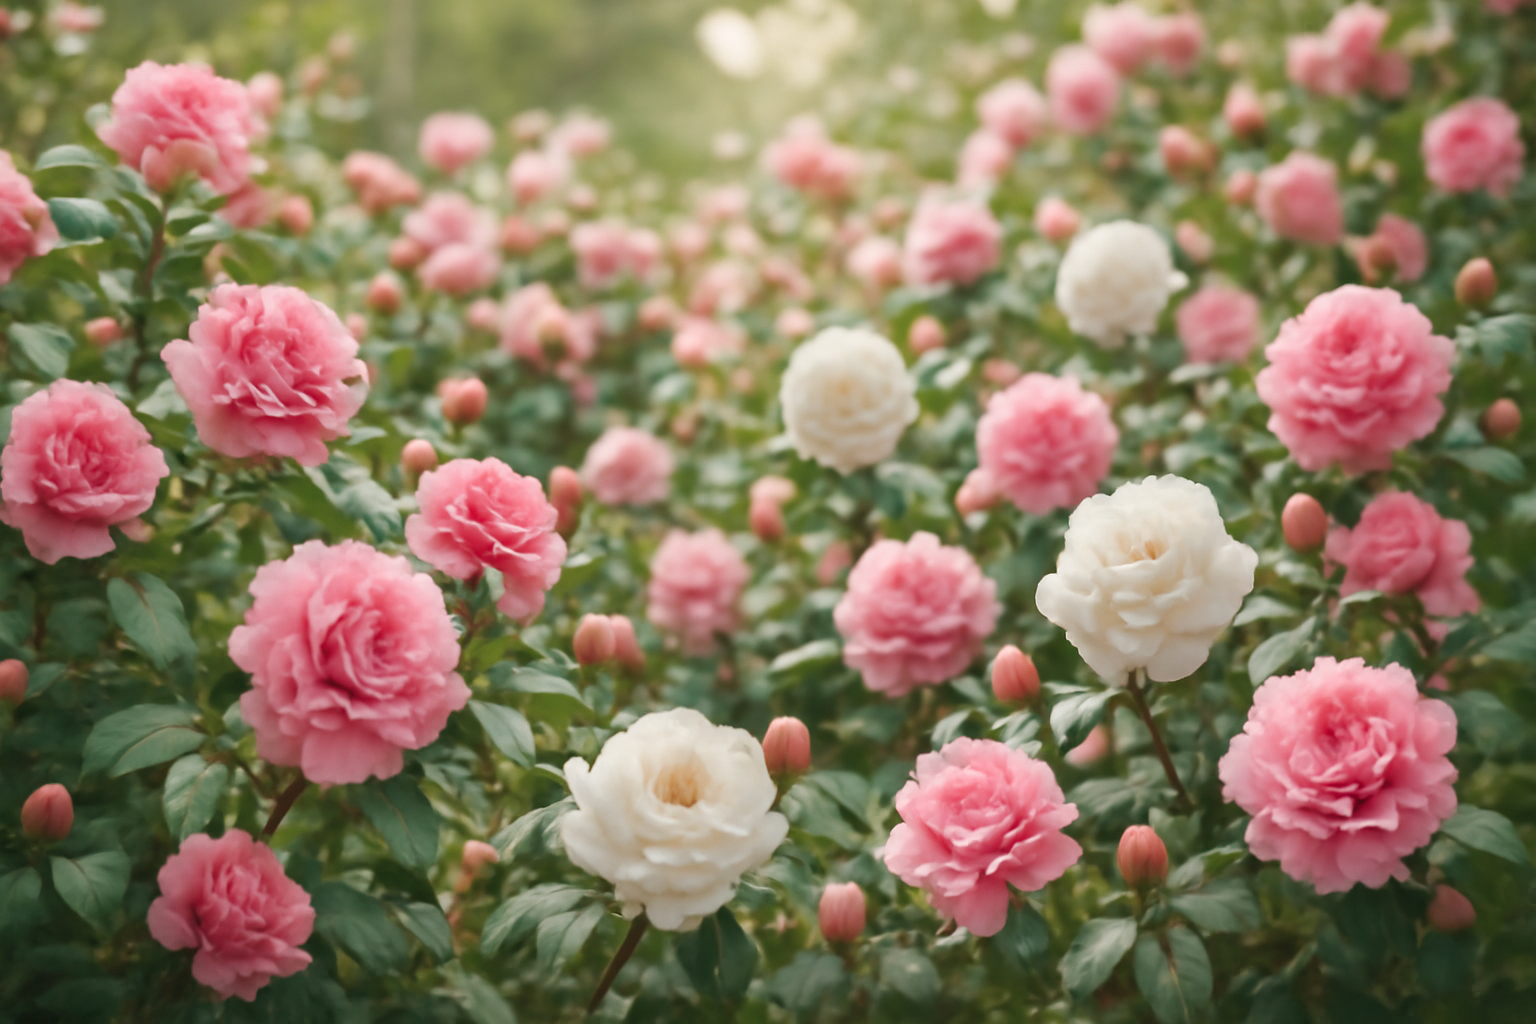
Conventional wisdom says a camellia that refuses to bloom just needs more patience. My ‘April Kiss’ proved that assumption wrong. For three long years, I watched it leaf out thick and healthy every spring while producing exactly zero flowers. I fed it on schedule, kept it well-watered, and even talked to it—yes, I talk to my camellias; go ahead and judge me. But nothing changed. By the second year, I genuinely wondered if I’d bought a foliage shrub dressed up as a flowering plant.
Then one Tuesday last April, I stepped outside and found forty-two open blooms waiting for me. Forty-two! I counted them again just to be sure I wasn’t seeing things.
If you’re stuck with a camellia that won’t bloom, let me share the exact sequence of what I got wrong and how I corrected it. This isn’t some generic checklist; it’s the real chain of mistakes and fixes I worked through in my own zone 7b garden, shaped by over twenty years of hands-on camellia growing and some blunt input from fellow American Camellia Society members who helped me finally nail down the problem.
Step One: I Quit Assuming My Soil pH Was Fine
I had convinced myself that the pH in that garden bed was acceptable. My azaleas, which share the same space, bloom without any fuss, so I figured the camellia must be just as content. That reasoning was wrong. I finally sent off a proper soil sample—not a cheap kit off the shelf, but a mail-in test through my state’s cooperative extension office. The reading came back at 6.4.
Camellias prefer soil pH between 5.5 and 6.5, so 6.4 technically fits—just barely, sitting near the top edge. What matters more than the raw number is how pH controls nutrient access. Once you creep up toward 6.4, iron and manganese become harder for the plant to absorb. My camellia wasn’t short on nutrients in the ground; it simply couldn’t access what was already there.
That September, I worked elemental sulfur into the mulch, about a pound per ten square feet, keeping it shallow. Retesting the following spring showed 5.9. I credit that one adjustment with at least half of the improvement that eventually followed.
Honest caveat here: shifting soil pH downward is a gradual process. Elemental sulfur doesn’t act fast, and if your soil is dense, heavily buffered clay like mine, it can take months before you see real movement. A September application won’t rescue next spring’s flowers—plan on a full growing season before it pays off.
My Feeding Schedule Was Sabotaging Bud Formation
This is the mistake that embarrasses me most, honestly, because I should have known better. I was fertilizing my camellia in late summer—August, sometimes drifting into early September—mostly because I was already out feeding everything else, and it seemed convenient.
Nitrogen applied that late forces soft new growth just when the plant should be hardening off and channeling energy into setting flower buds instead. Every August feeding was basically telling the plant to keep growing leaves rather than invest in next year’s blooms. Then cold weather would roll in, that tender growth would get nipped, and whatever marginal buds had formed would get lost in the process too.
The real fertilizing window runs from late winter through no later than mid-July—after that, you leave the plant alone. My routine now is three feedings: late February as growth resumes, another in April, and a final round the first week of July. That’s the whole schedule. The rest of the season, I step back and let the plant work.
Where I Went Wrong With Pruning, Year After Year
Camellias set their blooms on old wood—buds formed during the prior growing season. I knew that much in theory. Yet every fall, I’d still do a light cleanup cut, shaping things up and clearing a few crossing branches. It felt harmless. It wasn’t.
Pruning camellias in autumn strips away the very buds you spent the whole summer waiting on. I was essentially cutting off next spring’s flowers every October, then standing there in April confused about why nothing was blooming.
Any pruning needs to happen right after flowering wraps up—within a few weeks of petal drop, not months afterward. For most japonicas, that falls in late spring, allowing the plant an entire season to form fresh buds on new growth. I haven’t touched mine with shears since last May, and the bud set heading into this fall is the heaviest that plant has ever carried.
The Drainage Issue I’d Been Overlooking
This one took some honest self-assessment. The bed where ‘April Kiss’ sits gets morning sun and afternoon shade—textbook camellia conditions on paper. But after a heavy rain, I noticed the soil staying waterlogged two or three days longer than it should.
Camellias hate wet roots. A plant can sit in poorly draining ground, look perfectly fine on the surface, and simply refuse to flower. Recurring waterlogging forces the plant to redirect energy toward survival instead of reproduction. I built a modest raised berm—roughly four inches of added elevation using native soil mixed with composted pine bark—and drainage improved noticeably. Combined with everything else, the plant had no excuse left not to perform.
My Current Fertilizing Setup
After a couple of years of trial and error, I’ve settled into a fertilizing routine that works reliably. Here’s what’s actually in rotation in my garden:
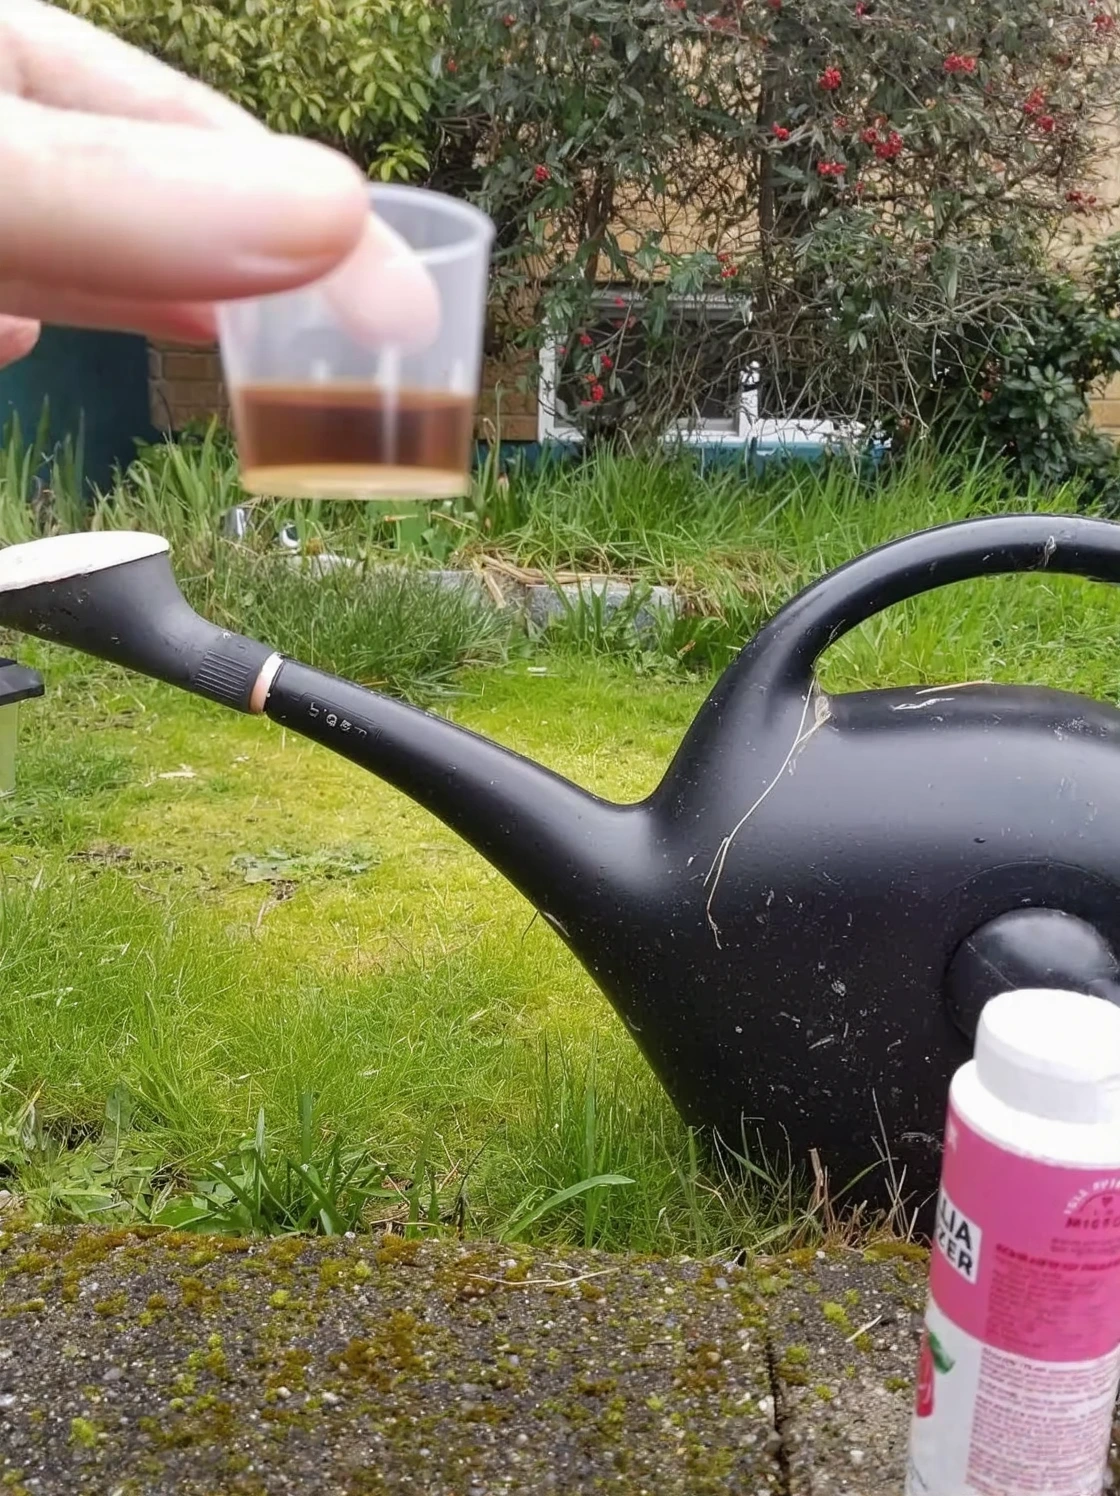
For my routine liquid applications during the growing season, I’ve been using Camellia Fertilizer – Liquid Plant Food for More Blooms, Rich Green Leaves & Stronger Root Development, 8 oz. I prefer a liquid formula in spring because it delivers nutrients quickly to a plant just coming out of dormancy, and this one is specifically formulated for camellias rather than being a generic acid-lover blend.
For my mid-season granular application—usually that early July feeding—I rely on Miracle-Gro Water Soluble Azalea, Camellia, Rhododendron Plant Food – Fertilizer for Acid-Loving Plants & Flowers, 5 lb.. It’s widely available, consistent, and I’ve used it on my azaleas for years with reliable results. The water-soluble format makes it easy to apply evenly across a bed.
For plants I’m trying to establish or where I know the soil pH is running a little high, I’ve started incorporating GARDENWISE 8-4-8 Acidic Fertilizer for Azaleas, Camellias, Hydrangeas, Blueberries, Gardenias, Magnolia Trees, Evergreens, and Rhododendrons – Ideal Iron-Rich Plant Food (12 OZ). The iron content in this formula is something I specifically look for now, given what I learned from my soil test about iron availability at higher pH levels.
The Unspoken Truth: Sometimes Patience Isn’t the Answer
I want to be upfront about this. I’ve seen camellias that struggle to bloom purely because of cultivar choice—some japonicas simply need longer to reach blooming maturity, and squeezing a large-growing variety into a cramped spot guarantees a plant under constant stress. If you’ve already fixed the pH, corrected your feeding timing, changed your pruning habits, and solved drainage, and you’re still coming up empty, it’s worth questioning whether that plant belongs in that particular spot at all.
Over twenty years, I’ve relocated more established camellias than I’d like to admit. It’s hard on the plant, but sometimes it’s genuinely the right call. A camellia stuck in the wrong microclimate—too much wind, exposure to late frost, roots competing with a nearby tree—can hang on for a decade without ever putting on a real show.
Where This Leaves You
My camellia didn’t finally bloom because of one miracle fix. It bloomed because I stopped guessing and started actually diagnosing the problem. Test your soil first. Check your fertilizing calendar against the correct window. Think hard about when you last pruned and whether you accidentally removed buds in the process. Inspect your drainage after the next heavy rain. None of this is glamorous, but it’s the real reason a camellia not blooming eventually turns into one that stops you cold on an ordinary Tuesday morning, counting forty-two flowers twice just to be sure.
If you’ve been battling this for a season or two already, I hope something here spares you the third year I ended up losing. These plants are worth every bit of trouble—but they won’t perform on a timeline that ignores what they actually need.
The Fertilizer That Finally Got My Stubborn Non-Bloomer to Perform
For two years I relied on a generic all-purpose fertilizer without realizing that was part of the problem—camellias need a nutrient blend formulated specifically to trigger flowering, not just to bulk up leaves. The moment I switched to a camellia-targeted formula, the results were noticeable.
The upside
- Flower buds showed up within six to eight weeks of consistent applications—by midwinter, I was actively spotting them instead of just hoping they’d appear.
- Being a liquid, it soaks in fast and skips the chalky buildup that granular products used to leave behind in my clay soil.
- New growth came in a noticeably deeper green instead of the washed-out, slightly yellow shade it had before—a sign the pH and micronutrients had finally fallen into place.
The downside
- The 8 oz bottle empties faster than expected once you’ve got more than one camellia to feed—I’m reordering every six to eight weeks through the growing season.
- It costs more per ounce than what you’d find at a big-box garden center, and skipping the correct dilution ratio risks scorching fresh growth.
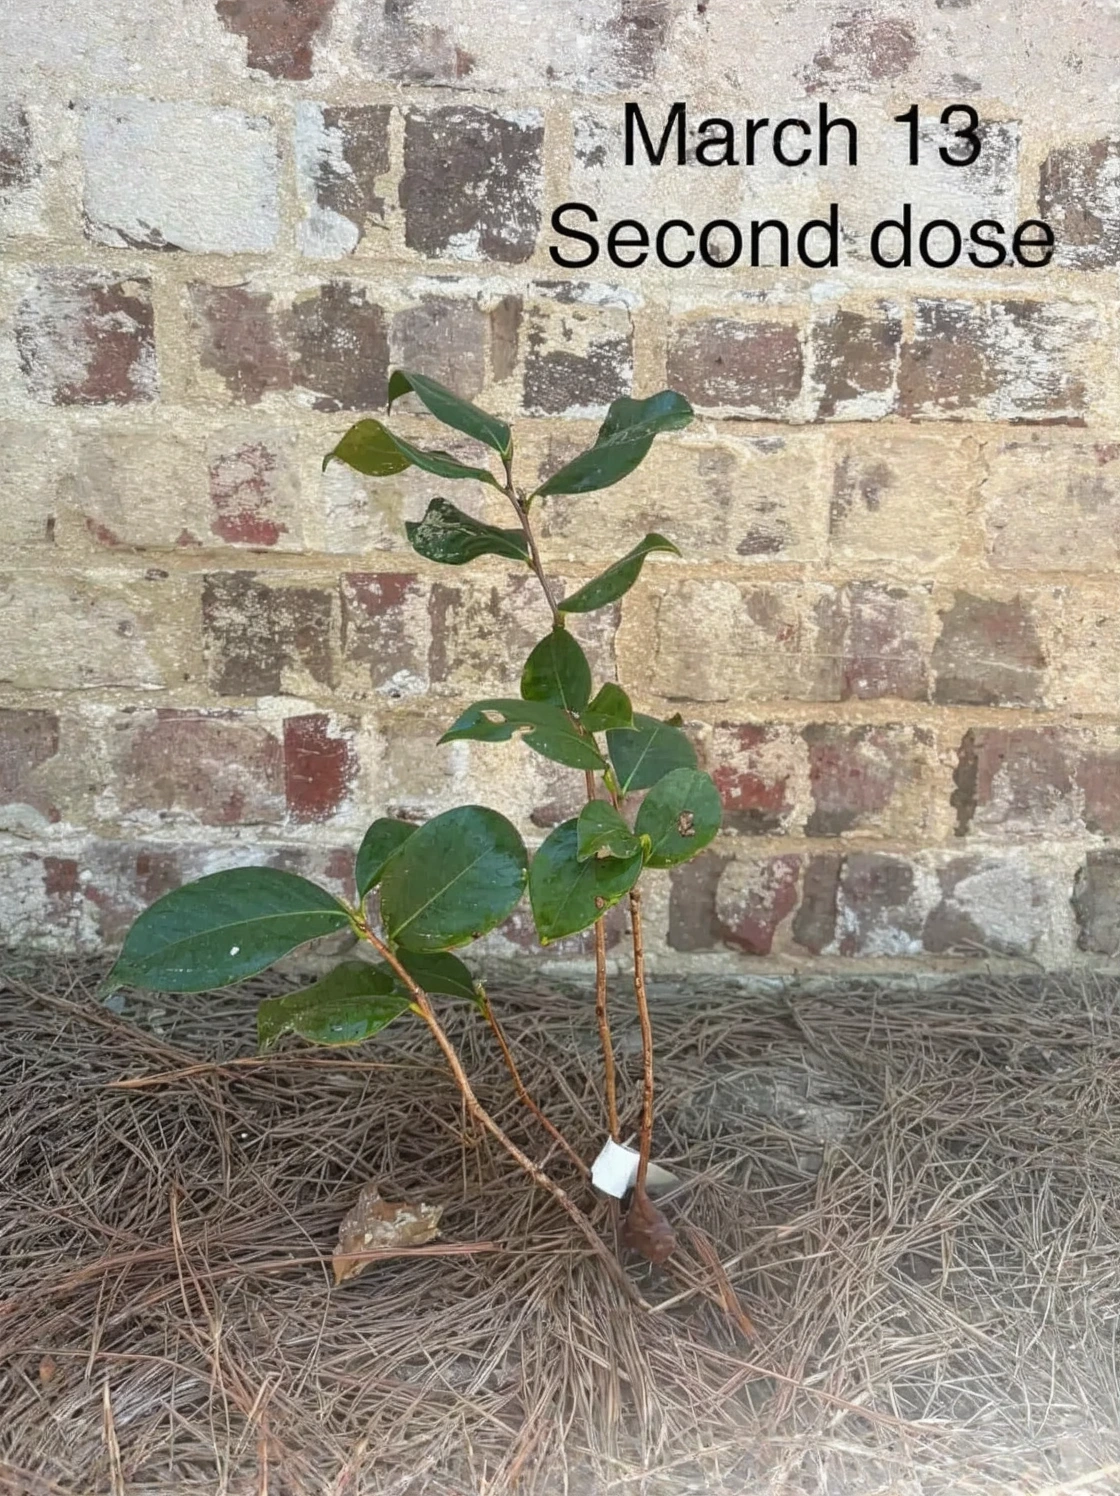
I almost gave up on this product after week three when I saw zero change, but I stuck with the schedule, and the payoff in April proved it was worth the patience. Camellia Fertilizer – Liquid Plant Food for More Blooms, Rich Green Leaves & Stronger Root Development, 8 oz
About This Article

Written by Helen Pritchard. Helen Pritchard is a lifelong gardener in the Pacific Northwest who has grown more than 200 named camellia cultivars over two decades. She writes practical, experience-based guides to camellia care, from variety selection and pruning to troubleshooting yellowing leaves and bud drop. More about this site.
Verify this against a primary source
Specifics change, and your situation may differ from the one described here. These are the authorities worth checking directly:
- American Camellia Society — cultivar registration and culture guides
- USDA Plant Hardiness Zone Map — zone verification for your location
- Royal Horticultural Society — camellia cultivation and pest guidance