I still remember standing in my backyard on a January morning, staring at my beloved ‘Kramer’s Supreme’ camellia, its buds turned to brown mush overnight. My neighbor Patty had told me back in October not to worry — “camellias are tough, they don’t need anything.” I believed her. I shouldn’t have. If you’re searching for how to protect camellias from frost and actually want advice that comes from hard-won experience rather than breezy optimism, you’ve landed in the right place. That first winter in zone 7b cost me nearly an entire collection. The three winters since have taught me exactly what these plants actually need when temperatures plunge.
Why Camellias Are More Frost-Sensitive Than People Think
Here’s the thing nobody tells you at the garden center: camellias are not universally cold-hardy. They have a reputation for being tougher than azaleas, and in some respects they are, but that reputation has nuance baked into it that gets lost in casual conversation. The variety matters enormously. The age of the plant matters. The microclimate of your specific garden matters. And perhaps most critically, the timing of a cold snap matters — a camellia in full bud is far more vulnerable than the same plant in midsummer.
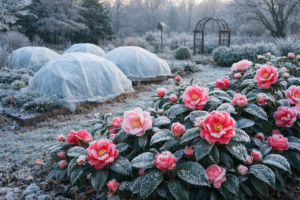
In my garden I grow a mix of japonicas, sasanquas, and a few of the newer cold-hardy hybrids like ‘Winter’s Star’ and ‘Korean Fire.’ Each one behaves differently when the temperature drops. My sasanquas, which bloom in fall, are generally done with their flower show before the worst cold hits. My japonicas, though, bloom from January through March — right in the middle of frost season. That’s where protecting buds and open flowers becomes critical, and where I’ve learned the most painful lessons.
The damage camellias suffer from frost falls into a few distinct categories: bud drop, bud browning, petal browning on open flowers, leaf scorch from desiccating winds, and in severe cases, bark splitting and root damage. Understanding which type of damage you’re trying to prevent helps you choose the right protection method.
My Layered Approach to Frost Protection: Starting in November
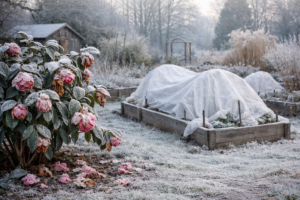
I used to wait until a frost warning popped up on my phone before I did anything. Now I start preparing my camellias in early November, before the first hard freeze arrives. A layered approach — addressing soil, moisture, wind, and temperature in sequence — is far more effective than a last-minute scramble with a bedsheet.
Step 1: Deep Mulching
My first line of defense is always mulch. I pile three to four inches of pine bark mulch around the root zone of each camellia, keeping it pulled back a few inches from the trunk itself. This insulates the soil, keeps root temperatures more stable, and retains moisture — all things that help the plant cope with temperature swings. Roots that are warm and consistently moist are better equipped to support the plant through stress above ground.
The Spray That Stops Frost Burn Before It Starts
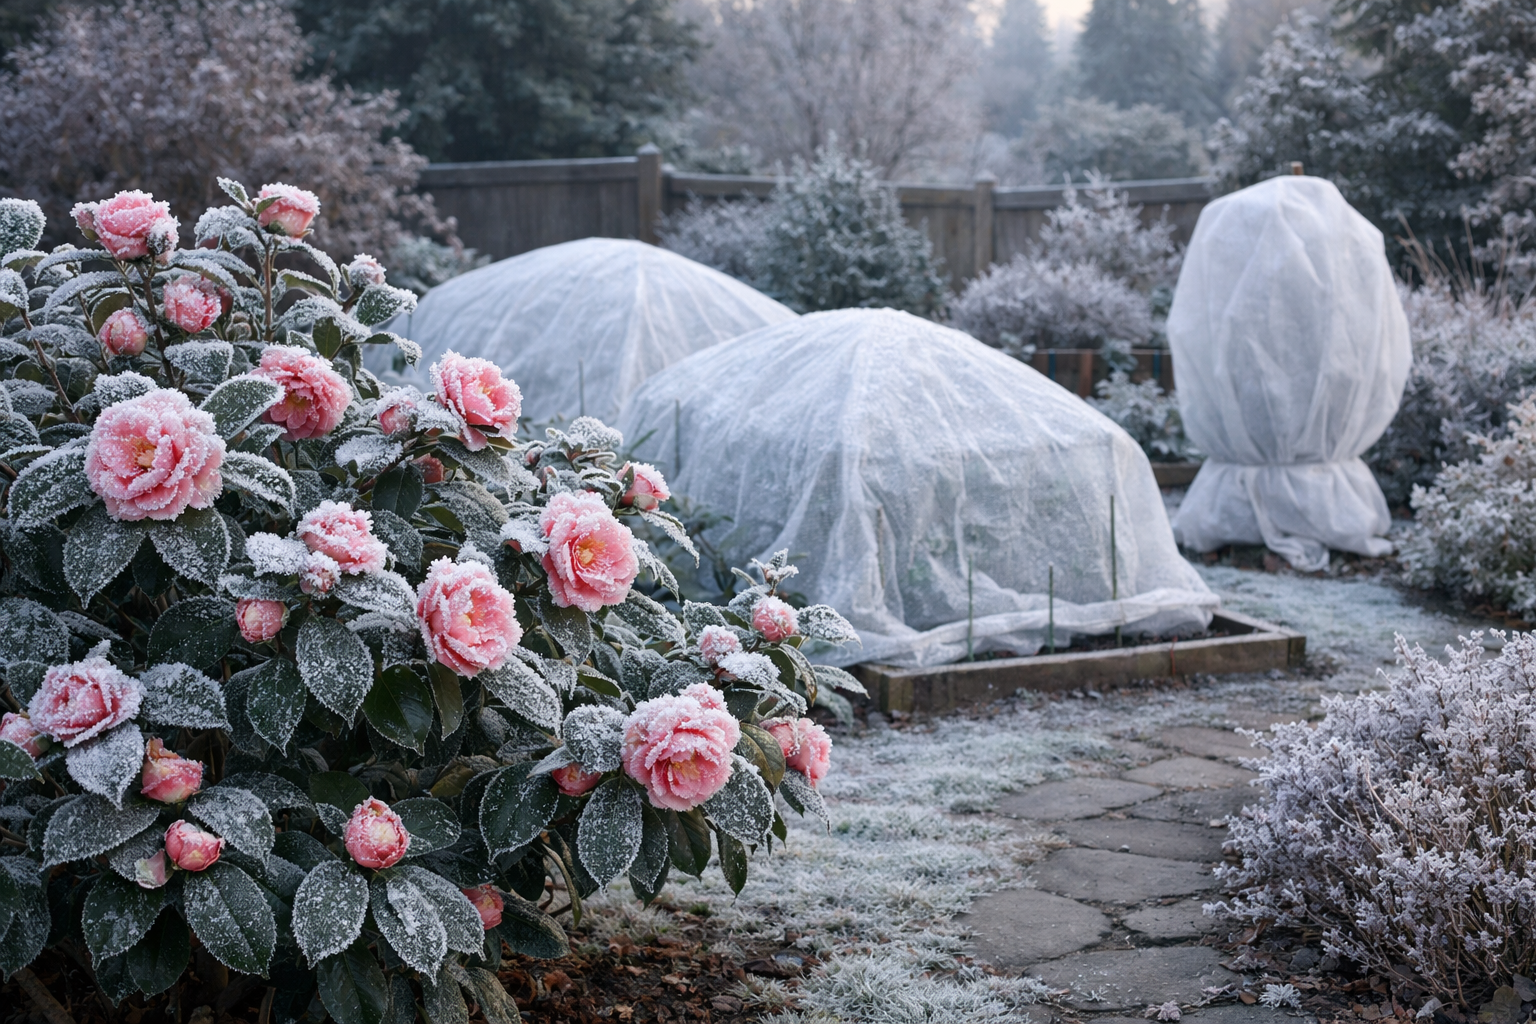
Camellia buds are sitting targets for frost damage — they’re packed with moisture and essentially defenceless once temperatures dip below freezing. I learned the hard way that wrapping and covering alone won’t save the buds themselves; you need a barrier that actually seals them.
What works
- The waxy coating genuinely prevents ice crystal formation on buds and new growth — I’ve watched frost settle on treated plants and slide right off where untreated ones froze solid.
- It’s nearly invisible once dry, so your camellia still looks like a camellia and not a plant wrapped in disaster; I can spray in early November and forget about it until spring cleanup.
- One application lasts through multiple freeze cycles and rain, which means I’m not out there every week reapplying when the forecast shifts.
What doesn’t
- It’s not a substitute for protection in extreme cold (single digits); I learned this the hard way when a surprise -12°F night breached even my best efforts, and I still lost some outer buds.
- You have to time it right — spray too early and it breaks down before the real cold arrives, spray too late and you’ll miss the critical window in late October or early November.
I questioned whether a spray could really outperform burlap alone until I compared two identical ‘Elegans’ plants side by side — one sprayed, one wrapped. The sprayed plant opened fully; the wrapped one lost about 40% of its buds. Wilt-Pruf Original Winter Plant Protection
This post contains affiliate links. As an Amazon Associate, I earn from qualifying purchases at no extra cost to you.
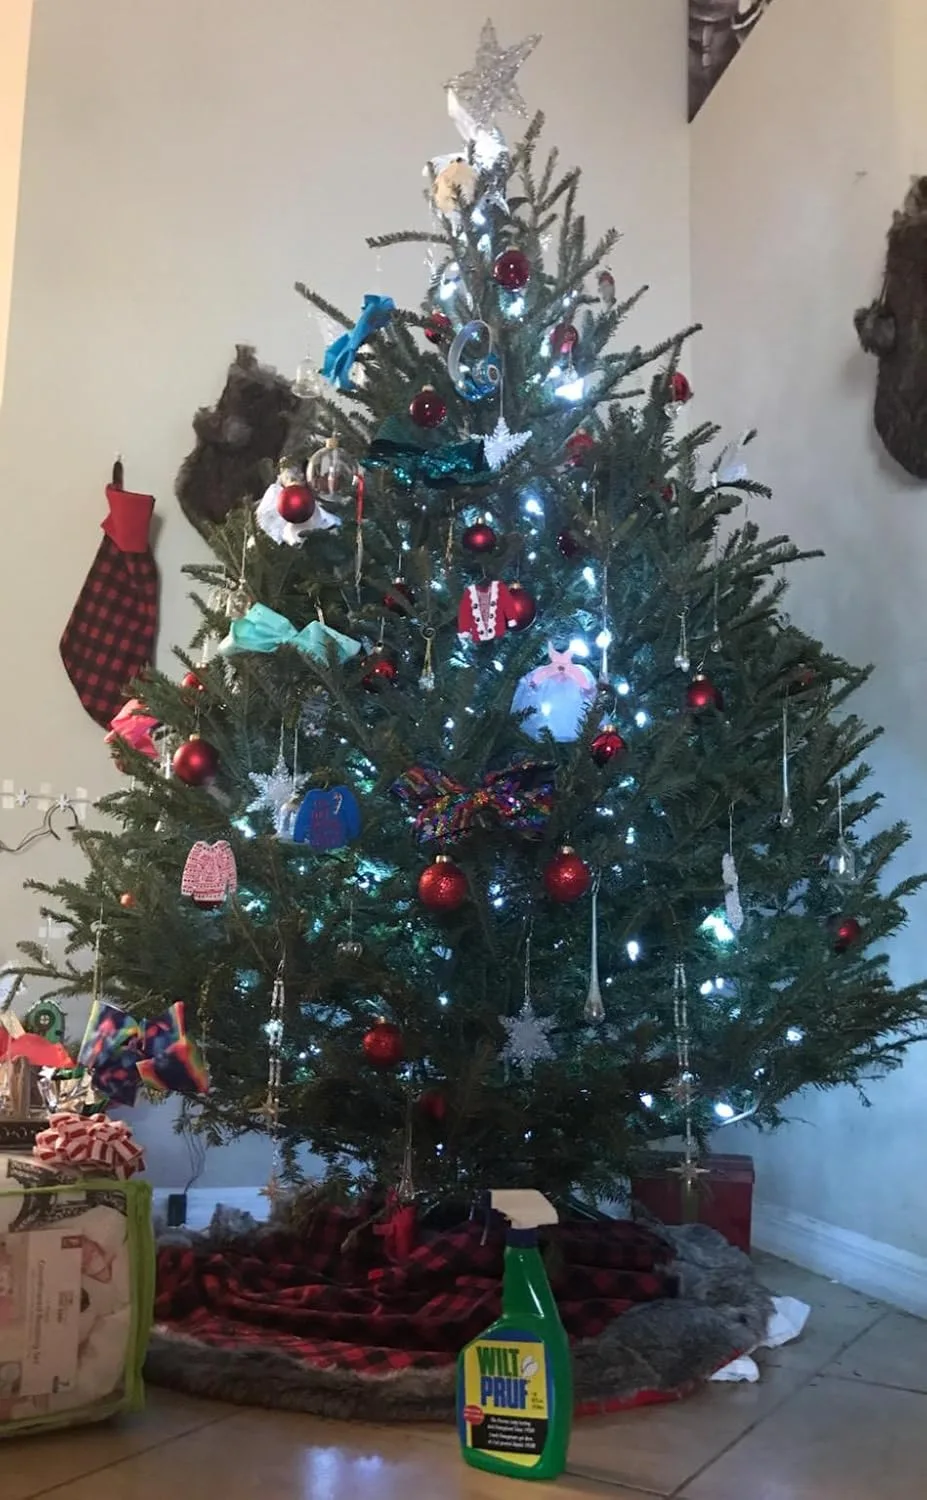
Wilt-Pruf Original Winter Plant Protection
I spray once in November and my camellias bloom through freezes that kill unprotected ones nearby.
Check Price on Amazon →