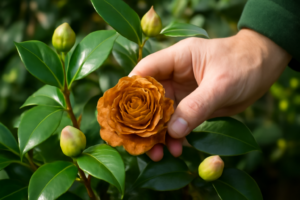
Every spring, I walk my garden and do what I call my “mulch audit.” Last April, I crouched down beside my ‘Nuccio’s Jewel’ japonica and scooped up a handful of the material around its base. It smelled earthy, felt loose and crumbly, and the soil underneath was a deep, rich chocolate brown. That bed gets pine bark. Twenty feet away, my row of sasanqua cultivars — ‘Setsugekka’ and ‘Yuletide’ — sits under a blanket of pine straw. The soil there felt just as good. Finding the best mulch for camellias genuinely changed how my plants perform, and I spent years testing, tweaking, and yes, making some expensive mistakes before I got here.
Today I want to share exactly what I’ve learned about the three mulches I use most: pine bark, pine straw, and leaf mold. Each has real strengths. Each has trade-offs. And the right choice often depends on your specific situation — your climate, your cultivars, and honestly, what’s available to you locally.
Why Mulch Matters So Much for Camellias
Before we compare materials, let’s talk about why camellias are so particular about mulch in the first place. These plants have shallow, fibrous root systems that sit close to the soil surface. They’re also acid-loving shrubs that thrive in a soil pH between 5.5 and 6.5. Go much above 6.5 and you’ll start seeing chlorotic, yellowing leaves — your camellia is telling you it can’t access the iron and manganese it needs.
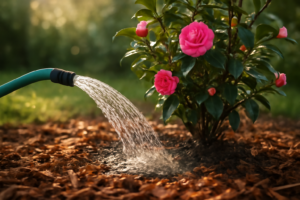
Mulch does several jobs at once. It insulates those shallow roots from temperature swings. It retains moisture during dry spells. It suppresses weeds that compete for nutrients. And over time, it breaks down and acidifies the soil beneath. That last point is crucial, and it’s exactly why the type of mulch you choose really does matter.
In my zone 8a garden, summer soil temperatures can spike dangerously high. Without adequate mulch, I’ve watched newly planted japonicas stress badly in July. In my zone 7b beds, winter protection for borderline-hardy reticulata cultivars like ‘Captain Rawes’ is equally critical. Mulch is doing heavy lifting in both directions.
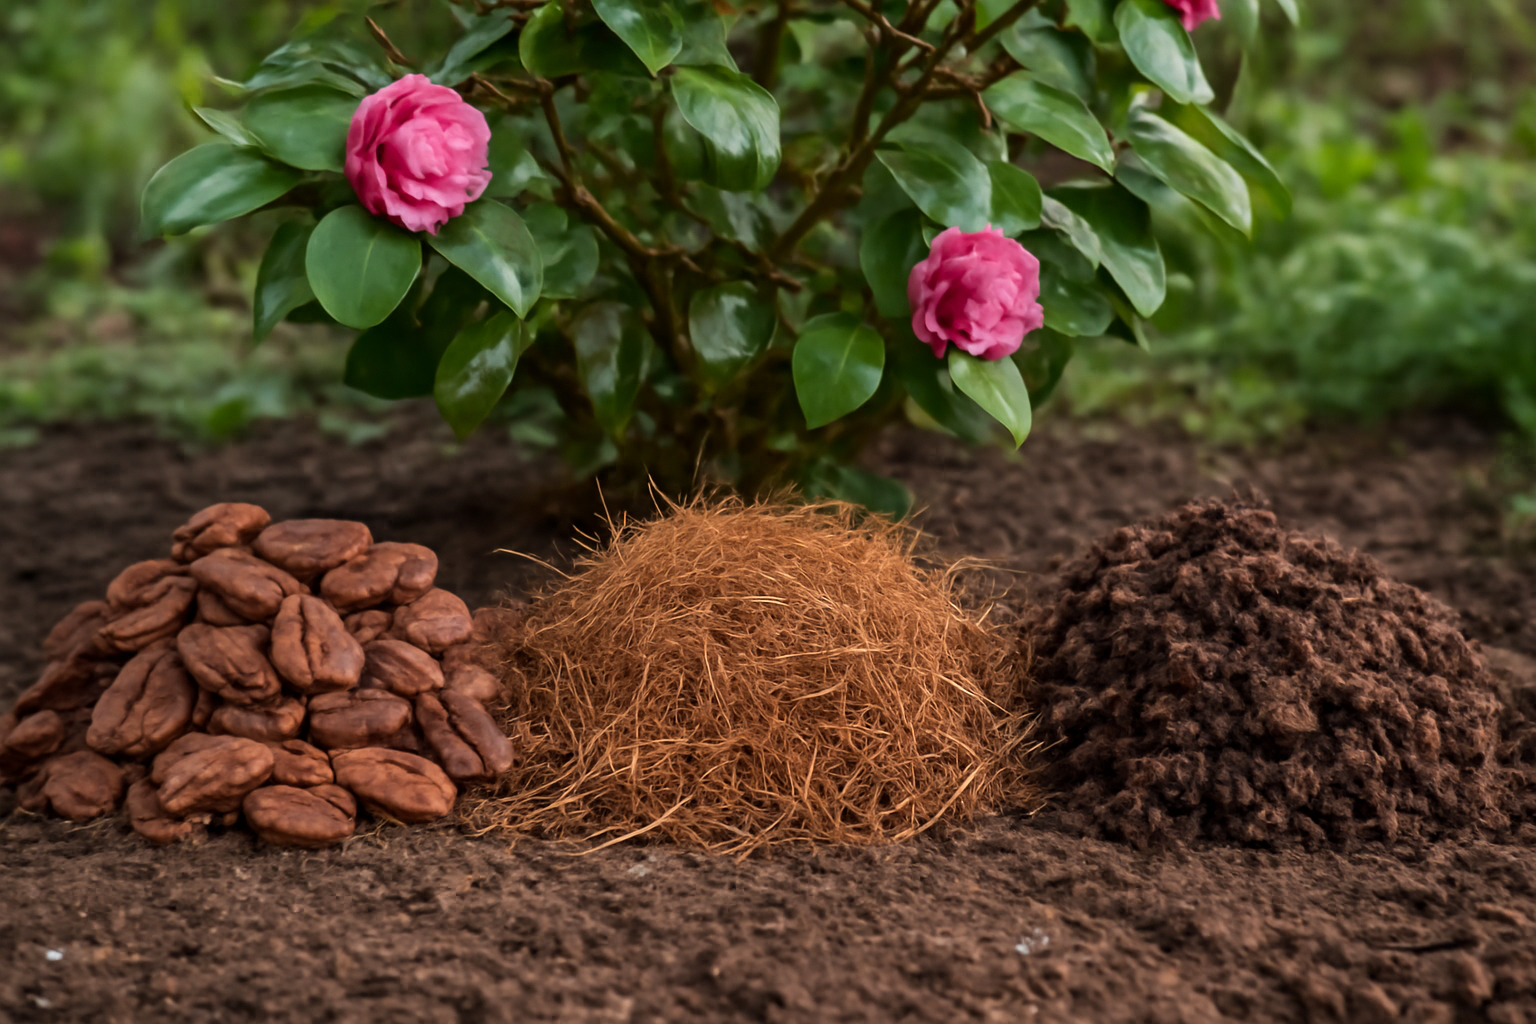
Best Mulch for Camellias: Pine Bark Compared
Pine bark is my personal workhorse mulch. I’ve used it in my camellia beds for over fifteen years, and I keep coming back to it for good reason. It comes in several sizes — mini nuggets, medium nuggets, and large chunks — and each behaves a little differently.
What Pine Bark Does Well
For most of my japonicas, I use medium pine bark nuggets applied about three inches deep. The material is dense enough to stay put in moderate rain but still allows good air circulation around the crown. That matters enormously for camellias, which can develop root rot if mulch is piled directly against the stem.
Pine bark acidifies soil as it decomposes. Measured pH changes are modest year to year, but they accumulate. In beds I’ve mulched with pine bark for a decade, my soil hovers reliably around 5.8 to 6.2 — right in that sweet spot. My ‘Kramer’s Supreme’ japonica, which sulked for two years in my original neutral-pH bed, turned into a prolific bloomer once I got the pH right and the pine bark was doing its job.
Pine bark also lasts longer than other organic mulches. A fresh application in early spring typically holds well into the following year. That means fewer applications overall, which matters when you’re managing 200+ cultivars.
The Downsides of Pine Bark
It isn’t perfect. Large nuggets can float and scatter during heavy rain — a real problem if your beds have any slope. In my zone 8b section, where summer storms are intense, I’ve had to rake errant chunks back from my lawn more than once.
Pine bark is also typically the most expensive of the three options. If you’re mulching a large property, the cost adds up fast. That said, the longevity somewhat offsets the price. One annual application usually covers it, rather than the twice-yearly refreshes that pine straw sometimes needs.
Pine Straw: Lightweight, Effective, and Widely Available
Pine straw — the fallen needles of longleaf, loblolly, or slash pine — is the mulch of the American South. Drive through any camellia-growing county in Georgia or the Carolinas and you’ll see it everywhere. There’s a reason for that. It works beautifully for acid-loving plants, including camellias.
Why Pine Straw Works for Camellias
Pine straw knits together into a mat as it settles. That interlocking quality means it stays in place on slopes where bark nuggets would wash away. My sasanqua bed runs along a gentle incline, and pine straw holds there perfectly. ‘Setsugekka,’ my favorite fall-blooming white sasanqua, has thrived under pine straw for six seasons now.
The needles also decompose slowly, releasing mild acidity into the soil. Contrary to a stubborn myth, pine straw does not dramatically acidify soil — pH changes are gentle and gradual. However, that slow, steady contribution is exactly what you want for maintaining camellia beds that are already in the right range.
Pine straw is also light to handle, quick to spread, and in many parts of the Southeast it’s genuinely cheap. I’ve had neighbors bring me bales for free just to clear their yards. For new gardeners establishing multiple camellia beds on a budget, pine straw is hard to beat.
Where Pine Straw Falls Short
The mat it forms can become compacted over time. Once that happens, water starts to sheet off rather than penetrate. I check my pine straw beds every few months and fluff the surface with a rake. It takes about ten minutes and makes a noticeable difference in moisture retention.
Pine straw also breaks down faster than bark. In a hot, humid climate like zone 8b, I refresh my pine straw beds twice a year — once in early spring and again in early fall before my sasanquas come into bloom. That extra application is a small chore, but it’s worth keeping in mind when budgeting your time.
Leaf Mold: The Underrated Option I Wish I’d Started Sooner
Here’s my honest confession: I ignored leaf mold for years. I thought of it as something you did with leftover autumn leaves when you didn’t know what else to do with them. Then a fellow Master Gardener in my county pushed me to try it properly, and I’ve been a convert ever since.
What Leaf Mold Actually Is
Leaf mold is simply composted leaves — specifically leaves that have broken down through fungal activity rather than bacterial decomposition. The result is a dark, crumbly, moisture-retentive material that looks and feels like forest floor duff. It’s essentially what camellias grow in naturally in their native East Asian habitats.
Making it is simple. Pile fallen leaves in a wire bin or a corner of your garden. Keep the pile moist. Wait twelve to eighteen months. The result is extraordinarily good for soil structure. Leaf mold doesn’t have dramatic pH effects on its own, but it improves the soil’s ability to hold both moisture and nutrients — which in turn supports better pH stability over time.
My Experience Using Leaf Mold with Camellias
I first tried leaf mold around the base of my reticulata camellias, specifically ‘Leonard Messel’ and ‘Francie L.’ Reticulatas are the divas of the camellia world — large, dramatic blooms on plants that can be temperamental about root conditions. Both responded remarkably well. Growth was more vigorous the following season, and the blooms on ‘Francie L.’ were noticeably larger than in previous years.
Leaf mold is also the best option I’ve found for improving genuinely poor soil. If you’re starting with heavy clay or sandy, nutrient-depleted ground, mixing leaf mold into the top six inches before planting makes a real difference. I now do this as standard practice when I install any new camellia.
The big limitation is supply. Making leaf mold requires patience and enough leaves. In autumn I collect bags from my neighbors — oak and maple leaves are ideal. However, if you only have a small quantity, use it as a soil amendment at planting time rather than as surface mulch. You’ll get more benefit that way.
A Mistake I Made That Cost Me a Season
I want to share something I got badly wrong, because I see other camellia growers repeat this same error regularly. Early in my gardening life, I applied a thick layer of pine bark — nearly five inches — right up against the base of a young ‘Professor Charles S. Sargent’ japonica. I thought more was better. I was wrong.
By midsummer, the bark had stayed wet against the stem. The plant developed collar rot. I lost an otherwise healthy four-year-old camellia that I’d propagated myself. It was genuinely heartbreaking, and entirely preventable.
The rule I follow now, without exception: keep mulch pulled back two to three inches from the stem. Three inches deep is the maximum I apply anywhere. If you’re using finer materials like leaf mold, two inches is enough. Mulch is supposed to protect roots, not smother crowns. That distinction matters more than people realize.
How to Choose the Right Mulch for Your Camellia Garden
After all these years, here’s how I think about the decision. It doesn’t have to be complicated.
- Choose pine bark if you want longevity and a tidy appearance, and you’re mulching flat or gently sloping beds. It’s ideal for japonicas in zones 7b through 9.
- Choose pine straw if you’re on a slope, working with a tight budget, or gardening in a region where it’s locally abundant. Sasanquas in particular do beautifully under pine straw.
- Choose leaf mold if you have poor or compacted soil that needs structural improvement, or if you’re planting new camellias and want to give roots the best possible start. It pairs especially well with reticulata cultivars that need excellent drainage and organic richness.
- Combine materials when it makes sense. I often use leaf mold as a soil amendment at planting, then top-dress with pine bark or pine straw as the surface mulch. That combination gets you the best of both worlds.
Timing also matters. Apply or refresh mulch in early spring before summer heat arrives, and again in early autumn if you’re in a hot climate or using a fast-decomposing material like pine straw. In zones 7b and cooler, a fresh autumn application also provides that critical winter insulation for your roots.
Quick Reference: Comparing the Three Mulches
- Pine bark: Long-lasting, moderate acidification, best for flat beds, higher cost, ideal depth 2–3 inches
- Pine straw: Affordable, slope-friendly, needs more frequent refreshing, gentle acidification, ideal depth 3 inches
- Leaf mold: Exceptional for soil structure, best as an amendment or light top-dressing, requires advance preparation, ideal depth 1–2 inches as surface mulch
Final Thoughts on the Best Mulch for Camellias
There’s no single “best mulch for camellias” that wins in every situation. What I can tell you with confidence is that any of these three options — pine bark, pine straw, or leaf mold — will serve your camellias well when applied correctly and refreshed regularly. The worst mulch is no mulch at all.
Start with what’s accessible to you. Pay attention to your soil pH and test it every year or two — a basic soil test kit from your local extension office is inexpensive and genuinely useful. Adjust your mulch strategy as your garden evolves. My own approach has shifted over two decades, and I’m still learning.
If you’re just getting started, I’d suggest reading my post on planting camellias correctly before you mulch — because getting the planting depth right is just as important as what you put on top. And if you’re wrestling with soil pH issues specifically, I’ve written about amending camellia soil in more detail elsewhere on this site.
For now, your action step is simple: go check your existing mulch depth and pull it back from the stems of any camellias