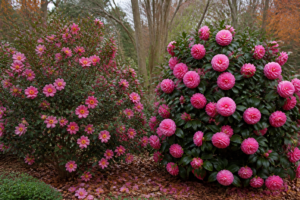
Years ago, I nearly lost a prized ‘Donation’ camellia — a stunning Williamsii hybrid I’d waited three years to bloom — because the soil pH was completely wrong. The leaves turned yellow. Growth stalled. She sulked in that border for two whole seasons before I figured out what was happening. That experience taught me everything I now know about soil pH for camellias, and honestly, it’s the single most important factor I address before planting anything new in my garden.
Getting soil pH right isn’t glamorous. It doesn’t have the excitement of choosing a new cultivar or the satisfaction of seeing your first winter blooms. However, it is absolutely foundational. Ignore it, and everything else you do — your fertilising, your watering, your mulching — will be fighting an uphill battle.
Why Soil pH for Camellias Matters More Than You Think
Camellias are acid-loving plants. That’s not a suggestion — it’s a genuine biological requirement. The ideal soil pH for camellias sits between 5.5 and 6.5. Most experts peg the sweet spot at around 6.0. Go above 6.5, and your camellia starts struggling to absorb iron and manganese from the soil, no matter how much is present.
The result? Interveinal chlorosis. That’s the technical term for what happened to my ‘Donation’ — bright yellow leaves with green veins still showing. It looks alarming, and it is. The plant isn’t dying immediately, but it’s certainly not thriving. In my experience, camellias stuck in alkaline soil rarely perform well long-term, even with intervention.
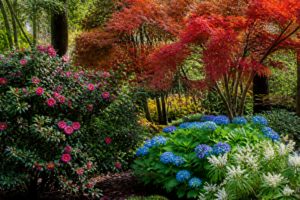
This applies across all the main species I grow. My Camellia japonicas, my Camellia sasanquas, and even my more tender Camellia reticulatas all need that same acidic range. The species might vary in cold hardiness — my sasanquas are workhorses in Zone 8a, while my reticulatas need the warmth of Zone 8b or a sheltered wall — but their soil pH requirements are virtually identical.
How to Test Your Soil Before You Do Anything Else
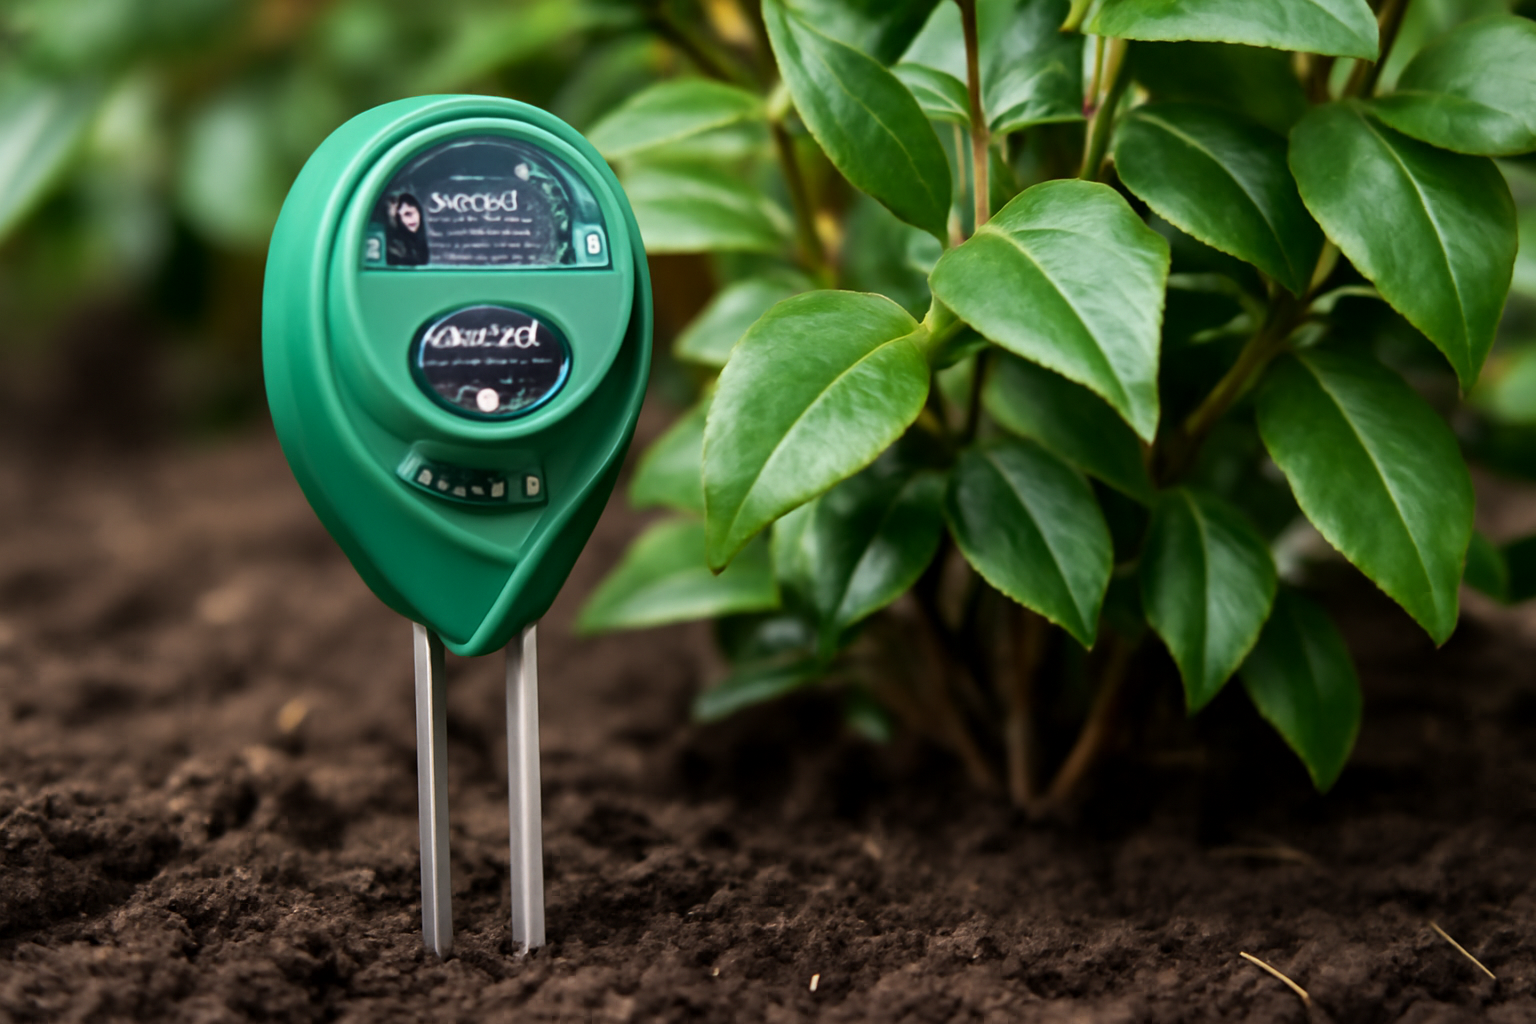
Before you buy a single bag of amendment, test your soil. Seriously — this is non-negotiable. I use two methods in my garden, and I recommend both.
First, I use a basic home pH meter for quick checks. They’re inexpensive and give me a fast reading when I’m scouting a new planting area. However, for real accuracy — especially before a significant new bed — I send samples to my local cooperative extension service. A proper lab test costs very little and tells you not just pH but also nutrient levels and organic matter content. That information is gold.
Here’s my practical testing routine:
- Collect soil from at least five spots in the planting area, about 6 inches deep
- Mix the samples together in a clean bucket before testing
- Test in late summer or early autumn — before your spring planting window
- Retest annually for the first three years after amendment
- Keep a written log — soil pH shifts gradually and your notes will show you trends
Timing matters here. If you’re planting in spring, test the previous autumn. Amendments need time to work. Rushing this process is one of the most common mistakes I see camellia growers make.
What to Do When Your pH Is Too High
Most gardeners in the UK and across much of the US South deal with soil that’s either too alkaline or too neutral. In my Zone 7b beds, I have areas with naturally heavy clay that creeps toward 7.0 without regular attention. That’s just enough to cause problems for finicky japonicas like ‘Nuccio’s Gem’ or the deep crimson ‘Adolphe Audusson’.
The most reliable acidifying amendment is elemental sulfur. Soil bacteria convert it to sulfuric acid over time, gradually lowering pH. It’s slow — we’re talking weeks to months — but it’s stable and long-lasting. For a heavy clay soil at pH 7.0, you might need around 1 to 2 pounds of elemental sulfur per 100 square feet to bring it down to 6.0. Sandy soils need less.
Always check a conversion chart specific to your soil type. The rates vary considerably between sand, loam, and clay. Applying too much at once can overcorrect sharply, which causes its own set of problems.
Other Acidifying Options Worth Knowing
Elemental sulfur isn’t your only tool. In my garden, I also rely heavily on organic matter. Composted pine bark, pine needle mulch, and well-rotted oak leaf mould all contribute to acidification over time. They also improve soil structure dramatically — a dual benefit I value enormously.
Acidifying fertilisers formulated for azaleas and camellias are another useful option. They contain ammonium-based nitrogen, which has a mild acidifying effect with repeated use. I use these as part of my regular feeding programme, but I don’t rely on them alone to correct a serious pH problem. For example, if my soil tests at 7.2, fertiliser alone won’t fix that. Elemental sulfur has to do the heavy lifting first.
One product I’ve used with good results is granular iron sulfate. It works faster than elemental sulfur and also addresses iron deficiency directly. That said, it doesn’t last as long, so it needs more frequent reapplication. I tend to use it as a quick corrective measure while waiting for elemental sulfur to take effect.
The Mistake I Made That Cost Me Two Growing Seasons
Let me tell you about the lesson I mentioned at the start — properly, this time. When I planted ‘Donation’ in a new border, I didn’t test the soil. The area had previously grown lawn, and I assumed it was fine. It wasn’t. That patch sat at pH 7.1.
I added sulfur eventually, but I added it all at once in a heavy dose, trying to speed things up. That was my second mistake. The pH swung too low, briefly hitting 5.0, which stressed the plant further. I lost the better part of two growing seasons nursing her back to a stable 6.0. She’s thriving now, finally. However, those were two springs of barely-there blooms that I’ll never get back.
The lesson is simple: test first, amend gradually, and retest before adding more. Patience isn’t optional with soil chemistry. It’s the whole game.
What to Do When Your pH Is Too Low
Overly acidic soil — below 5.5 — is less common, but it does happen. Some native woodland soils in the American South can sit at 4.5 or even lower. At that range, manganese and aluminium become soluble in toxic concentrations. Even camellias can’t tolerate that.
The traditional fix is agricultural lime, but use it with great caution around camellias. I’ve seen well-meaning gardeners follow general landscaping advice and apply lime generously — then wonder why their camellias collapsed. Dolomitic limestone raises pH, but it does so powerfully and persistently. In my experience, it’s very easy to overshoot with lime.
If I need to raise pH slightly in a camellia bed, I prefer calcitic lime in small, carefully measured amounts. I apply it in autumn and retest in spring before doing anything else. Specifically, I aim to raise pH by no more than 0.5 units per application cycle. Small, controlled adjustments are always safer than large ones.
Building the Ideal Camellia Soil From the Ground Up
If you’re creating a new bed — which is the best opportunity to get everything right — here’s how I approach it. I’ve used this method for new plantings in all three of my zones, from the cold-hardier japonicas in 7b to the sprawling reticulata ‘Buddha’ in my warmest 8b courtyard bed.
Start with your native soil test results in hand. Then build from there:
- Incorporate 4 to 6 inches of composted pine bark into the top 12 inches of soil
- Add elemental sulfur if pH is above 6.5, following rate recommendations for your soil type
- Ensure excellent drainage — camellias despise waterlogged roots as much as wrong pH
- Allow the bed to settle for four to six weeks before planting if possible
- Apply a 2 to 3 inch layer of pine bark mulch over the finished bed surface
- Keep mulch a few inches back from the main stem to prevent rot
That mulch layer does double duty. It conserves moisture and moderates soil temperature, yes. On the other hand, as it breaks down over years, it contributes to the gradual acidification of the soil beneath. It’s a small but meaningful ongoing contribution.
Drainage: The Silent Partner of Soil pH
I want to make a specific point about drainage here, because it directly affects pH stability. Waterlogged soil tends to become more acidic over time as anaerobic decomposition takes over. That might sound helpful, but the kind of acidity produced in boggy conditions isn’t the healthy kind. It creates toxic byproducts that damage roots — even in acid-loving plants.
My sasanqua ‘Yuletide’, which I grow for its cheerful red autumn blooms in Zone 8a, suffered root damage in a poorly drained corner one particularly wet winter. The pH reading that spring was oddly low — 5.1 — despite my careful management. Waterlogging was the culprit. Good drainage and good pH go hand in hand. You genuinely can’t manage one without the other.
Maintaining the Right Soil pH for Camellias Long-Term
Getting your soil pH right once is only the beginning. Soil pH is not static. Rainfall leaches acidity from some soils. Tap water in many areas is alkaline and can nudge pH upward over time. Decomposing organic matter, fertiliser applications, and even the plants themselves influence the chemistry around their roots.
In my garden, I test established camellia beds every one to two years. For newer plantings — anything in its first three years — I test annually. That’s how I caught a slow creep toward 6.8 in my main japonica border before it caused visible problems. A small sulfur application that autumn brought things back into range with no impact on my plants.
Annual mulching with pine bark or pine needles is honestly the lowest-effort maintenance habit you can build. It’s gentle, consistent, and effective. My longest-established camellia beds — some with plants over fifteen years old — hold steady around 6.0 to 6.2 largely because of consistent mulching. I write more about mulching strategies in my post on camellia year-round care, which is worth reading alongside this one.
A Simple Annual pH Maintenance Checklist
- Test soil pH in late summer or early autumn each year
- Top up pine bark mulch in autumn and again in late spring
- Apply acidifying camellia fertiliser in early spring and again after flowering
- Correct any upward pH drift with small, measured sulfur applications in autumn
- Irrigate with collected rainwater where possible, especially in high-alkaline tap water areas
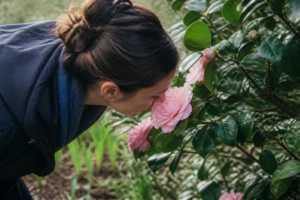
- Watch leaves for early yellowing — interveinal chlorosis is your warning signal
Your Next Step Starts With a Soil Test
After twenty-plus years of growing camellias across three zones, managing over 200 named cultivars from the humble ‘April Kiss’ sasanqua to the extravagant ‘Francie L’ reticulata, I keep coming back to the same foundational truth: soil pH for camellias is where every successful garden begins.
You can spend hundreds on rare cultivars. You can water faithfully, prune carefully, and protect against frost diligently. However, if the soil chemistry is wrong, you’re working against yourself at every turn. Get this right first, and everything else becomes so much easier.
My practical action step for you is this: order a soil test kit today, or find your local cooperative extension service online and request a submission form. Test before you plant anything new this season. If you already have camellias