A few springs ago, I nearly lost my only specimen of ‘Royalty’ — a stunning Camellia reticulata with blooms the size of saucers — to a particularly brutal ice storm. That close call pushed me to finally get serious about air layering camellias, something I’d been putting off for years. I’d always thought it seemed fiddly and complicated. Honestly? It turned out to be the most reliable propagation method I’ve ever used, and I wish someone had pushed me to try it sooner.
If you’ve got a camellia you love — a treasured Japonica, a prolific Sasanqua, or a once-in-a-generation reticulata — air layering is the safest, most beginner-friendly way to make an exact genetic copy. No grafting skills required. No misting bench. Just a sharp knife, some sphagnum moss, and a little patience.
What Is Air Layering Camellias, Exactly?
Air layering is a propagation technique where you encourage a stem to grow roots while it’s still attached to the parent plant. The stem is wounded, wrapped in moist sphagnum moss, and sealed in plastic. Over several weeks, roots develop right there on the branch. Once rooted, you cut the new plant free and pot it up.
It’s genuinely clever. The cutting never goes through the stress of surviving without a root system, because it doesn’t need to — the parent plant keeps it fed and hydrated the whole time. As a result, success rates are dramatically higher than with traditional stem cuttings. In my experience, I see roots on 80–90% of my air layers. With cuttings, even under ideal conditions, I’m lucky to hit 60%.
Why Camellias Are Perfect Candidates
Camellias respond exceptionally well to air layering. Their stems callus predictably, and they produce adventitious roots readily when wounded and kept moist. That said, not all camellias root at the same speed.
In my garden, Camellia sasanqua varieties like ‘Setsugekka’ and ‘Yuletide’ root faster than almost anything else — sometimes in as little than six weeks. Camellia japonica cultivars like ‘Nuccio’s Gem’ and ‘Professor Sargent’ take longer, typically eight to twelve weeks. Camellia reticulata hybrids, including my cherished ‘Royalty’ and ‘Buddha’, can be slowest of all — sometimes pushing fourteen weeks.
Don’t let that discourage you. Slower rooting just means more patience, not more failure. I’ve air layered successfully across all three species groups, and the results are always worth the wait.
The Best Time to Air Layer Camellias
Timing matters quite a bit here. The ideal window is late spring through early summer — roughly late April through June in USDA zones 7b and 8a, and sometimes stretching into July in zone 8b. You want the plant actively growing, with the current season’s new growth having just hardened off slightly.
Avoid air layering during a bloom flush. The plant is already putting enormous energy into flowering, and you’ll see slower rooting as a result. For fall-blooming Sasanqua varieties, this means working in spring before bud set. For spring-blooming Japonicas, wait until after the blooms fade and the new flush of growth has matured a little — usually late May in my zone 8a garden in the Carolinas.
I’ve tried autumn air layers out of curiosity. They can work, but rooting is sluggish and you risk going into winter with an unrooted layer sitting out there. Stick to spring and early summer. You’ll have much better results.
What You’ll Need
Gather everything before you go out to the garden. Once you start the process, you don’t want to stop halfway through. Here’s what I use:
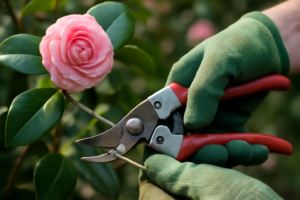
- A sharp, clean knife or box cutter (I sterilize mine with isopropyl alcohol between plants)
- Long-fiber sphagnum moss, pre-soaked and wrung out until damp but not dripping
- IBA rooting hormone powder or gel (I prefer gel — 0.3% IBA for camellias)
- Clear polyethylene plastic wrap, about 12 inches wide
- Black plastic or aluminum foil to wrap over the clear plastic (optional but helpful in hot climates)
- Budding tape, electrical tape, or twist ties to seal the ends
- A marker and garden stakes to label and support the air layer
The sphagnum moss is non-negotiable. Peat, coir, or potting mix simply won’t hold moisture as consistently or maintain the airy structure that encourages root development. Specifically, I order long-fiber New Zealand sphagnum moss — it stays moist longer and gives the roots something to grip into.
Choosing the Right Branch
Branch selection makes or breaks your air layer. You’re looking for a healthy, pencil-thick stem from the current or previous season’s growth. Avoid anything too young and soft — it rots before it roots. On the other hand, very old woody branches are slow to respond.
For most Japonicas, I target stems about the diameter of a standard pencil, roughly 12–18 inches long from the tip. For larger reticulatas, I’ll go slightly thicker. The branch should have several healthy leaves and no signs of pest damage or disease.
Pick a branch you can access easily and that won’t be awkward to wrap. Low-hanging branches are ideal. I’ve done air layers eight feet up on a tall ‘April Dawn’ Japonica before, balanced on a ladder — it worked, but I don’t recommend the experience.
Step-by-Step: How to Air Layer a Camellia
Step 1: Prepare the Wound
Choose your spot on the branch — about 12 inches back from the growing tip. Remove leaves from a 3–4 inch section at that point. Now you’ll create the wound that triggers root formation.
There are two methods. I prefer the ring method: remove two parallel rings of bark about 1.5 inches apart, then strip away the bark and the green cambium layer between them, right down to the hard white wood. Scrape it clean. Any remaining cambium left behind can cause the cut to heal over without rooting — something I learned the hard way on a beautiful ‘Fashionata’ japonica several years ago. No roots formed at all because I left too much tissue behind.
The alternative is a single upward angled cut, propped open with a toothpick. This works too, but I find the ring method more reliable for camellias specifically.
Step 2: Apply Rooting Hormone
Apply your IBA gel directly to the wounded surface. Cover it thoroughly — the entire exposed wood area. If using powder, dust it on and tap off the excess. Don’t skip this step. Rooting hormone makes a measurable difference in both speed and percentage of success, especially with slower-rooting reticulata types.
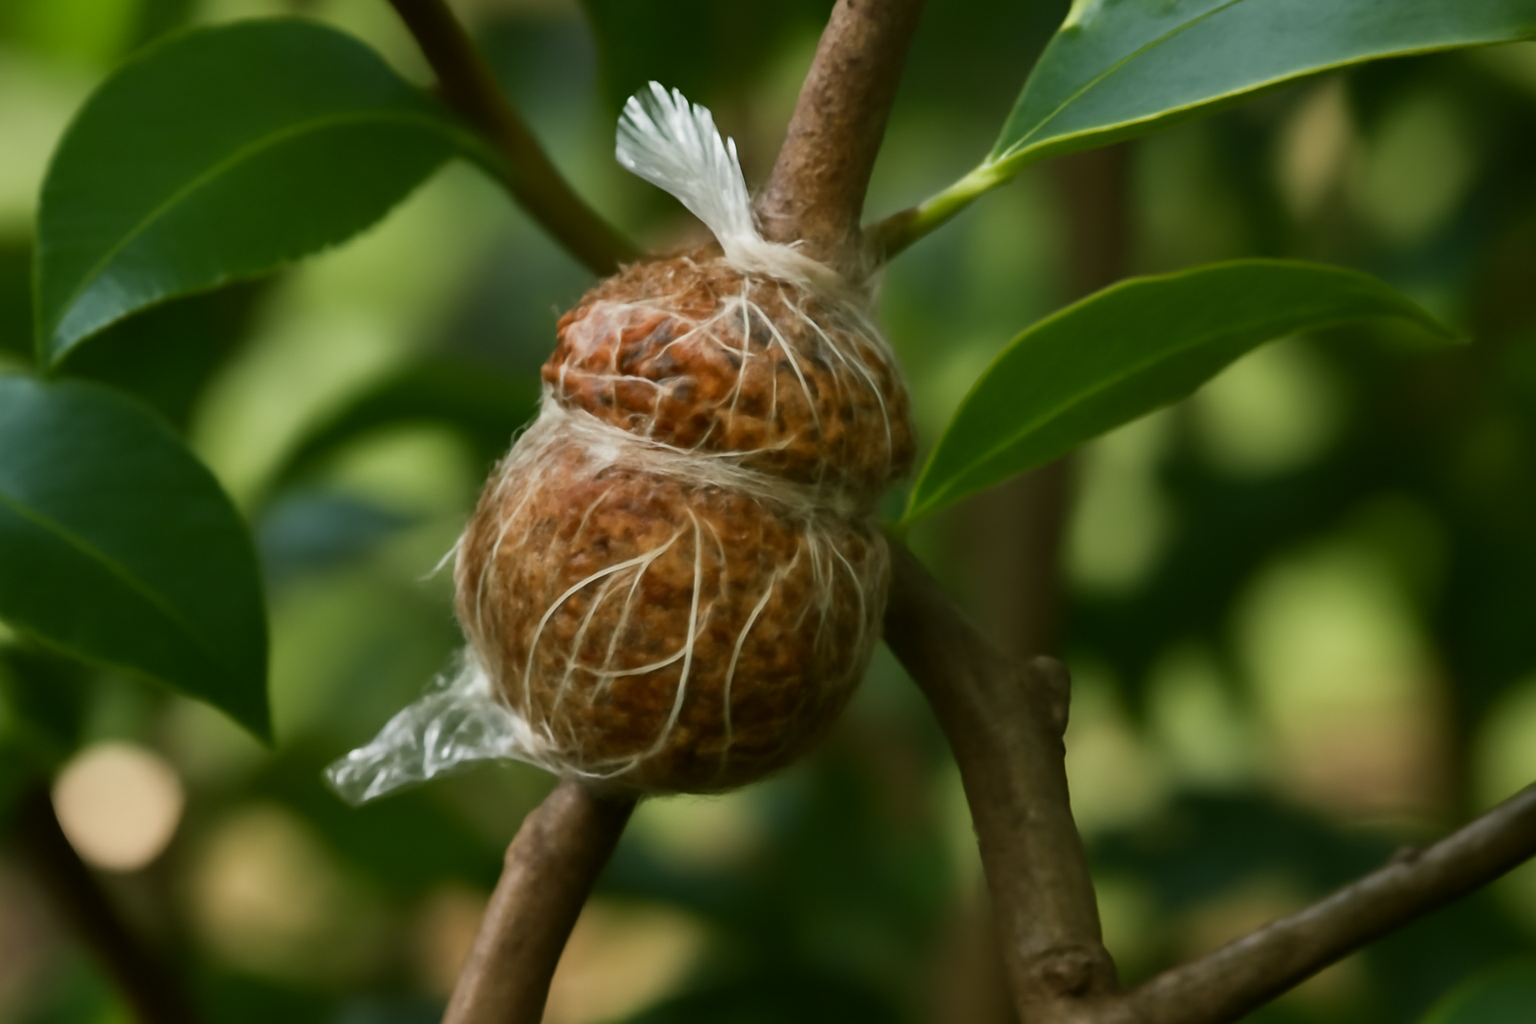
Step 3: Pack on the Sphagnum Moss
Take a generous handful of your pre-soaked sphagnum moss — I mean a real handful, about the size of a tennis ball. Pack it firmly around the wound, covering the entire wounded section with at least an inch of moss on all sides. You want good contact with the wood.
Immediately wrap the moss ball tightly with your clear plastic wrap. Overlap it generously. Seal the bottom end first with tape or a twist tie, working upward. Seal the top end as well. You’re aiming for an airtight package — no gaps where moisture can escape. In warm, dry climates like my zone 8b coastal planting, a dried-out moss ball is the number one cause of failure.
Step 4: Add an Outer Wrap (Optional but Recommended)
In summer heat, I add an outer layer of black plastic or aluminum foil over the clear wrap. This serves two purposes: it keeps the moss from drying out, and it prevents the temperature inside the package from spiking. Direct sun on a clear plastic wrap can cook your developing roots. For camellias in zones 8a and 8b, this extra layer is genuinely worth the effort.
Monitoring and Knowing When to Cut
Check your air layer every two to three weeks. You’re looking for white roots visible through the clear plastic, pushing into the sphagnum moss. With Sasanqua types, I sometimes see roots at six weeks. With Japonicas, I expect to wait eight to twelve. Reticulatas, as I mentioned, sometimes push fourteen weeks.
Don’t cut the layer free until you see a healthy root system — not just one or two threads, but a genuine mass of white roots filling the moss. Premature cutting is the most common mistake I see in gardening groups online. Give it time. The parent plant is still feeding the layer, so there’s no rush.
If your moss feels dry when you squeeze the package gently, it needs water. Make a small slit in the top, add water, and reseal. However, this shouldn’t happen often if you sealed the package well initially.
Separating and Potting Up Your New Camellia
Once you’re happy with the root development, it’s time to separate. Cut the branch just below the bottom seal of your moss package. Carefully remove the plastic and moss — don’t pull. The roots will have grown right into the sphagnum, and that’s perfectly fine. You can pot the entire moss ball without disturbing the roots.
Use a well-draining acidic potting mix. I use a blend of 60% pine bark fines, 30% perlite, and 10% peat, which lands around pH 5.5–6.0 — exactly the range camellias need. Avoid regular garden soil entirely. It compacts too much in a container and will suffocate those new roots.
Pot into a container only slightly larger than the root ball — a one-gallon pot for most air layers. Place it somewhere with bright indirect light and protect it from wind. Water thoroughly, then let it almost dry out before watering again. For the first four to six weeks, treat your new plant gently. It’s establishing, and overwatering at this stage causes more losses than almost anything else.
I also wrote more about aftercare and container growing in my post on growing camellias in pots — worth a read if you’re planning to keep your new plant in a container for a season or two before planting out.
A Mistake I Made (So You Don’t Have To)
Let me save you one painful lesson. My first year air layering, I potted up a beautifully rooted ‘Nuccio’s Gem’ air layer in late July and immediately planted it in the ground. August heat hit hard, the roots couldn’t keep up with the foliage demand, and I lost it within three weeks. I was devastated.
Now I keep every air layer in a pot for a full season — through at least one winter — before planting out. The root system needs time to develop strength and spread. Specifically, I harden them off in dappled shade for the first full summer, then move to a protected spot for winter. By the following spring, they’re ready for the garden and they establish beautifully.
Air Layering Camellias: Your Next Step
Air layering camellias is genuinely one of the most satisfying things I do in my garden each spring. There’s something almost magical about unwrapping that plastic and seeing a dense mat of white roots where there was nothing but bare wood a few months ago. It never gets old — even after twenty-plus years and hundreds of layers.
If you have a camellia you love — one that’s bloomed faithfully for years, or a named cultivar that would be heartbreaking to lose — please don’t wait for a near-miss like my ‘Royalty’ ice storm scare. This spring, pick one branch, gather your supplies, and give it a try.
Start with a Sasanqua if you want a confidence-building first attempt. ‘Setsugekka’ and ‘Yuletide’ are both fast, reliable rooters and absolutely worth having more of. Then graduate to a Japonica or reticulata once you’ve got the technique down.
You’ll have a rooted clone of your favorite plant by summer’s end — and that’s a genuinely wonderful thing to be able to say.