
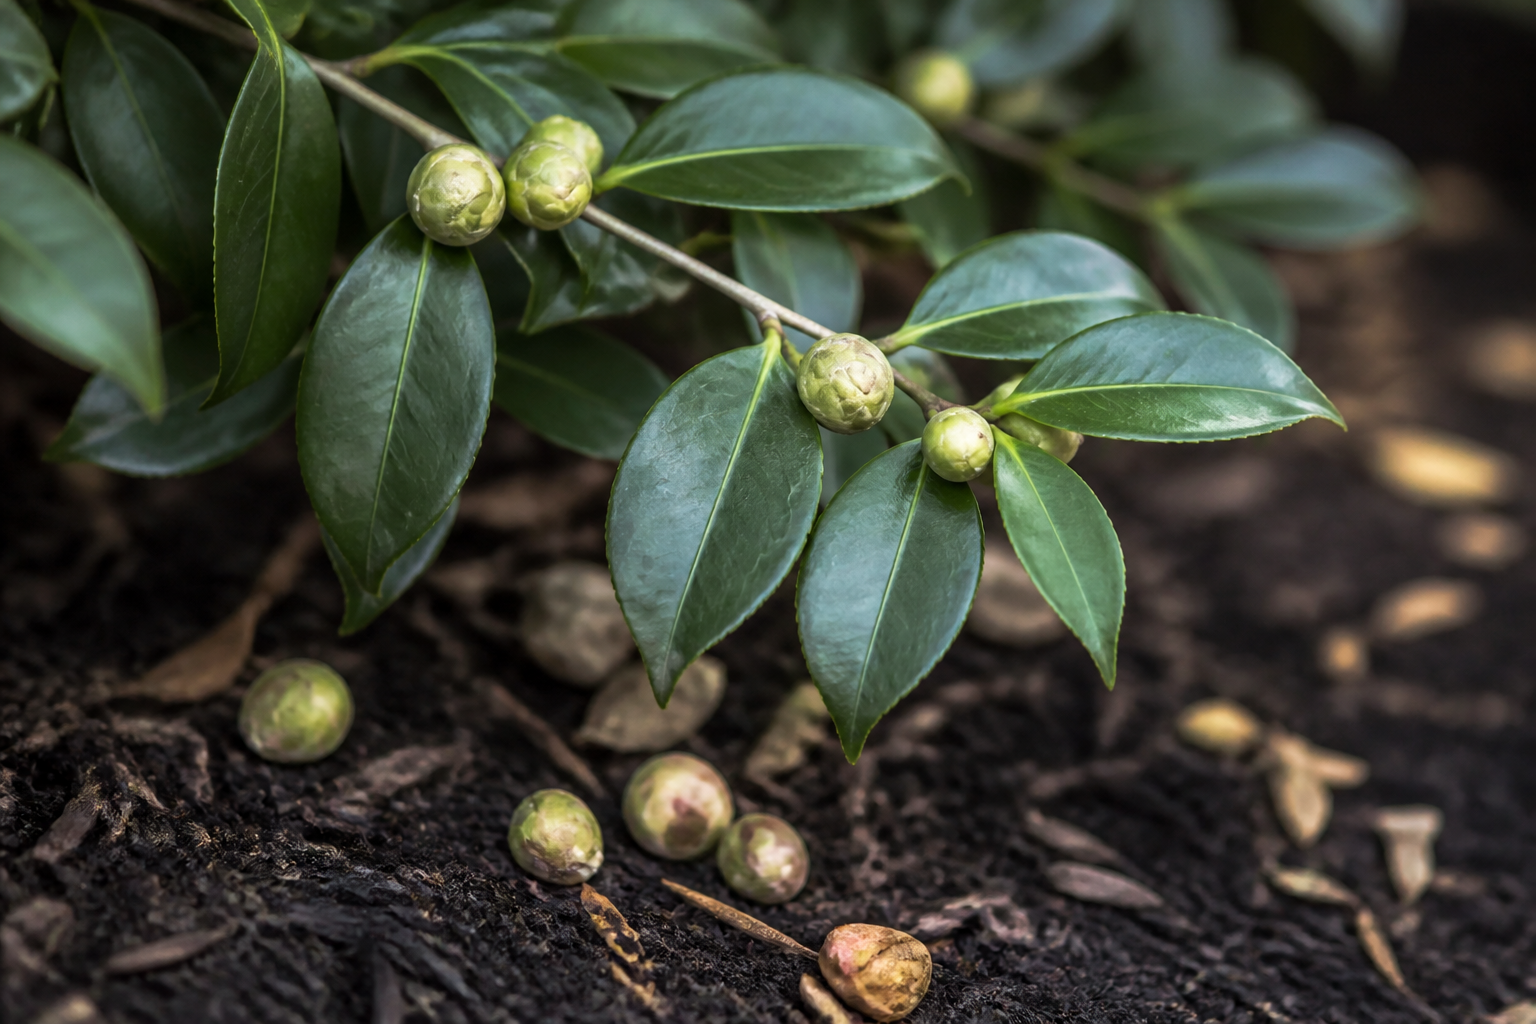
Camellia buds abort and fall by the dozens—sometimes hundreds—right when you’re counting down to blooms. You’ve waited months for flower set, the buds swell through summer and fall, then November or December arrives and half the buds litter the ground unopened. It’s one of the most disheartening problems camellia growers face.
Bud drop almost always signals a stress event that occurred weeks or even months earlier, during bud development. Because camellias set their flowers in advance—often over a 6–8 month window—identifying the cause requires thinking backward. Here are the five most common culprits and how to address each one.
1. Underwatering During Bud Development
The single most common cause of camellia bud abortion is inconsistent or insufficient water during the critical bud-set period, roughly June through October in most temperate climates.
Camellias are woodland plants with shallow, fibrous root systems that live in the top 12–18 inches of soil. They need steady moisture—not waterlogged, but never bone-dry. During bud set, water stress tells the plant to drop flowers as a survival response. Buds that formed under drought conditions are more likely to abort later.
How to fix it:
- Water deeply and evenly 1–2 times per week during summer and early fall, depending on rainfall and soil type. Sandy or amended soils dry out faster; clay or mulched beds stay wetter longer.
- Check soil moisture 3–4 inches down with your finger; it should feel cool and slightly damp, not sticky or powdery.
- Mulch with 2–3 inches of bark or leaf litter to buffer temperature swings and retain moisture without waterlogging.
- If your area has had an unusually dry summer or fall, increase watering frequency.
- Avoid watering late in the day or leaving foliage wet overnight in cool months; this invites fungal problems but doesn’t improve bud survival.
Going forward, consistent watering in summer and early fall is the single best prevention strategy. Mark your calendar or set a reminder if you tend to forget.
2. Temperature Fluctuations and Frost Shock
Camellias tolerate cold—many cultivars survive to –10 °F or lower—but they struggle with rapid temperature swings. A warm spell followed by a hard frost, or freezing nights after a warm day, can shock developing buds and cause them to drop weeks later.
This is especially common in the Pacific Northwest and other maritime climates where November and December bring wild swings from 60 °F to 28 °F overnight. Buds that formed in steady, mild conditions are less hardy than those that acclimate to cooling gradually.
How to fix it:
- Plant camellias in a spot with afternoon shade and wind protection (east- or north-facing, sheltered by taller plants or structures). This slows warm-up on sunny winter days and reduces the shock of sudden cold.
- Avoid planting in open, frost-prone valleys or south-facing sites that get intense winter sun.
- Don’t fertilize after August; soft, nitrogen-rich growth is more frost-sensitive than hardened wood.
- For tender cultivars in borderline zones, shade cloth during warm spells in late fall can help, though this is rarely necessary.
- If a severe frost is forecast after mild weather, don’t panic—the buds are tougher than they look. Overhead watering before dawn can help, though it’s labor-intensive.
Site selection is the best long-term solution. If your camellia is already stressed by an exposed location, moving it (in late spring or early summer) may be worth the effort.
3. Nutrient Deficiency, Especially Boron
Camellias need steady nutrition, but deficiencies—particularly of boron—can cause buds to fail to set or to drop after forming. Boron is essential for flower development and pollen viability. Low boron, often worsened by high-pH soil or potassium imbalance, results in hollow, aborted buds that fall prematurely.
Nitrogen deficiency also shows up as pale foliage and weak bud set, but it’s usually easier to spot (leaves look uniformly yellow-green).
How to fix it:
- Apply a balanced, slow-release fertilizer formulated for acid-loving plants (azaleas, rhododendrons, camellias) in early spring and again in mid-summer. Follow the label rate carefully; more is not better.
- If foliage is uniformly pale or yellowing, add a dose of balanced liquid fertilizer in May or June.
- Test your soil pH if possible; camellias prefer 5.5–6.5. If pH is above 7, boron and other micronutrients may be locked up. Sulfur or acidifying amendments can help, though results take time.
- Avoid over-fertilizing with high-nitrogen formulas, which promote leafy growth at the expense of flowers.
- If leaves look mottled (yellow between green veins), consult a soil test or contact your local cooperative extension for diagnosis; this may indicate magnesium, iron, or another nutrient issue.
Balanced, consistent feeding—not heavy feeding—is the goal.
4. Root Stress and Poor Drainage
Camellias planted in poorly draining soil, compacted clay, or pots without drainage holes often develop stressed root systems that can’t support bud development. Waterlogged roots also invite fungal pathogens like root rot, which weakens the plant over weeks or months. By the time you see yellowing leaves or wilting, significant root damage has already occurred.
How to fix it:
- Check drainage in your planting bed. Dig a hole, fill it with water, and see if it drains within a few hours. If water sits for 24 hours or more, the soil needs amendment.
- Amend heavy clay with aged bark, compost, or peat moss to a depth of 12–18 inches. Camellias prefer light, airy soil.
- Plant camellias slightly high (crown 1–2 inches above grade) to improve drainage around the base.
- In containers, use a potting mix formulated for camellias or rhododendrons, not generic potting soil. Refresh the top 2–3 inches of soil each spring.
- If a camellia in a pot is dropping buds and the soil stays soggy, repot into fresh, well-draining medium in late spring and reduce watering frequency.
- Avoid applying heavy mulch or soil directly against the trunk; leave 4–6 inches of bare space.
Poor drainage is often invisible until root damage is advanced, so prevention (good planting and amendment) is far more effective than rescue.
5. Thrips Damage
Spider mites and thrips can colonize camellia buds during late summer and fall, puncturing developing flower tissues and causing bud deformity or drop. Thrips are tiny (1–2 mm) and mostly feed inside buds, so you won’t always see them. If buds show small dark spots, stippling, or a silvery sheen before they drop, thrips or mites are likely involved.
How to fix it:
- Inspect buds and young leaves weekly from August onward, using a hand lens if possible. If you spot tiny insects or feeding damage, act quickly.
- A strong spray of plain water (not high pressure, which damages buds) can dislodge mites; repeat every few days for two weeks.
- Insecticidal soap or neem oil, applied every 7–10 days in early morning or late afternoon, can reduce thrips populations if caught early. Always follow label directions and test on a small area first.
- Avoid broad-spectrum insecticides, which kill beneficial insects and can stress the plant further.
- Heavy infestations are hard to reverse mid-season; focus on prevention the following year by maintaining plant vigor and checking buds regularly.
Thrips problems are less common than water stress or temperature issues, but they’re worth monitoring for, especially in warm, dry falls.
Putting It Together
The chart below summarizes the five causes and their telltale signs:
| Cause | Key Signs | Timing | Fix Priority |
|---|---|---|---|
| Underwatering | Rapid drop, dry soil | Post-drought (late summer/fall) | 1st |
| Temperature swings | Drop after warm spell + frost | November–January | 2nd |
| Nutrient deficiency | Pale foliage, slow growth | Spring–summer | 3rd |
| Root stress | Wilting, waterlogged soil | Any time | Urgent |
| Thrips/mites | Spotted or stippled buds | August–October | Check weekly |
Most gardens face more than one stressor at a time. A camellia that’s slightly underfed and planted in clay with inconsistent watering will drop buds more reliably than one with just one problem. The good news is that fixing the most obvious issue (usually water or drainage) often improves the others.
Going Forward
Moving into next season, I’d start with consistent watering through June–October and a soil amendment check. If your site is exposed or frost-prone, consider a windbreak or shade cloth. Once those basics are solid, attend to nutrition and pest monitoring. Most camellia growers see dramatic improvements in bud retention within one season of addressing water and drainage problems alone.
Camellia bud drop is frustrating, but it’s almost always preventable. Track what you changed—watering schedule, mulch, fertilizer, site—and watch the buds stay put.
About This Article

Written by Helen Pritchard. Helen Pritchard is a lifelong gardener in the Pacific Northwest who has grown more than 200 named camellia cultivars over two decades. She writes practical, experience-based guides to camellia care, from variety selection and pruning to troubleshooting yellowing leaves and bud drop. More about this site.
Verify this against a primary source
Specifics change, and your situation may differ from the one described here. These are the authorities worth checking directly:
- American Camellia Society — cultivar registration and culture guides
- USDA Plant Hardiness Zone Map — zone verification for your location
- Royal Horticultural Society — camellia cultivation and pest guidance



