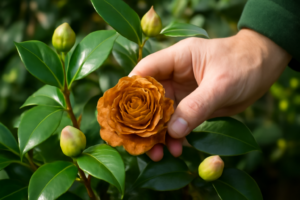
Last spring, I watched my prized ‘Nuccio’s Gem’ japonica sulk through an entire bloom season. The flowers were sparse, the leaves pale yellow-green, and no amount of fertilizer seemed to help. After years of growing camellias, I should have tested the soil first. When I finally did, the pH read 7.2 — far too alkaline for a plant that thrives in acid conditions. That experience reminded me why knowing how to acidify soil for camellias isn’t optional. It’s foundational. Get it wrong, and your camellias will struggle no matter how well you care for them in every other way.
Why Soil pH Matters So Much for Camellias
Camellias are acid-loving plants. Full stop. Whether you’re growing a delicate Camellia japonica like ‘Professor Charles S. Sargent,’ a tough Camellia sasanqua like ‘Yuletide,’ or a showstopper Camellia reticulata like ‘Crimson Robe,’ they all want the same thing from their soil: a pH between 5.5 and 6.5.
Here’s why that range matters. Soil pH controls nutrient availability. Iron, manganese, and magnesium — all critical for camellias — become locked up in alkaline soils. The plant can’t absorb them, even when they’re physically present. That yellowing between the leaf veins I saw on ‘Nuccio’s Gem’ was classic iron chlorosis. The iron was there. The pH just wouldn’t let my camellia reach it.
In my Zone 8a garden, our native soil tends toward a pH of 6.8 to 7.2. That’s a problem right out of the gate. If you’re in a Zone 7b region with heavy limestone influence, or gardening in the alkaline West, you may be starting even higher. Knowing your baseline is everything.
Test Before You Do Anything Else
I can’t stress this enough. Before you buy a single bag of sulfur or pour a drop of vinegar on your soil, test your pH. A basic home test kit from your local garden center works fine. However, I’d strongly recommend sending a sample to your local cooperative extension office instead. You’ll get a precise reading and specific amendment recommendations for your soil type. That costs me around $15 to $20 and saves me from guessing.
Test every year or two, especially in the first few seasons after planting. Soil pH shifts gradually, and you want to catch problems before your camellias start showing symptoms. My rule of thumb: test in early fall, amend if needed, and let winter do the work of integrating changes before spring growth begins.
The Best Methods to Acidify Soil for Camellias
There’s no single magic solution. In my experience, the best approach depends on how far off your pH is, your soil type, and whether you’re preparing a new bed or adjusting around established plants. Let me walk you through the methods I’ve actually used — and which ones I trust most.
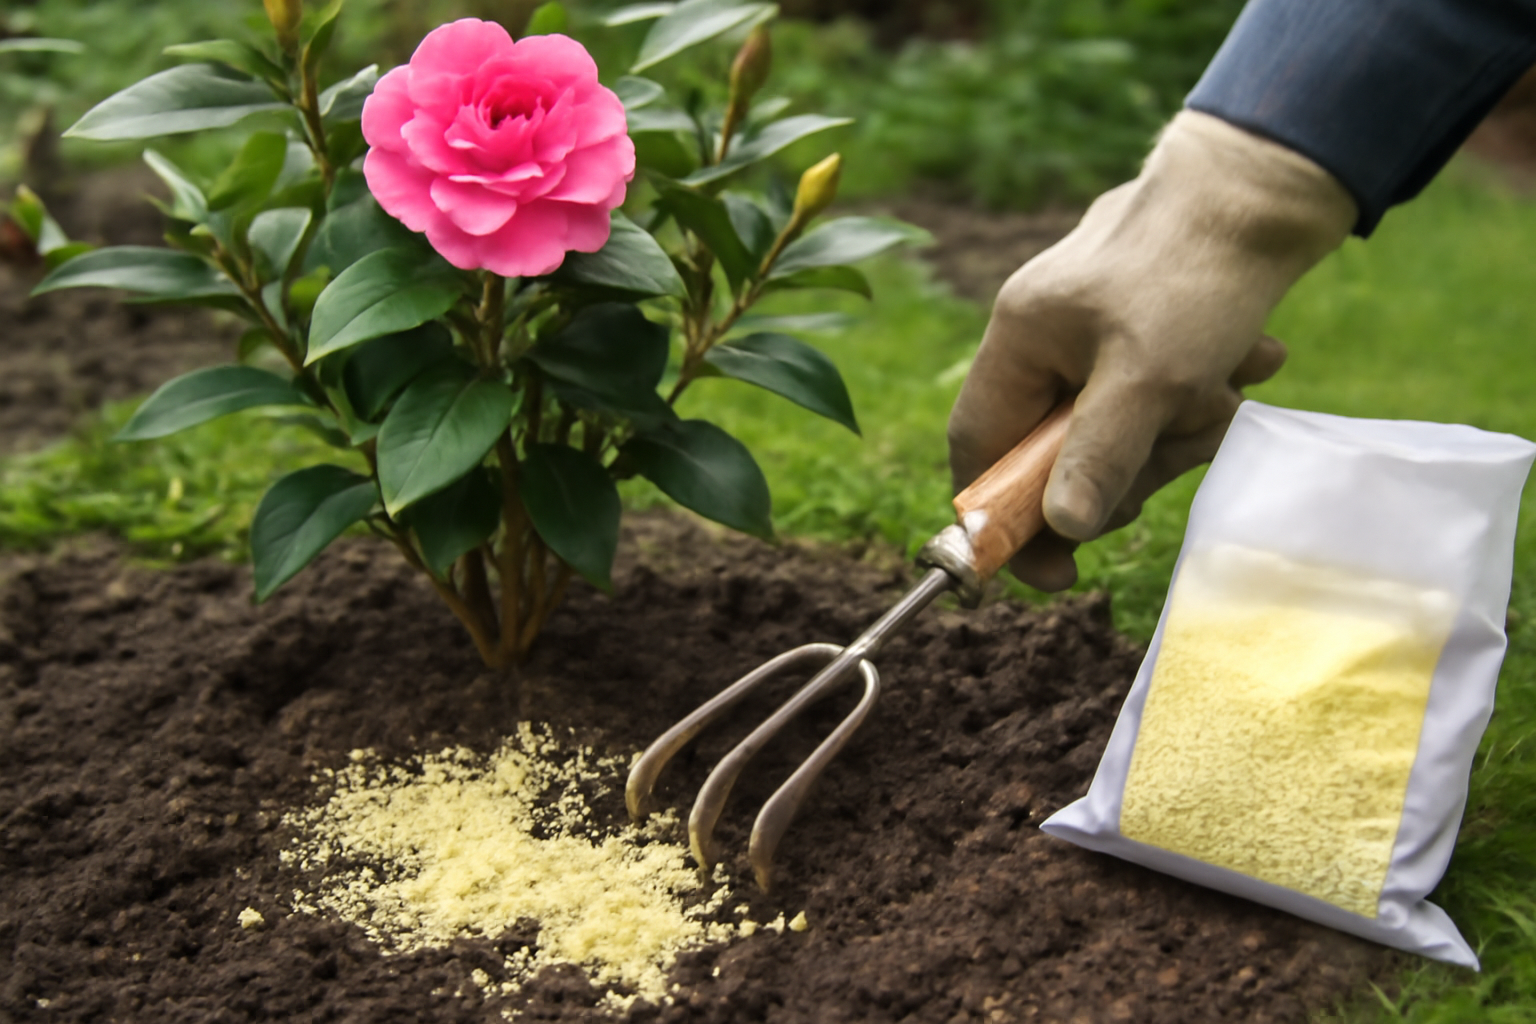
Elemental Sulfur: My Go-To for Long-Term Correction
Elemental sulfur is my first choice for serious pH correction. Soil bacteria convert it slowly into sulfuric acid, which gradually lowers pH. The keyword there is gradually. This is not a quick fix — it can take three to six months to see the full effect. That said, it’s the most reliable method I know for a lasting shift.
For a sandy loam soil needing to drop from pH 7.0 to 6.0, I’d typically apply around 1 to 2 pounds of sulfur per 100 square feet. Clay soils need more — sometimes double that amount. Always check the product label and your extension office recommendations for your specific soil type. I apply sulfur in early fall, work it into the top six inches of soil, and water it in well.
One important caution: don’t over-apply. Going below pH 5.0 causes its own set of problems, including aluminum toxicity. I aim for that 5.5 to 6.5 sweet spot and check pH again after six months before adding more.
Acidifying Fertilizers: Feeding and Correcting at Once
Fertilizers formulated specifically for acid-loving plants — think products with ammonium sulfate or those labeled for azaleas and camellias — have a mild acidifying effect over time. They won’t rescue a pH of 7.5 on their own. However, used consistently alongside other amendments, they help maintain the pH you’ve worked to achieve.
I use an acid-forming fertilizer every spring on all my camellias, from the compact sasanquas like ‘Setsugekka’ along my fence line to the large reticulata specimens I shelter against my south-facing wall. It keeps things ticking in the right direction between my annual soil tests.
Avoid high-nitrogen fertilizers that use nitrate forms — these can actually raise soil pH slightly over time. Ammonium-based nitrogen sources are better choices for camellias.
Aluminum Sulfate: Fast-Acting but Handle With Care
Aluminum sulfate works faster than elemental sulfur — often within a few weeks. For that reason, it can be tempting. However, it also carries more risk. Over-application leads to aluminum toxicity in the soil, which damages roots. I’ve seen gardeners burn entire camellia plantings this way.
In my garden, I use aluminum sulfate only occasionally, for targeted spot corrections on established plants showing acute symptoms. I follow the label dosage precisely and water heavily afterward. For large-scale bed preparation, I stick with elemental sulfur instead. The slower pace is worth the safety margin.
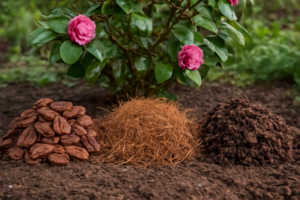
Acidic Organic Matter: The Gentlest Approach
Pine bark mulch, pine needle mulch, and composted leaf mold from oaks all contribute to gradual acidification. More importantly, they improve soil structure, drainage, and moisture retention — everything camellias need alongside the right pH. This is my favorite approach for new bed preparation.
When I prepared the new camellia bed along my back fence two years ago, I incorporated several inches of aged pine bark into the native soil before planting. I also top-dressed with pine needle mulch four inches deep. That combination brought my starting pH down from 6.9 to 6.3 by the following spring — without touching a bag of sulfur.
For established camellias, simply maintaining a three to four inch layer of pine bark or pine needle mulch year-round makes a meaningful difference over time. As it breaks down, it releases mild organic acids into the soil below. It also protects roots from temperature swings — especially useful in my Zone 7b bed where late frosts are always a risk.
A Mistake I Made (So You Don’t Have To)
Early in my camellia-growing years, I read that vinegar could lower soil pH. Sounded simple. Cheap. Immediate. So I mixed up a diluted solution and drenched the soil around my ‘Spring’s Promise’ japonica, which was struggling in what I suspected was too-alkaline soil.
The effect was almost zero. Vinegar acidifies temporarily — we’re talking hours or days at most. The soil’s buffering capacity neutralizes it almost immediately. Worse, I repeated the treatment several times, and the acetic acid began to affect the beneficial microbial life in the soil. My camellia got worse, not better. It took two seasons to fully recover after I corrected the pH properly with elemental sulfur and rebuilt the soil with good organic matter.
Please skip the vinegar. It’s a gardening myth that refuses to die. Use proven methods instead.
Preparing a New Camellia Bed: Putting It All Together
When I’m starting a brand new planting area, I combine several strategies at once. Here’s my actual process, refined over two decades and more beds than I can count.
- Test the native soil pH first — always.
- If pH is above 6.5, apply elemental sulfur at the recommended rate and work it in six to eight inches deep.
- Incorporate generous amounts of aged pine bark fines or composted pine bark — at least 30% of the overall soil volume.
- Add a quality compost, but avoid mushroom compost, which is typically alkaline and counterproductive for camellias.
- Top-dress with four inches of pine bark mulch after planting. Keep it pulled back two inches from the trunk.
- Retest pH at six months and again at twelve months before adding any further amendments.
I do all my major bed prep in late summer or early fall. That gives the sulfur several months to work before I plant in spring. For fall-planting sasanquas — varieties like ‘Kanjiro’ and ‘Mine-no-yuki’ establish beautifully with a fall planting in Zone 8 — I prepare the bed at least eight weeks ahead.
What About Container-Grown Camellias?
Containers are actually easier to manage. I use a potting mix specifically designed for acid-loving plants — or blend my own using two parts pine bark fines, one part perlite, and one part peat moss or coir. This naturally creates the right pH environment without much amendment needed.
For container camellias, I use an acidifying liquid fertilizer every four to six weeks during the growing season. Specifically, I watch my potted reticulata cultivars like ‘Dr. Clifford Parks’ closely — they’re vigorous growers and heavy feeders. Topdressing with sulfur-coated fertilizer pellets twice yearly also keeps the mix in the right range.
One thing to watch: rainwater is slightly acidic and helps maintain pH in outdoor containers. Tap water, however, is often alkaline. If you’re using tap water consistently, your container pH can creep up over months. Testing container mix every spring is a habit worth building.
Timing, Maintenance, and Keeping pH Stable
Acidifying soil for camellias isn’t a one-time project. It’s ongoing maintenance. Soil pH naturally tends to drift back toward neutral over time, especially in areas with alkaline rainfall or irrigation water. Here’s the simple rhythm I follow each year.
In early fall, I test and amend if needed. Through winter, I let the amendments integrate. Each spring, I apply an acidifying fertilizer as growth begins. Midsummer gets a second light fertilizer application for vigorous growers. Year-round, I maintain that mulch layer — replenishing it as it breaks down. That consistent routine keeps my collection healthy across all three of my growing zones.
I’ve written more about camellia fertilizing timing and what to look for in a good camellia fertilizer in a separate post — that’s worth reading alongside this one if you want the full picture on feeding your plants.
Signs Your Camellia Still Isn’t Happy With Its Soil
Even with amendments in place, watch for these warning signs that pH correction isn’t complete or has slipped again:
- Yellowing leaves with green veins (interveinal chlorosis) — classic iron deficiency from high pH
- Pale, washed-out leaf color overall rather than deep, glossy green
- Poor, sparse bloom production despite good light and appropriate pruning
- Slow, stunted growth that doesn’t respond to fertilizing
- Leaf drop outside the normal late-winter shedding cycle
Any one of these symptoms in an established camellia sends me straight to the pH meter. More often than not, that’s the culprit. For more on diagnosing camellia problems generally, I’ve covered the most common issues in another post on camellia care troubleshooting.
Your Next Step: Start With a Soil Test
If there’s one thing I hope you take away from this guide on how to acidify soil for camellias, it’s this: don’t guess. Test first, then amend with purpose. Elemental sulfur for serious correction, acidifying organic matter for long-term maintenance, and consistent mulching as the backbone of everything. That combination has served my 200-plus cultivar collection well across three different growing zones for more than two decades.
Whether you’re nurturing a single ‘Survivor’ sasanqua in a Zone 7b garden or building out a mixed border of japonicas and reticulatas in Zone 8b, the soil fundamentals are the same. Get the pH right, keep it there, and your camellias will reward you with the kind of blooms that make the whole