
A few summers ago, I nearly lost a cutting of ‘Nuccio’s Gem’ — one of my absolute favorite white japonicas — because I got impatient. I pulled it from the propagation box too early, convinced it had rooted, and snapped off every tiny root it had managed to grow. That single mistake set me back an entire season. Since then, I’ve become a little obsessive about doing things right when I propagate camellias from cuttings, and honestly? That obsession has paid off. My success rate has climbed from a frustrating 40% to well above 80%, and I want to share exactly what made the difference.
Whether you’re working with a beloved japonica, a fragrant sasanqua, or a showstopping reticulata, the basic method is the same. That said, each species has its quirks, and I’ll point those out as we go. Let’s get into it.
Why Propagate Camellias from Cuttings at All?
You might be wondering why you’d bother with cuttings when seeds are an option. Here’s my honest answer: seeds don’t breed true. A seed from ‘Kramer’s Supreme’ — my deep red semi-double that blooms every October in my Zone 8a garden — might produce something lovely, or it might produce something completely ordinary. Cuttings give you a genetically identical copy of the plant you love. For named cultivars especially, that matters enormously.
Cuttings are also faster than seeds. In my experience, a well-rooted cutting can go from the propagation box to a pot in about 8 to 12 weeks, and into the ground within a year. Seeds can take two to three years before you even know what you’ve got. For those of us with over 200 named cultivars to manage — and more on the wish list — time is not a luxury.
The Best Time to Take Camellia Cuttings
Timing is everything. I take most of my cuttings in late June through mid-August. By then, the new season’s growth has hardened just enough — what horticulturalists call “semi-hardwood” — but it hasn’t fully lignified into old wood yet. That sweet spot is where rooting happens most reliably.
Sasanquas tend to root faster and more easily than japonicas, in my experience. I’ve had ‘Setsugekka’ cuttings showing roots in as little as six weeks. Reticulatas, on the other hand, are the divas of the camellia world. They root slowly and reluctantly. For reticulatas like ‘Captain Rawes’ or ‘Francie L,’ I sometimes extend rooting time to 14 or even 16 weeks and adjust my expectations accordingly.
If you’re in a warmer zone — Zone 9 or above — you may have more flexibility with timing. However, for those of us gardening in Zone 7b like I do at my mountain property, late summer cuttings need to be established before the first frost threatens.
What You’ll Need Before You Start
Gathering your supplies before you touch a single stem makes everything smoother. Rushing to find a missing item while your cuttings are drying out on the potting bench is a rookie mistake — and yes, I’ve made it more than once.
- Sharp, sterile pruning shears or a clean razor blade
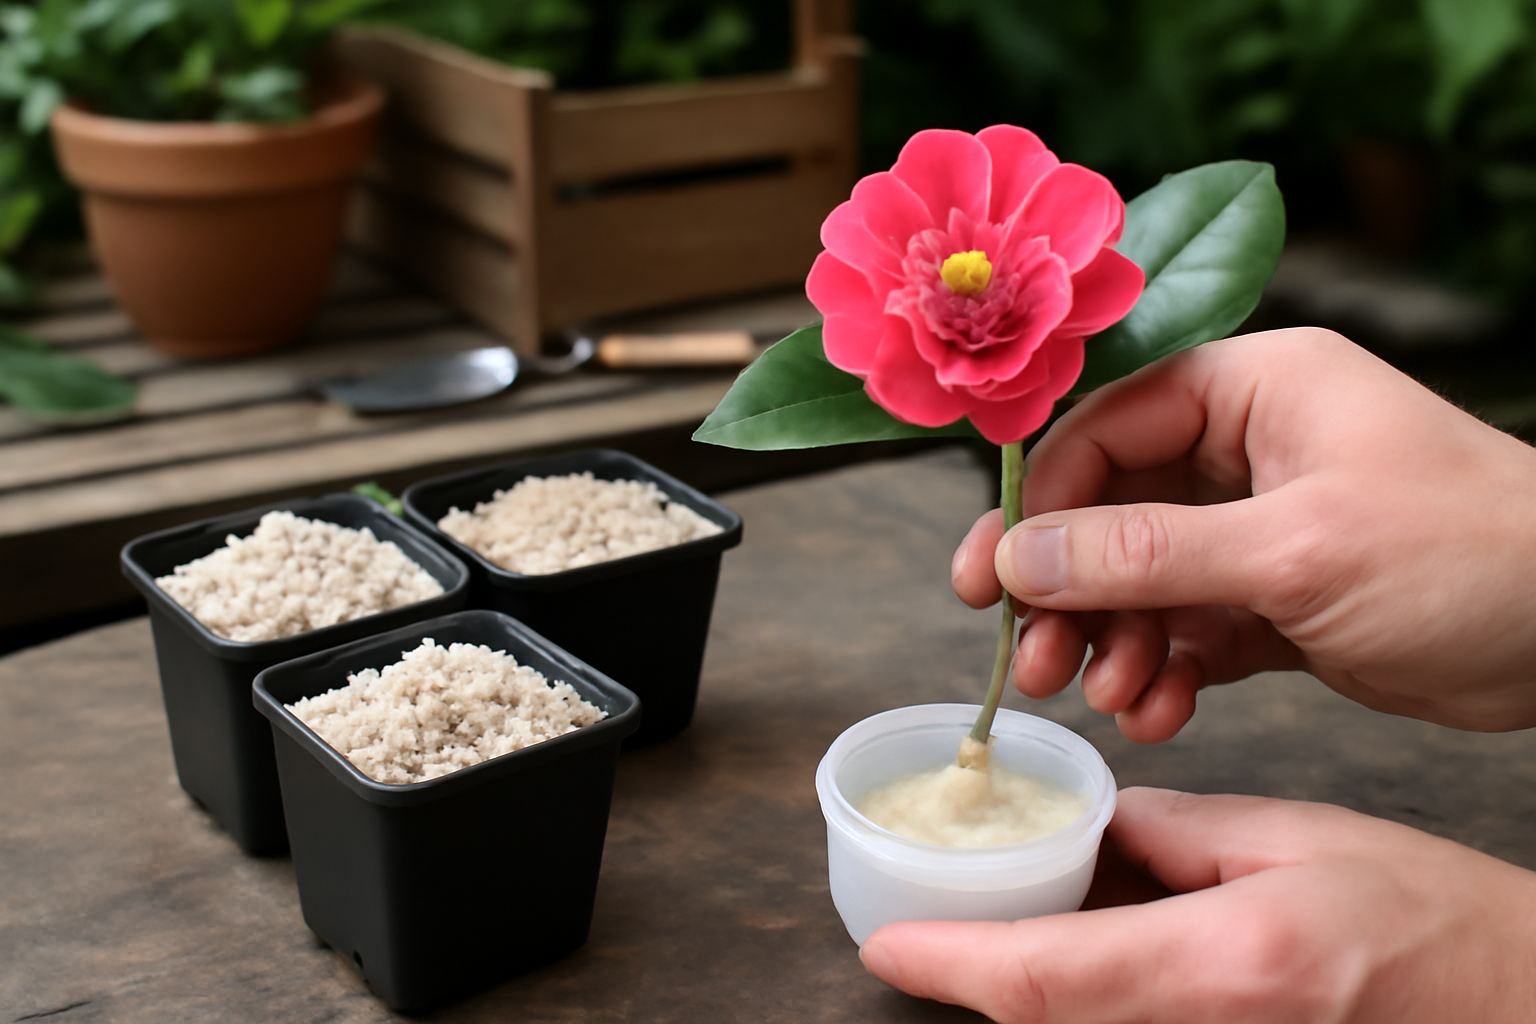
- Rooting hormone powder or gel (IBA — indole-3-butyric acid — is the active ingredient to look for)
- A propagation medium: I use a 50/50 mix of perlite and coarse bark fines
- Small pots or cell trays, 3 to 4 inches deep minimum
- A clear plastic humidity dome or a zip-lock bag large enough to tent over your tray
- A propagation heat mat (optional but genuinely helpful)
- Rubbing alcohol for sterilizing your tools between cuts
Notice I haven’t listed regular potting soil. That’s deliberate. Standard potting mixes stay too wet and compact too easily for tender camellia roots. Your medium needs to drain well while still holding enough moisture to keep cuttings hydrated. The perlite-bark mix I use drains freely and stays airy. Some propagators swear by straight perlite, and that works too — especially for sasanquas.
How to Take the Perfect Camellia Cutting
Step one: choose your wood carefully. You want a stem with two to four leaves that has finished its spring flush of growth and firmed up slightly. Avoid anything that’s still bright chartreuse-green and soft — that’s too immature. Equally, avoid fully hardened brown wood from last year’s growth. The ideal cutting is semi-firm, with a slightly darker green color and leaves that feel leathery rather than floppy.
Make your cut just below a leaf node, at a 45-degree angle. Your cutting should be 3 to 5 inches long. I aim for four inches as a reliable middle ground for most japonicas like ‘Debutante’ and ‘Professor Charles S. Sargent.’ Remove all but the top two or three leaves. Those remaining leaves are essential — they photosynthesize and fuel root development. However, leaving too many creates excessive water loss through transpiration, which the cutting can’t afford before it has roots.
If the remaining leaves are very large — as they often are on reticulatas — cut each leaf in half horizontally. This simple step reduces moisture loss noticeably. Wound the base of the cutting by scraping a thin sliver of bark from each side with your knife. That exposed cambium is where roots emerge most readily. Don’t skip this step for japonicas or reticulatas. Sasanquas often root without wounding, but it never hurts.