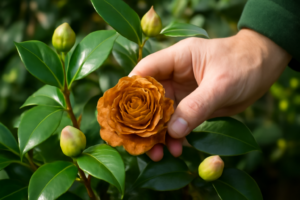
Every spring, I get some version of the same message from a fellow camellia grower: “Helen, I pruned my camellias and now they won’t bloom. What did I do wrong?” Knowing when to prune camellias is honestly one of the most critical pieces of camellia knowledge you can have — and it’s one of the easiest things to get badly wrong. I’ve been growing camellias for over two decades, and I still think carefully before I make a single cut. Trust me, the timing matters enormously.
In my garden across zones 7b, 8a, and 8b, I grow over 200 named cultivars. That range includes everything from early-blooming Sasanquas to mid-season Japonicas and the notoriously fussy Reticulatas. Each of those groups has its own rhythm, its own schedule, and its own pruning sweet spot. Getting it right means stunning blooms. Getting it wrong means a full year of waiting — and a lot of disappointment.
Let me walk you through exactly what I do, why I do it, and the hard lessons that taught me most of it.
When to Prune Camellias: The Golden Rule
Here’s the single most important principle I follow: prune camellias immediately after they finish blooming. That’s it. Simple in theory, but so easy to mistime in practice.
Camellias set next year’s flower buds during late spring and summer. If you prune after mid-summer, you’re cutting off buds that have already formed. You won’t see any wounds on those stems — the buds are there, microscopic and invisible, already working toward next season’s flowers. Prune too late and you’ll lose them entirely.
In my experience, the safe pruning window closes around the end of June in zones 7b and 8a. In warmer zone 8b, I push that to early July at the absolute latest. After that, I put the pruning shears away and I don’t touch the plants again until after bloom the following year.
Sasanquas vs. Japonicas: The Timing Differs
This is where growers often get confused. Sasanquas and Japonicas don’t bloom at the same time, so they shouldn’t be pruned at the same time either.
My Sasanquas — including ‘Yuletide,’ ‘Setsugekka,’ and ‘Kanjiro’ — bloom from October through December here in zone 8a. That means I prune them in late winter, usually late January through February, right after the last blooms drop. This gives them plenty of time to push new growth and set buds before summer arrives.
Japonicas are a different story. Most of my Japonicas, including ‘Debutante,’ ‘Governor Mouton,’ and ‘Kramer’s Supreme,’ bloom from January through March. So I prune those in March and April, right after flowering ends. That timing still leaves enough spring growing season for new buds to form before summer’s heat arrives.
Reticulatas Need Extra Caution
Camellia reticulata cultivars are a special case. Varieties like ‘Captain Rawes’ and ‘Crimson Robe’ bloom in late winter to early spring. However, they grow more slowly than Japonicas or Sasanquas. As a result, they need every bit of growing time they can get.
With my Reticulatas, I prune sparingly and I prune early — right as the last petals fall in March. I remove dead or crossing wood only. These plants don’t need heavy shaping the way a Sasanqua hedge might. Heavy pruning on a Reticulata can set the plant back significantly, so I always lean toward doing less.
The Mistake I Made That Cost Me a Full Season of Blooms
I have to tell you about the summer I nearly ruined my ‘Nuccio’s Gem.’ It was a July afternoon — hot, humid, classic zone 8a weather — and I decided the plant looked overgrown. I grabbed my loppers and gave it a fairly aggressive shaping. It looked tidy. I felt pleased with myself.
The following winter, it produced exactly four flowers. Four. On a plant that typically covered itself in hundreds of perfect white double blooms. I was devastated, and I deserved it. I had pruned in July, right after the plant had finished setting its buds for the coming season. Every cut I made removed flower buds I couldn’t even see yet.
That mistake taught me to respect the invisible biology happening inside the plant. Just because you can’t see the buds doesn’t mean they aren’t there. After that summer, I became religious about my pruning calendar.
How to Actually Prune Camellias: Technique Matters Too
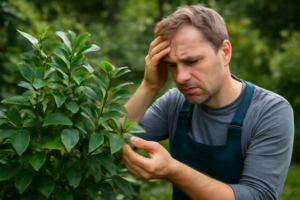
Timing gets all the attention, but technique is equally important. A badly executed cut can introduce disease, cause die-back, and stress a plant that should be thriving.
Tools and Sanitation
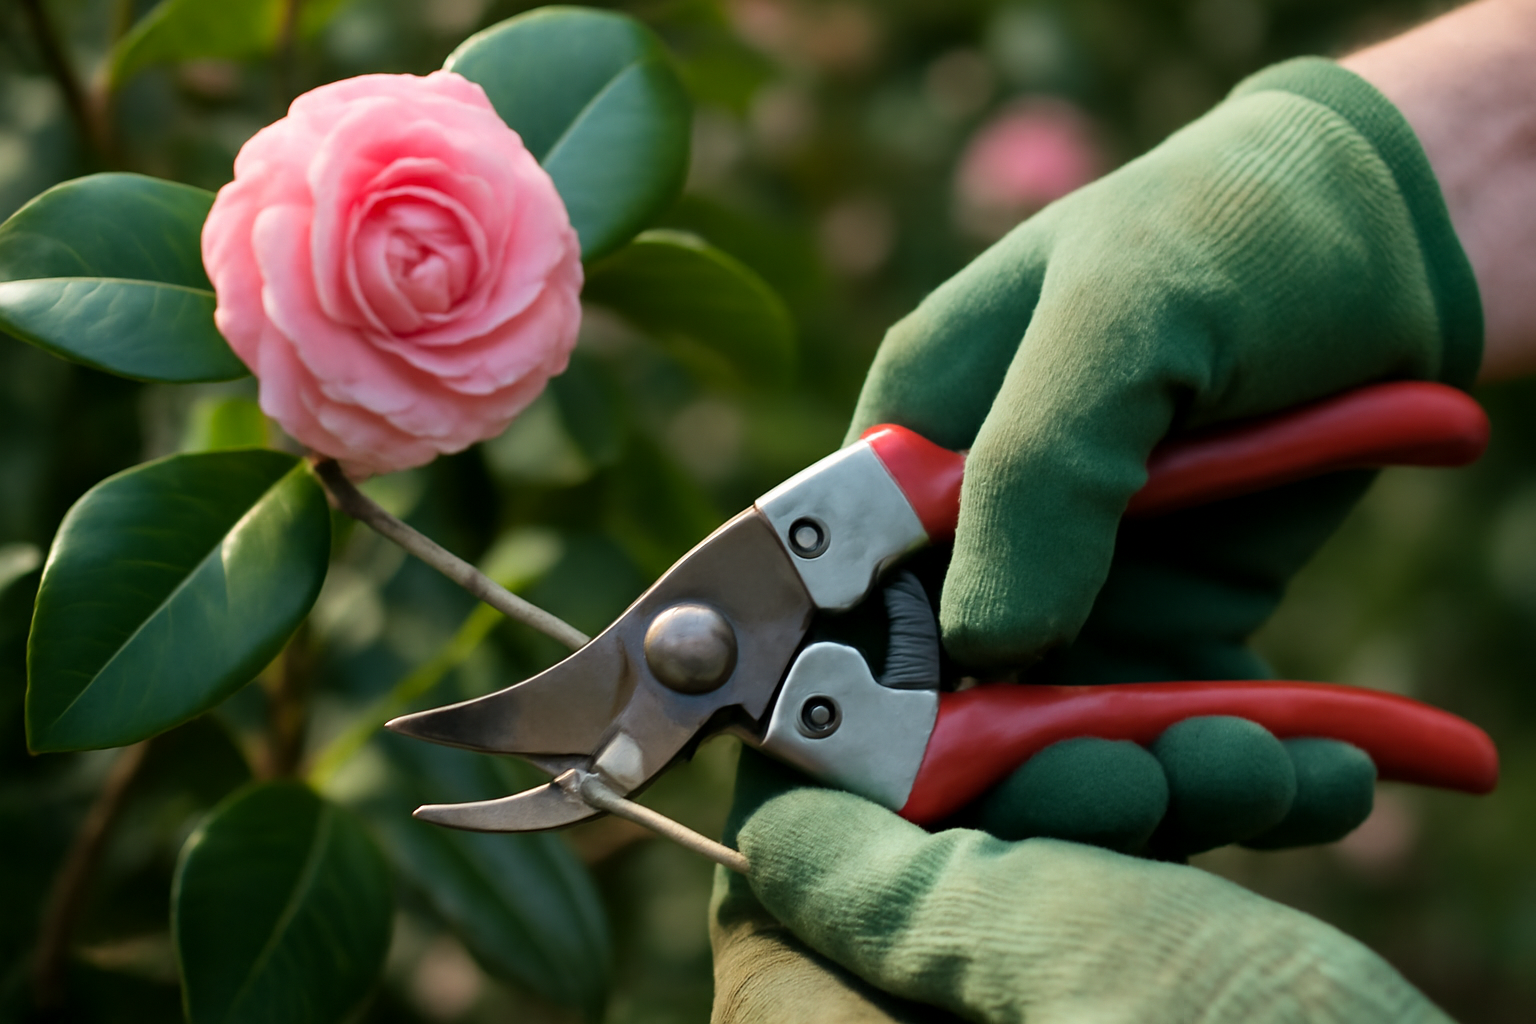
Always start with clean, sharp tools. I use bypass pruners for stems under half an inch, loppers for anything larger, and a narrow pruning saw for thick old wood. Before I move from one plant to another, I wipe my blades with a diluted bleach solution or rubbing alcohol. Camellias can be susceptible to petal blight and other fungal issues, and dirty tools spread problems fast.
Dull blades are just as dangerous as dirty ones. Crushing rather than cutting plant tissue creates ragged wounds that heal slowly and invite infection. Sharp tools make clean cuts — and clean cuts heal cleanly.
Where to Make Your Cuts
Always cut just above a leaf node or a lateral branch. Leave about a quarter inch above the node — don’t cut flush, but don’t leave a long stub either. Long stubs die back and can become entry points for disease.
When I’m shaping a plant, I look for outward-facing buds and cut just above them. This encourages the plant to grow outward rather than inward, keeping the center open for good air circulation. Poor air circulation is a primary contributor to fungal problems, especially in the humid conditions where most camellias thrive.
What to Remove First
I always follow a clear priority order when I prune. Start with the obvious problems before you even think about shaping.
- Dead, damaged, or diseased wood — remove it entirely, back to healthy tissue
- Crossing or rubbing branches — choose one and remove it
- Inward-growing branches that crowd the center
- Suckers or water sprouts growing straight up from the base or main stems
- Any branches that disrupt the natural shape of the plant
After removing all of that, step back and assess. You may not need to do much more. In my experience, people tend to over-prune camellias because they’re used to managing shrubs that tolerate heavier cutting. Camellias reward restraint.
How Much Can You Actually Remove?
This is one of the most common questions I get. The general guideline I follow is to remove no more than one-third of the plant in a single pruning session. However, for healthy, established plants that just need light tidying, I usually take far less than that.
For a severely overgrown camellia — say, an old Japonica that’s gotten leggy and is now pushing fifteen feet — I approach renovation pruning differently. Specifically, I spread heavy pruning over two to three years rather than doing it all at once. This reduces the shock to the plant and helps maintain some bloom production during the renovation process.
I’ve renovated several old camellias this way, including a massive ‘Pink Perfection’ that was completely shading out an entire garden bed. It took three years, but she’s now a beautiful, manageable size and blooms reliably every February.
Can You Hard Prune a Camellia?
Yes — but be strategic about it. Camellias can regenerate from old wood if they’re healthy and established. On the other hand, hard pruning in the wrong season will still cost you blooms, even if the plant ultimately recovers. If you must do a hard renovation prune, do it right after bloom and accept that you’ll likely lose the following season’s flowers in the process. Think of it as a trade: one quiet year for many productive years ahead.
Supporting Your Camellias Before and After Pruning
Pruning creates stress, even when done correctly. A well-fed, healthy plant recovers faster and pushes stronger new growth. So I always think about soil health as part of my pruning routine.
Camellias need acidic soil — ideally a pH between 5.5 and 6.5. Outside that range, they struggle to absorb nutrients even if you’re fertilizing regularly. I test the soil around my camellias every spring. If pH creeps above 6.5, I amend with sulfur. If it drops below 5.5, I back off acidifying amendments and let the soil stabilize.
After pruning, I apply a slow-release fertilizer formulated for acid-loving plants. I do this in early spring, right after the pruning session wraps up. This gives the plant a steady nutrient supply as it pushes new growth from the pruning cuts. I avoid high-nitrogen fertilizers in late summer, as they encourage soft new growth that won’t harden off before winter.
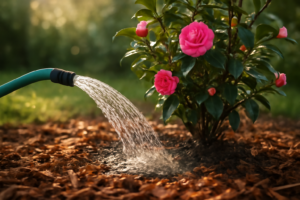
Mulching After Pruning
A fresh layer of mulch after pruning does a lot of good work. I apply two to three inches of pine bark or shredded leaves around the base of each plant, keeping it a few inches back from the stem to prevent rot. Mulch moderates soil temperature, retains moisture, and slowly breaks down to improve soil structure. For camellias already in good soil, it’s one of the highest-return things you can do.
If you want to go deeper on overall camellia soil preparation and feeding, I cover that topic in detail in my post on fertilizing camellias for maximum bloom — worth a read before your growing season kicks off.
A Practical Pruning Calendar by Camellia Type
Let me pull this all together into a simple reference. Every garden is different, and your specific bloom times will vary by cultivar and climate. That said, these windows are a reliable starting point for most growers in zones 7b through 9a.
- Sasanqua camellias (bloom Oct–Dec): Prune late January through February
- Japonica camellias (bloom Jan–March): Prune March through April
- Reticulata camellias (bloom Feb–April): Prune immediately after bloom, March–April, minimally
- Hard cutoff for all types: No pruning after late June in zones 7b/8a; early July in zone 8b
- Never prune: Mid-summer through late fall, when buds are forming and setting
Pin this list somewhere visible in your potting shed. Future-you will be grateful when a warm autumn day makes you want to grab your shears too early.
When to Prune Camellias: My Final Advice
Knowing when to prune camellias is genuinely one of the most valuable things you can learn as a camellia grower. The plants are forgiving in many ways — they handle drought better than people expect, they adapt to a range of conditions, and they’re surprisingly resilient. However, they will not forgive you for pruning at the wrong time. That lost bloom season stings every single time, no matter how experienced you are.
My advice: mark your bloom times in a garden journal. Note when the last petals fall on each plant. Then prune within four to six weeks of that date. Keep it simple, keep your tools sharp, and resist the urge to cut in summer when the garden looks overgrown and you’re feeling ambitious.
Your camellias will reward your patience with a season of blooms that makes all that restraint completely worthwhile. I’ve seen it happen in my garden year after year — and there’s nothing quite like it.