
This post contains affiliate links. As an Amazon Associate, I earn from qualifying purchases at no extra cost to you.
Last spring, I stood in my backyard staring at a row of struggling camellias and felt genuinely baffled. I’ve been growing camellias for over twenty years. My yard in Zone 8b is practically a camellia museum. Yet three of my Japonica beds looked washed out, with yellowing leaves and sparse blooms that embarrassed me every February. A neighbor suggested I finally get serious about using a soil pH meter for my camellias. That comment stuck with me longer than I expected.
The thing is, I’d always tested soil the old-fashioned way — those cheap chemical drop kits from the garden center. They’re messy, vague, and honestly a bit of a guessing game. My gut told me the soil had drifted alkaline after years of irrigation with our local hard water. However, gut feelings don’t fix struggling camellias. Data does.
So I decided to do something methodical for once. I tested every single camellia bed in my yard with a proper meter. Here’s exactly what I found — and what finally made a difference.
Why I Chose the SONKIR Soil pH Meter MS02
I spent about two weeks reading reviews before buying anything. My requirements were simple. No batteries. No calibration solutions. Easy enough to use across eight separate garden beds in a single afternoon. That narrowed things down quickly.
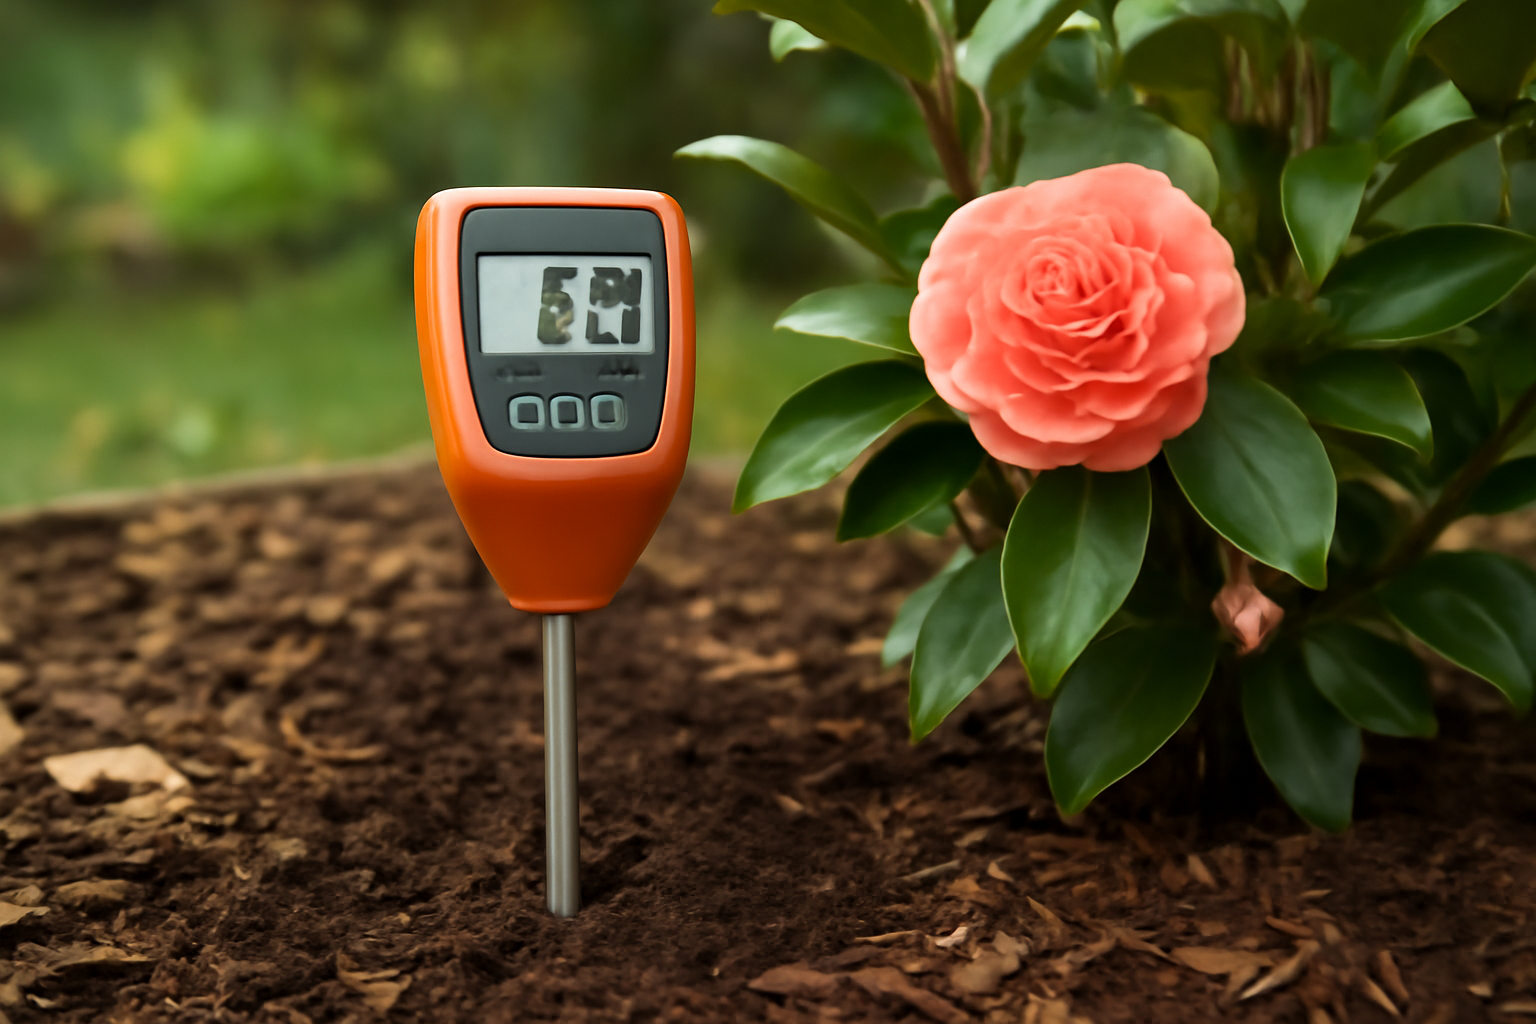
The SONKIR Soil pH Meter, MS02 3-in-1 Soil Moisture/Light/pH Tester Gardening Tool Kits for Plant Care, Great for Garden, Lawn, Farm, Indoor & Outdoor Use (Green) kept appearing in gardening forums I trust. Several camellia growers specifically mentioned it in discussions about iron chlorosis and soil acidification. That specificity caught my attention — these weren’t casual reviewers talking about houseplants.
In my experience, gardeners who grow acid-loving plants are the pickiest testers around. We obsess over the 5.5–6.5 pH sweet spot that camellias need. Anything above 6.5 and your plants can’t absorb iron and manganese properly, which causes that heartbreaking yellowing between leaf veins. If experienced camellia people were recommending this meter, I was ready to listen.
Price also played a role, honestly. At under $15, it’s a low-risk experiment. That said, I wasn’t buying it just to cheap out — I genuinely believed it could give me the directional data I needed to stop guessing.
First Impressions Out of the Box
The package arrived in two days. Everything fit in a small cardboard sleeve — the meter itself, a simple instruction card, and nothing else. No fuss, no excess packaging. I appreciated that immediately.
The meter is lightweight and feels surprisingly solid for the price. It’s all green plastic with a round analog dial face divided into clear color zones. Three settings sit on a small switch: moisture, pH, and light. The dual metal probes extend about four inches — long enough to get past the mulch layer into actual root zone soil, which matters enormously for camellias.
My first honest reaction was mild skepticism. The analog dial looks almost too simple. There are no digital readouts, no Bluetooth, no app. However, after using far too many overcomplicated garden gadgets that end up in the shed, I reminded myself that simple isn’t always bad. Simple is often exactly what you need at 7 a.m. before coffee.
Setup took about thirty seconds. Clean the probes, insert into moist soil, flip to pH, wait the recommended 60 seconds. That’s genuinely it.
My Testing Approach Across Every Camellia Bed
I tested methodically over three weekends in late March, after our last hard frost but before the April growth flush. The ground was consistently moist from recent rain, which is important — this type of probe meter doesn’t read reliably in bone-dry soil.
Here’s what I tested across my yard:
- Bed 1 & 2: ‘Debutante’ and ‘Governor Mouton’ Japonicas along the east fence, established 12+ years
- Bed 3: ‘Yuletide’ Sasanqua near the driveway, planted 6 years ago in sandy fill soil
- Bed 4: Mixed Sasanqua hedge (‘Setsugekka’ and ‘Cleopatra’) along the back fence
- Bed 5: A younger ‘Professor Sargent’ Japonica I planted two seasons ago
- Bed 6: Container camellias on the patio — two ‘Winter’s Star’ in large ceramic pots
For each bed, I took three separate readings at different spots and averaged them. I pushed the probes in at a slight angle, about three to four inches deep, near the drip line of each plant. Then I waited a full 60–90 seconds before reading — longer than the instructions suggest, but I found the needle settled more reliably with extra time.
What the Numbers Showed
The results were genuinely eye-opening. My two struggling Japonica beds — ‘Debutante’ and ‘Governor Mouton’ — read consistently between 6.8 and 7.2. That’s significantly above the ideal range for camellias. Suddenly the yellowing made complete sense.
On the other hand, my ‘Yuletide’ Sasanqua near the driveway read right around 6.0 — nearly perfect. That bed has always been my showiest performer, and now I understood why.
The ‘Setsugekka’ hedge read around 6.3, also healthy territory. However, the ‘Professor Sargent’ bed surprised me — it registered 7.4, the highest reading in the yard. That explained the sparse, disappointing bloom I’d seen its first two seasons. The soil in that corner was clearly problematic, likely influenced by old concrete rubble beneath the surface.
My container camellias read about 5.8, which makes sense since I use an acidic potting mix specifically blended for camellias and azaleas.
What Actually Changed After I Acted on the Data
Armed with real numbers, I treated the problem beds with elemental sulfur at label-recommended rates in early April. For my ‘Debutante’ and ‘Governor Mouton’ beds, I incorporated two pounds of granular sulfur per 100 square feet and top-dressed with fresh pine bark mulch. Then I waited — because soil pH change with elemental sulfur is a slow process, often taking 6–12 weeks.
I retested those beds six weeks later using the SONKIR Soil pH Meter, MS02 3-in-1 Soil Moisture/Light/pH Tester and was honestly pleased. Both beds had dropped to the 6.4–6.6 range. Not perfect, but moving solidly in the right direction.
By late summer, the new foliage on ‘Debutante’ was noticeably darker and healthier. The interveinal chlorosis was fading. My ‘Governor Mouton’ pushed out its best fall bud set in three years — something I attribute directly to getting the pH corrected during the growing season.
The ‘Professor Sargent’ bed required more aggressive treatment. As a result, I ended up excavating partially and amending heavily with peat moss and sulfur. By October, it registered 6.9 — still slightly high, but dramatically improved. I’m cautiously optimistic about its spring bloom.
The Soil pH Meter for Camellias: Real Downsides You Should Know
I want to be completely honest here, because this meter isn’t perfect. There were moments of genuine frustration during my testing.
The analog dial can be tricky to read in bright sunlight. The needle is small, and the difference between 6.5 and 7.0 on the scale is a matter of millimeters. I had to crouch down and shade the face with my hand more than once to get a clear read. For anyone with vision challenges, this could be genuinely annoying.
Consistency between readings also required discipline. Early on, I rushed a few readings and got numbers that seemed off. Specifically, one ‘Setsugekka’ spot read 7.8 on a quick 30-second read, then settled to 6.2 after 90 seconds. That’s a massive difference. The lesson: patience matters with this tool.
Limitations Worth Mentioning
This meter also isn’t suitable for dry, sandy, or rocky soil without pre-moistening. My ‘Yuletide’ bed near the driveway is quite sandy. In dry conditions, I had to water lightly and wait 30 minutes before testing to get any reading at all.
Additionally, the light meter function is essentially decorative in my opinion. The readings felt inconsistent and didn’t match what I know about light levels in those beds after 20 years. However, I didn’t buy this for the light meter — the pH function is what matters for camellias, and that’s where it earns its keep.
Finally, this is not a laboratory instrument. For general directional guidance — is my soil too alkaline or acidic? — it’s excellent. For precision research applications, you’d need a calibrated digital meter or professional soil lab testing.
Final Verdict: Should You Buy This Soil pH Meter for Camellias?
After testing every camellia bed in my yard and tracking results across a full growing season, my answer is a clear yes — with appropriate expectations. The SONKIR Soil pH Meter, MS02 3-in-1 Soil Moisture/Light/pH Tester Gardening Tool Kits for Plant Care, Great for Garden, Lawn, Farm, Indoor & Outdoor Use (Green) gave me the directional data I needed to stop guessing and start fixing real problems. That’s worth far more than its modest price.
I’d rate it 4 out of 5 stars for home camellia growers.
Buy this if: You grow camellias, azaleas, or other acid-loving plants and want a simple, battery-free way to monitor soil pH across multiple beds. It’s perfect for home gardeners in Zone 7–9 who want practical guidance without complex equipment.
Skip this if: You need laboratory-grade precision, you garden primarily in dry or rocky soil, or you struggle with reading small analog dials. In those cases, invest in a digital option with a larger display.
A Quick Word on the Runner-Up
If you want more features and don’t mind spending a bit more, take a look at the YAMRON 4-in-1 Soil Moisture Meter with Digital Backlight LCD Display. It adds soil temperature readings and a digital screen that’s much easier to read in bright outdoor light. For serious gardeners who want more data points and a clearer display, it’s a compelling step up. However, for straightforward soil pH monitoring across camellia beds, the SONKIR remains my daily-use tool. It’s simple, it works, and it helped me grow better camellias — and honestly, that’s all I ever needed it to do.