I still remember the spring I lost a twelve-year-old ‘Survivor’ camellia to what I can only describe as fertilizer enthusiasm. It was my fourth season growing camellias seriously, and I pushed nitrogen too early, right before a late frost snapped back hard. The new flush of tender growth that fertilizer triggered turned black overnight. I never made that mistake again. That shrub taught me more about timing than any book ever did.
After 22 years of growing camellias in my zone 7b garden — through ice storms, drought summers, and everything in between — I have developed a spring fertilizing routine that I follow almost ritualistically. It is not complicated, but the details matter enormously. If you are wondering when to fertilize camellias in spring and how to do it without setting your plants back, this is everything I know.
Why Spring Fertilizing Is Different for Camellias
Camellias are not like your vegetable garden. They do not want or need an aggressive feeding program. What they need is precise timing, appropriate nutrition, and a light hand. The root system of a mature camellia is surprisingly sensitive to salt buildup, and the fine feeder roots sit close to the surface — often within the top four to six inches of soil. Those roots are doing critical work in spring, and disrupting them with the wrong product or poorly timed application can cost you a whole season of growth.
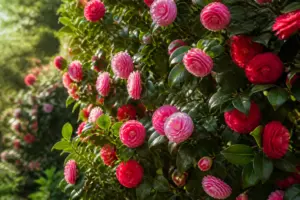
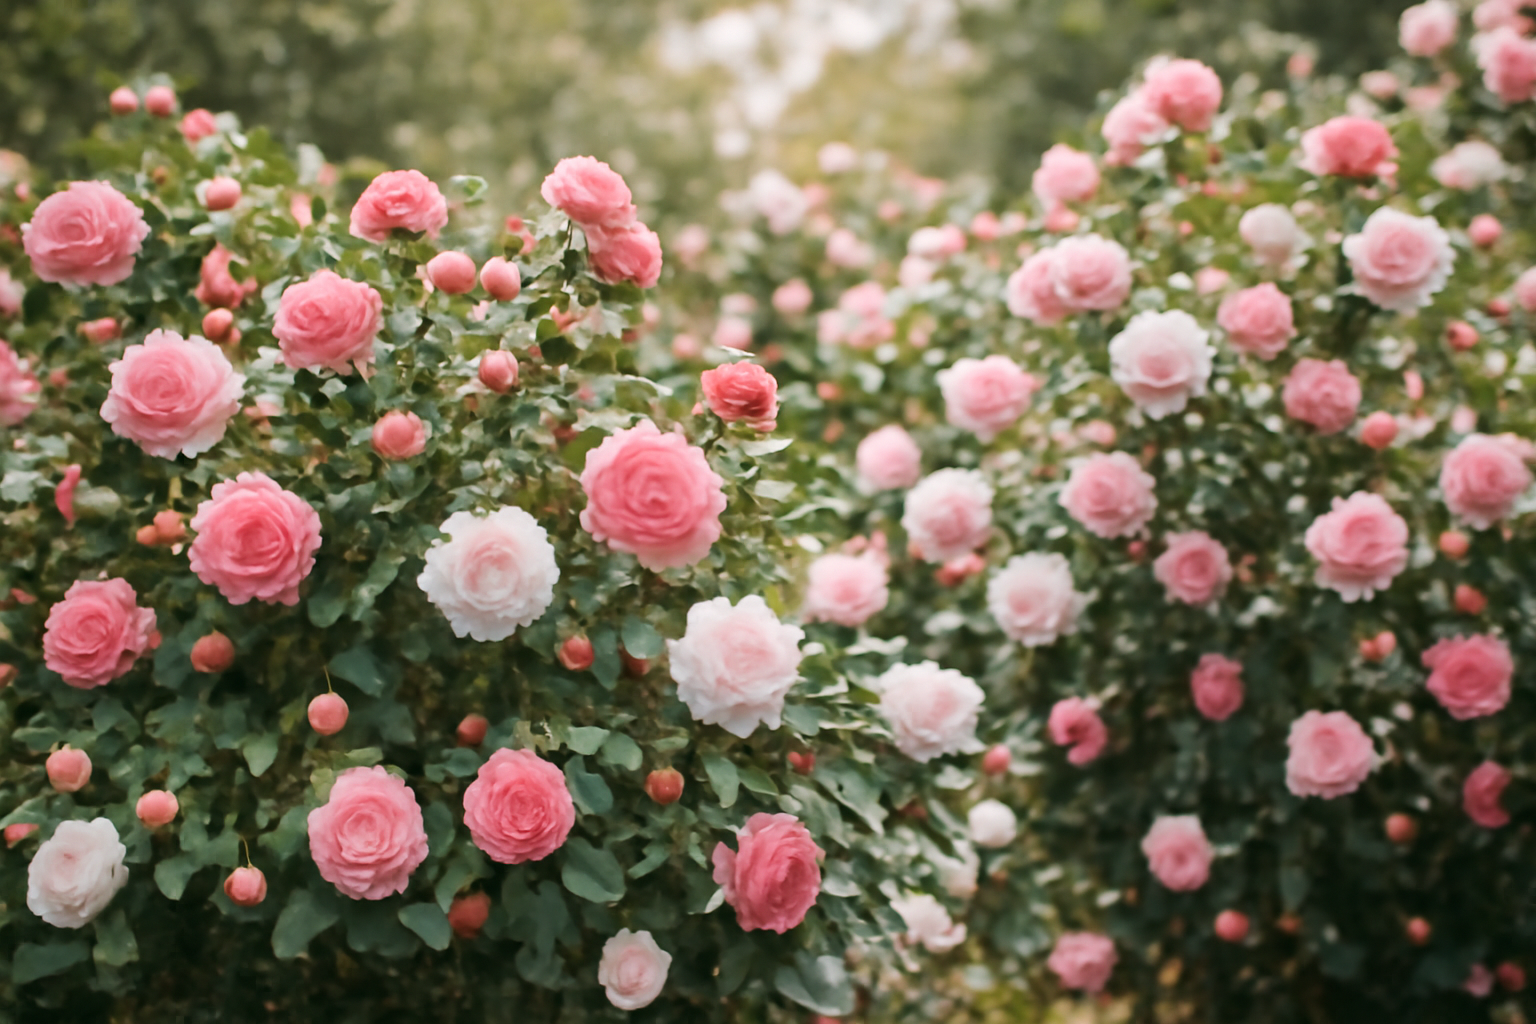
The other thing that separates camellias from most landscape shrubs is their bloom cycle. Most of my collection finishes blooming anywhere from late January through April, depending on the variety. Fertilizing too early — while the plant is still actively flowering — redirects energy away from blooms and can cause premature petal drop. I learned this the hard way with a ‘Pink Perfection’ that was covered in buds when I got impatient one warm February.
When to Fertilize Camellias in Spring: The Timing Window I Follow
Here is the rule I follow without exception: do not fertilize until after your camellias have finished blooming and new growth has just begun to emerge.
In my zone 7b garden in the mid-Atlantic region, that window typically opens between late March and mid-April. I watch for the first flush of new reddish-bronze leaves pushing out at the branch tips. That new growth is the plant signaling that root activity has ramped up and that it is ready to take in nutrients. Feeding before that signal is at best wasted effort, and at worst a liability if a late frost is still possible.
The American Camellia Society has long recommended waiting until after bloom drop and before the new growth hardens off — a relatively narrow window of three to six weeks in most climates. I add one more personal criterion: I check the ten-day forecast. If there is any chance of temps dropping below 28°F, I wait. A hard frost hitting nitrogen-stimulated new growth is devastating, and it is entirely avoidable.
My First Application: Timing and Method
My first spring feeding happens the moment I see that new growth flush emerging and the forecast looks clean. I apply a diluted liquid fertilizer directly to the root zone, watering it in well. I do not foliar feed in spring — the new leaves are too tender and I have seen tip burn result from that practice even with properly diluted solutions.
I water the plants thoroughly the day before feeding. Applying fertilizer to dry roots concentrates salts and risks root burn. This is a step that a lot of gardeners skip, and I genuinely believe it accounts for a significant portion of the “fertilizer damage” complaints I hear about in our local camellia society chapter.
The application goes around the drip line of the plant, not up against the trunk. I scratch it in lightly with my fingers in some spots or just let the hose carry it in. I avoid disturbing the mulch layer more than necessary.
My Second Application: Closing the Spring Window
I make a second spring application roughly six to eight weeks after the first, typically in late May. By this point, the new growth has largely hardened off and the plant is building the energy reserves it will use for next year’s bud set. This is arguably the more important of the two spring feedings.
After this second application, I stop. No summer feeding. The conventional wisdom — backed by what I have read in camellia literature and confirmed through my own experience — is that fertilizing after mid-June in most temperate climates encourages late soft growth that does not have time to harden before fall. That tender growth is the first thing winter cold kills. I have seen it. Two applications in spring, done right, is enough.
This post contains affiliate links. As an Amazon Associate I earn from qualifying purchases.
What I Use: Fertilizer Recommendations
Over the years I have tried granular, liquid, slow-release, and everything in between. Here is where I have landed:
For my primary spring feedings, I have been using a dedicated liquid camellia fertilizer that delivers a balanced nutrient profile without the guesswork. Liquid fertilizers become available to roots faster than granulars, and in that narrow spring window, I want results without lag time. I keep both sizes on hand depending on how many plants I am working through:
- Camellia Fertilizer – Liquid Plant Food for More Blooms, Rich Green Leaves & Stronger Root Development, 8 oz — I use this for spot-treating individual plants or newer additions I am monitoring closely.
- Camellia Fertilizer – Liquid Plant Food for More Blooms, Rich Green Leaves & Stronger Root Development, 32 oz — This is what I grab when I am working through the full garden. Better value when you are feeding a collection.
For gardeners who prefer a water-soluble granular option, I have used Miracle-Gro Water Soluble Azalea, Camellia, Rhododendron Plant Food (5 lb.) for years as well. It is formulated for acid-loving plants, applies quickly, and the results have been consistent. I still keep a container of it in the shed as a backup and use it on my azaleas and rhododendrons in the same pass.
Whatever you use, make sure the formulation is designed for acid-loving plants. Camellias perform best in soil with a pH between 5.5 and 6.5. Using a fertilizer that pushes pH in the wrong direction undermines everything else you are doing.
An Honest Caveat: Soil Testing Comes First
Here is the part most fertilizing guides skip over: none of this matters as much as knowing what your soil actually needs. I did not get a proper soil test done until year seven of growing camellias, and when I finally did, I discovered my pH was sitting at 6.8 — too high, and explaining the chronic yellowing I had been fighting with sulfur applications that were not quite working. The test changed my whole approach.
Before you pour any fertilizer on your camellias this spring, send a sample to your local cooperative extension office. In most states it costs between ten and twenty dollars. The results will tell you exactly what amendments your soil is deficient in and what your pH requires. Fertilizing without that information is educated guessing at best.
A Final Word on Patience
Camellias reward patience more than any plant I grow. They are slow to establish, slow to forgive mistakes, and slow to respond to changes. But when you get the fertilizing timing right year after year, the payoff accumulates. My oldest plants — some of them pushing twenty years in the ground — put on growth and bloom displays now that would have seemed impossible in their first decade.
The spring fertilizing window is not complicated. Wait for bloom drop. Watch for new growth. Feed twice, lightly, with the right product. Then put the fertilizer away until next year. That is the whole routine. After 22 years, I have not found a reason to change it.