
This post contains affiliate links. As an Amazon Associate I earn from qualifying purchases at no extra cost to you.
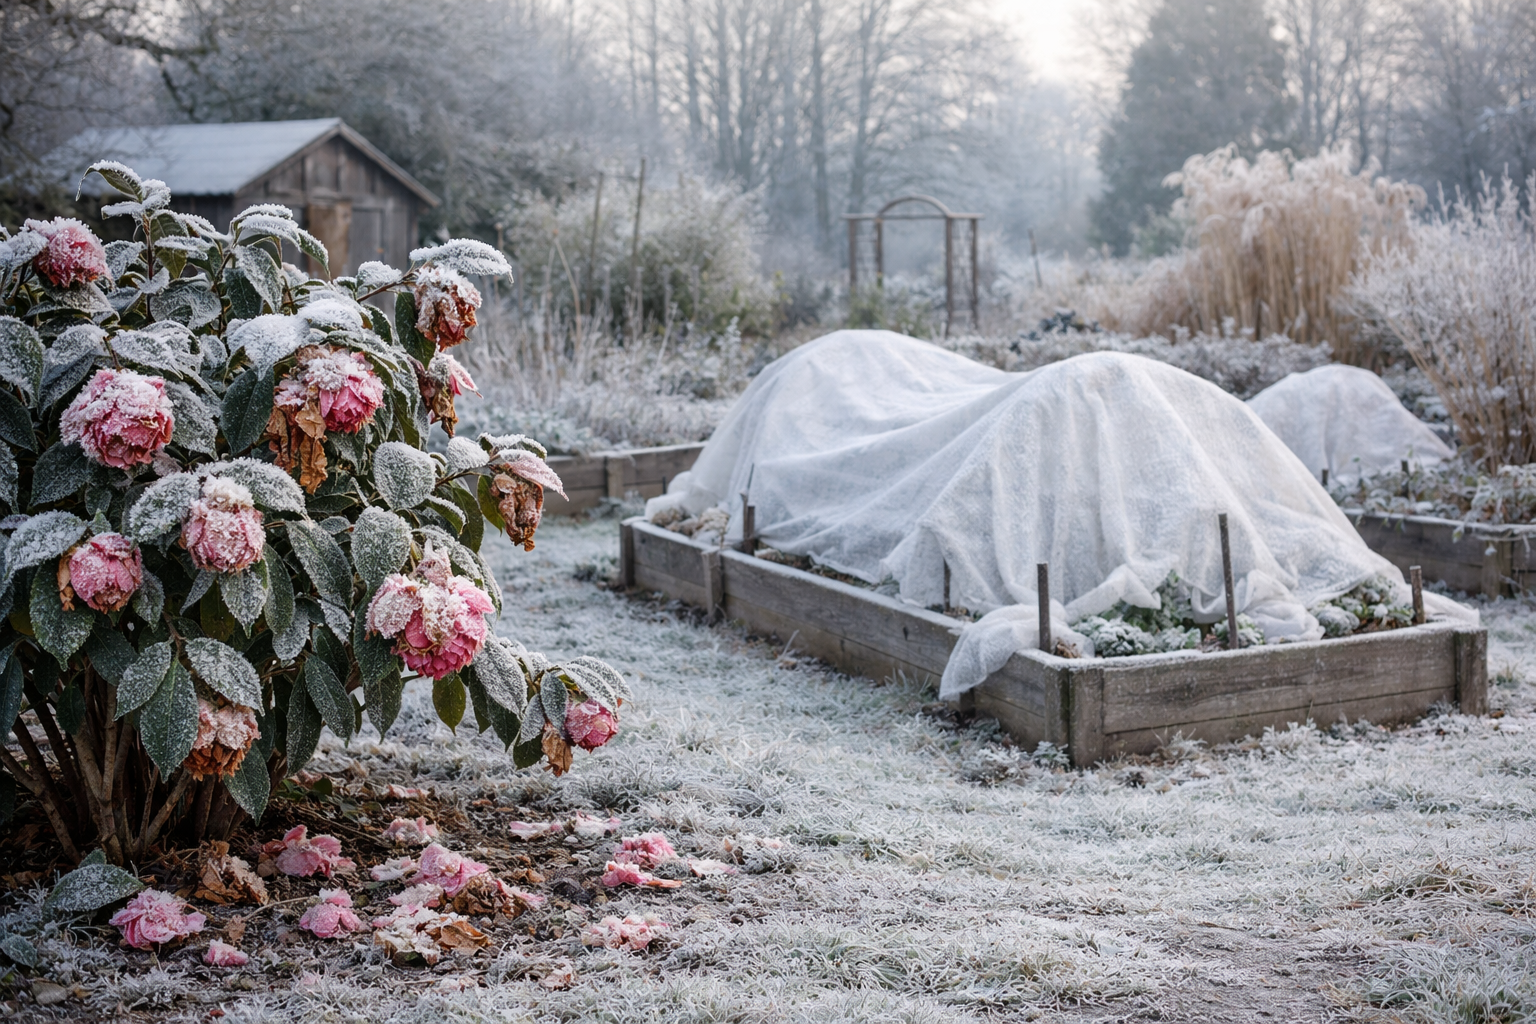
I still remember standing in the garden that March morning, coffee going cold in my hand, staring at my twelve-year-old camellia like I’d just watched a car crash in slow motion. She’d been loaded with fat pink buds. A hard frost had rolled in overnight — unexpected, the kind that the forecast politely calls a “light freeze” and then delivers at 26°F — and by dawn every single leaf had turned the color of old rust and curled inward like a fist. I genuinely thought she was gone. Twelve years of patience, of watching that shrub slowly mature into something magnificent, and it looked terminal. But I’m writing this post today because it wasn’t. These are the camellia frost damage recovery steps that I followed over the weeks that came after — the ones that actually brought her back.
First, Do Absolutely Nothing (Yes, Really)
My first instinct was to grab the pruners and start cutting. Every brown, crispy, heartbreaking inch of it. I have a long and distinguished history of panicking too early in the garden, and this was almost one of those moments. What stopped me was a conversation I’d had years earlier with an older neighbor who’d been growing camellias for decades. Her advice had been filed away somewhere in my brain: “The plant will tell you where it’s dead. You just have to wait for it to speak.”
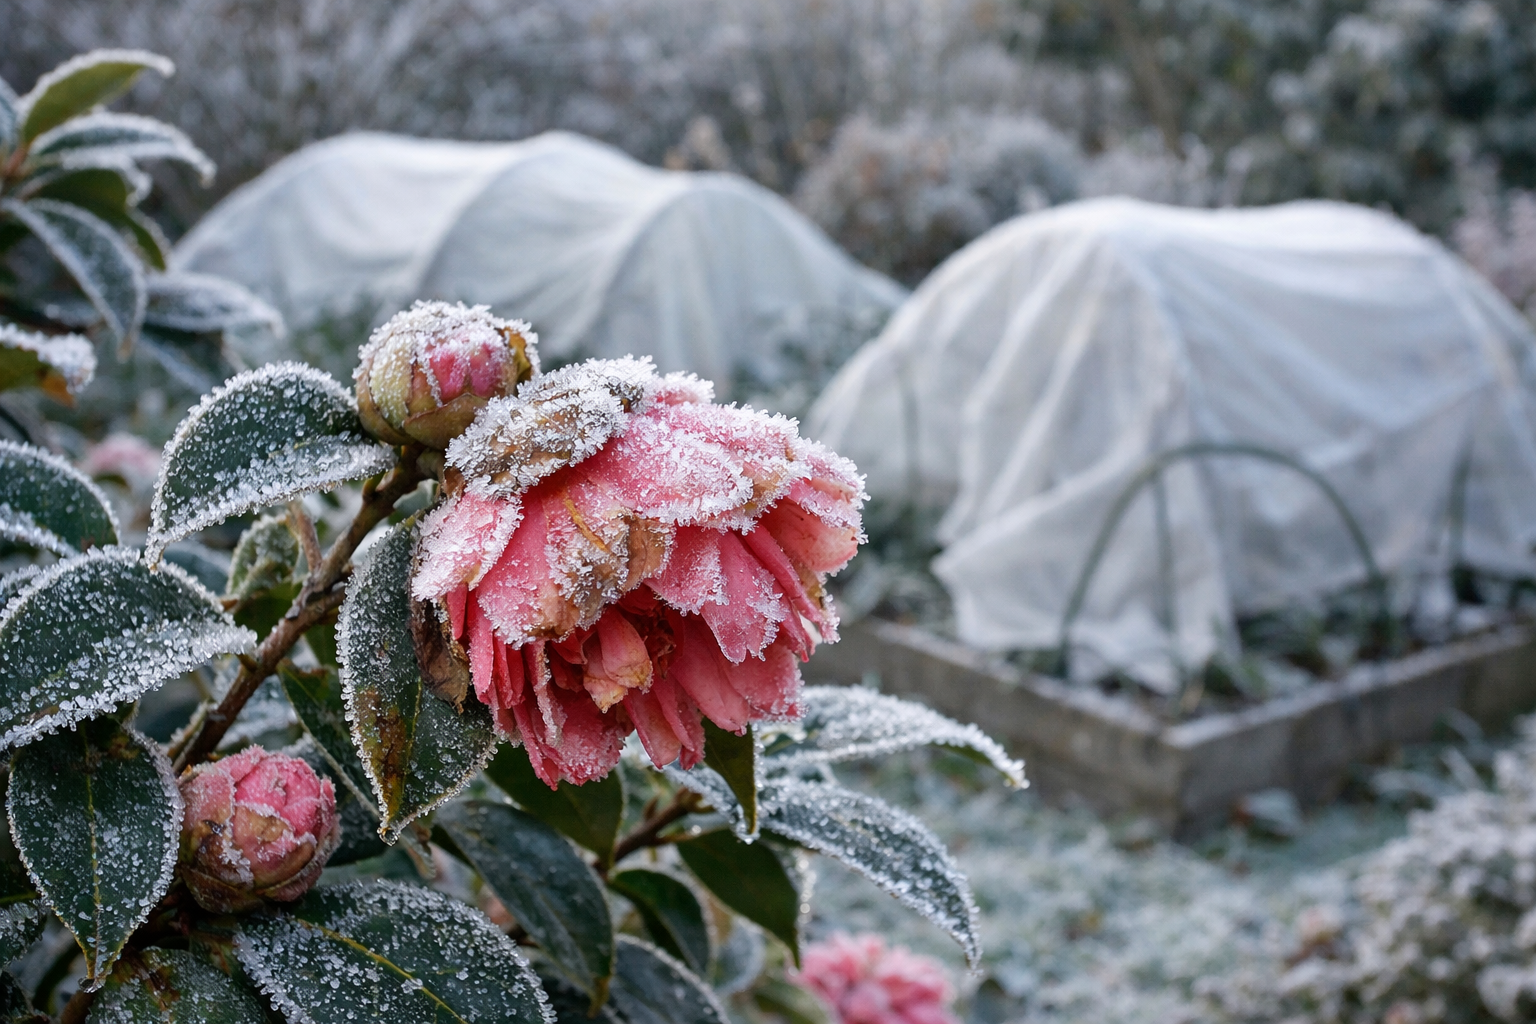
Frost-damaged tissue on a camellia looks catastrophic before it tells you the full story. In the days immediately following a hard freeze, everything looks equally dead. But some of those stems are merely damaged on the outside while remaining very much alive inside. If you start cutting now, you risk removing growth that would have recovered. You also risk stressing the plant further right when it needs all its energy focused on survival rather than wound response.
The general rule I follow: wait at least four to six weeks after the last frost before making any pruning decisions. For late-season frosts like the one that hit my camellia, that often means waiting until late April or even May. I know it looks awful. I know the neighbors are going to see it. Wait anyway.
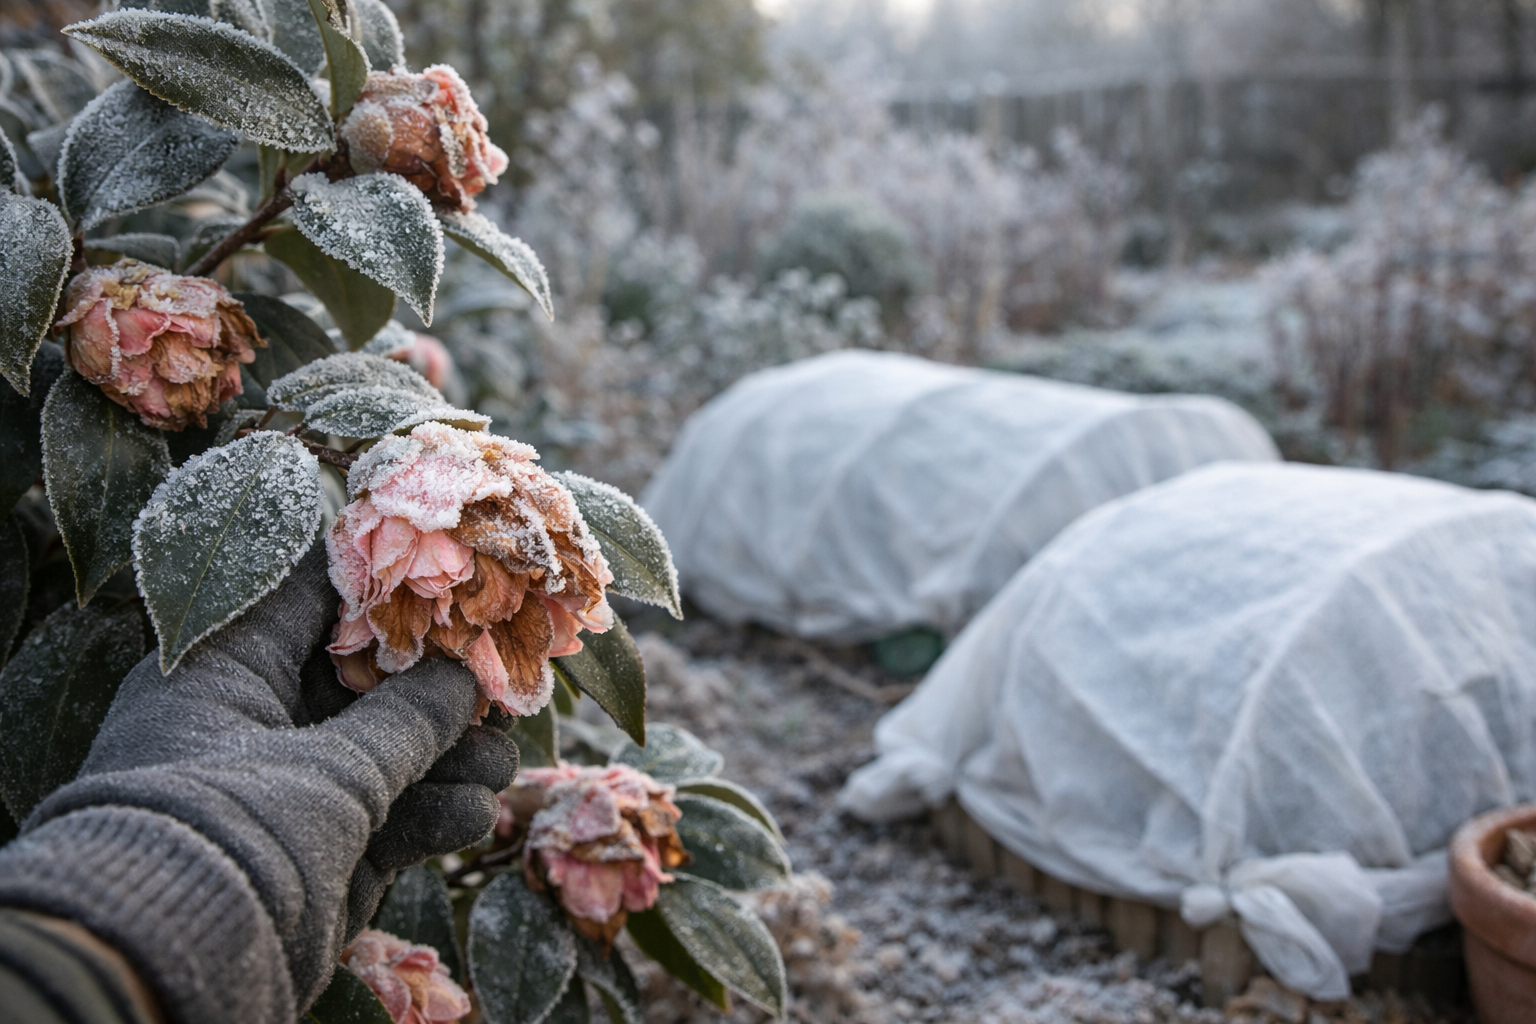
During this waiting period, there is one thing you can do productively: gently scratch the bark on suspect stems with your thumbnail. If you see green tissue underneath, the stem is alive. Brown or gray all the way through means it’s gone. Start making mental notes, but keep the pruners in the shed.
How to Assess the Real Damage and Prune Strategically
Once the weather has genuinely settled and new growth is beginning to push on undamaged parts of the plant, it’s time to assess properly. On my camellia, this moment came in late April. I could see tiny green buds pushing on the lower interior branches — a genuinely moving sight after weeks of brown devastation — while the outer tips of most stems were clearly dead.
Here’s how I approached the pruning:
- Work from the tips inward, cutting back to where you see healthy green tissue when you scratch the bark.
- Cut to just above a leaf node or lateral bud if one is visible — the plant will push new growth from these points.
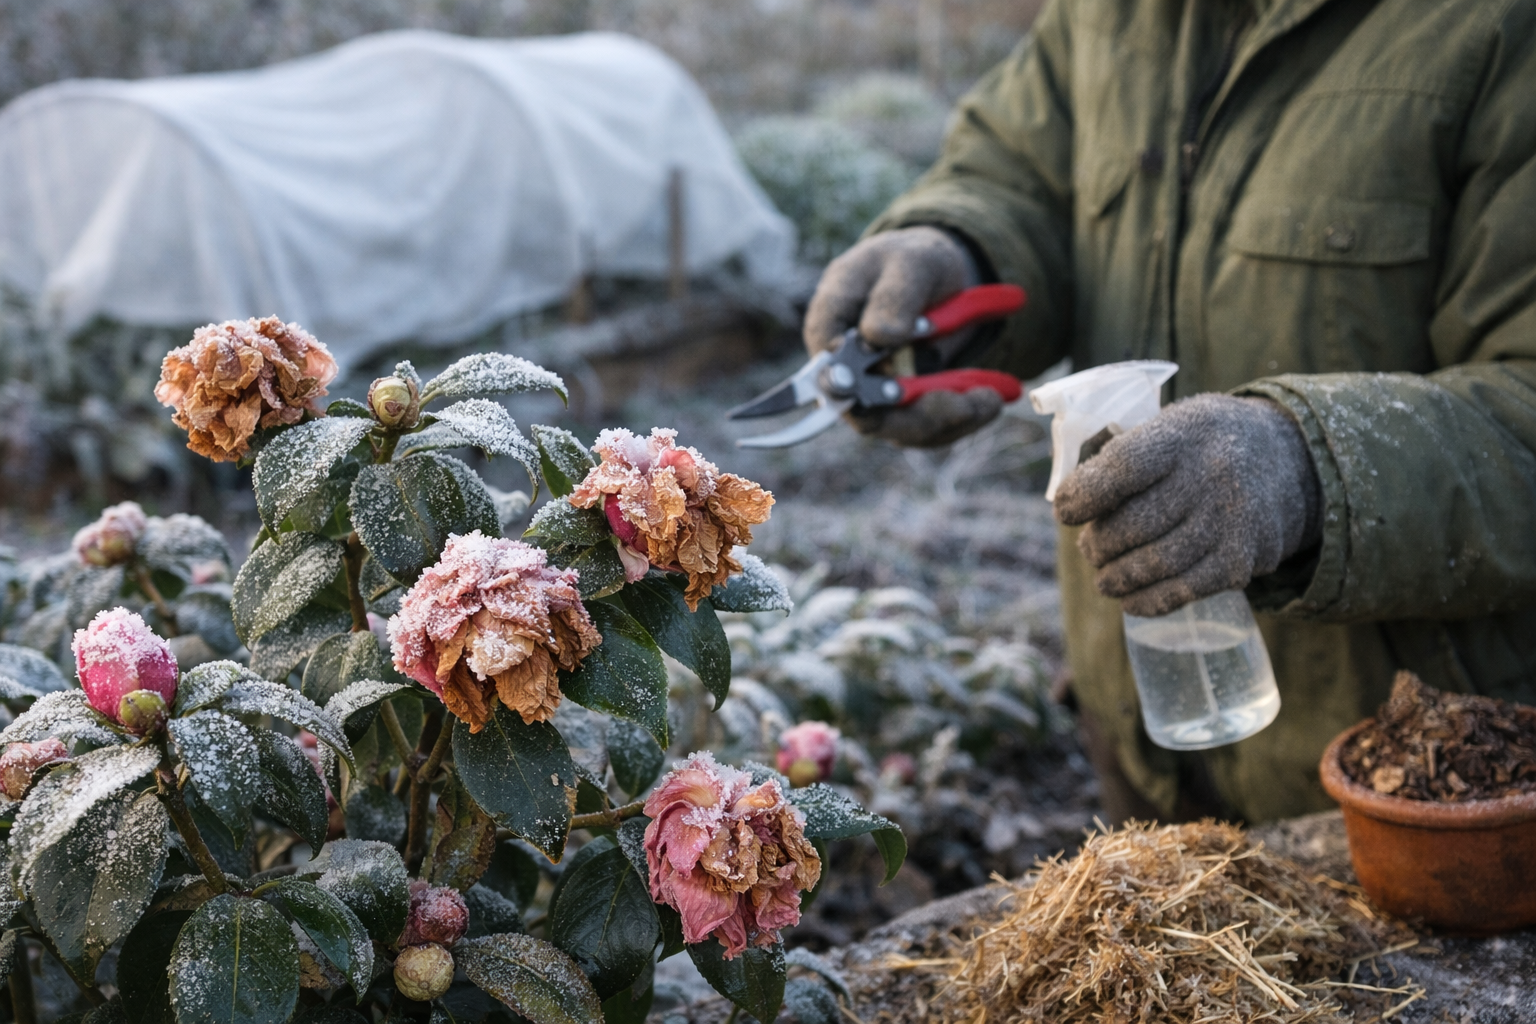
- Use clean, sharp pruners and wipe the blades with rubbing alcohol between cuts to avoid introducing disease to stressed tissue.
- Remove any stems that are dead all the way to the base, cutting back to the nearest live wood.
- Step back regularly and think about shape — this is actually a good opportunity to improve the structure of the plant while you’re already cutting.
My camellia lost roughly a third of her outer canopy. It looked lopsided and sad for most of that first summer. But the interior growth was vigorous once she was no longer trying to sustain dead tissue, and by autumn she had filled out considerably.
Supporting Recovery: Feeding, Watering, and Protecting the Roots
Pruning is only one part of the recovery equation. A frost-damaged camellia is a stressed plant, and stressed plants are vulnerable plants. The weeks following your pruning are critical for giving the shrub the support it needs to push strong new growth.
A few things I do consistently during recovery:
Watering
Camellias recovering from frost damage should not be allowed to dry out at the roots, particularly while they’re pushing new growth. I water deeply once or twice a week depending on rainfall, always at the base of the plant. Avoid getting water on the foliage if you can — stressed camellias can be susceptible to fungal issues.
Feeding
Hold off on heavy feeding until you can clearly see new growth actively developing. Then apply a balanced, slow-release fertilizer formulated for acid-loving plants. Feeding too early, before the plant is actively growing, can push soft new growth that’s then vulnerable to any late cold snaps. Patience here pays dividends.
Mulching
A generous layer of organic mulch around the root zone — three to four inches of bark chip or composted leaves — does several things at once: it retains moisture, moderates soil temperature, and slowly feeds the soil as it breaks down. Keep the mulch a few inches clear of the main stem to avoid rot. This is honestly one of the simplest and most effective things you can do for any recovering shrub.
Anti-Desiccant Sprays and Frost Cloth: Your Protection Arsenal Going Forward
Here’s the part of the post where I admit that watching my camellia go through that recovery process made me far more proactive about future protection. I’d been a little complacent. She’d survived twelve winters without a problem, and I’d started treating her as invincible. The late March frost was a reminder that no camellia in a marginal climate is truly safe.
The tool that’s made the biggest difference in my protection routine is an anti-desiccant spray. Wilt-Pruf Original Winter Plant Protection is the product I use and genuinely trust. It works by coating the leaf surface with a protective film that reduces moisture loss — which is actually one of the primary mechanisms of frost damage in broadleaf evergreens like camellias. The leaves lose moisture faster than the frozen root zone can replace it, causing that characteristic brown scorch. Applying Wilt-Pruf in late autumn and again in late winter provides a layer of protection that lasts up to four months. It’s become a non-negotiable part of my autumn routine.
For frost cloth, I’ve tested a few options over the years and found that the material weight genuinely matters. For camellias, I prefer something with a bit more substance than the lightest floating row covers. The MuyuRise 10ft x 33ft 1.8 oz/yd² Frost Cloth is a good option if you have larger shrubs or want to cover multiple plants — the heavier weight provides meaningful protection during hard freezes while still allowing some light transmission. For a more compact option that’s easy to wrangle around a single established camellia, the 7ft x 10ft Antifrost Cover is a handy size to keep in the shed for quick deployment when a surprise frost is forecast. If you need to cover a large bed or row of camellias together, the 10ft x 33ft Reusable Frost Protection Floating Row Cover or the Homoda 10ft x 30ft Frost Blanket give you excellent coverage at a practical price.
For younger camellias or those planted in particularly exposed positions, I also wrap the main stems and lower trunk with burlap wrap through the coldest months. The Burlap Tree Protector Wraps are straightforward to use and do a solid job of protecting the bark and lower stem from temperature fluctuations. The SYWHXY Natural Jute Burlap Tree Wraps are another reliable option if you want a multipack to cover several shrubs at once.
One more thing I keep in the shed that doesn’t get talked about enough: if you have paved areas around your garden that ice over during a frost event and you’re worried about salt damage to nearby camellias, the Bare Ground All Natural Anti-Snow Liquid De-Icer is a plant-friendlier alternative to traditional rock salt. Camellia roots are genuinely sensitive to salt runoff, and switching to a less harmful de-icer near your shrubs is worth doing.
The Honest Truth About Camellia Frost Damage Recovery Steps
My camellia is beautiful today. She bloomed last spring — maybe not as heavily as the year before the frost, but she bloomed with real enthusiasm, and this coming season she looks even stronger. The experience was stressful, and I won’t pretend the months of watching her look battered and sad were easy. But it taught me things I couldn’t have learned any other way.
The camellia frost damage recovery steps that genuinely moved the needle were simple ones: resisting the urge to prune too early, assessing honestly and cutting back to live wood at the right time, supporting the plant with consistent moisture and appropriate feeding, and then protecting more thoughtfully going forward. None of it is complicated. Most of it is just patience applied with intention.
If your camellia is sitting in the garden looking like mine did that March morning, here’s my honest recommendation: get yourself a bottle of Wilt-Pruf and at least one good frost cloth — the 10ft x 33ft reusable cover is the one I’d reach for first — so you’re ready to protect aggressively next season. Then follow the recovery steps above, give your plant the time it needs, and trust it. Camellias are more resilient than they sometimes look in that first devastating week. Yours probably isn’t as gone as you think.
Have you dealt with frost damage on your camellias? I’d love to hear what worked for you — drop a comment below and let’s talk it through.