
My grandmother’s distress was palpable; her beloved 30-year-old camellia faced imminent abandonment. This magnificent shrub, boasting glossy leaves and a cascade of pink blooms, was more than just a plant. It represented decades of memories. Transplanting such an established specimen, especially in late autumn, presented a formidable challenge. Its root system would be vast and deeply anchored. We understood this task would demand immense physical effort and careful planning.
Preparing for the Challenge
Initially, we felt overwhelmed by the sheer scale of the undertaking. This wasn’t a small perennial; it was a venerable tree-like bush. We needed more than basic garden tools. Our first step involved gently pruning some outer branches, reducing the foliage. This would lessen transplant shock. Next, we thoroughly watered the soil around its base, making digging easier. Ensuring a substantial root ball was absolutely critical for its survival.
The Delicate Extraction
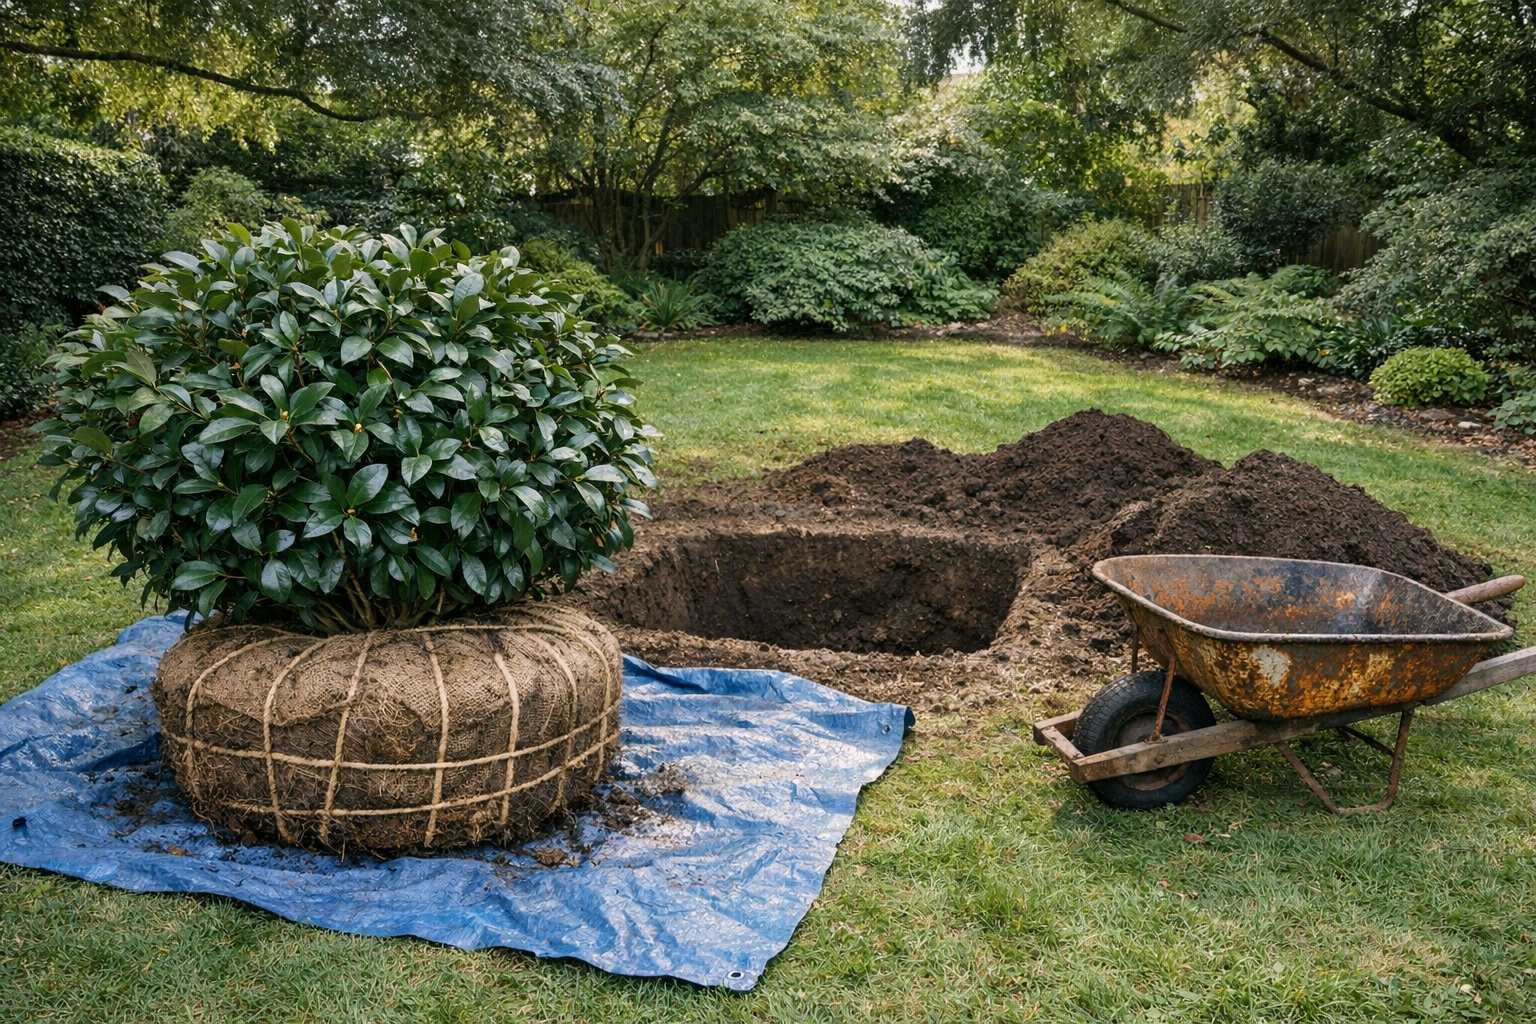
Carefully, we began digging a wide trench around the Camellia Forest Garden – Visit Seattle’s drip line. This circular excavation needed to be deep enough to encompass major roots. Each shovel stroke was deliberate, avoiding damage to the delicate root structure. Gradually, a massive, heavy soil ball began to emerge. We eventually undercut the root ball, severing the taproot. Wrapping it tightly in burlap protected the fragile network during movement.
Journey to a New Home
Moving the colossal root ball required significant ingenuity and strength. We slid it onto a heavy-duty tarp, then dragged it slowly across the lawn. Preparing the new site was equally important. We dug a spacious hole, ensuring good drainage. The camellia was gently placed, maintaining its original planting depth. Finally, we backfilled with rich soil, firmly tamping out air pockets.
Lessons and Legacy
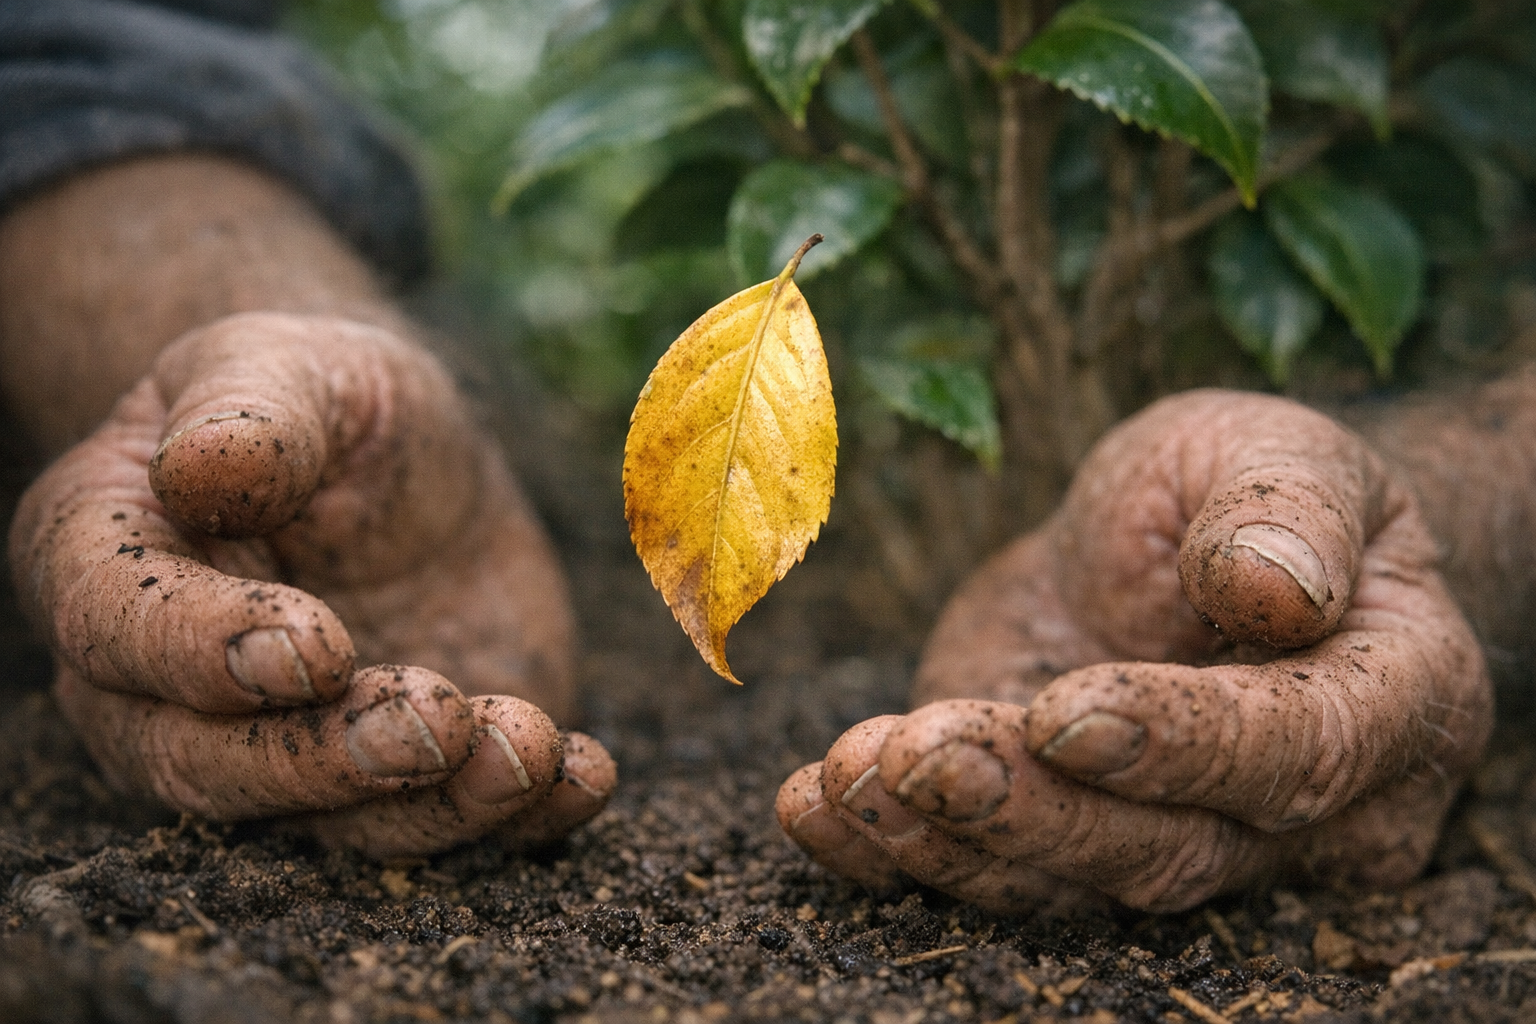
Ultimately, that demanding day revealed profound truths. It taught me about the deep resilience of nature, much like my grandmother’s own spirit. The camellia’s intricate roots symbolized enduring connections, both literal and familial. Through sheer stubbornness and patience, we gave that old bush a new lease on life. My grandmother often said, “A good gardener knows when to dig deep.” We certainly did that day.
Moving a mature camellia feels impossible at first glance. These plants develop deep, spreading root systems over decades. However, with the right timing, the right tools, and a little respect for the plant’s biology, transplanting a mature camellia is absolutely achievable. This guide walks you through every step.
Why Timing Is Everything
Camellias are tough, but they’re not invincible. Transplanting at the wrong time stresses the plant severely and can trigger leaf drop, root failure, or even death. Fortunately, camellias give you a clear window of opportunity.

The Dormant Season Advantage
Late fall through early spring is the ideal transplanting window for camellias. American Camellia Society – Transplanting Camellias Source During dormancy, the plant directs minimal energy toward leaf and flower production. Therefore, it can focus its resources on recovering from root disturbance.
Aim for a day when temperatures sit between 40°F and 60°F. Avoid transplanting during a hard freeze or during a summer heat wave. Additionally, try to move your camellia on an overcast day — direct sun stresses freshly dug roots almost immediately.
In warmer climates like the American Southeast or Pacific Coast, late January through February works beautifully. Meanwhile, gardeners in cooler zones should target early spring, just before new growth begins pushing through.
Preparing the New Location First
Never dig up your Camellia Forest Garden – Visit Scotland before the new site is ready. This is the single most common mistake transplanting gardeners make. Every extra minute the root ball sits exposed increases stress on the plant.
Soil Requirements
Camellias demand well-draining, acidic Source soil with a pH between 5.5 and 6.5. Test your soil before digging anything. If your pH runs high, work in sulfur or acidic compost several weeks in advance.
Preparing the Transplant Hole
Envision the future root system of your Camellia Growing Guide – American Camellia Society; the new hole needs to be generously wide, ideally three times the diameter of the root ball you expect to excavate. This ample space allows newly developing feeder roots to spread horizontally, efficiently absorbing water and nutrients while providing crucial stability. A narrow hole restricts this vital outward growth, causing roots to circle back on themselves. Crucially, match the hole’s depth to the root ball’s height. The root flare, where the trunk widens at the soil line, must remain at or slightly above ground level. Planting too deeply suffocates vital root tissue, leading to root rot and poor oxygen exchange, which severely stresses the plant.
Optimizing Soil for Camellias
Camellias thrive in acidic conditions, so amending your native soil is key for their long-term health. Blend it with an equal volume of acidic compost or aged pine bark fines. This mixture offers multiple benefits: it drastically improves drainage in heavy clay soils and enhances moisture retention in sandy ones. Furthermore, the organic matter slowly releases essential nutrients as it breaks down, feeding your plant naturally. Mixing native soil prevents a common issue known as the “bathtub effect.” This occurs when a pocket of improved, rich soil sits within vastly different native soil. Roots often hesitate to cross this abrupt interface, keeping the plant perpetually root-bound in its new location. A gradual transition encourages robust outward root growth into the surrounding environment. My grandmother always said, “Give those roots room to breathe, dear, just like us.” Her camellias always flourished.
Choose a location with morning sun and afternoon shade. American Camellia Society – Camellia Culture Guide with bright, indirect light — too much harsh afternoon sun scorches their leaves and stresses transplanted specimens especially hard.
Excavating the Root Ball
Now comes the physical work — and it’s genuinely hard. How to Transplant a Camellia Bush – The Spruce A mature camellia with a trunk diameter of two inches or more will have a root ball weighing anywhere from 50 to 200 pounds. Plan accordingly.
Tools You’ll Need
Gather these tools before you start:
- A sharp, long-handled How to Transplant a Camellia Bush spade – A pruning saw for severing thick roots – A garden fork for loosening soil – Heavy burlap or a tarp for wrapping and transporting – A wheelbarrow or garden cart – A helper — this is not a solo job
The Digging Process
Start by drawing an imaginary circle around the plant. Source For a camellia with a two-inch trunk, that means a minimum 24-inch radius circle.
Push your spade straight down along this circle, cutting cleanly through roots. Work your way around the entire perimeter before attempting to lift anything. cutting roots in sections is far better than ripping them — clean cuts heal faster and resist disease more effectively.
Once the perimeter cut is complete, angle your sharp spade inward. Drive it deeply beneath the camellia’s root ball. Aim for a 45-degree angle. This technique helps create a conical shape. Consequently, it preserves vital feeder roots. Work methodically around the entire circumference. Apply gentle leverage to gradually loosen the bottom. Repeat this action from multiple directions. This ensures uniform separation of the root mass. You are aiming to sever the deeper anchoring roots. This critical step prepares the plant for lifting.
Next, with a sturdy garden fork, carefully tease apart any dense soil. Gently insert the fork into the exposed root system. This action significantly improves aeration. Furthermore, it helps reveal the root structure. You might encounter compacted clay or old potting mix. Carefully break these up without damaging roots. This step removes excess weight. It also prepares the root ball for its new environment. Ultimately, it encourages quicker establishment.
Finally, inspect the root system thoroughly. Look for any problematic roots. Circling roots are a common issue; they can strangle the plant. Use clean, sharp bypass pruners for precise cuts. Remove any broken, kinked, or diseased roots. These are detrimental to the camellia’s long-term health. Damaged roots can invite pathogens. Healthy cuts promote strong, outward root development. Ensure the root flare remains visible. This helps the camellia thrive in its new home. My grandmother always said, “A good root system is a happy plant,” and I’ve seen that wisdom hold true.
Tip the root ball gently onto its side. Slide your burlap underneath, then roll the ball back onto the burlap. Wrap it firmly, tying the burlap with twine to keep the root ball intact during transport. A crumbling root ball is a transplanting disaster — keep it as solid as possible.
Transplanting Established Trees and Shrubs – University of Minnesota Extension
Planting in the New Site
Move quickly once the plant is excavated. Every minute counts for exposed roots.
Placement and Depth
Lower the root ball carefully into the prepared hole. Source Check that the top of the root ball sits at or very slightly above the surrounding soil grade. Planting too deep is the number one cause of camellia decline after transplanting.
Remove or cut away the burlap once the plant is positioned. Natural burlap eventually decomposes, but synthetic burlap will strangle roots permanently — always remove it entirely.
Backfill with your amended soil mixture, firming it gently in layers to eliminate air pockets. Avoid stomping heavily — you’ll compact the soil and damage the roots you just worked so hard to preserve.
Watering In
Water deeply and slowly immediately after planting. Use a slow trickle from your hose for twenty to thirty minutes, allowing water to penetrate the entire root zone. Then water again the following day. For the first growing season, your camellia needs consistent moisture — never soggy, never bone dry.
Build a shallow ring of soil around the planting area to create a watering basin. This directs water straight to the root zone rather than running off. Additionally, apply three to four inches of pine bark mulch over the root zone, keeping it away from the trunk itself.
Post-Transplant Care
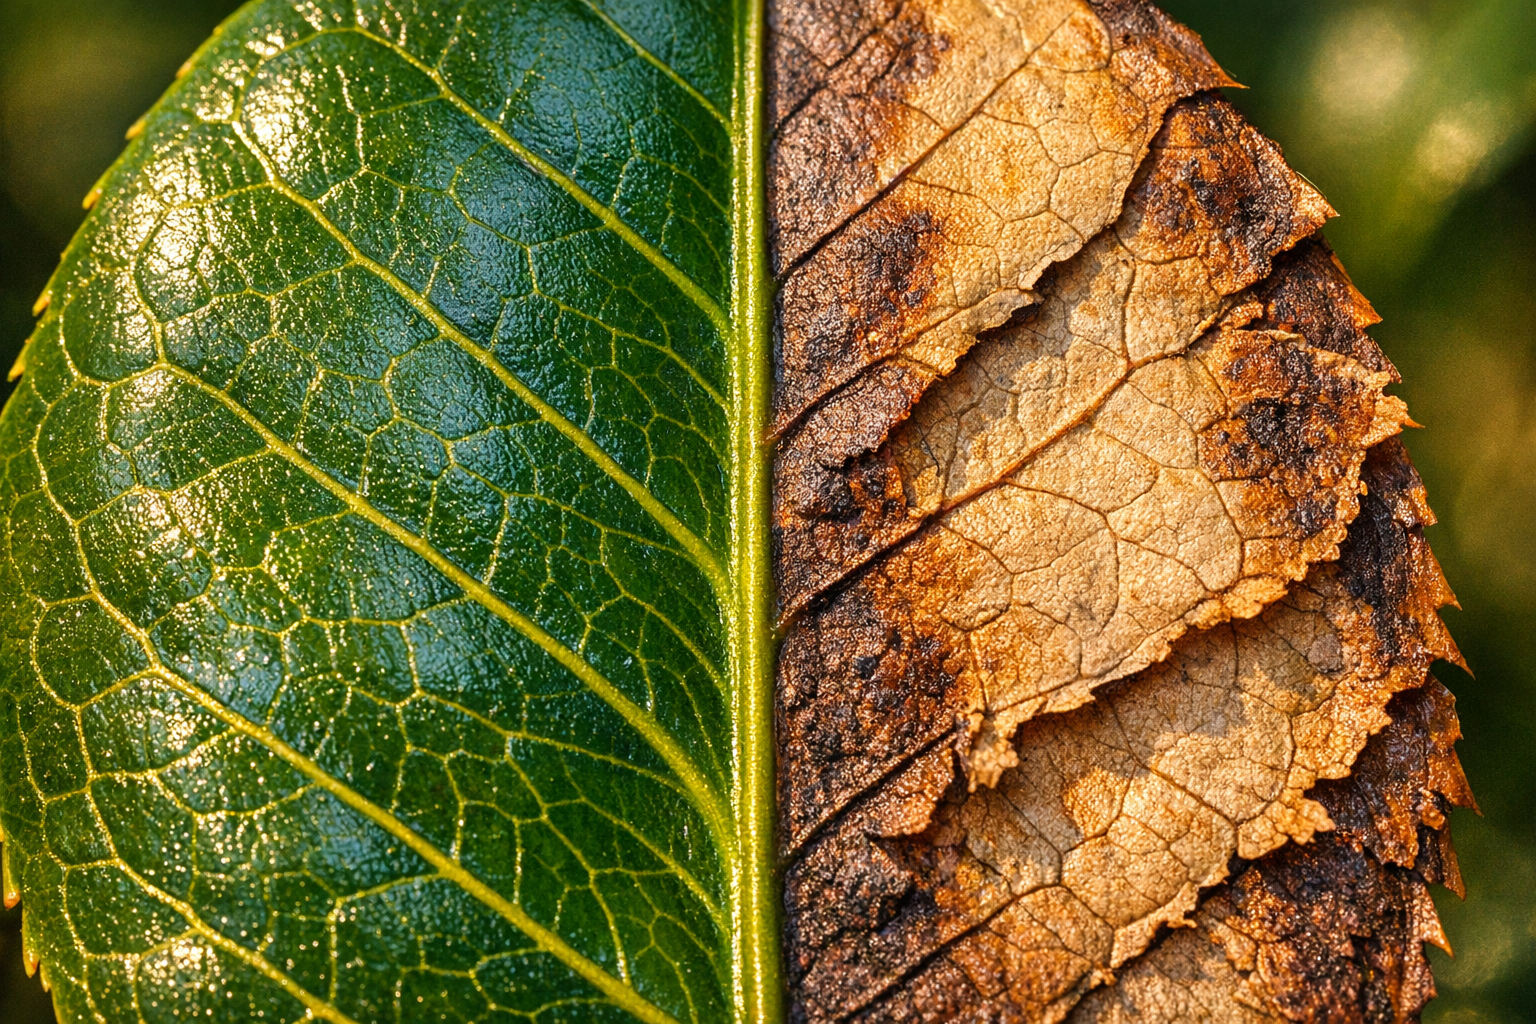
Your camellia will likely sulk for a while. Expect some leaf drop, yellowing, or a lack of blooms in the first season — this is normal and not a death sentence.
Camellia Culture Guide – American Camellia Society
Feeding and Monitoring
Hold off on fertilizing for the first three months. Pushing new top growth before the roots establish themselves creates dangerous imbalance. After that initial period, apply a slow-release fertilizer formulated specifically for acid-loving plants like camellias, azaleas, and rhododendrons.
Watch for signs of stress — wilting despite moist soil, significant leaf drop, or bark discoloration at the base. However, don’t overreact to minor leaf loss in the first few weeks. Camellias are resilient plants. Given proper conditions, most established specimens recover fully within one to two growing seasons.
Prune sparingly in the first year. Remove only dead or damaged branches — let the plant direct its energy toward root development rather than healing pruning wounds simultaneously.
Bringing It Home
My grandmother’s camellia survived that November transplant. It took nearly a full year before it bloomed again, but when it did — fat, pink flowers in February, against the white wall of her new apartment’s garden — she cried a little. So did I.
Preparing for Camellia Transplant
Transplanting a mature camellia bush represents a significant commitment. Crucially, success hinges on meticulous planning, beginning months beforehand. Specifically, late fall or early winter during dormancy offers the best chance for survival. This timing minimizes transplant shock. For truly large specimens, consider root pruning in spring or early summer. This involves digging a trench around the future root ball perimeter. Backfill this trench with rich, composted soil. This encourages new feeder roots to grow within the eventual root ball. Therefore, the plant develops a more compact, robust root system. This preparation dramatically improves its chances of successful relocation.
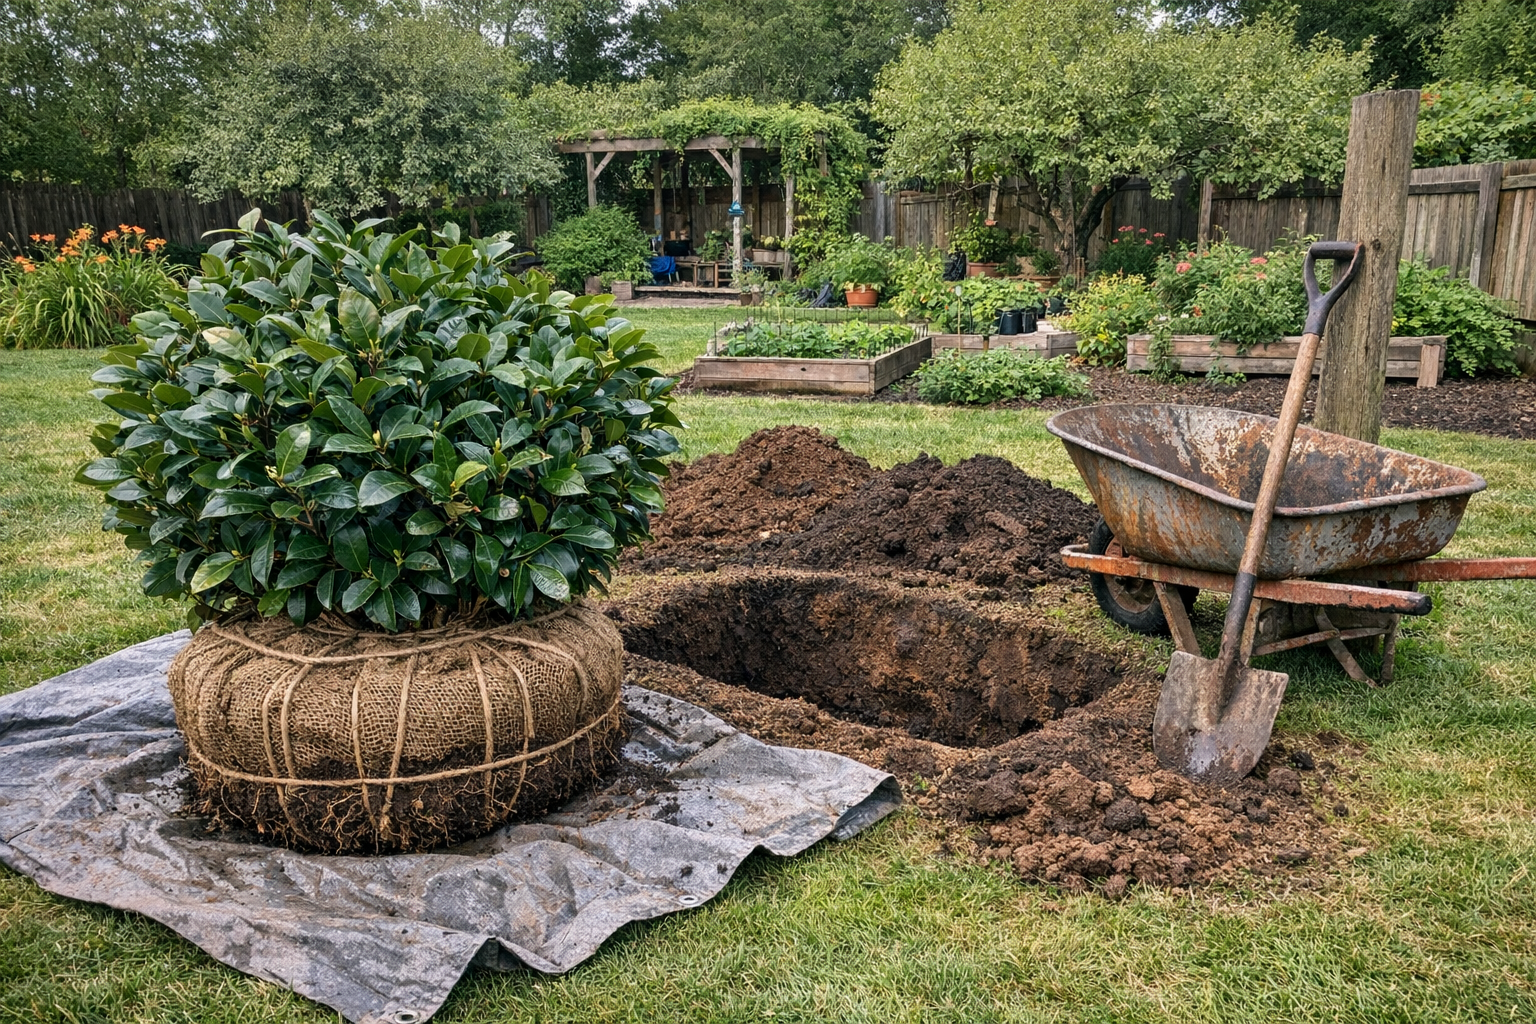
The Transplant Day
Meanwhile, the new site demands equal attention. Dig the receiving hole twice as wide as the anticipated root ball. However, keep its depth consistent with the camellia’s original planting level. Amending the soil with organic matter and pine bark ensures proper drainage and acidity. Next, carefully excavate the camellia’s root ball. Aim for a diameter of roughly 12-18 inches for every inch of trunk diameter. Use a sharp spade to make clean cuts. Immediately wrap the root ball in burlap, securing it with twine. This prevents drying and keeps the soil intact. Remember, a well-prepared site is a welcoming new home.
Post-Transplant Care
Moving the immense weight of a mature camellia requires significant physical effort. Often, multiple strong helpers or specialized equipment, like a heavy-duty dolly, are essential. Once moved, gently lower the plant into its new home. Ensure the root ball top aligns with ground level. Following this, backfill carefully, avoiding air pockets around the roots. Water deeply and thoroughly immediately after planting. This settles the soil and eliminates air. Importantly, apply a thick layer of acidic mulch, such as pine needles, around the base. This conserves moisture and regulates soil temperature. Initial protection from harsh afternoon sun with shade cloth can also be beneficial.
The Reward of Patience
Ultimately, the reward for this intensive labor is profound. You’ve preserved a living legacy, a testament to enduring beauty. Be prepared for a period of transplant shock, which is normal. The camellia may shed leaves or appear stressed for several months. Consistent, thoughtful watering and ongoing patience are paramount during this recovery phase. Indeed, full re-establishment might take a year or even two. My grandmother often said, “A camellia moved with love will always bloom again.” This reminds us that nurturing these venerable plants is a true act of devotion.
If you’re inspired to tackle a similar camellia transplanting project, having the right tools and supplies can make all the difference between success and heartbreak. Starting with the digging itself, a reliable heavy duty garden spade will give you the leverage and durability needed to cut cleanly through compacted soil and stubborn roots without bending or breaking under pressure. Once you’ve freed the root ball, wrapping it securely with burlap tree transplant material is essential for holding the soil together and protecting those delicate feeder roots during the stressful journey to their new location. To make dragging that heavy root ball across the yard much easier on your back and your lawn, spreading out a heavy duty garden tarp underneath it allows you to slide even the most enormous specimens with far less effort and risk of damage. Before you begin the extraction process, using a good pair of pruning shears for shrubs to carefully reduce the outer canopy will help balance the plant’s energy needs with its temporarily reduced root system, giving it a much better chance of recovery. After replanting, watering your camellia in with a root stimulator transplant solution is one of the smartest things you can do, as it actively encourages new root growth and helps the plant overcome the inevitable shock of being moved. Once your camellia has settled into its new home and begins showing signs of recovery, feeding it with a specially formulated camellia fertilizer will provide the acidic-loving nutrients it needs to thrive and eventually reward you with those gorgeous blooms again. Throughout every stage of this physically demanding process, protecting your hands with a sturdy pair of garden gloves heavy duty will shield you from blisters, sharp roots, and rough burlap while still giving you the grip and dexterity needed for precise work. When it comes to transporting the root ball over longer distances or across uneven ground, a wheelbarrow large capacity can be an absolute lifesaver, allowing you to safely cradle and move even the heaviest specimens without dragging them across the ground. In the weeks and months following the transplant, regularly checking the soil conditions with a soil moisture meter will take the guesswork out of watering, ensuring the roots stay consistently moist without becoming waterlogged during that critical establishment period. Finally, if your camellia is going into a container or a spot where the native soil is less than ideal, filling the planting hole with a quality camellia potting mix acidic soil will create the perfectly acidic, well-draining environment these beautiful shrubs need to put down strong new roots and flourish for another thirty years to come.
*As an Amazon Associate, I earn from qualifying purchases.