
Transplanting a substantial camellia bush, especially one over five feet tall, demands careful planning and execution. These acid-loving evergreens possess delicate, fibrous root systems that are easily damaged, making a successful move challenging. You must respect the plant’s need for consistent moisture and good drainage, yet not soggy soil. Often, an autumn transplant, after the summer heat but before hard freezes, offers the best chance for root establishment. This timing allows the plant to settle before expending energy on spring blooms.
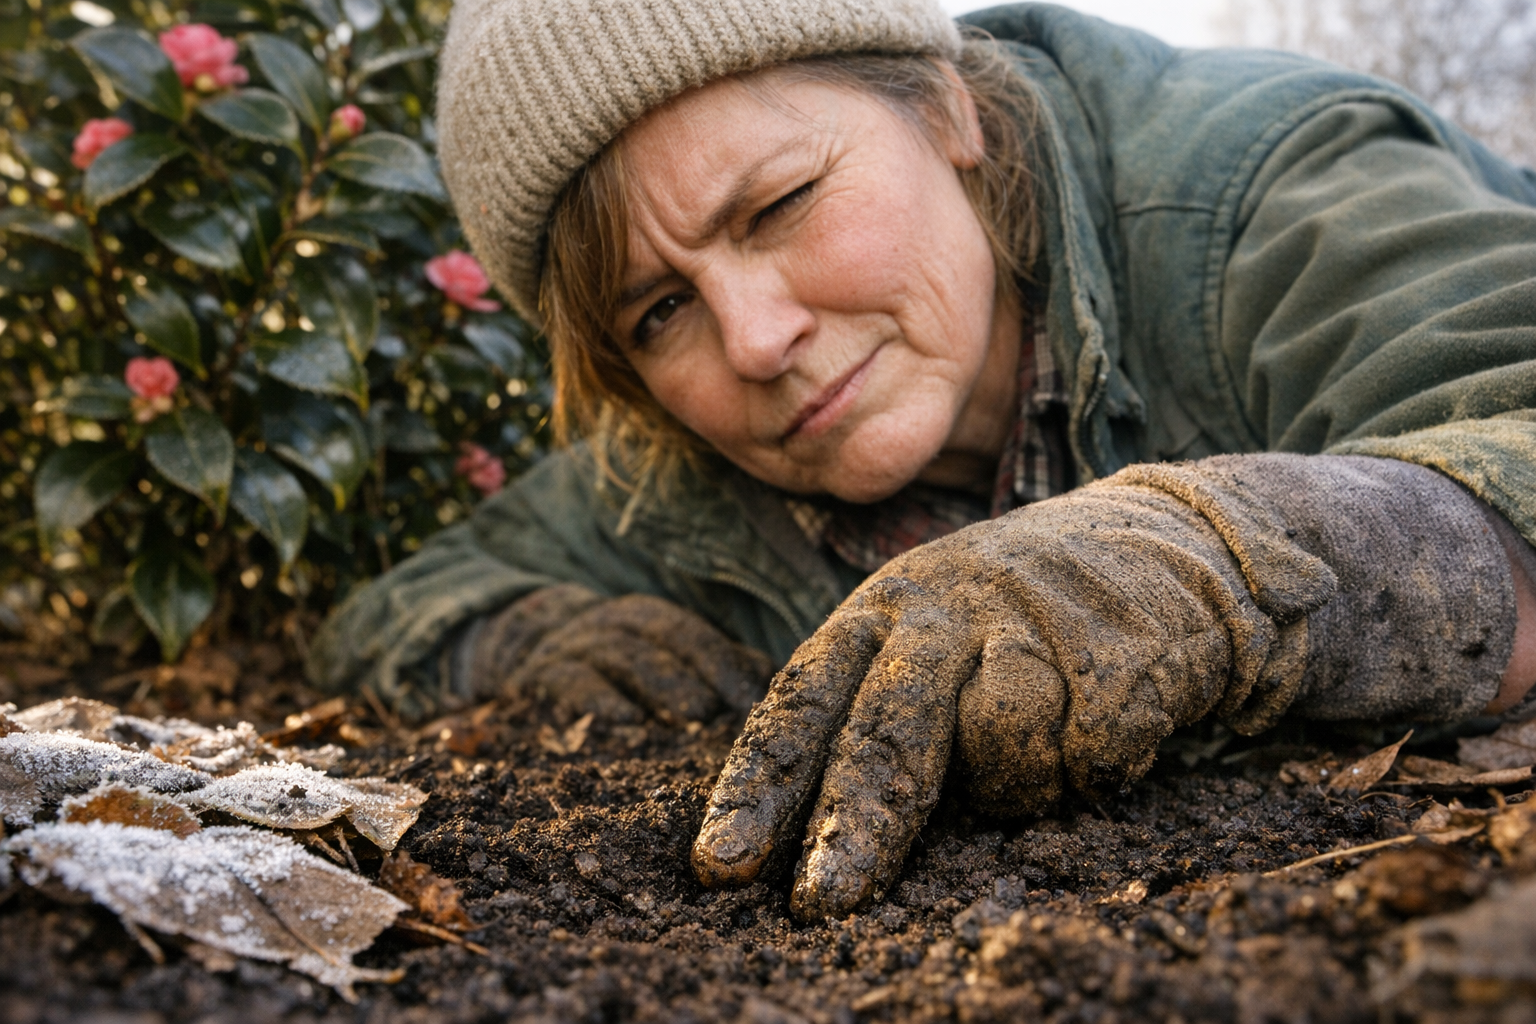
My grandmother, conversely, seemed to embody an innate understanding of plant needs. Her “it wants more light” observation wasn’t just a whim; it reflected an intuitive grasp of Camellia japonica‘s preference for dappled shade to morning sun. When moving a large specimen, preparing the new site is crucial. Dig a hole twice as wide as the root ball but only as deep, ensuring the top of the root ball sits slightly above grade. This prevents waterlogging, a common killer. Furthermore, amending the soil with organic matter like peat moss or compost enriches the new environment, providing essential nutrients.
Careful root ball extraction is paramount. Minimizing root disturbance is key; a large, intact root ball significantly boosts survival rates. After carefully positioning the plant, backfill gently, tamping lightly to remove air pockets. Immediate, deep watering settles the soil, and a layer of mulch helps retain moisture and regulate soil temperature. My grandmother’s swift, decisive action, perhaps driven by her “gut feeling,” inadvertently minimized the plant’s exposure and stress. I learned, years later, that patience and careful aftercare—consistent watering without over-saturating—are just as vital as the initial move. A neighbor once advised me to “water it like you love it, but don’t drown it,” and that simple wisdom stuck.
My ill-fated summer attempt truly underscored the importance of timing. Consequently, I discovered that dormancy is key for camellia transplants. Instead, the ideal window typically falls from late autumn to early spring. During this period, the plant is not actively growing. Therefore, it experiences significantly less stress from root disturbance. This critical insight alone transformed my approach.
Furthermore, proper pre-transplant preparation became non-negotiable. My previous “no preparation” was a grave error. Horticulturalists stressed root pruning weeks or months prior. This encourages a compact root ball. Subsequently, the camellia is better equipped for the shock of relocation. Adequate pre-watering also ensures the plant is fully hydrated. This minimizes stress during the move itself.
The physical act of moving requires precision. Source Digging a generous root ball is paramount; never skimp. Crucially, maintaining its integrity prevents further root damage. Once in its new home, the planting hole must be wide, not too deep. Backfill with good soil, avoiding air pockets. Following this, consistent, deep watering is essential. A layer of mulch helps retain moisture, too.
Ultimately, my research revealed camellias’ profound sensitivity to environmental shifts. They demand consistent moisture but absolutely loathe waterlogged conditions. Indeed, understanding their specific soil pH and drainage needs became fundamental. Moreover, protection from harsh sun and strong winds is vital post-transplant. My grandmother always said, “A plant tells you what it needs if you just listen,” and this camellia certainly shouted its requirements.
This Camellia Growing Guide – RHS guide shares everything I’ve learned since then.
Why Timing Is Everything
Camellias are resilient, but they aren’t forgiving of bad timing. Transplanting Camellias – American Camellia Society Source The single most important decision you’ll make is when to move your plant.
Dormancy slows the plant’s metabolic activity. As a result, the roots experience less stress when disturbed. Additionally, cooler soil temperatures help the root ball retain moisture during the critical establishment window. Moving a camellia in summer — as I learned — forces it to sustain both root recovery and active growth simultaneously. That’s too much to ask.
In most temperate climates, the ideal window runs from late October through early February. However, always check your local frost dates. You want the ground workable, not frozen.
Assessing Your Camellia Before You Dig
Not every mature camellia should be moved. Therefore, start with an honest assessment. A healthy plant with flexible stems, glossy leaves, and no signs of disease makes a good candidate. In contrast, a camellia already struggling with root rot or severe dieback may not survive the additional stress of transplanting.
Estimating Root Ball Size
For established shrubs, the root ball size matters enormously. Source A camellia with a two-inch trunk base, therefore, needs a root ball roughly 20–24 inches across.
Measure your plant before you dig. Mark the perimeter with spray paint or garden stakes so you don’t second-guess yourself mid-excavation. Additionally, consider the plant’s height — taller shrubs carry more above-ground weight, which means the root ball must be proportionally substantial to anchor and sustain them.
Preparing the New Site First
Here’s where most people get the sequence wrong. They dig up the plant, then scramble to prepare the destination. Don’t do this. Prepare the new site completely before you lift the camellia. Every minute the root ball sits exposed increases stress.
Camellias thrive in acidic, Source well-draining soil with a pH between 5.5 and 6.5. Test your new site’s soil pH in advance. Amend it with sulfur or ericaceous compost if necessary, giving amendments several weeks to integrate.
Light and Drainage Requirements
Choose a spot with dappled or morning sun and afternoon shade. Direct afternoon sun scorches camellia foliage, particularly in warmer climates. Additionally, ensure the site drains well — How to Transplant Camellias – The American Camellia Society hate waterlogged roots almost as much as they hate drought.
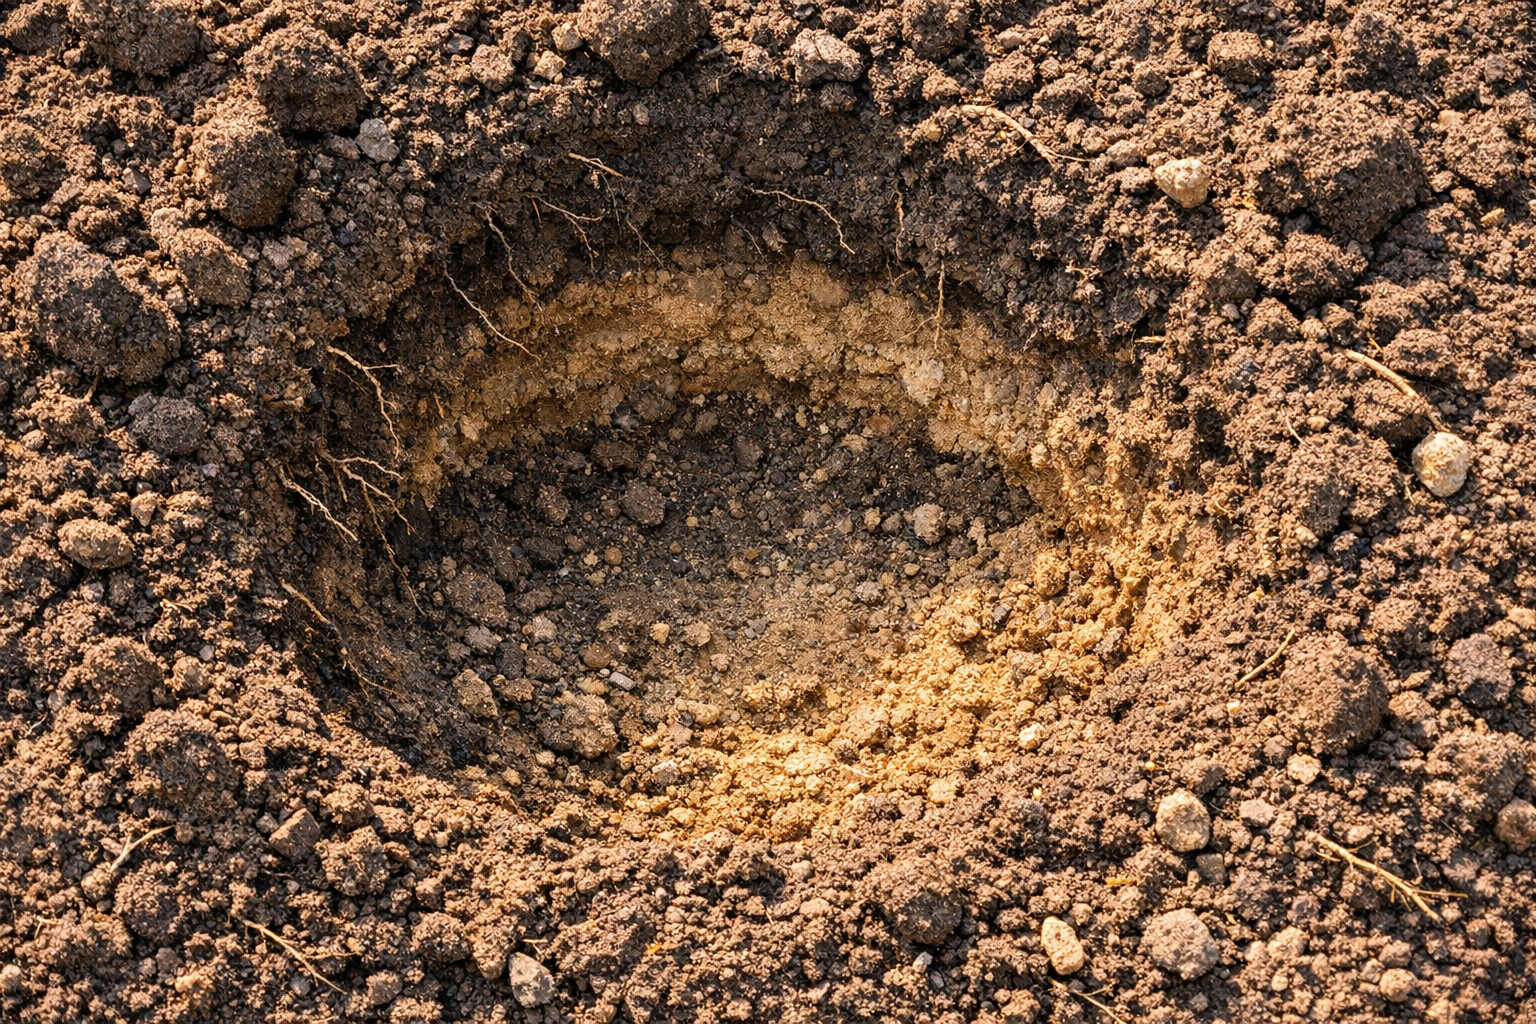
Dig the new hole two to three times the width of the root ball, but no deeper than the ball itself. Planting too deep suffocates the roots. Meanwhile, a wide hole encourages lateral root expansion into loosened surrounding soil.
The Excavation Process
Now comes the physical work. How to Transplant a Camellia Bush – The Spruce Water the camellia deeply two days before you plan to dig. Moist soil holds together far better than dry soil, keeping the root ball intact during lifting. This step alone dramatically improves your success rate.
Using a sharp spade, cut straight down around the marked perimeter. Work slowly and deliberately. Avoid prying or levering — that tears feeder roots unnecessarily. Instead, make clean vertical cuts all the way around before attempting to lift.
Undercutting and Lifting
Once you’ve cut the perimeter, angle your spade inward and undercut the root ball. Work from multiple sides to free the base evenly. For larger shrubs, two people make this process significantly safer — one holds the trunk steady while the other works the spade.
Slide a piece of burlap or a tarp beneath the root ball as you free it. Source This protects the ball during transport and keeps it from crumbling. Lift carefully, supporting the weight from below — never drag the plant by its trunk.
Planting at the New Site
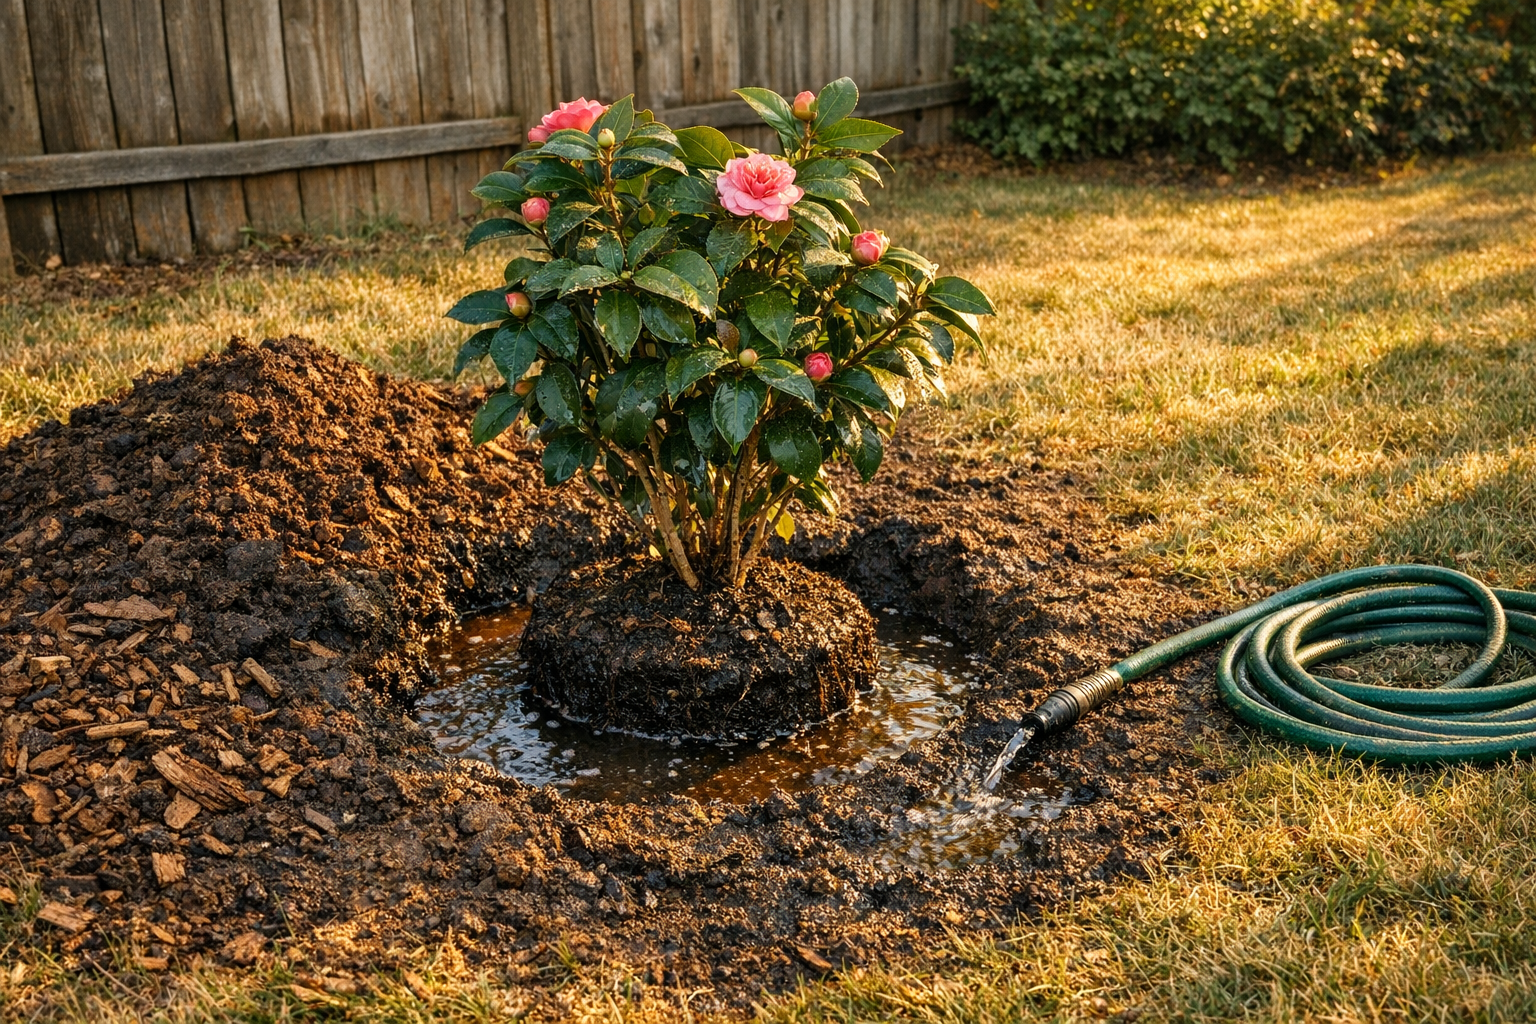
Lower the Camellia Culture – American Camellia Society into the prepared hole carefully. The top of the root ball should sit slightly above ground level — perhaps half an inch to one inch proud of the surrounding soil. This accounts for settling. Additionally, it prevents the crown from sitting in pooled water after rain.
Backfill with the original soil mixed with a small amount of ericaceous compost. Source Avoid heavy fertilization at this stage. Firm the soil gently as you backfill, eliminating large air pockets without compacting aggressively.
Water thoroughly once planting is complete. You want the soil saturated — not damp, but genuinely soaked — to help the American Camellia Society – Culture of Camellias make contact with surrounding soil.
Mulching and Immediate Aftercare
Mulch Selection and Proper Application
Applying an appropriate ground cover is key after transplanting. For instance, acidic organic mulches are ideal, like aged pine bark fines or longleaf pine needles. These choices naturally create the slightly acidic soil camellias prefer. Furthermore, they decompose slowly, offering extended benefits. Spread this material evenly, aiming for a consistent three to four-inch depth. Extend the mulch outward to the plant’s drip line, forming a wide protective circle. Importantly, maintain a two to three-inch gap around the main trunk. This mulch-free zone prevents moisture against the bark, avoiding fungal issues or collar rot.
Temperature Control and Moisture Retention
This strategic mulch layer offers significant environmental advantages. Camellia Forest Garden – Visit Scotland Primarily, it acts as an insulating blanket for the root zone. On hot summer days, it shields soil from intense sun, keeping roots cooler. This prevents heat stress. Conversely, in colder months, this layer helps retain warmth. It protects sensitive feeder roots from freezing temperatures. Consequently, soil temperature fluctuations minimize, creating a stable environment. Additionally, mulch significantly reduces water evaporation from the soil surface. This ensures consistent moisture for the plant, crucial for new root establishment. You will find yourself watering less often.
Enhancing Soil Health for Thriving Camellias
Beyond temperature and moisture, organic mulches slowly enrich and acidify the soil. As pine products break down, they release tannins and acidic compounds. This gradual acidification creates the optimal pH range for camellias, usually 5.5 to 6.5. Within this range, camellias absorb essential nutrients like iron. This prevents common issues such as chlorosis, or yellowing leaves. Therefore, this integrated approach supports robust new root growth and overall plant vigor. Providing ideal conditions minimizes transplant shock, allowing your camellia to thrive. My grandmother always said, “A happy root makes a happy bloom,” and mulch certainly helps those roots.
For the first growing season, water consistently. During dry spells, water deeply twice per week rather than shallowly every day. Deep watering encourages roots to grow downward, building drought resilience. Shallow watering, however, keeps roots near the surface where they’re vulnerable.
Monitoring for Transplant Shock
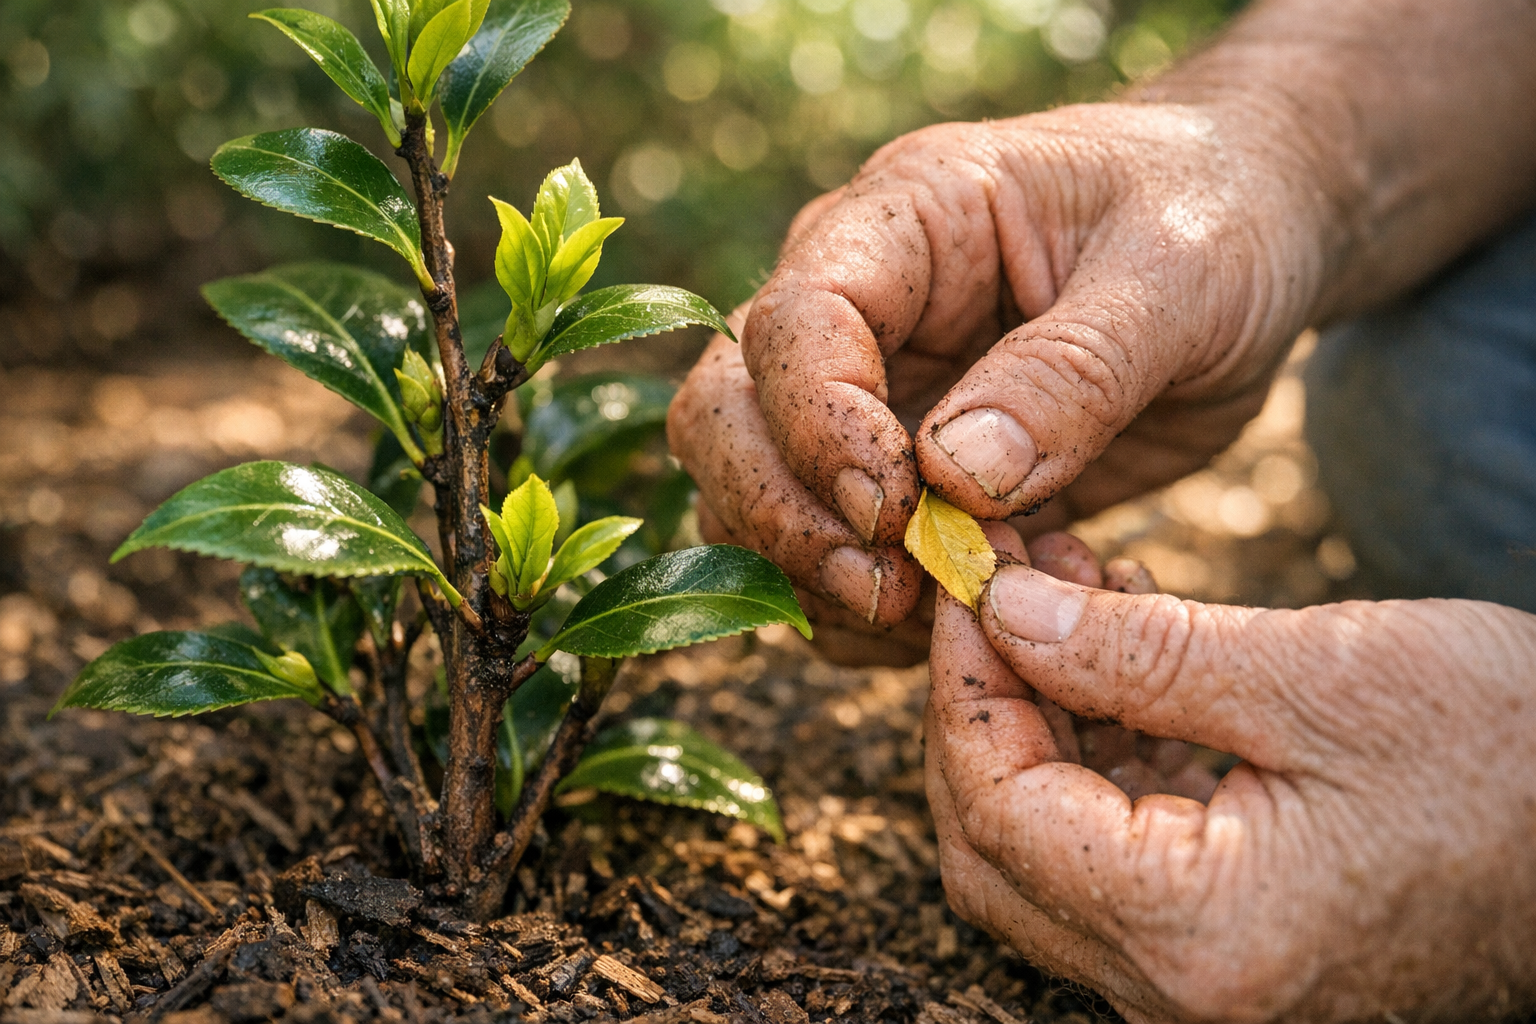
Some leaf drop after Transplanting Established Trees and Shrubs is completely normal. Don’t panic. However, if leaves yellow heavily or the plant drops buds without opening, increase watering frequency and check drainage. Wilting combined with wet soil signals a drainage problem, not drought.
Avoid pruning for at least one full season post-transplant. Source The plant needs every leaf it has for photosynthesis and recovery energy. Additionally, hold off on fertilizing until you see clear signs of new healthy growth — typically in the second season.
Transplanting Established Trees and Shrubs – University of Minnesota Extension
Long-Term Success After Transplanting
Most camellias, when moved with care and proper timing, establish successfully within one to two growing seasons. By the third year, a well-transplanted camellia typically blooms as generously as before — sometimes better, if the new site suits it more than the old one did.
Patience is the final ingredient. Therefore, resist the urge to intervene constantly. Check the soil moisture, maintain the mulch layer, and let the plant do its work underground. The roots are rebuilding quietly, extending outward into new territory, doing exactly what roots do.
Her intuitive knowledge about moving that mature camellia was truly remarkable. Successfully transplanting a large camellia bush, often several feet tall, demands careful planning and execution. Indeed, she understood the critical importance of timing; autumn or early spring, when the plant is dormant, minimizes shock significantly. First, she carefully prepared the new site, ensuring well-draining, acidic soil, enriched with organic matter.
Then, the meticulous root ball preparation began. Transplanting Camellias – The Spruce She dug a wide trench around the camellia, preserving as much of the root system as possible. A large root ball, ideally at least 18-24 inches in diameter for a substantial bush, is crucial for post-transplant survival. Furthermore, she gently undercut the root ball, carefully leveraging it onto a tarp or burlap for transport. This minimized damage and kept the roots moist.
Once in its new home, proper planting depth was key; the root flare remained visible. Subsequently, she watered the camellia thoroughly, settling the soil around its roots. However, her real genius lay in resisting the urge to over-fuss. She understood that consistent moisture, not excessive fertilization or pruning, was paramount for recovery. Ultimately, the plant needed space and time to adjust. It reminds me of my grandfather’s advice: “Some things just need quiet.” This patience allowed the camellia to establish new feeder roots. Thus, it eventually thrived, a testament to her gentle, confident approach and the plant’s inherent resilience.
Transplanting a mature camellia demands preparation, good timing, and respect for the plant’s needs. Camellia Gardens – A Guide to Visiting Famous Camellia Destinations However, it absolutely rewards the effort. Follow these steps carefully, and your camellia will reward you with decades of spectacular blooms in its new home.
Successfully transplanting a large camellia requires the right tools and soil amendments, and starting with a reliable soil testing kit helps you confirm your garden bed has the ideal acidic pH between 5.5 and 6.5 that these beautiful evergreens demand. Once you know your soil’s pH levels, incorporating a quality acid loving plant soil mix into your transplant hole creates the perfect foundation for your camellia’s delicate fibrous roots to establish themselves in their new home. Blending in some peat moss garden amendment further enriches the planting area, improving drainage while retaining just enough moisture to keep those sensitive roots hydrated without becoming waterlogged. When the time comes to carefully extract your large specimen from its original location, a sharp and sturdy garden transplanting spade allows you to cut cleanly through the surrounding soil and preserve as much of the root ball as possible. Wrapping the extracted root ball securely in a burlap root ball wrap keeps the soil intact and protects those fragile roots during the move, dramatically improving your chances of a successful transplant. Once your camellia is settled into its new location, applying a transplant root stimulator encourages vigorous new root growth and helps the plant recover from the inevitable stress of being moved, much like the careful aftercare my grandmother instinctively provided her plants. Setting up a garden hose soaker drip irrigation system around the base of your newly transplanted camellia ensures consistent, deep watering that reaches the root zone without splashing foliage or creating the soggy conditions that can lead to root rot. Consistent moisture is especially critical during those first few weeks after transplanting, and a soaker system takes the guesswork out of knowing whether your camellia is receiving enough water to establish new roots before winter arrives. After your camellia has settled into its new spot and begun showing signs of healthy new growth, feeding it with a dedicated camellia plant fertilizer formulated specifically for acid-loving plants provides the balanced nutrition needed to support lush foliage and those spectacular blooms come spring. With the right combination of proper timing, careful root ball handling, amended soil, and attentive aftercare using these thoughtfully chosen tools and products, even a large five-foot camellia can thrive beautifully in its new location for many decades to come.
*As an Amazon Associate, I earn from qualifying purchases.