
My grandmother’s distress that November morning was palpable. This venerable camellia, a silent witness to three decades of her life, presented a monumental challenge. Its glossy leaves, still vibrant, and those defiant pink blooms, seemed to mock our inexperience. We knew then that saving such a mature shrub, with its extensive root system, would demand more than mere muscle; it required careful planning and a deep respect for its history.
Preparing for a Major Transplant
First, we gathered our tools: sharp spades, a heavy-duty tarp, and burlap. Transplanting a Camellia Forest Garden – The Stranger this size ideally occurs during its dormant season, usually late autumn or early winter. This timing minimizes shock. We deeply watered the bush for several days beforehand, ensuring its roots were well-hydrated. Estimating the root ball size was crucial; a good rule of thumb is one foot of root ball diameter for every foot of shrub height. Given its age, we anticipated a substantial, heavy mass.
The Labor of Lifting
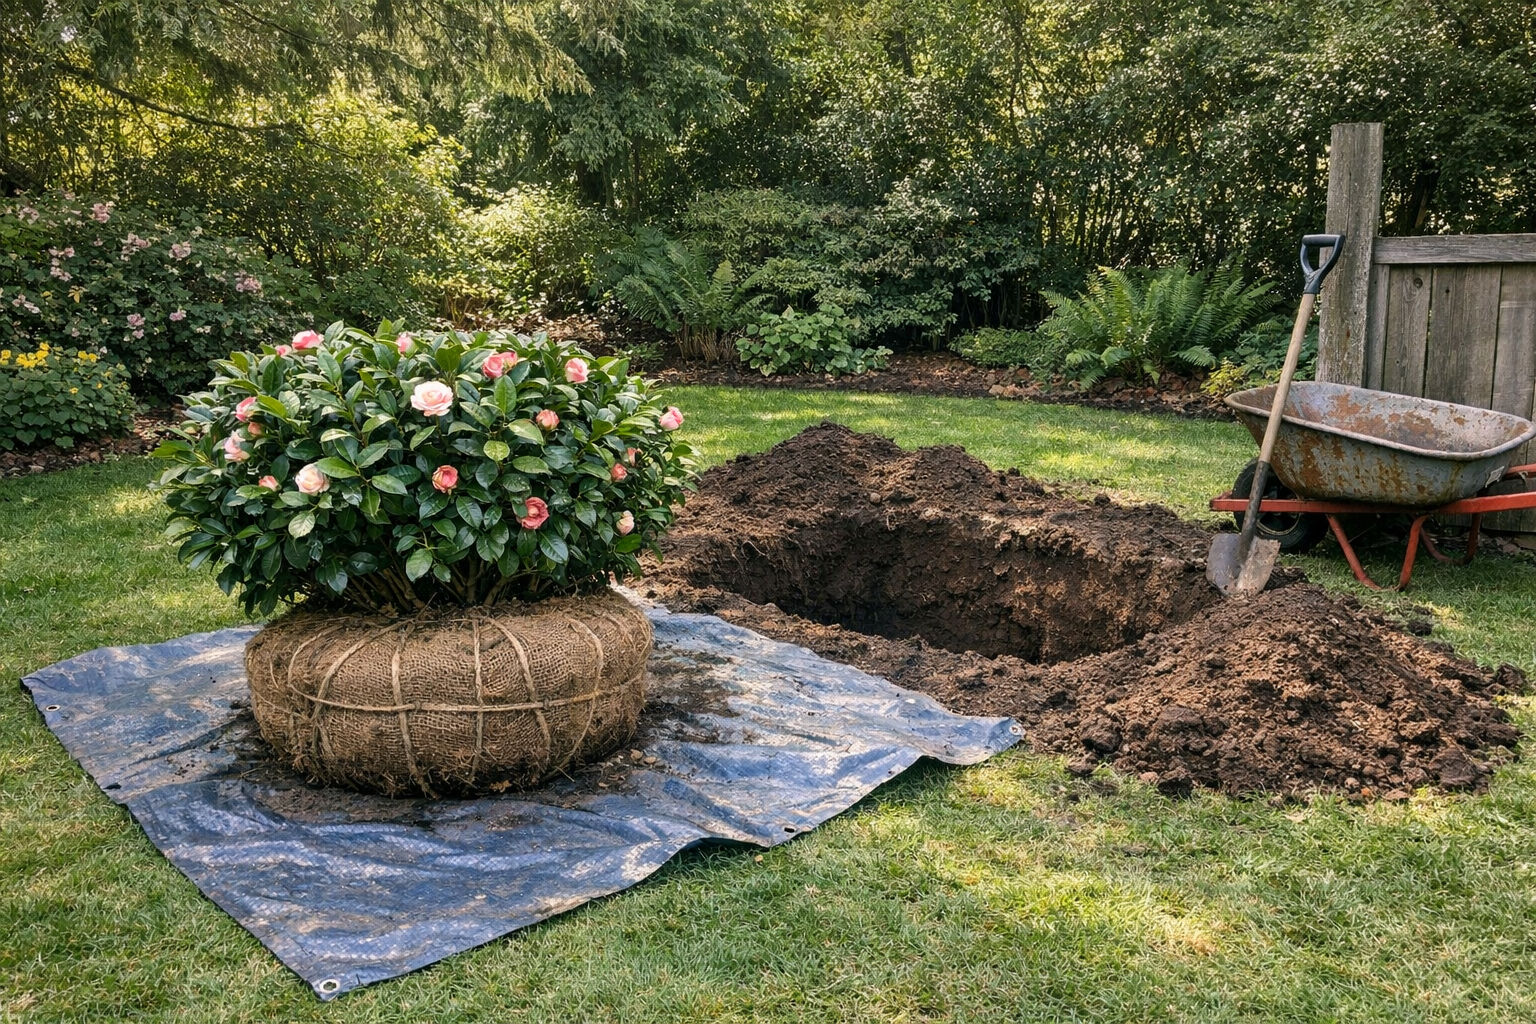
Digging began with a wide trench around the bush, slowly working inward. Source Each shovel stroke met resistance from thick, stubborn roots. We meticulously undercut the root ball, severing connections to the old soil. Carefully, we rocked the enormous plant, gradually loosening its hold. Finally, with grunts and groans, we eased the massive root ball onto the tarp. Securing it tightly with burlap and twine prevented damage during the move.
A New Home and Lasting Lessons
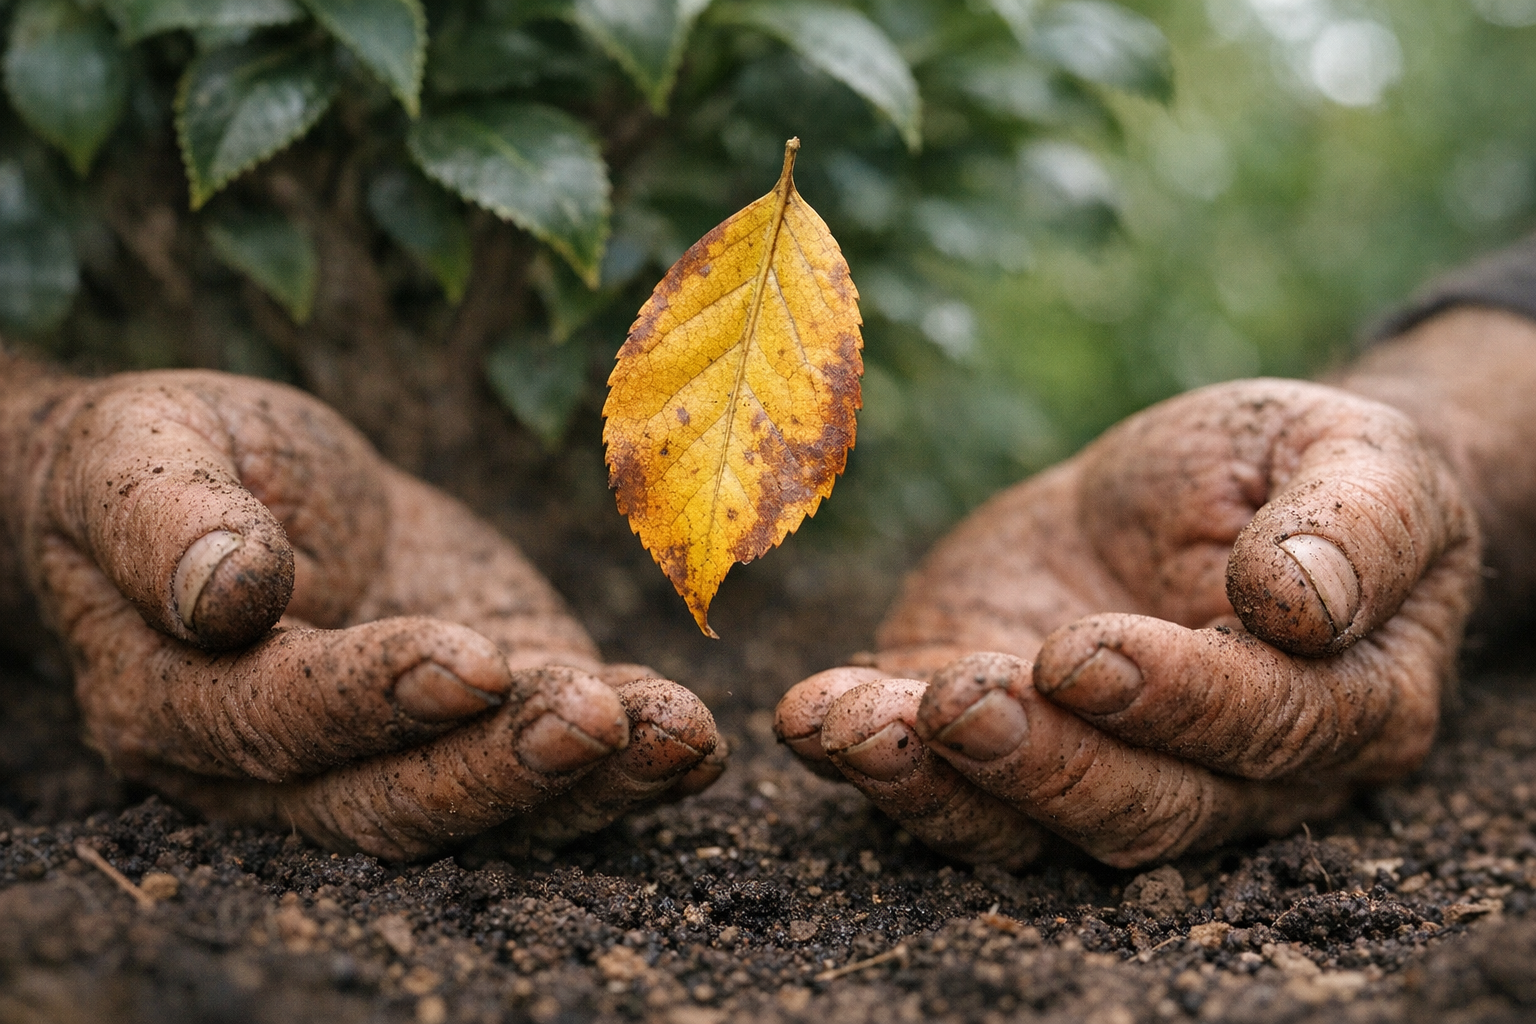
The new planting site was ready, enriched with organic matter. Gently, we lowered the camellia into its new home. We backfilled slowly, firming the soil to remove air pockets, then watered deeply. My grandmother often said, “Plants are like people; they need a good foundation.” That day, watching her stroke the leaves of her transplanted camellia, I truly understood the resilience of living things. It taught me patience, the enduring strength of roots, and the sheer stubbornness required to thrive.
Moving a mature camellia feels impossible at first glance. These plants develop deep, spreading root systems over decades. However, with the right timing, the right tools, and a little respect for the plant’s biology, transplanting a mature camellia is absolutely achievable. This guide walks you through every step.
Why Timing Is Everything
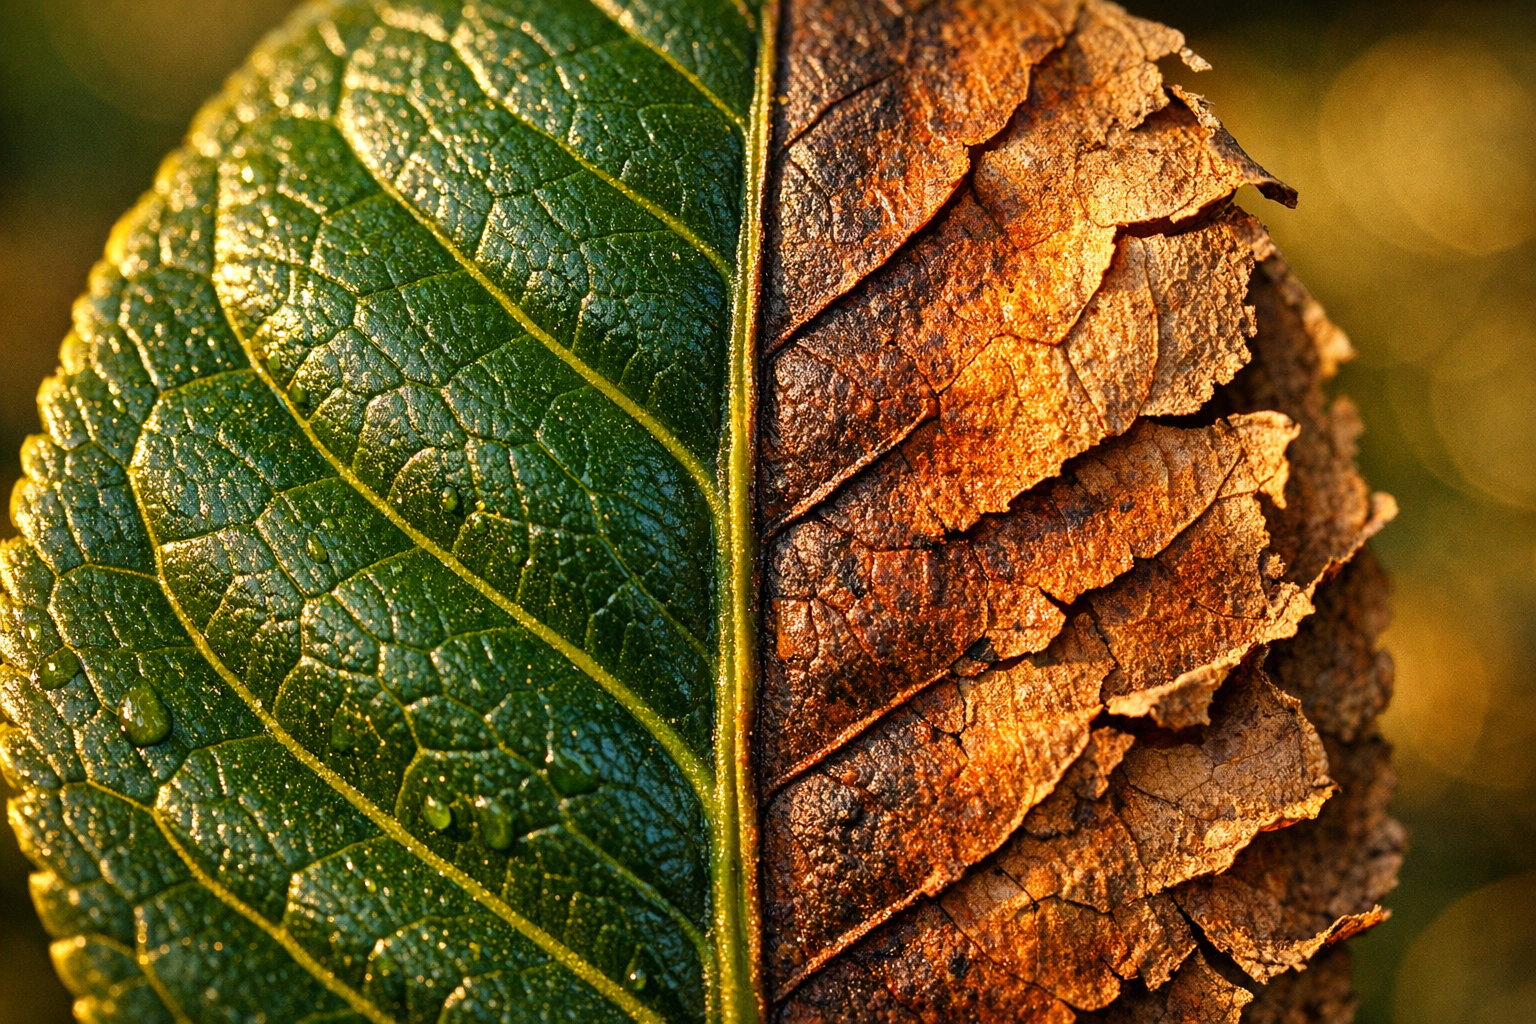
Camellias are tough, but they’re not invincible. Transplanting at the wrong time stresses the plant severely and can trigger leaf drop, root failure, or even death. Fortunately, camellias give you a clear window of opportunity.
Transplanting Camellias – American Camellia Society

The Dormant Season Advantage
Late fall through early spring is the ideal transplanting window for camellias. American Camellia Society – Transplanting Camellias Source During dormancy, the plant directs minimal energy toward leaf and flower production. Therefore, it can focus its resources on recovering from root disturbance.
Aim for a day when temperatures sit between 40°F and 60°F. Avoid transplanting during a hard freeze or during a summer heat wave. Additionally, try to move your camellia on an overcast day — direct sun stresses freshly dug roots almost immediately.
In warmer climates like the American Southeast or Pacific Coast, late January through February works beautifully. Meanwhile, gardeners in cooler zones should target early spring, just before new growth begins pushing through.
Preparing the New Location First
Never dig up your camellia before the new site is ready. This is the single most common mistake Camellia Transplanting Guide – American Camellia Society gardeners make. Every extra minute the root ball sits exposed increases stress on the plant.
Soil Requirements
Camellias demand well-draining, acidic Source soil with a pH between 5.5 and 6.5. Test your soil before digging anything. If your pH runs high, work in sulfur or acidic compost several weeks in advance.
Preparing the Perfect Planting Hole
Before you dig, measure your camellia’s root ball carefully. A large, established bush can have a root ball spanning 24–36 inches. Therefore, your new hole should stretch 48–72 inches wide. This generous width gives roots loose, workable soil to colonize immediately.
Width matters enormously, but depth deserves equal attention. Keep the hole no deeper than the root ball’s height. Planting even two inches too deep can suffocate feeder roots. Consequently, camellias planted too deeply often decline slowly, showing yellowing leaves and poor flowering.
—
Amending Your Native Soil Correctly
Next, focus on your backfill mixture. Combine:
- 50% native Camellia Forest Garden – Visit North Carolina soil from the excavated hole – 50% acidic compost or aged pine bark
This balanced blend serves a specific purpose. Dramatically different soil textures create an invisible barrier. Roots frequently stall at that interface, circling instead of spreading outward.
My neighbor once lost a beautiful ‘Kramer’s Supreme’ because she backfilled entirely with store-bought potting mix. Camellia Growing Guide – American Camellia Society The roots never ventured beyond that rich pocket.
Furthermore, aged pine bark slowly releases beneficial acidity. Camellias thrive in soil with a pH between 5.5 and 6.5. This amendment nudges conditions favorably without harsh chemical adjustments. Always blend thoroughly before backfilling to ensure consistent texture throughout.
Choose a location with morning sun and afternoon shade. Camellias thrive with bright, indirect light — too much harsh afternoon sun scorches their leaves and stresses transplanted specimens especially hard.
American Camellia Society – Camellia Culture Guide
Excavating the Root Ball
Now comes the physical work — and it’s genuinely hard. A mature camellia with a trunk diameter of two inches or more will have a root ball weighing anywhere from 50 to 200 pounds. Plan accordingly.
Tools You’ll Need
Gather these tools before you start:
- A sharp, long-handled How to Transplant a Camellia Bush spade – A pruning saw for severing thick roots – A garden fork for loosening soil – Heavy burlap or a tarp for wrapping and transporting – A wheelbarrow or garden cart – A helper — this is not a solo job
The Digging Process
Start by drawing an imaginary circle around the plant. Source For a camellia with a two-inch trunk, that means a minimum 24-inch radius circle.
Push your spade straight down along this circle, cutting cleanly through roots. Transplanting Established Trees and Shrubs – University of Minnesota Extension Work your way around the entire perimeter before attempting to lift anything. Cutting roots in sections is far better than ripping them — clean cuts heal faster and resist disease more effectively.
Undercutting and Freeing the Root Ball
Once the perimeter trench is complete, it’s time to work underneath. Angle your spade at roughly 45 degrees, driving it inward and downward beneath the root mass. This undercutting motion is crucial for clean removal.
Work systematically from all sides:
- Start at one point, then move 90 degrees around
- Repeat until the bottom feels consistently loose
- Never force the spade in one direction only
Furthermore, patience here prevents costly mistakes. Transplanting Camellias – The Spruce Rushing often snaps major roots unnecessarily.
—
Using Your Garden Fork Effectively
Transition to a sturdy garden fork for the delicate work. Gently insert the tines between compacted soil and roots, then pry slowly. Consequently, soil releases without tearing healthy root tissue.
My neighbor Ruthanne always said, “The fork is for listening — you feel what the spade can’t tell you.” That advice has saved many plants.
Watch for these root problems:
- Circling roots — they restrict future growth
- Kinked roots — they create weak structural points
- Blackened, mushy roots — signs of rot or disease
—
Pruning Problem Roots Before Moving
Additionally, root pruning before transplanting is genuinely beneficial. Use sharp, clean bypass pruners for this task. Dull blades crush tissue rather than cutting cleanly.
Remove circling roots entirely at their base. Trim damaged sections back to healthy white tissue. Moreover, cutting cleanly reduces disease entry points significantly.
- Sterilize pruners between cuts with rubbing alcohol
- Make cuts at a slight downward angle
- Never remove more than 20% of total root mass
Therefore, the camellia arrives at its new location with a healthy, functional root system. How to Transplant Camellias – American Camellia Society Only roots that genuinely support future growth should make the journey.
Tip the root ball gently onto its side. Slide your burlap underneath, then roll the ball back onto the burlap. Wrap it firmly, tying the burlap with twine to keep the root ball intact during transport. A crumbling root ball is a transplanting disaster — keep it as solid as possible.
How to Transplant a Camellia Bush – The Spruce
Planting in the New Site
Move quickly once the plant is excavated. Every minute counts for exposed roots.
Placement and Depth
Lower the root ball carefully into the prepared hole. Source Check that the top of the root ball sits at or very slightly above the surrounding soil grade. Planting too deep is the number one cause of camellia decline after transplanting.
Remove or cut away the burlap once the plant is positioned. Natural burlap eventually decomposes, but synthetic burlap will strangle roots permanently — always remove it entirely.
Backfill with your amended soil mixture, firming it gently in layers to eliminate air pockets. Avoid stomping heavily — you’ll compact the soil and damage the roots you just worked so hard to preserve.
Watering In
Water deeply and slowly immediately after planting. Use a slow trickle from your hose for twenty to thirty minutes, allowing water to penetrate the entire root zone. Then water again the following day. For the first growing season, your camellia needs consistent moisture — never soggy, never bone dry.
Build a shallow ring of soil around the planting area to create a watering basin. This directs water straight to the root zone rather than running off. Additionally, apply three to four inches of pine bark mulch over the root zone, keeping it away from the trunk itself.
Post-Transplant Care
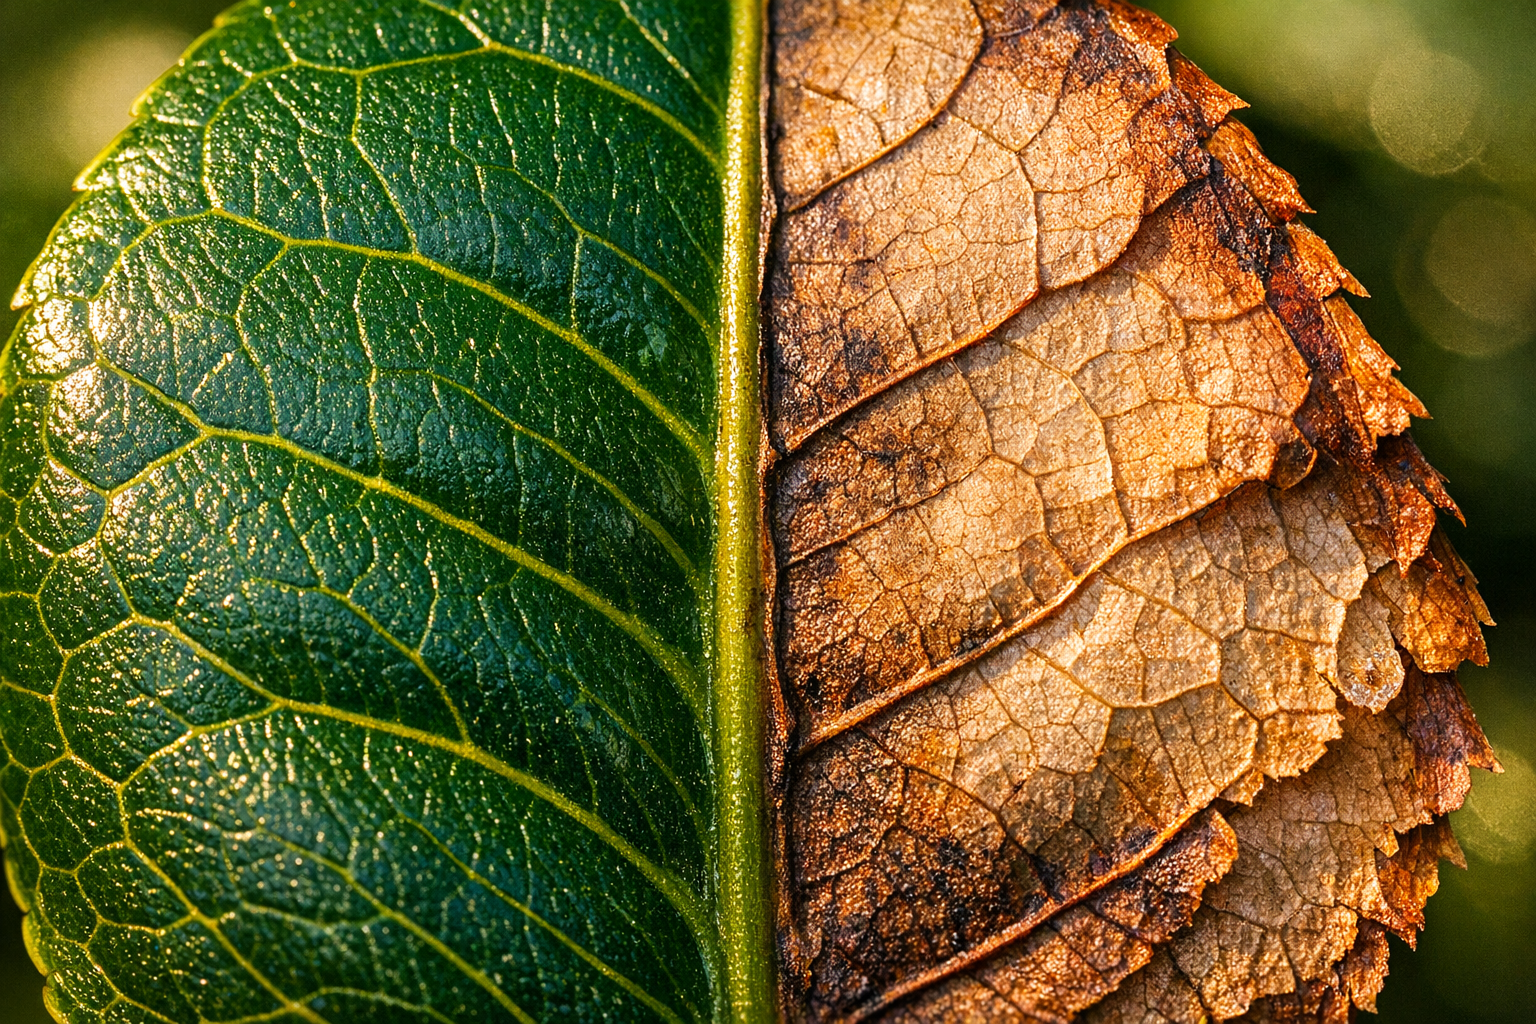
Your camellia will likely sulk for a while. Expect some leaf drop, yellowing, or a lack of blooms in the first season — this is normal and not a death sentence.
Camellia Culture Guide – American Camellia Society
Feeding and Monitoring
Hold off on fertilizing for the first three months. Pushing new top growth before the roots establish themselves creates dangerous imbalance. After that initial period, apply a slow-release fertilizer formulated specifically for acid-loving plants like camellias, azaleas, and rhododendrons.
Watch for signs of stress — wilting despite moist soil, significant leaf drop, or bark discoloration at the base. However, don’t overreact to minor leaf loss in the first few weeks. Camellias are resilient plants. Given proper conditions, most established specimens recover fully within one to two growing seasons.
prune sparingly in the first year. Remove only dead or damaged branches — let the plant direct its energy toward root development rather than healing pruning wounds simultaneously.
Bringing It Home
My grandmother’s Camellia Forest Garden – Visit NC survived that November transplant. It took nearly a full year before it bloomed again, but when it did — fat, pink flowers in February, against the white wall of her new apartment’s garden — she cried a little. So did I.
Relocating a grand camellia, a true garden sentinel, is a significant undertaking that extends beyond simple gardening. It demands meticulous planning and a deep understanding of the plant’s unique needs.
The Art of Preparation
First, timing is paramount; undertake this delicate task during its dormant season, typically late fall through early spring. This minimizes transplant shock, allowing the plant to focus energy on new root development. Furthermore, consider root pruning several months prior to the main move. To do this, dig a trench around the plant’s drip line, cleanly severing larger roots and backfilling with rich compost. This encourages a dense network of feeder roots closer to the trunk, greatly improving post-transplant survival. Meanwhile, the new site demands meticulous preparation. Dig a spacious hole, at least two to three times wider than the anticipated root ball, ensuring excellent drainage and enriching the soil with ample organic matter.
The Move and Critical Aftercare
When the day arrives, carefully excavate the root ball, keeping it as intact as possible. This requires considerable physical effort; consequently, enlist strong helpers. Use sturdy burlap and twine to secure the root ball, protecting delicate feeder roots during transport. Once positioned in its new home, backfill gently, removing air pockets. Crucially, consistent watering is essential post-transplant, though avoid waterlogging. Apply a thick layer of organic mulch around the base to conserve moisture and regulate soil temperature. Importantly, resist the urge to fertilize for the first year; the plant needs to establish roots, not foliage. Patience becomes your greatest asset, as recovery can span a full growing season or more.
A Legacy Preserved
Ultimately, relocating such a venerable camellia is an act of profound horticultural stewardship. Camellia Gardens – Travel and Leisure It ensures the continuation of a living legacy, allowing a magnificent specimen to thrive for many more decades in a suitable environment. My grandmother always advised, “A transplanted plant needs a year to sleep, a year to creep, and a year to leap.” This wisdom perfectly encapsulates the patient nurturing required. The reward isn’t merely a relocated bush; it is the enduring beauty and historical connection it brings to your landscape, a testament to your dedication.
If you’re planning to tackle a major camellia transplant like this one, having the right tools and supplies on hand can make all the difference between success and heartbreak. Starting with a quality sharp garden spade is absolutely essential, since clean, precise cuts through thick roots cause far less damage to the plant than hacking with a dull blade. Once you’ve dug around the root ball, spreading out a heavy duty garden tarp underneath the shrub gives you a sturdy, reliable surface for dragging or sliding even the heaviest root mass to its new location without dropping or breaking it apart. Wrapping the root ball securely with burlap tree root ball wrap helps hold all that precious soil in place around the roots during the move, reducing stress and keeping the root system intact. You’ll also want to have some garden twine jute rope on hand to tie the burlap snugly around the root ball so nothing shifts or unravels while you’re transporting the plant across the yard. Once your camellia is settled into its new home, giving it a boost with a specialized camellia shrub fertilizer formulated for acid-loving plants will help support healthy new growth and encourage those beautiful blooms to return in the seasons ahead. Enriching the backfill soil with plenty of organic compost soil amendment improves drainage and nutrient availability, giving the roots a welcoming, rich environment to expand into as the plant recovers from the transplant. One of the most effective ways to reduce transplant shock is to drench the root zone with a quality root stimulator transplant solution right after planting, as it encourages faster root regeneration and helps the shrub establish itself more quickly in its new spot. Before you begin any transplant project, trimming back some of the top growth with sharp garden pruning shears can help balance the ratio of roots to foliage, reducing the amount of water the plant needs to support while its root system recovers and reestablishes. Protecting your hands throughout this whole process is equally important, and a reliable pair of heavy duty gardening gloves will shield you from blisters, sharp root ends, and rough burlap as you work through what can be hours of demanding physical labor. Finally, once everything is in place and your camellia is settled, using a soil moisture meter to monitor the moisture levels around the root zone takes the guesswork out of watering, ensuring you keep the soil consistently moist without overwatering during those critical first weeks of recovery — just as your grandmother’s careful attention to detail is what gave her beloved camellia three decades of thriving, beautiful life.
*As an Amazon Associate, I earn from qualifying purchases.